Introduction to DIY Sink Plumbing
For many homeowners, the idea of tackling a plumbing project can be intimidating, especially when it comes to sink connections. However, with the right guidance and a bit of patience, even beginners can successfully install or replace a sink without calling in a professional plumber. This comprehensive guide aims to simplify the process, breaking down each step into manageable parts, empowering DIY enthusiasts to achieve plumbing perfection in their homes.
Understanding the Basics of Sink Plumbing
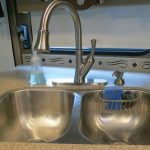
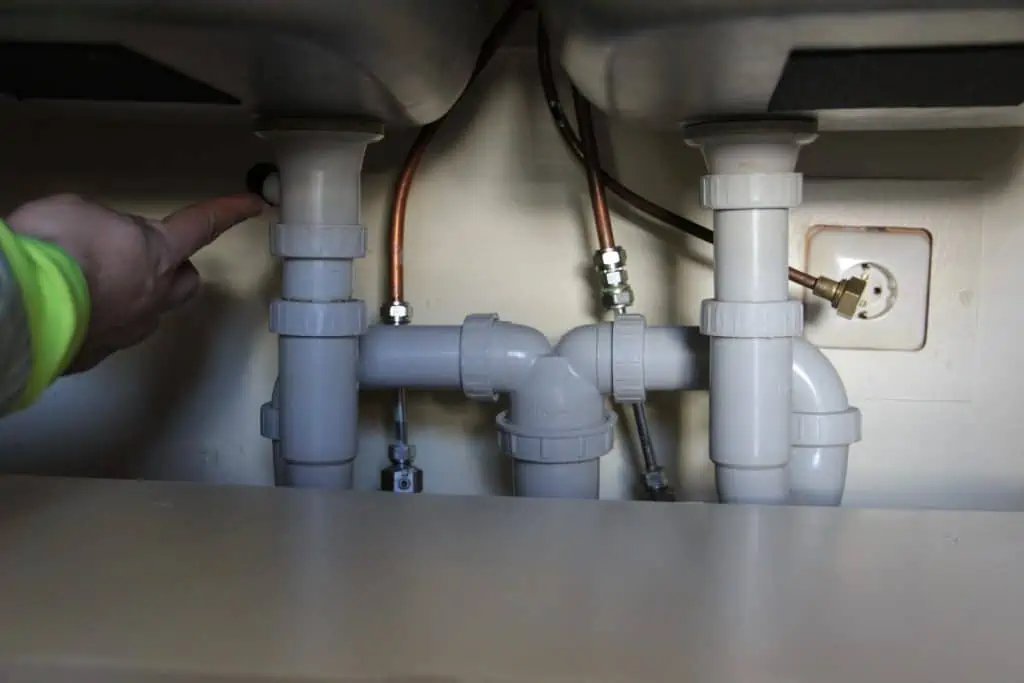
Before diving into the nuts and bolts of sink connections, it’s crucial to grasp the fundamentals. A typical sink setup comprises several key components: the faucet, drain assembly, P-trap, supply lines, and shutoff valves. The faucet delivers water, while the drain and P-trap manage wastewater. Supply lines connect the faucet to the water supply, and shutoff valves allow you to切断 the water flow when necessary. Familiarizing yourself with these parts lays the groundwork for a successful project.
Selecting the Right Tools and Materials
Equipping yourself with the appropriate tools is half the battle won. For sink installations, you’ll need a basin wrench, adjustable wrench, plumber’s putty or silicone caulk, a hacksaw, a screwdriver set, and Teflon tape. Ensure your replacement sink, faucet, and drain components are compatible with your existing plumbing configuration and meet your design preferences. Quality materials will ensure durability and leak-free performance.
Shutting Off the Water Supply
Safety first! Before disconnecting any plumbing, locate the shutoff valves under the sink (one for hot and one for cold) and turn them clockwise until fully closed. To be doubly sure, you might also want to shut off the main water supply valve to the house. Open the faucet to release any residual water pressure and confirm the water flow has stopped.
Removing the Old Sink and Faucet
With the water supply off, it’s time to uninstall the old sink. Disconnect the supply lines from the faucet using an adjustable wrench, followed by unscrewing and removing the drain assembly and P-trap beneath the sink. If the sink is attached with clips, use a screwdriver to loosen and remove them. Gently lift the old sink out, taking care not to damage the countertop or cabinet.
Installing the New Sink
Position the new sink onto the countertop, ensuring it fits snugly against the cutout. Secure it in place using the manufacturer’s provided clips or brackets, tightening screws carefully to avoid cracking the sink. Apply a thin layer of plumber’s putty or silicone caulk around the base of the faucet before installing it through the pre-drilled holes in the sink. Tighten the mounting nuts beneath the sink with a basin wrench.
Connecting the Drain Assembly
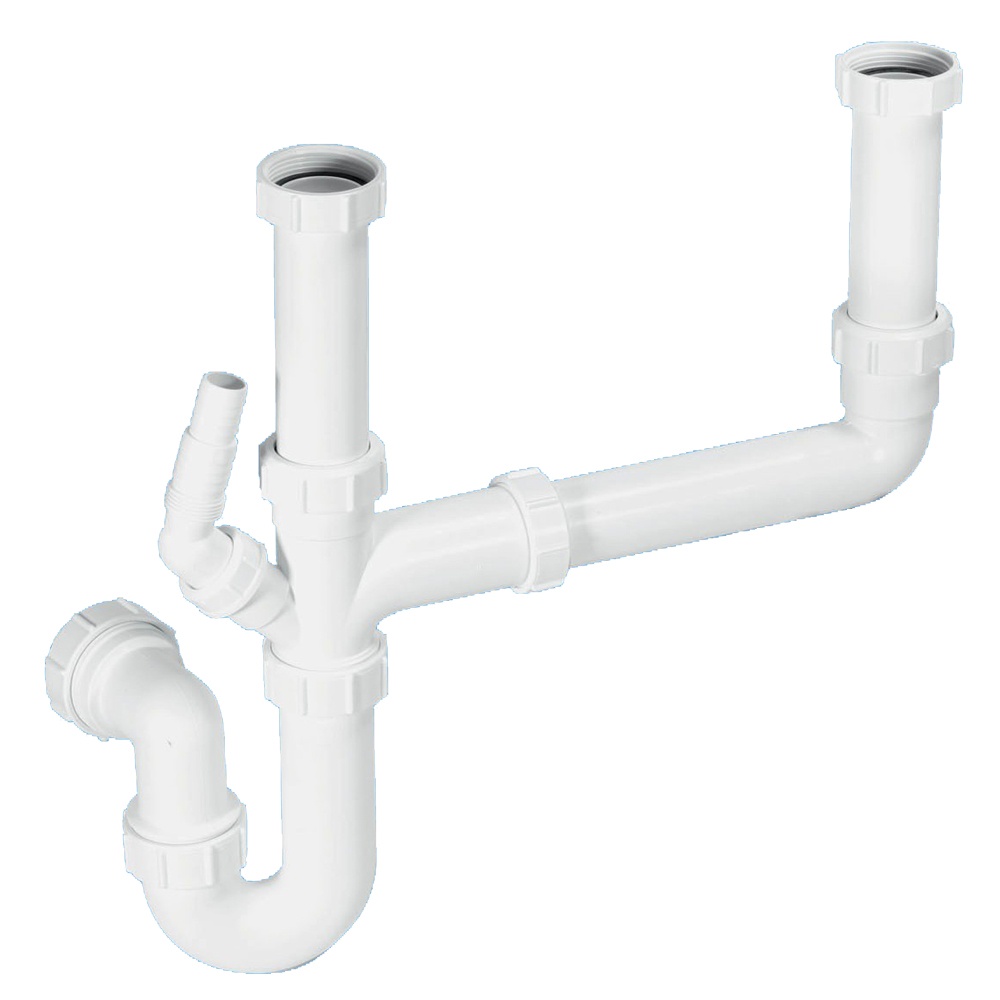
The drain assembly consists of several parts, including the drain body, tailpiece, washer, locknut, and sometimes a strainer or grid. Start by inserting the tailpiece into the drain hole from above, followed by the washer and locknut. Use the basin wrench to tighten the locknut securely while holding the drain in place from above. If your sink has an overflow hole, attach the overflow tube and secure it accordingly.
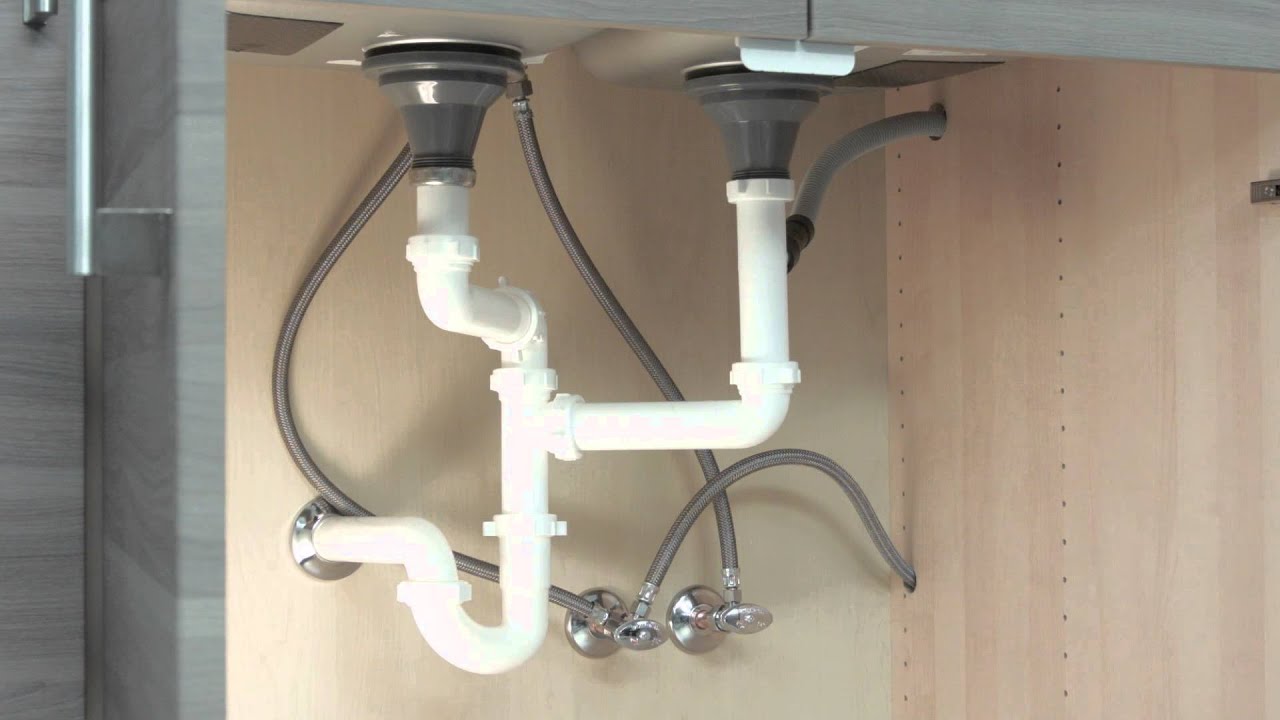
Reassembling the P-Trap and Connecting Supply Lines
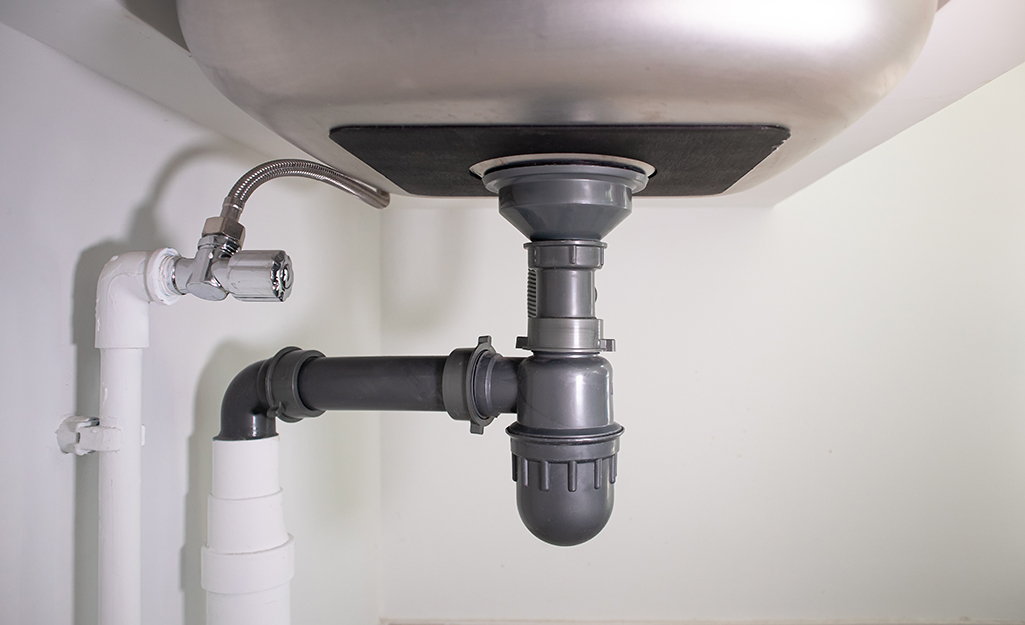
Reinstall the P-trap, ensuring a tight seal between the drain tailpiece and trap arms using the included washers and nuts. Adjust the height of the P-trap as needed to maintain a slight slope towards the drainpipe for proper waste flow. Next, attach the new supply lines to the faucet and the shutoff valves, hand-tightening them first before using the adjustable wrench for a final secure connection. Wrap Teflon tape around the threads of the valve stems and supply line ends to prevent leaks.
Testing for Leaks and Final Touches
With everything connected, slowly turn on the shutoff valves and check each connection for leaks. Look for drips around the faucet, drain, and supply lines. If you spot any leaks, tighten the relevant connections slightly or apply more plumber’s putty or Teflon tape as needed. Once everything is watertight, wipe away excess putty or caulk for a clean finish. Run water through the faucet to test flow and drain functionality, ensuring there are no clogs or slow drainage issues.
Maintenance and Troubleshooting Tips
To keep your sink plumbing in top condition, perform routine checks for leaks, clean aerators regularly, and use a drain cleaner periodically to prevent clogs. Should you encounter any issues post-installation, like reduced water pressure or persistent leaks, revisit each connection step-by-step, checking for loose fittings or damaged components. Remember, patience and attention to detail are key in diagnosing and resolving plumbing problems.
Enhancing Your Sink Installation: Advanced Techniques & Design Considerations
Now that you have a solid foundation for basic sink installation, let’s delve into some advanced techniques and design considerations that can elevate both the function and aesthetics of your kitchen or bathroom upgrade.
- Undermount Sink Installation: For a sleek, seamless look, consider an undermount sink installation. This method requires careful sealing between the sink and countertop to prevent water damage. Use a high-quality silicone caulk specifically designed for this purpose, and ensure the countertop material is suitable for undermount installation.
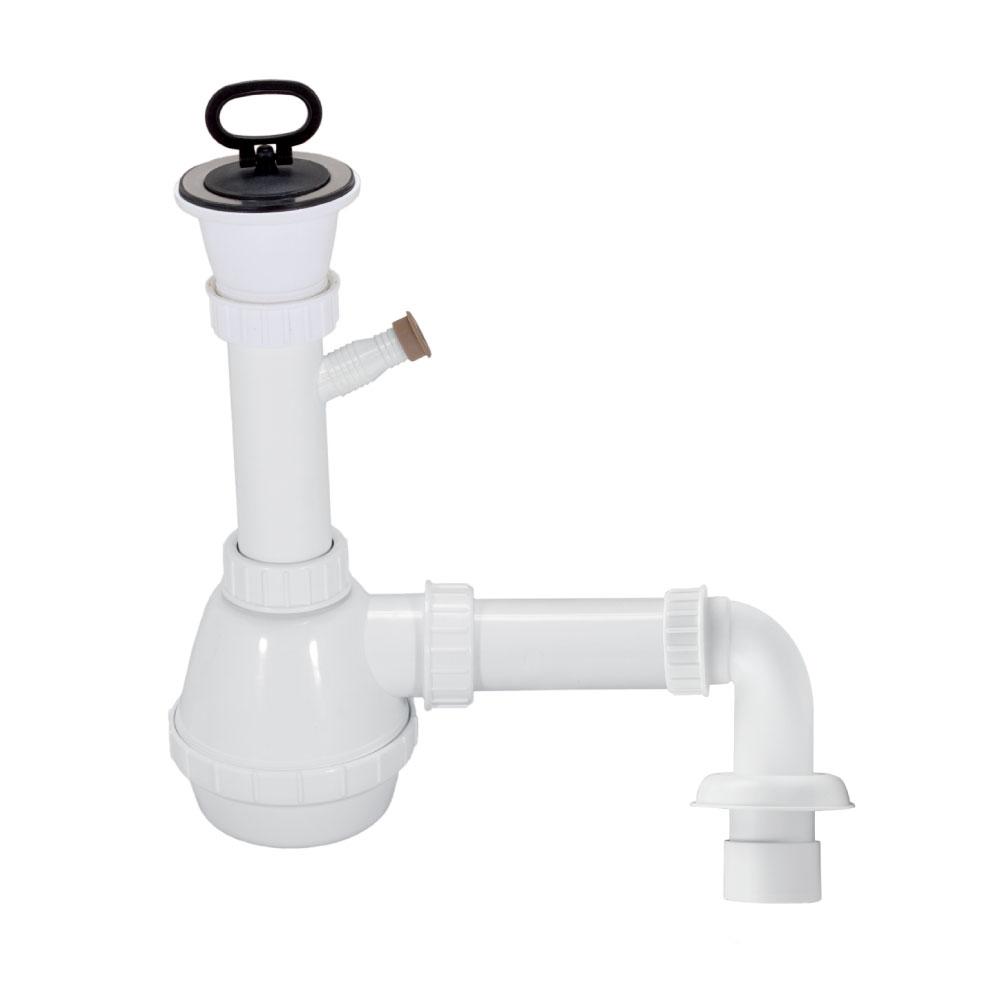
- Integrated Drain Systems: Some modern sinks come with integrated drain assemblies, simplifying the installation process and reducing the risk of leaks. These systems often incorporate innovative designs that enhance drainage efficiency and are worth considering if you’re looking for a user-friendly upgrade.
- Faucet Upgrade Options: Go beyond the standard faucet with touchless or motion-sensor models for added convenience and hygiene. Alternatively, consider a pull-down or pull-out faucet for enhanced functionality in the kitchen. Ensure your faucet choice complements your sink and overall design aesthetic.
- Garbage Disposal Integration: If you’re planning to install a garbage disposal, make sure your sink and drain setup accommodate it. Proper wiring, a compatible flange, and ensuring the sink has enough clearance underneath for the unit are essential steps in the process.
Conclusion: Plumbing Confidence for Every DIYer
By following this step-by-step guide, even the most novice DIY enthusiast can approach sink plumbing projects with confidence. Understanding the basics, using the right tools, and methodically working through each stage not only results in a job well done but also fosters a sense of accomplishment and self-sufficiency. Remember, every successful repair or installation is a testament to your growing plumbing prowess, turning what was once daunting into a rewarding DIY experience.