Introduction to the Problem
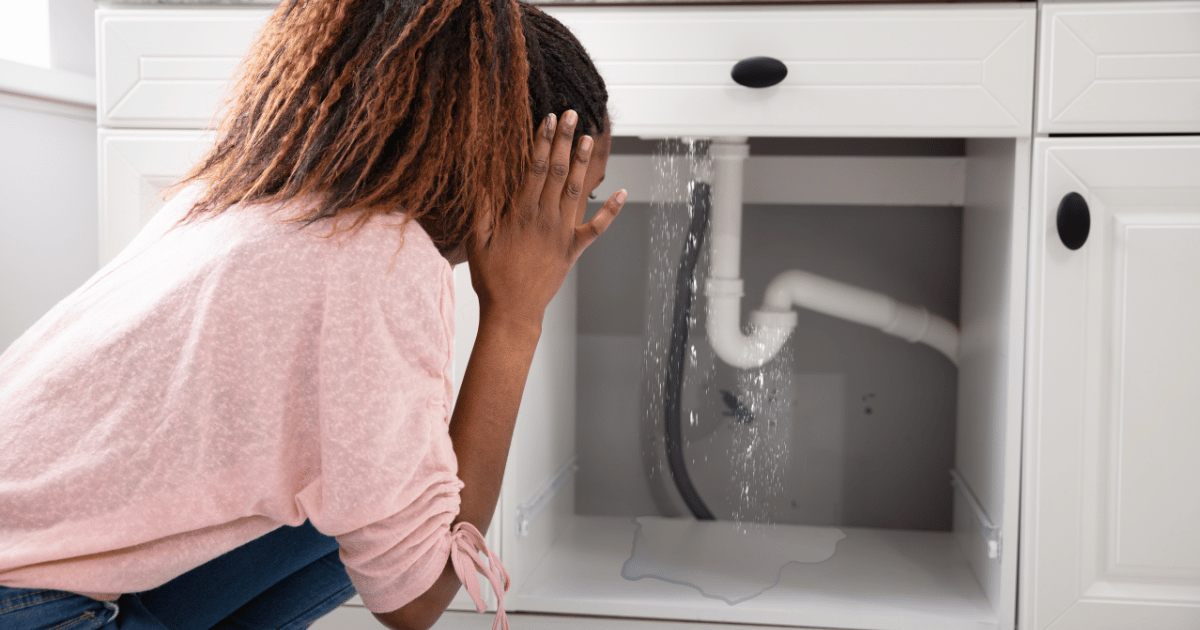
Under-sink leaks can be a homeowner’s nightmare, causing water damage, mold growth, and even structural problems if left unattended. It’s a common issue that many people face, often resulting from worn-out pipes, loose connections, or corrosion. Understanding the cause of the leak is the first step towards fixing it. Homeowners might feel overwhelmed at the sight of water pooling under their sink, but with a bit of knowledge and the right tools, most leaks can be fixed without the need for expensive professional help. This guide aims to empower you with the confidence and skills needed to tackle under-sink leaks DIY style, ensuring your kitchen or bathroom remains dry and damage-free.
Diagnosing the Leak
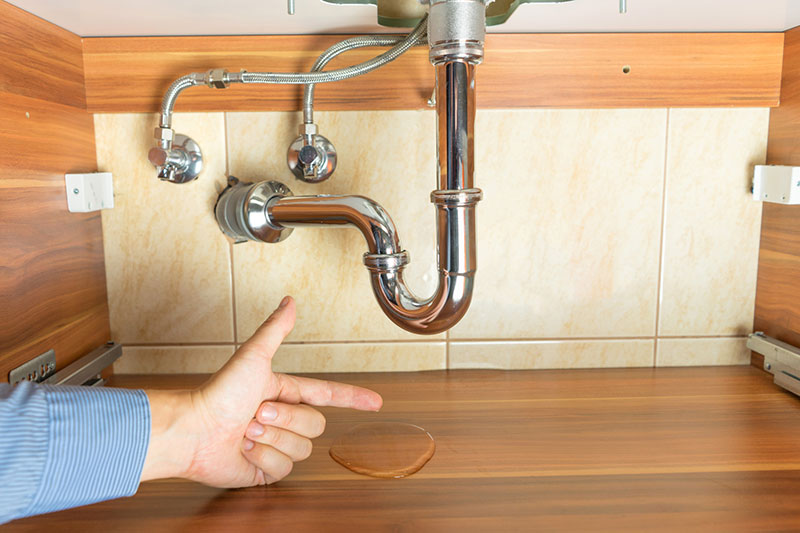
The first crucial step in fixing an under-sink leak is diagnosing its source. Start by emptying the cabinet under the sink and thoroughly drying the area. Place a dry newspaper or paper towels on the bottom of the cabinet to help identify where the water is coming from. Turn on the faucet and let the water run while you observe the pipes and fittings closely. Look for any visible drips or wet spots. Common culprits include the P-trap, supply lines, or the base of the faucet. Sometimes, the leak might only occur when using the sink, indicating an issue with the drain pipe. By carefully inspecting and pinpointing the exact location of the leak, you can determine the best approach for repair.
Replacing Worn Washers and O-Rings
Washers and O-rings are small components that play a big role in preventing leaks. These rubber or silicone parts create a seal within the faucet or pipe joints, and over time, they can become brittle or worn out. If your leak is coming from the base of the faucet or a pipe joint, replacing these components might solve the problem. To do this, turn off the water supply and disassemble the affected parts. Remove the old washer or O-ring and take it with you to the hardware store to find an exact match. Installing the new component is usually straightforward, and once reassembled, it should restore the integrity of the seal, stopping the leak.
Addressing Corroded Pipes
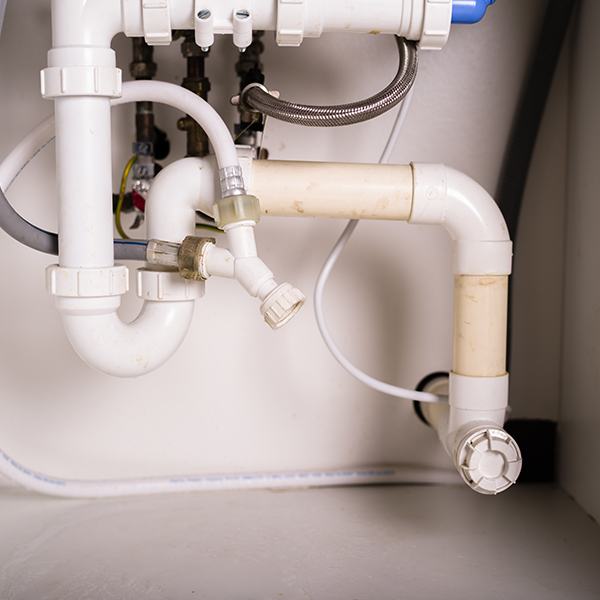
Corrosion is a more serious issue that can lead to persistent leaks. Metal pipes, particularly those made of galvanized steel or copper, are susceptible to corrosion over time due to moisture and chemical reactions. If you discover that your pipes are corroded, you’ll likely need to replace the affected section. This involves cutting out the corroded part with a pipe cutter and fitting in a new section using couplings and pipe sealant. For a more durable solution, consider replacing metal pipes with PVC or PEX pipes, which are resistant to corrosion. This task requires precision and care but can significantly extend the life of your plumbing system.
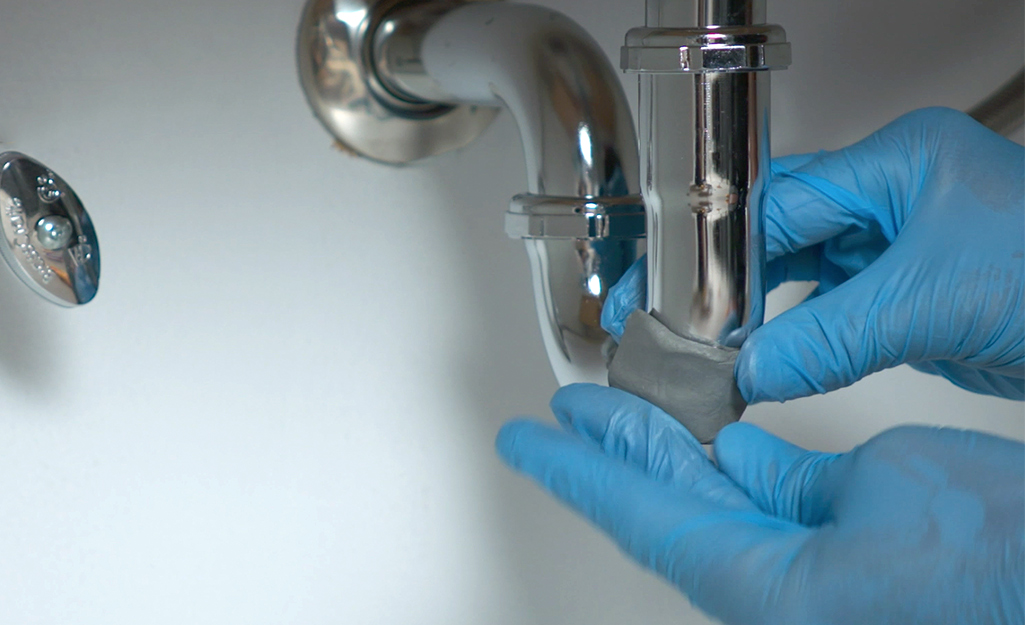
Sealing Leaks with Epoxy Putty
For small holes or cracks in pipes, epoxy putty can be a quick and effective fix. This moldable compound hardens to form a watertight seal, making it ideal for temporary or even semi-permanent repairs. To use epoxy putty, start by cleaning and drying the area around the leak. Mix the putty according to the manufacturer’s instructions and apply it directly to the damaged spot, pressing firmly to ensure good adhesion. Allow it to cure for the recommended time before turning the water back on. While not a permanent solution for severely damaged pipes, epoxy putty can buy you time until a more comprehensive repair can be undertaken.
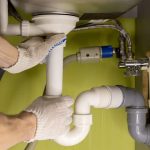
Replacing the P-Trap
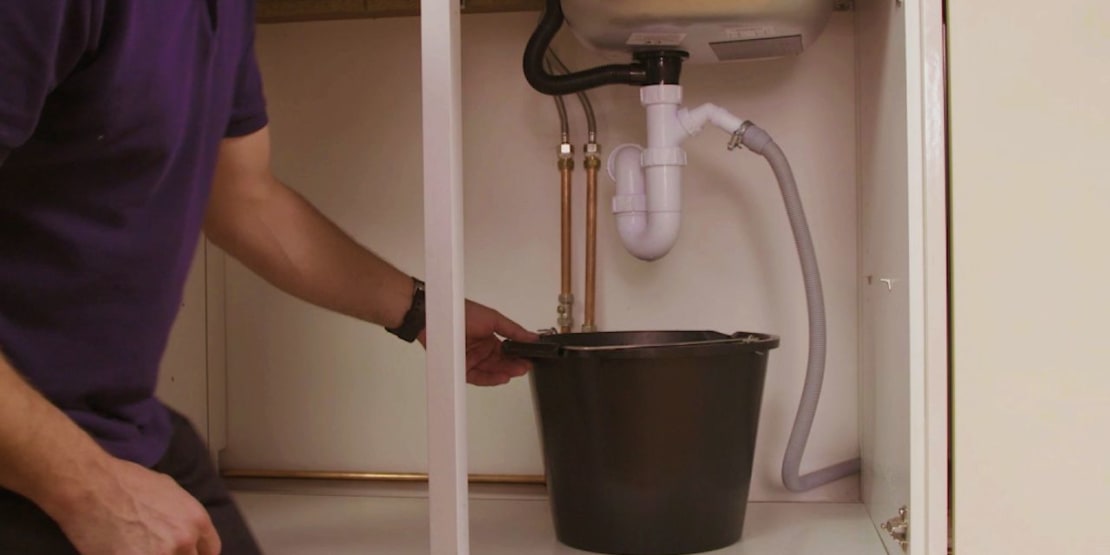
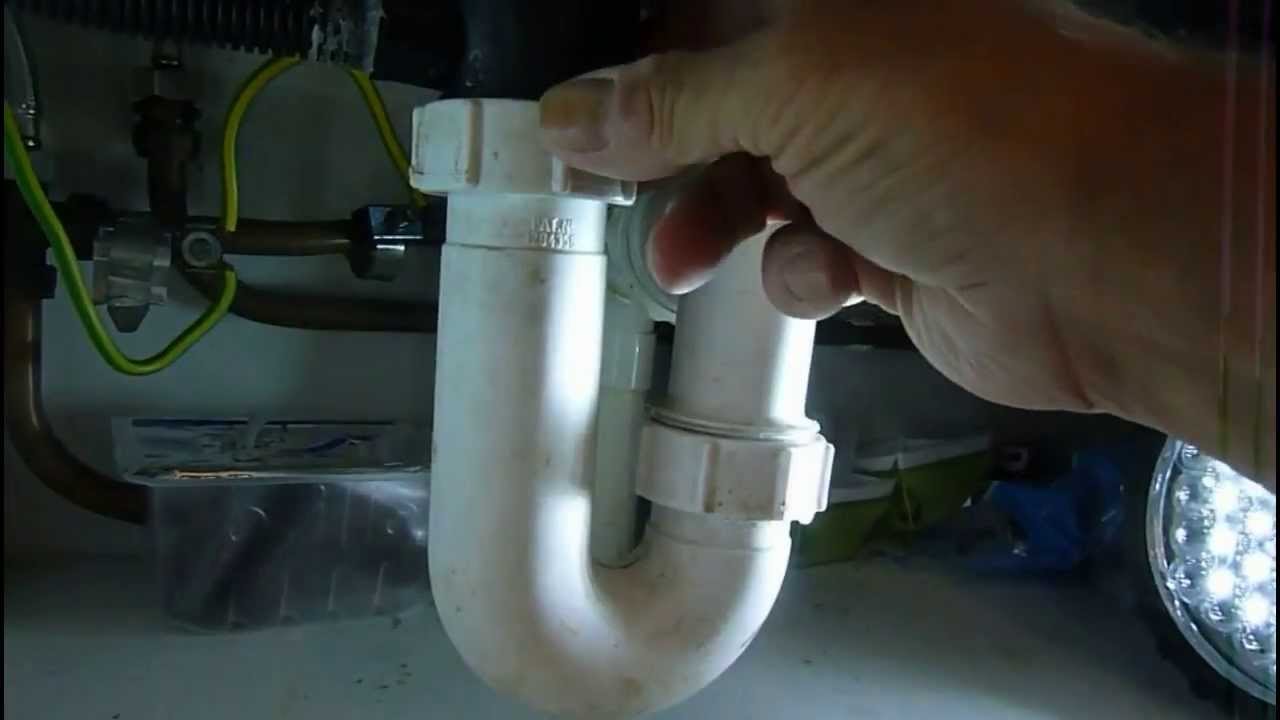
The P-trap, the U-shaped pipe beneath your sink, is another common source of leaks. It traps debris and prevents sewer gases from entering your home but can develop leaks due to wear and tear or clogs. If your P-trap is leaking, it might need to be replaced. Start by placing a bucket under the trap to catch any standing water. Loosen the slip nuts on either end of the trap with a wrench and remove the old P-trap. Clean the pipe ends and install the new trap, ensuring a snug fit but not over-tightening the nuts. This straightforward replacement can resolve leaks and improve drainage efficiency.
Repairing a Leaking Drain Pipe
Leaking drain pipes usually signal a need for more extensive repairs, especially if the damage is significant. If the leak originates from a cracked or broken drain pipe, you’ll need to replace the damaged section. Cut out the problematic pipe with a hacksaw or pipe cutter, ensuring clean cuts on both ends. Measure and cut a replacement pipe segment, then secure it with slip nuts and washers or appropriate couplings. Apply pipe sealant or Teflon tape to ensure a tight seal. Properly aligned and sealed drain pipes should eliminate leaks and restore proper drainage.
Preventive Maintenance Tips
Preventing future leaks involves regular maintenance and vigilance. Periodically check under sinks for signs of moisture or corrosion, and address any issues promptly before they escalate. Replace washers and O-rings as part of routine maintenance to avoid unexpected leaks. Ensure that pipe connections remain tight and secure, especially after heavy use or repairs. Keeping your plumbing system clean and free of debris can also prevent clogs and pressure build-up that might cause leaks. By staying proactive and attentive to your plumbing’s condition, you can significantly reduce the risk of under-sink woes
When to Call a Professional
While many under-sink leaks can be fixed with DIY efforts, there are times when calling a professional plumber is the best course of action. If the leak persists despite your repairs, or if you encounter complex issues such as widespread corrosion, damaged main supply lines, or inaccessible pipework, professional expertise is warranted. Plumbers have the tools, experience, and knowledge to handle more challenging repairs safely and effectively. Additionally, if you’re uncomfortable performing certain tasks or lack the necessary tools, seeking professional help ensures the job is done correctly and prevents further damage.
Conclusion: Empowering Your DIY Skills
Fixing a leaking pipe under your sink doesn’t have to be an intimidating task. With the right diagnosis, tools, and techniques, many common leaks can be resolved quickly and effectively with DIY methods. By understanding the causes of leaks, such as loose connections, worn washers, corrosion, or damaged pipes, you can approach repairs confidently. Regular maintenance and preventive measures can further safeguard your plumbing system against future issues. However, knowing when to call a professional ensures that more complex problems are addressed appropriately. Ultimately, taking a proactive and informed approach to plumbing repairs empowers you to maintain a dry, efficient, and well-functioning home.