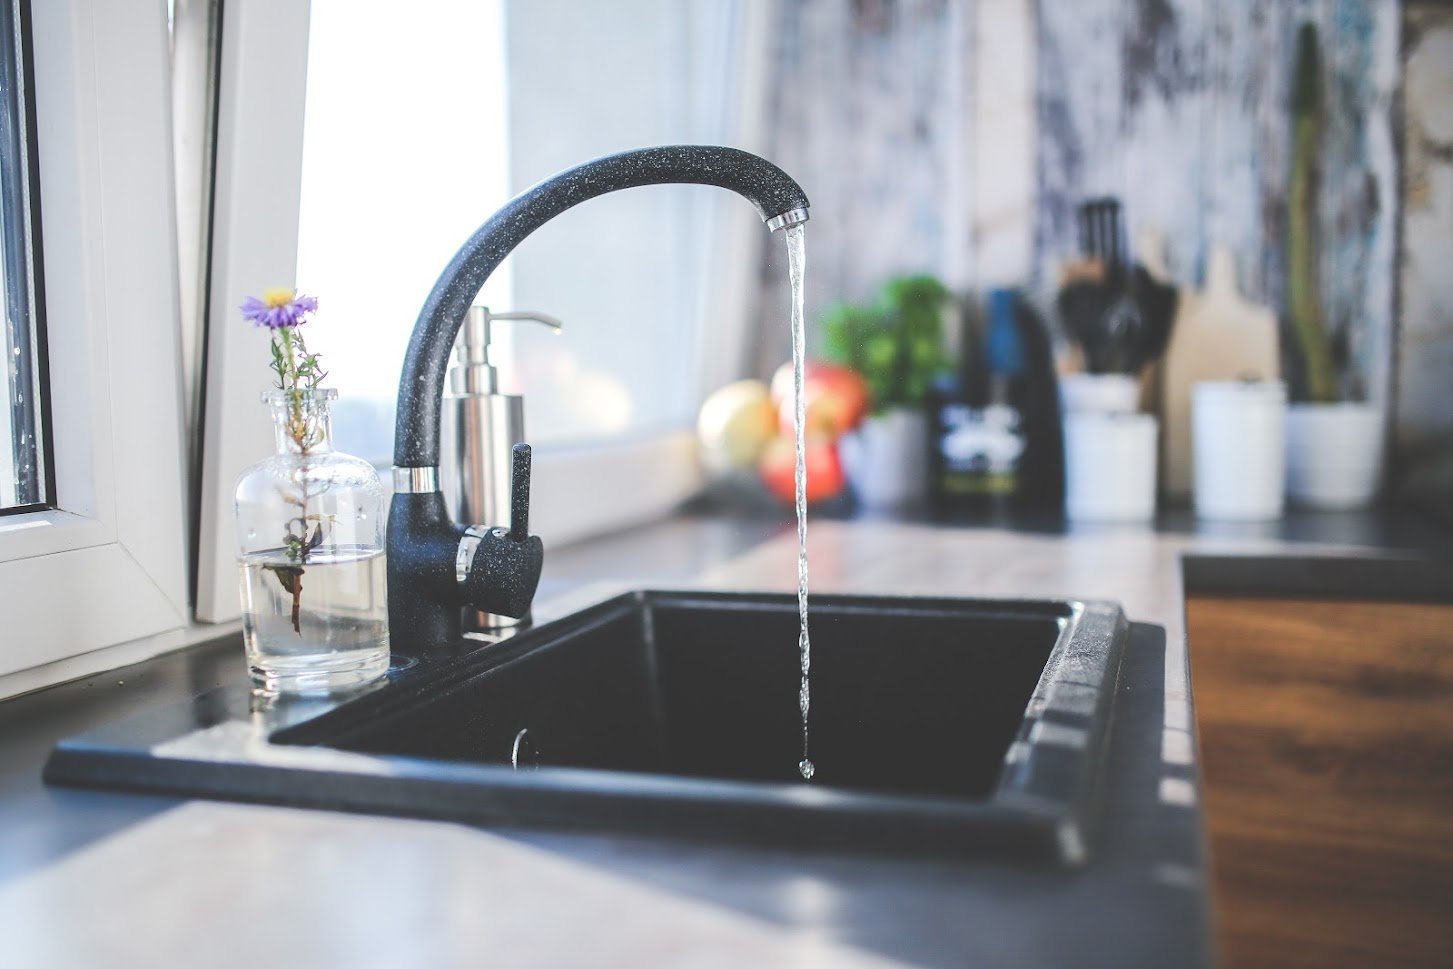
Introduction: The Unwelcome Drip
The incessant dripping of a faucet can quickly escalate from a minor annoyance to a major source of frustration. Not only does it disrupt the tranquility of your home, but it also serves as a constant reminder of wasted water and potential spikes in your utility bill. Fortunately, addressing this common household issue doesn’t require a professional plumber—just a bit of know-how and some courage to get under the sink. In this comprehensive guide, we’ll walk you through the quick fix for turning off the water supply under the sink, empowering you to silence that pesky drip once and for all.
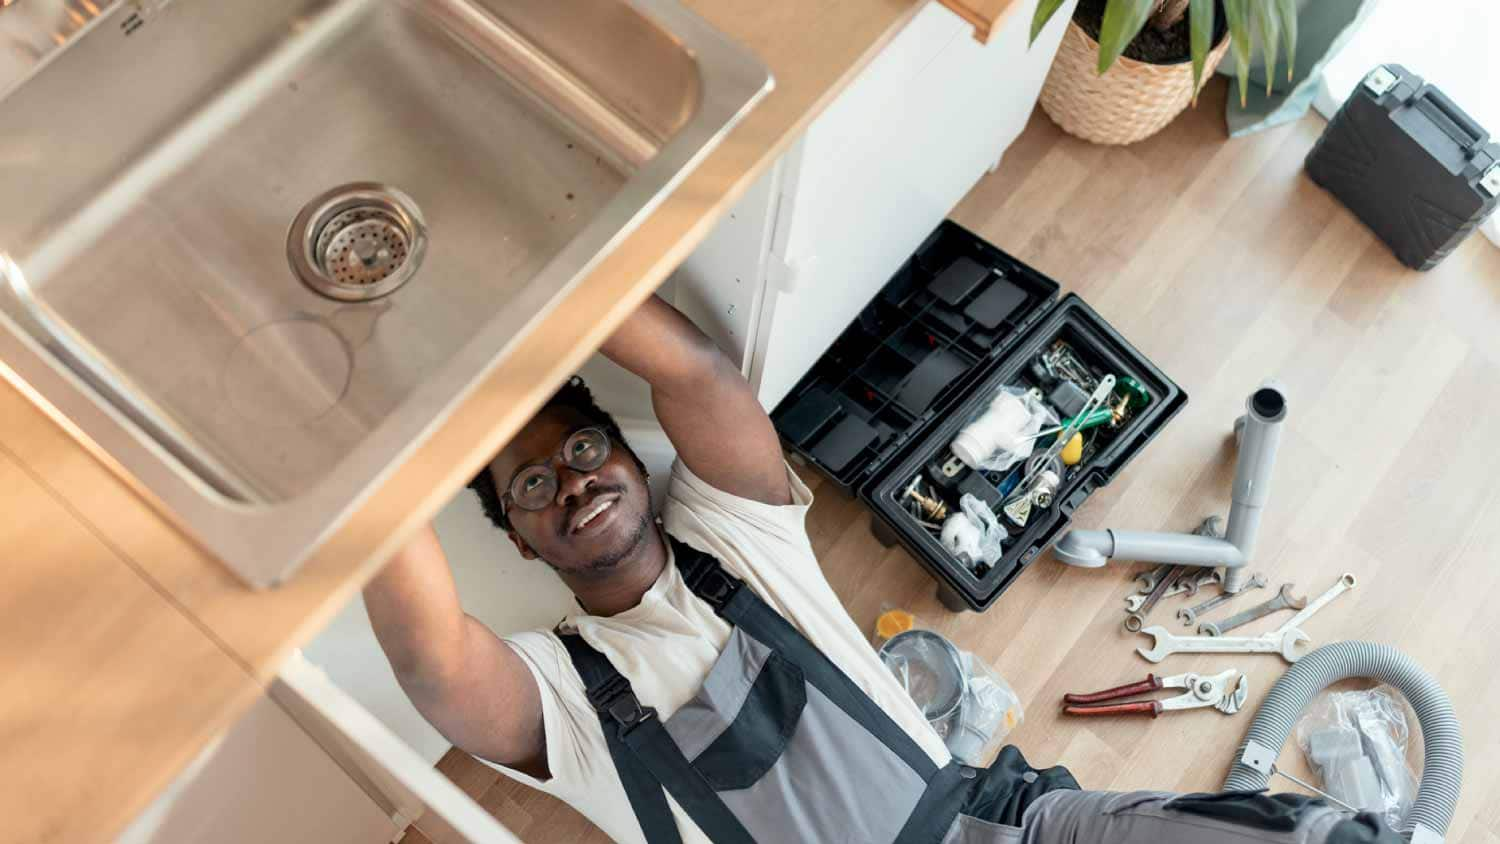
Locating the Shut-Off Valves: The Quest Begins
Before diving into any repair work, it’s crucial to understand the anatomy beneath your sink. Typically, two valves sit nestled near the back wall, one for hot water and another for cold. These valves, often made of brass or plastic, control the flow of water to your faucet independently. Their handles could either be lever-style, requiring a quarter-turn to operate, or a wheel-like design that needs to be turned several times. Your mission, should you choose to accept it, is to locate these valves amidst the pipes and cleaning supplies.
Preparing for the Task: A Moment of Readiness
To ensure a smooth and mess-free operation, preparation is key. Begin by clearing the area under your sink. This might involve temporarily relocating cleaning products, sponges, and any other items that might obstruct your access. Lay down an old towel or a drop cloth to protect the cabinet floor from accidental spills or scratches. It’s also wise to have a small bucket or bowl at hand to catch any residual water that may escape when you turn off the valves. Lastly, gather a pair of adjustable pliers, just in case the valve handles are stiff and need a little extra persuasion.
Shutting Off the Water Supply: The Moment of Truth
With everything in place, take a deep breath and approach the valves. Start with the cold water valve, turning it clockwise until it’s fully closed. You should feel resistance and hear a definitive click if it’s a lever-style valve; if it’s a wheel valve, keep turning until it won’t turn anymore. Repeat this process with the hot water valve. If the handles are stubborn, use your pliers gently to avoid damaging the valve. Once both valves are shut, turn on the faucet to drain any remaining water in the lines and confirm that the flow has indeed stopped. This step is crucial—it ensures you won’t have any unexpected waterworks while you’re working on the faucet.
Inspection and Troubleshooting: A Closer Look
Before proceeding with any repairs on the faucet itself, take a moment to inspect the valves and surrounding pipes. Check for signs of leaks, corrosion, or damage. Sometimes, the problem might not be the faucet at all but a faulty valve. If you notice leaks around the valve stem even after turning it off tightly, it could indicate a worn-out washer or seating. Make a note of such issues, as they might need attention in the future. For now, focus on addressing the faucet unless the valve issue is severe enough to warrant immediate replacement.
The Repair Process: From Drip to Drop-Free
Armed with the knowledge that the water is safely off, you can now tackle the faucet repair. This might involve disassembling the faucet to replace a worn washer, O-ring, or cartridge, depending on the type of faucet you have. Follow the manufacturer’s instructions carefully, being mindful not to damage any parts during disassembly. Replacement parts can typically be found at local hardware stores or online, ensuring a precise fit for your faucet model.
Reopening the Water Supply: A Gentle Awakening
Once the repair is complete, it’s time to restore the water flow. Before doing so, double-check that all connections and components under the sink are properly tightened and in place. Turn the hot water valve slowly counterclockwise, followed by the cold water valve. It’s advisable to open them gradually to avoid sudden pressure surges that could damage the faucet or cause leaks in the connections. After a few seconds, turn on the faucet and let it run for a while, checking for leaks around the base of the faucet and under the sink.
Final Checks and Cleanup: Restoring Order
With water flowing smoothly and no leaks detected, pat yourself on the back—you’ve successfully silenced the drip! However, the job isn’t quite done yet. Take a final look around the workspace, ensuring everything is as it should be. Tighten any loose screws or connections, wipe down any moisture, and return your cleaning supplies to their rightful places. Don’t forget to dispose of any used parts or packaging responsibly and recycle where possible.
Preventive Measures: Staying Ahead of the Drip
To prevent future drips and extend the life of your faucet, consider implementing a few preventive strategies. Regularly clean your faucet aerator to remove mineral buildup that can lead to reduced water flow and increased wear. Inspect your faucet and valves periodically for signs of wear and tear, and address any issues promptly. Lastly, being mindful of how you use your faucet—avoiding excessive force when turning it on or off—can go a long way in preserving its mechanics.
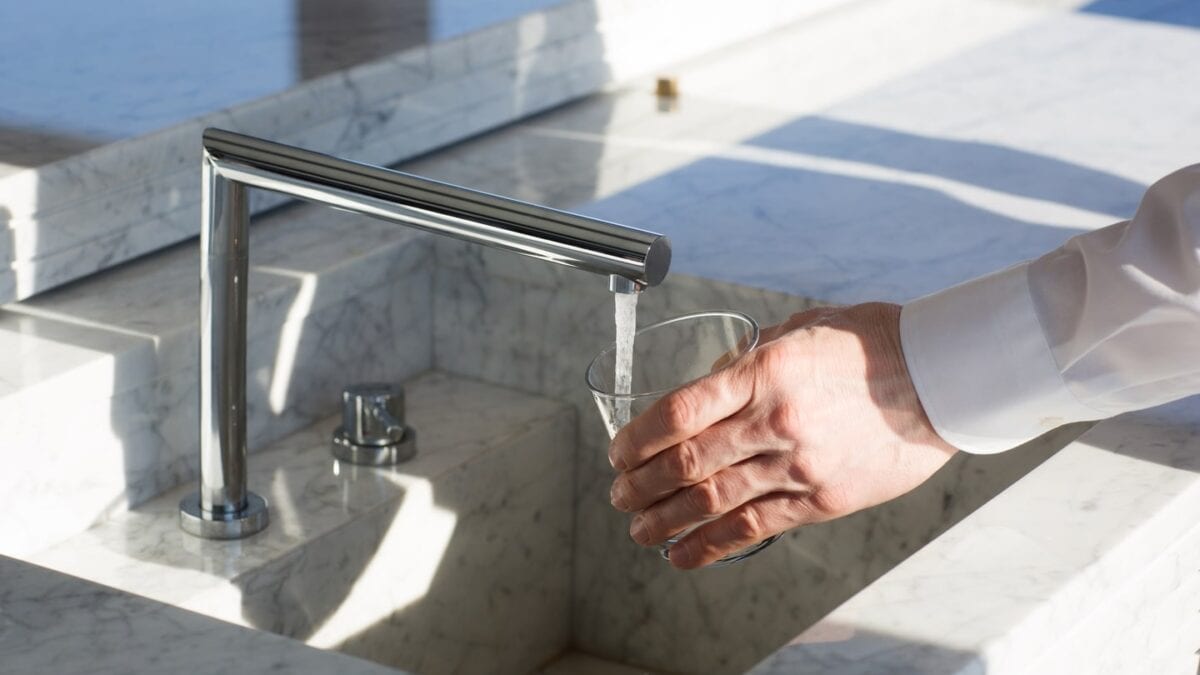
Embracing Water-Saving Technologies: Future-Proofing Your Faucet
As we conclude our journey to a leak-free faucet, it’s worth exploring how modern technology can further enhance your plumbing system’s efficiency and sustainability. Upgrading to water-saving faucets or installing aerators with low-flow features can significantly reduce water consumption without compromising performance. These fixtures often incorporate flow restrictors that maintain a satisfying stream while minimizing waste.
Smart Faucet Technology: Touchless Convenience
One innovative leap in faucet design is the integration of touchless or motion sensor technology. These smart faucets activate with a simple wave of the hand, not only adding a touch of sophistication to your kitchen or bathroom but also promoting hygiene by minimizing contact. They can also be programmed to deliver precise amounts of water, further contributing to water conservation efforts.
Conclusion: A Job Well Done
The next time you’re faced with a faucet that refuses to stop dripping, remember that fixing it yourself is not only feasible but also incredibly satisfying. By following this step-by-step guide, you’ve not only silenced an irritating noise but also gained valuable DIY skills and potentially saved on plumbing costs. Turning off the water under the sink may seem like a small task, but it’s a significant step towards maintaining a comfortable and efficient home. With newfound confidence, you’re ready to tackle any leaky challenge that comes your way.