Replacing a bathroom sink faucet may seem like a daunting task, but with the right tools and a bit of patience, it can be a rewarding DIY project. Whether you’re updating your faucet for aesthetic reasons or because it’s no longer functioning properly, following a systematic approach will ensure a smooth and successful installation. This guide provides a detailed step-by-step process to help you replace your bathroom sink faucet efficiently.
Gather Your Tools and Materials
Before you begin, it’s essential to gather all the necessary tools and materials to avoid interruptions during the process. You will need an adjustable wrench, basin wrench, plumber’s tape, bucket, cleaning cloth, and a new faucet set that includes the faucet, handles, and any additional components required for installation. Additionally, it’s helpful to have a flashlight handy for better visibility under the sink. Make sure to read the manufacturer’s instructions that come with the new faucet, as they may include specific requirements or steps unique to that model. By having everything ready beforehand, you can work more efficiently and reduce the likelihood of encountering unexpected issues.
Turn Off the Water Supply
The first critical step in replacing your bathroom sink faucet is to turn off the water supply to prevent any leaks or flooding. Locate the shut-off valves under the sink; these are typically small knobs attached to the water supply lines. Turn the valves clockwise until they’re fully closed. If your bathroom doesn’t have individual shut-off valves, you’ll need to turn off the main water supply to your home. After shutting off the water, open the faucet to drain any remaining water from the lines, ensuring that there’s no residual pressure. Placing a bucket under the sink can catch any water that might spill when you disconnect the supply lines.
Remove the Old Faucet
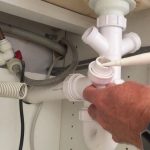
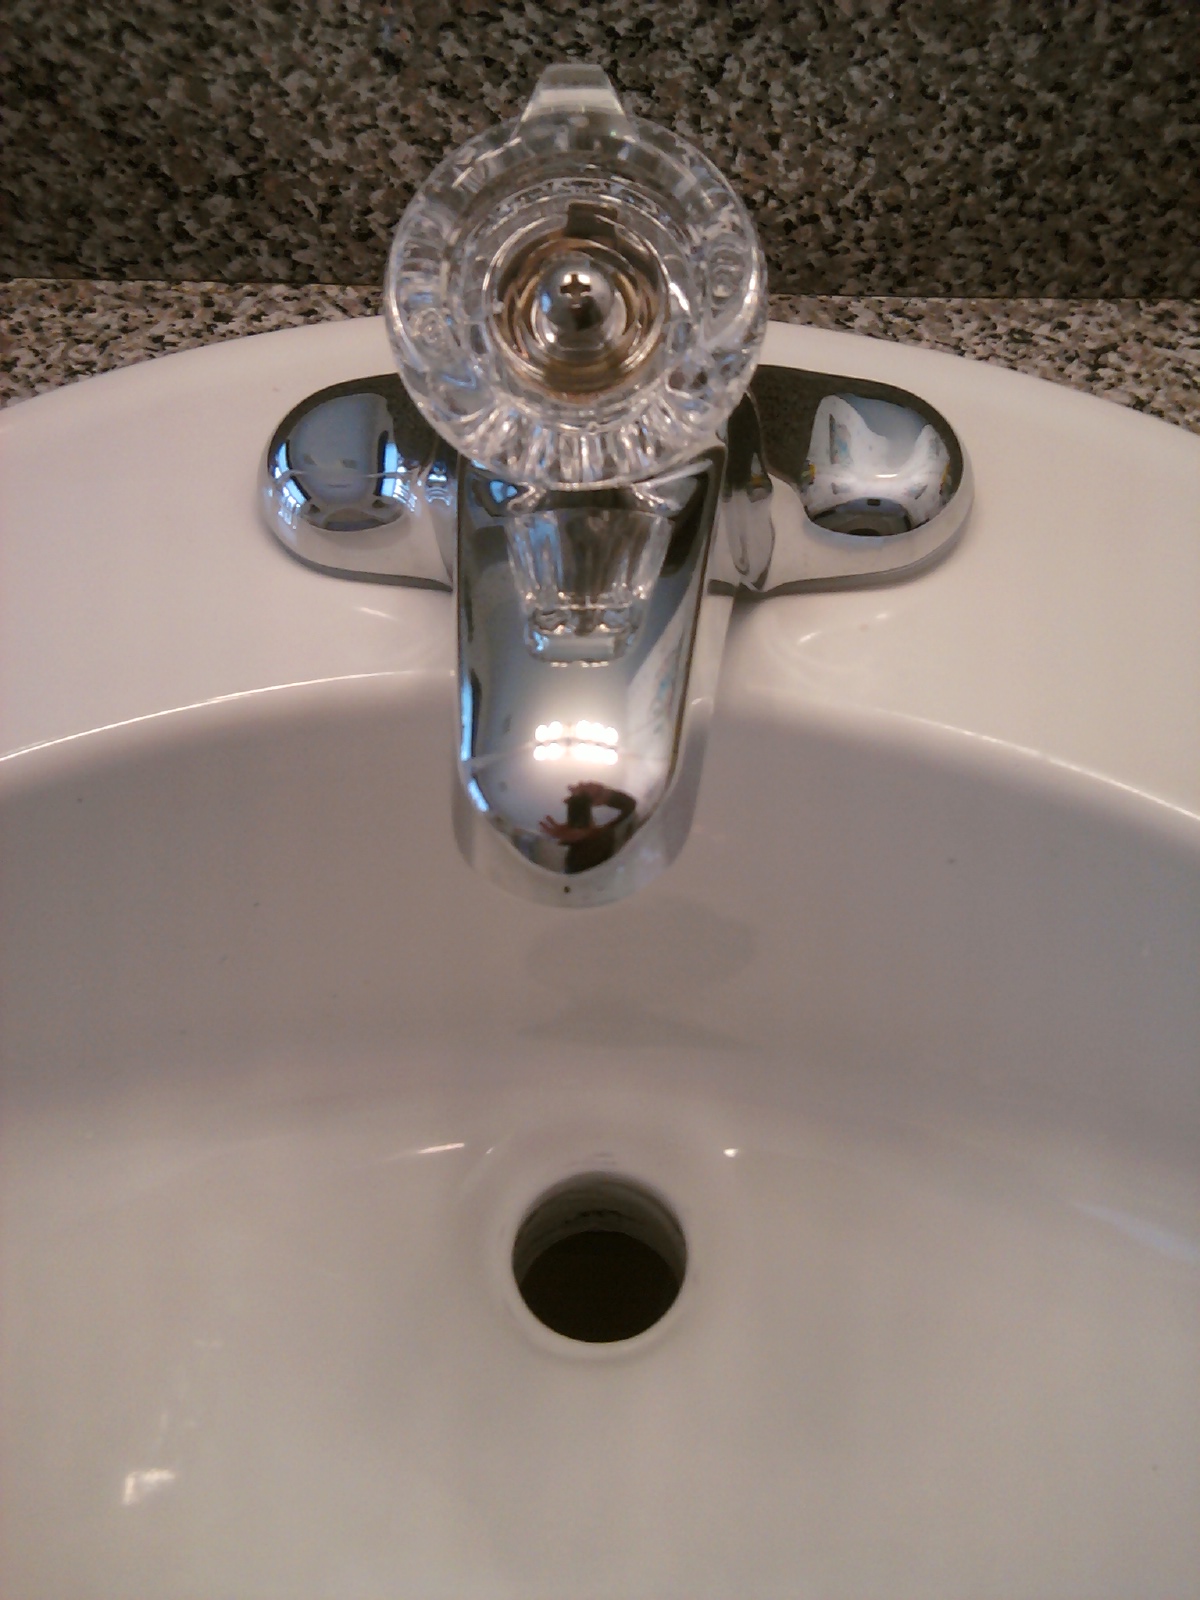
With the water supply turned off and the remaining water drained, you can now proceed to remove the old faucet. Start by disconnecting the water supply lines from the faucet using an adjustable wrench. Be prepared for some water to spill out, so keep your bucket and cleaning cloth close by. Next, use a basin wrench to loosen and remove the mounting nuts that secure the faucet to the sink. These nuts are usually located underneath the sink and may be difficult to reach, which is where the basin wrench comes in handy. Once the nuts are removed, lift the old faucet and any associated components out of the sink. Clean the area around the sinkholes thoroughly to remove any debris or old plumber’s putty, ensuring a clean surface for the new faucet installation.
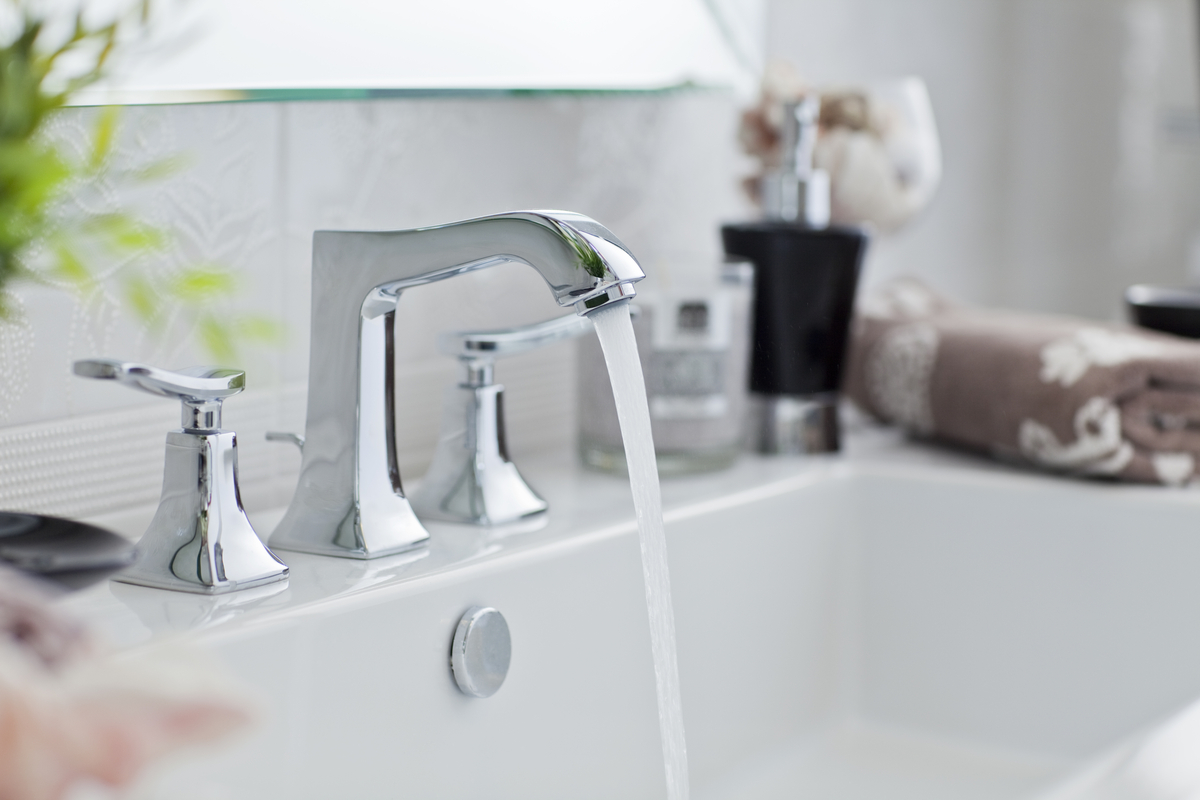
Install the New Faucet
Now that the old faucet is removed and the sink area is clean, it’s time to install the new faucet. Begin by placing the gasket or trim ring (included with your new faucet) over the sinkholes to create a watertight seal. If your faucet set includes a deck plate, position it over the holes before inserting the faucet. Carefully lower the new faucet into place, aligning it with the sinkholes. From underneath the sink, secure the faucet by threading the mounting nuts onto the faucet tailpieces. Tighten the nuts with a basin wrench, ensuring the faucet is firmly attached to the sink. Be cautious not to overtighten, as this could damage the sink or faucet. Once the faucet is securely in place, attach the handles if they were not pre-assembled, following the manufacturer’s instructions.
Connect the Water Supply Lines
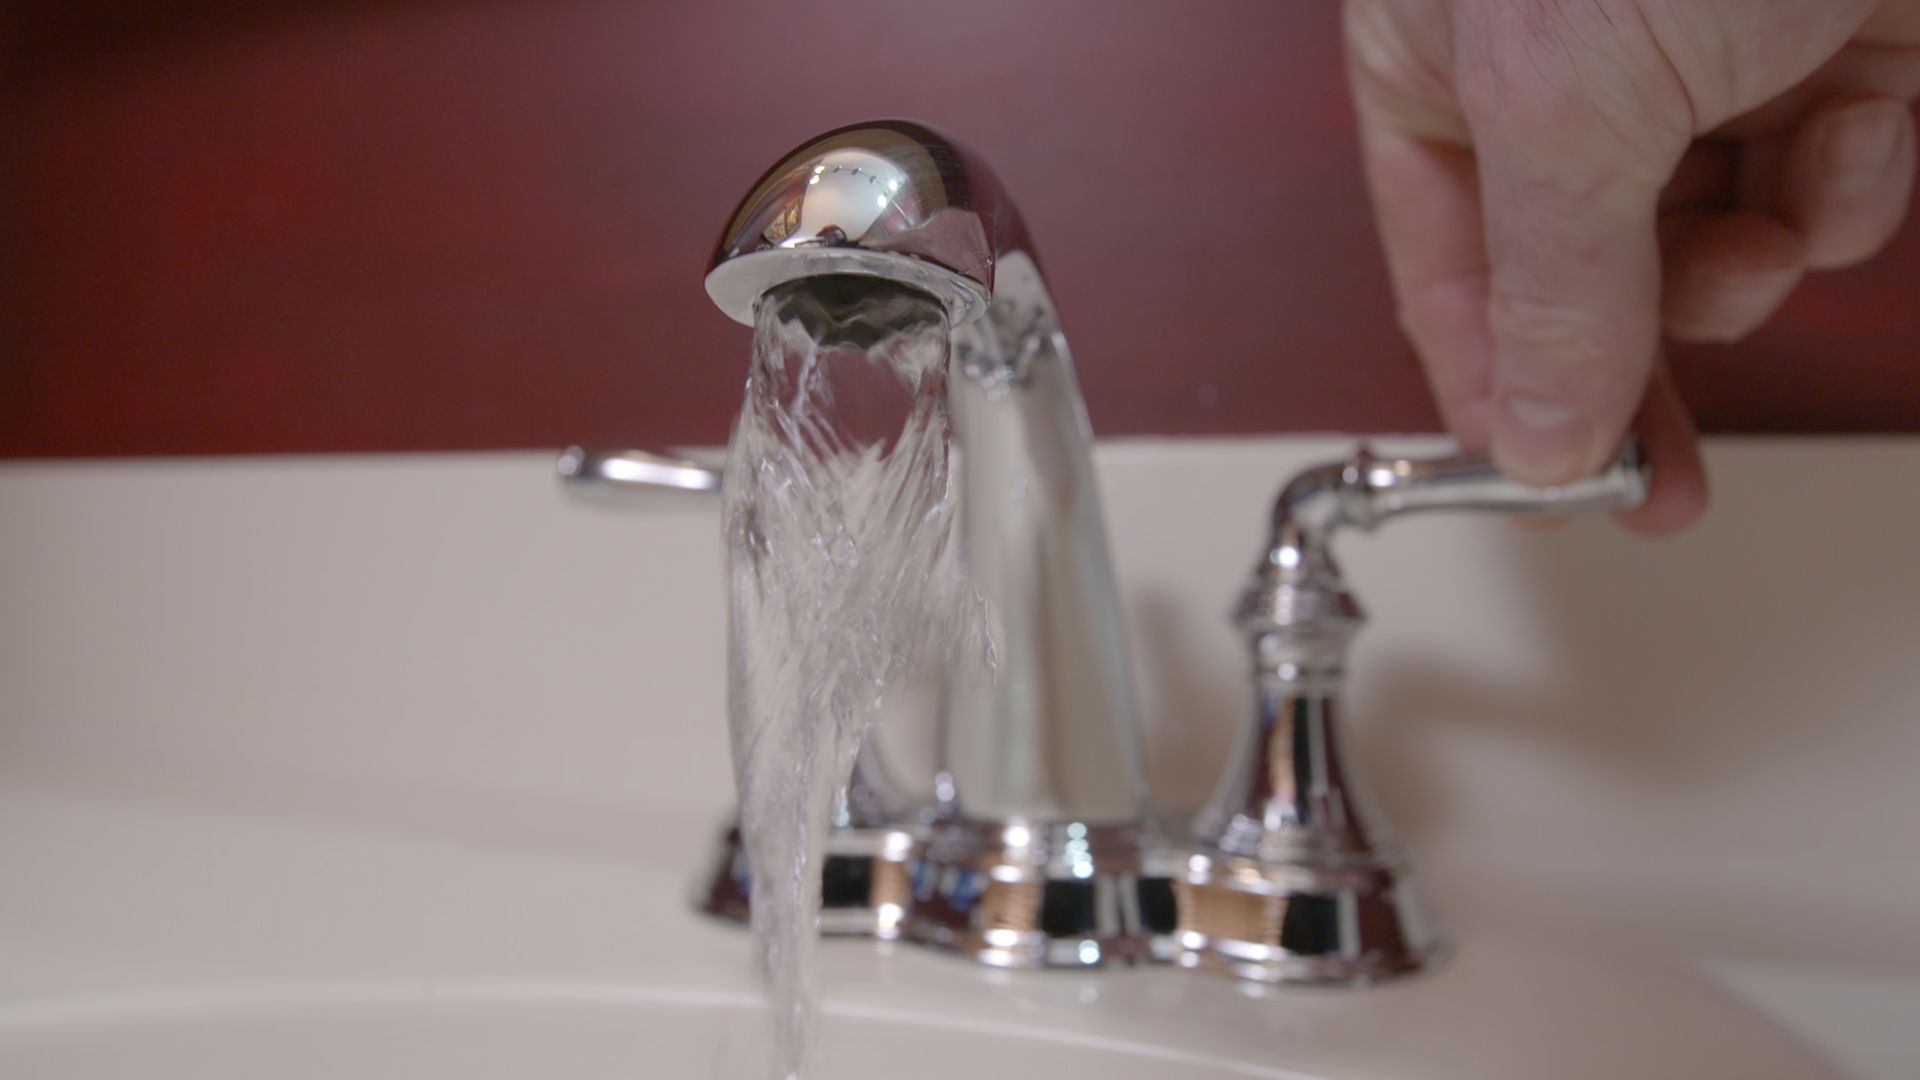
With the new faucet installed, the next step is to reconnect the water supply lines. Apply plumber’s tape to the threads of the faucet tailpieces to ensure a tight seal and prevent leaks. Attach the hot and cold water supply lines to the corresponding faucet tailpieces, tightening them with an adjustable wrench. Be careful not to overtighten, as this can strip the threads or damage the connections. Once both supply lines are securely connected, double-check all connections to make sure they are tight and properly aligned. It’s crucial to ensure that there are no gaps or misalignments, as these can lead to leaks once the water supply is turned back on.
Test for Leaks and Proper Functioning
Before fully wrapping up the installation, it’s essential to test the new faucet for leaks and proper functioning. Gradually turn on the water supply valves under the sink, and then slowly open the faucet to allow water to flow through. Check all connections and the faucet itself for any signs of leaks. If you notice any leaks, tighten the connections slightly until they stop. Test both hot and cold water to ensure that they are correctly connected and that the faucet operates smoothly. Also, check the water pressure to confirm that it is consistent and adequate. Once you’re satisfied that there are no leaks and the faucet functions properly, turn off the faucet and tidy up the work area.

Clean Up and Final Touches
After confirming that the new faucet is working correctly and there are no leaks, it’s time to clean up and add any final touches. Remove any tools and materials from the work area and wipe down the sink and faucet to remove any fingerprints, dust, or debris. If you used plumber’s putty or silicone sealant during installation, make sure to clean off any excess material for a neat finish. Reposition any items you moved during the installation process, such as toiletries or decorations, back to their original places. Take a moment to admire your work and ensure that everything looks and functions as expected. A clean and tidy work area not only looks better but also ensures that you’ve completed the installation process without overlooking any details.
Troubleshooting Common Issues
Even with careful planning and execution, you might encounter some common issues during or after the installation of your new bathroom sink faucet. One potential problem is low water pressure, which can be caused by debris caught in the faucet aerator. To fix this, unscrew the aerator and clean it thoroughly before reattaching it to the faucet. Another issue might be persistent leaks at the connections, which may require you to reapply plumber’s tape and retighten the fittings. If the faucet handles are difficult to operate or feel loose, double-check the installation instructions to ensure that all components are correctly assembled and tightened. Addressing these issues promptly will ensure your new faucet performs optimally and lasts for years to come.
Maintaining Your New Faucet
Proper maintenance of your new bathroom sink faucet can significantly extend its lifespan and keep it looking and functioning like new. Regularly clean the faucet with a mild soap and water solution, avoiding harsh chemicals that can damage the finish. Wipe down the faucet after each use to prevent water spots and mineral buildup. Periodically check the connections under the sink to ensure they remain tight and free of leaks. If your area has hard water, consider installing a water softener or using a descaling solution to prevent mineral deposits from clogging the faucet. By taking these simple maintenance steps, you can preserve the appearance and functionality of your faucet for many years.
When to Call a Professional
While replacing a bathroom sink faucet is a manageable DIY project for most homeowners, there are situations where calling a professional plumber is advisable. If you encounter persistent leaks that you cannot fix, or if the plumbing setup under your sink is complex, it’s best to seek professional assistance. Additionally, if you need to modify existing plumbing or install new shut-off valves, a licensed plumber can ensure the work is done safely and up to code. Hiring a professional may also be necessary if you’re uncomfortable working in tight spaces or lack the tools and experience needed for the job. Knowing when to call in an expert can save you time, frustration, and potential damage to your plumbing system.
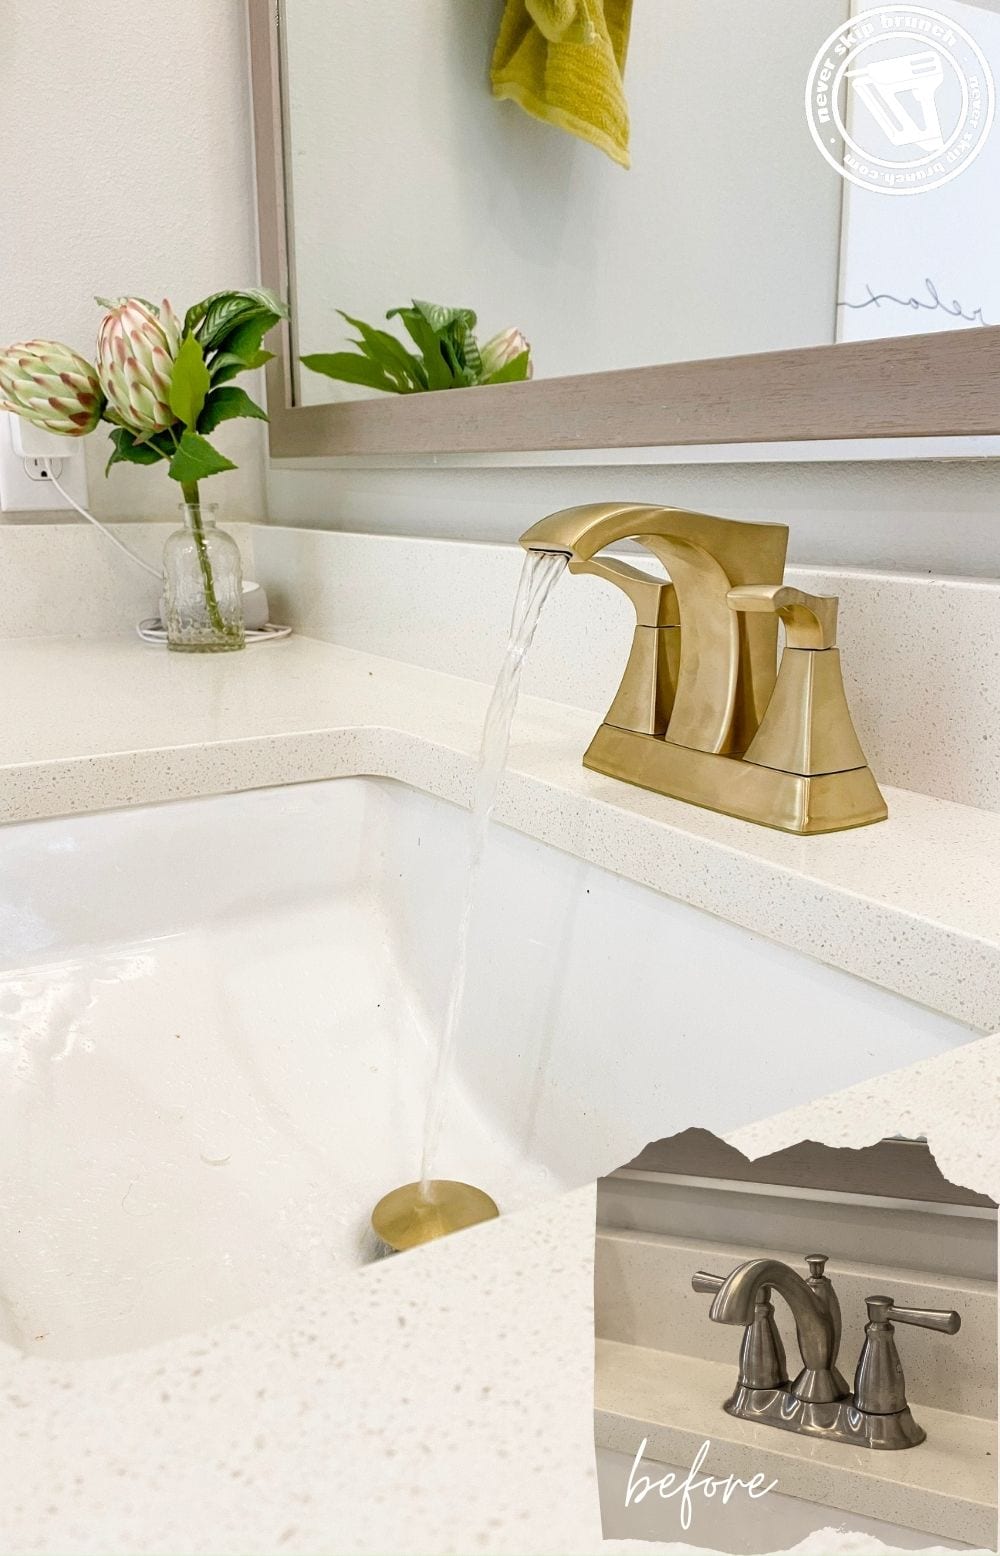
Conclusion: Enjoying Your New Faucet
Replacing your bathroom sink faucet can breathe new life into your bathroom, enhancing both its functionality and aesthetic appeal. By following a systematic approach and taking the time to do the job correctly, you can achieve professional-looking results and the satisfaction of completing a home improvement project on your own. Remember to gather all necessary tools and materials beforehand, follow safety precautions, and take your time with each step. With your new faucet installed and functioning properly, you can enjoy the improved look and performance of your bathroom, knowing that you successfully tackled this DIY challenge.