Introduction: Embarking on Your DIY Journey
Installing a sink might seem like an intimidating task for a beginner, but fear not – with the right guidance and a bit of patience, you can transform your kitchen or bathroom in no time. This comprehensive guide will walk you through each step of the process, ensuring that by the end, you’ll have mastered the art of sink installation with ease.
Understanding the Basics: Sink Types and Materials
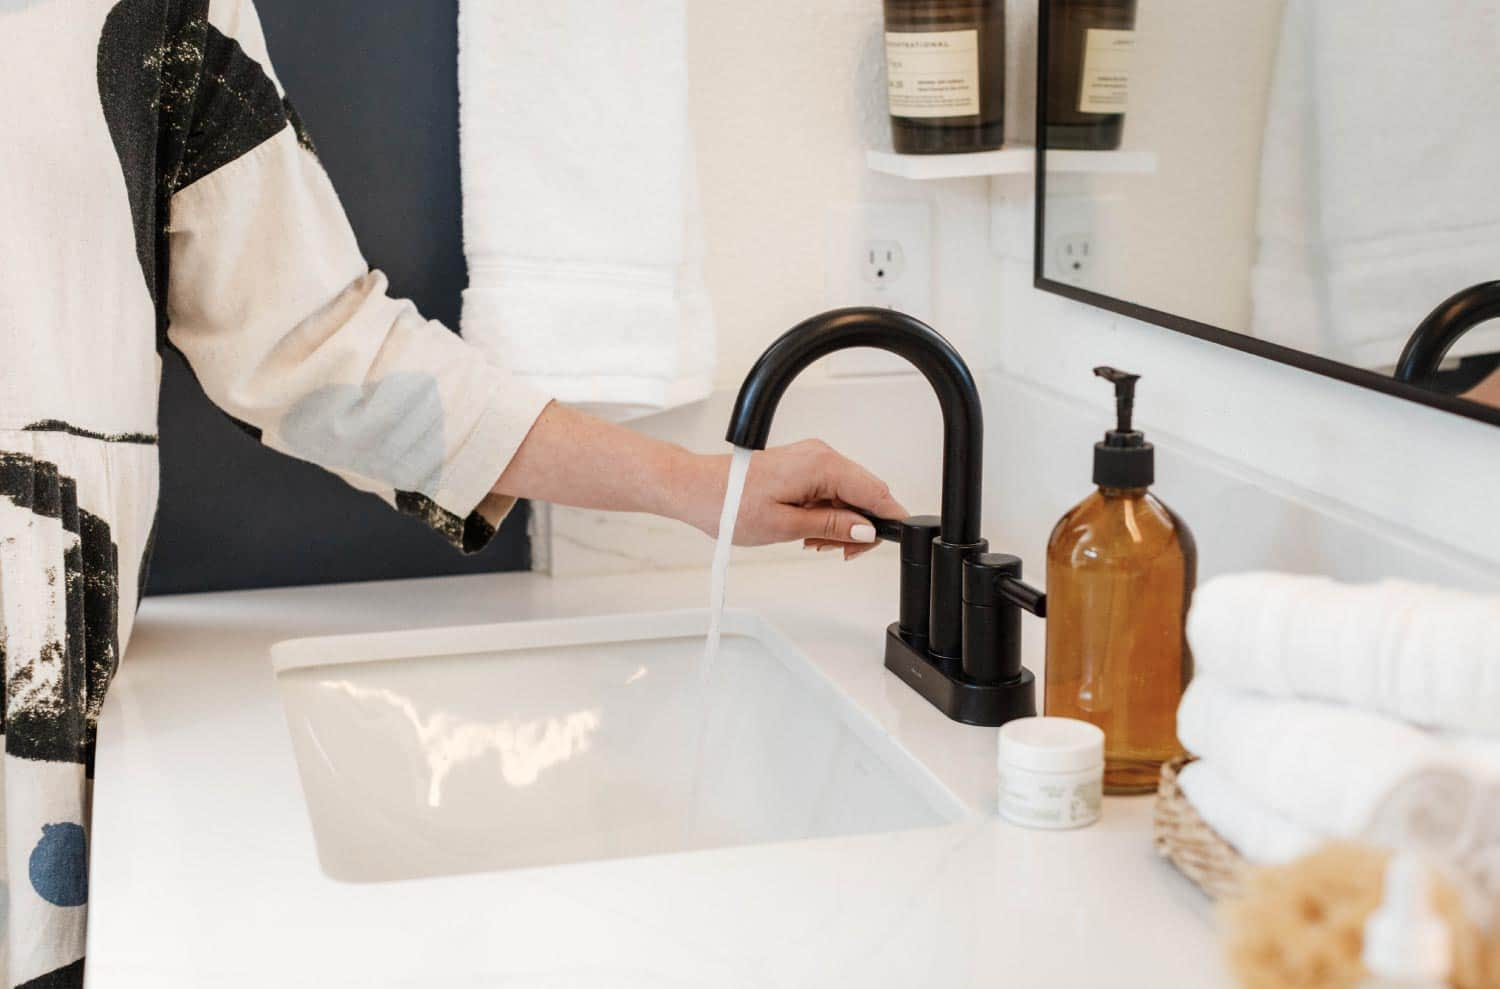
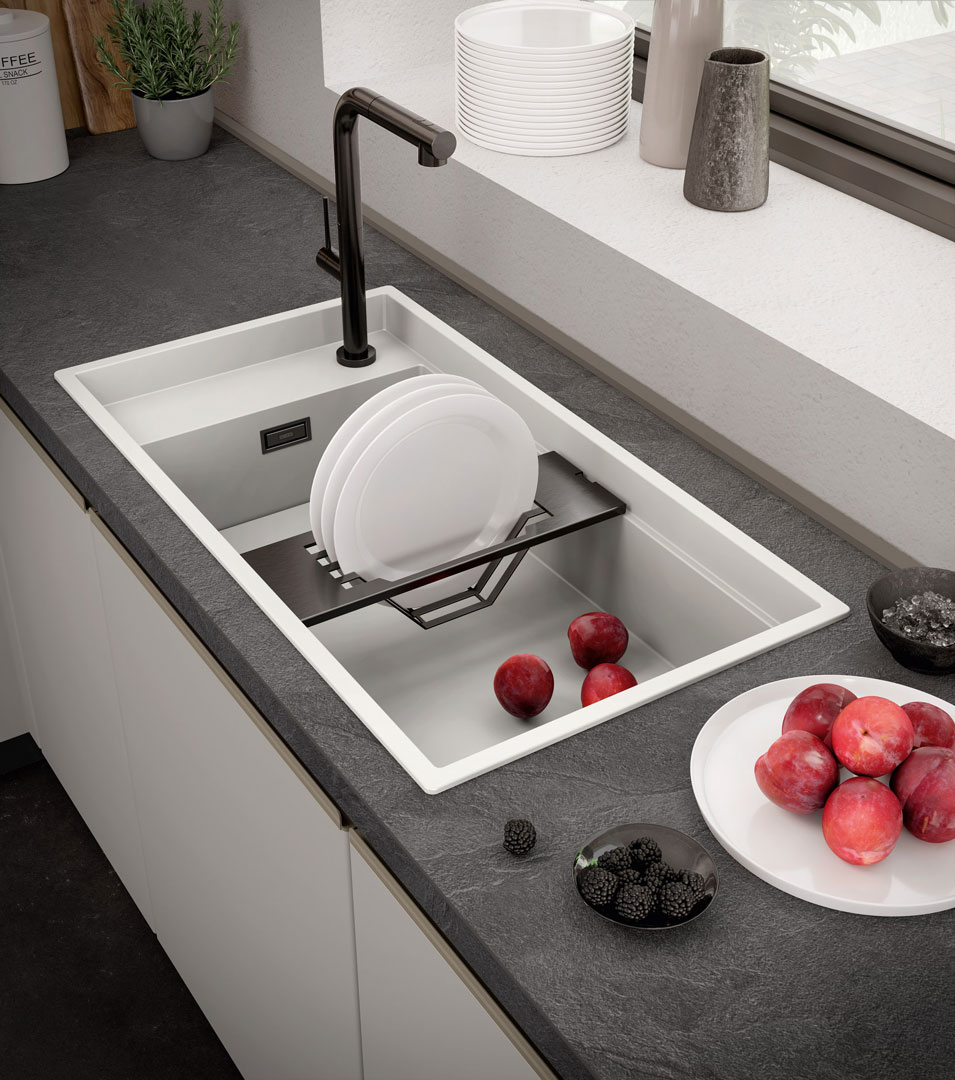
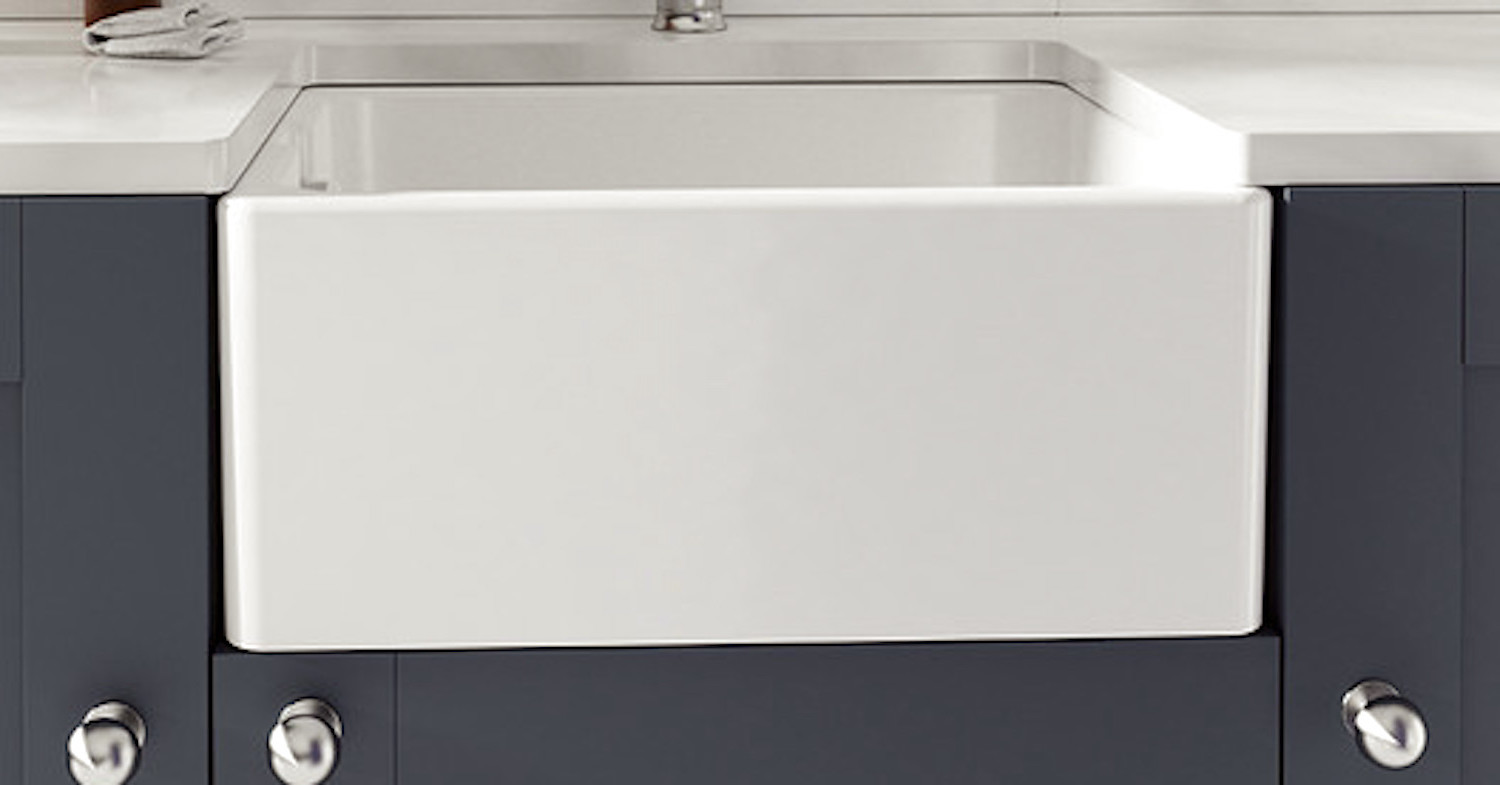
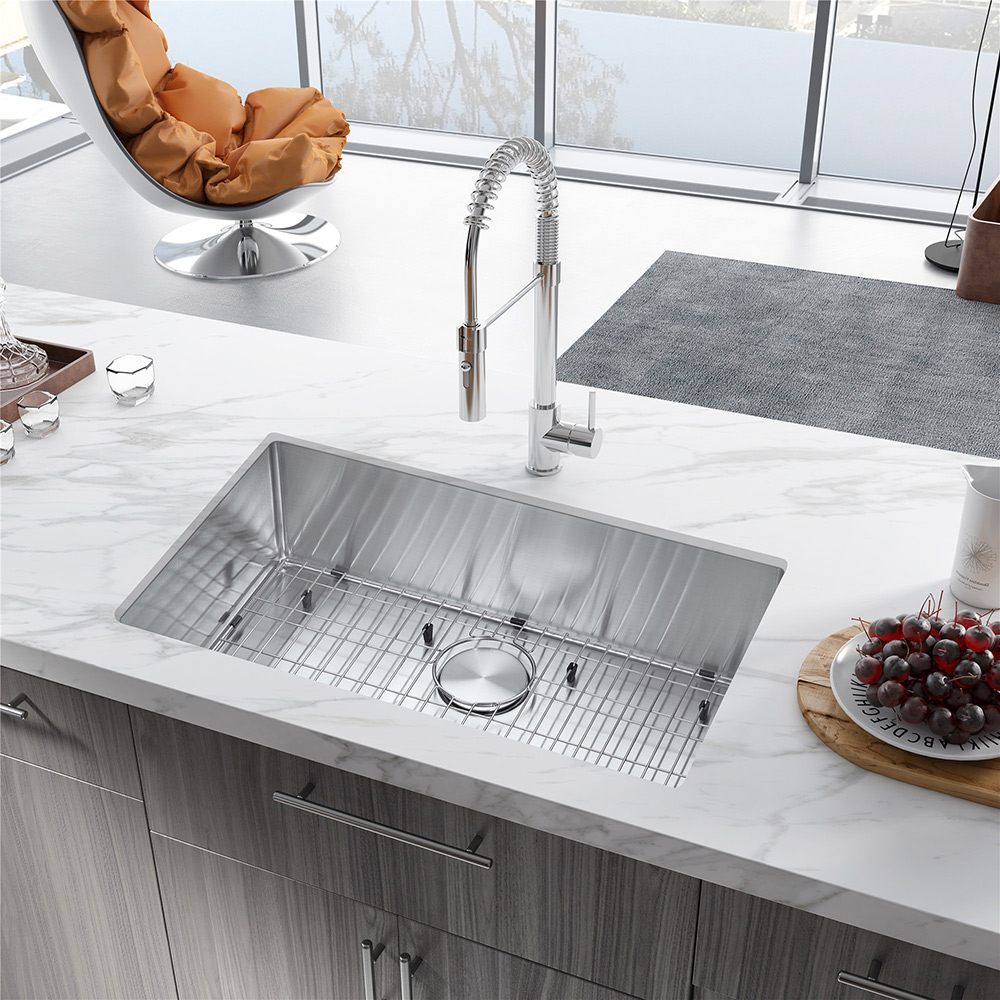
Before diving into the installation process, it’s crucial to choose the right sink for your needs. Sinks come in various types, including drop-in, undermount, and vessel, each designed to fit specific countertop styles. Materials range from stainless steel, porcelain, granite composite, to copper, each offering different aesthetics and durability levels. Consider your budget, the room’s design, and your cleaning preferences when making your selection.
Gathering Tools and Materials: The Essential Checklist
To ensure a smooth installation, gather all necessary tools and materials beforehand. These typically include a new sink, silicone caulk, plumbers putty, a wrench set, adjustable pliers, a drill, screwdrivers, a level, and safety gear such as gloves and goggles. Having everything at hand will save you multiple trips to the toolbox during the installation.
Preparation is Key: Removing the Old Sink
Start by turning off the water supply valves located beneath the sink. Next, disconnect the drain lines and supply tubes using a wrench. If your sink is attached with clips or screws, remove these as well. Gently lift the old sink out, taking care not to damage the surrounding countertop or plumbing. Clean the area thoroughly to prepare for the new installation.
Measuring and Marking: Ensuring a Perfect Fit
Accurate measurements are crucial for a professional-looking installation. Measure the dimensions of your new sink and mark the corresponding points on the countertop. Double-check the markings for symmetry and adjust if necessary. This step is particularly important for undermount sinks, where precision is vital for a clean edge.
Installing the Mounting Clips or Brackets (for Drop-in Sinks)
If you’re installing a drop-in sink, secure the provided mounting clips or brackets to the underside of the countertop following the manufacturer’s instructions. These will hold the sink in place and provide support. Ensure they are evenly spaced and securely fastened.
Applying Sealant: Creating a Watertight Barrier
Using a caulk gun, apply a bead of silicone caulk around the marked area on the countertop where the sink will sit. This creates a watertight seal between the sink and the countertop, preventing leaks. Be careful not to overapply the caulk, as excess can squeeze out and create a messy finish.
Lifting and Positioning: A Careful Maneuver
With the help of a friend, carefully lift the new sink and position it onto the countertop, aligning it perfectly with the marked areas. Lower it gently onto the caulk, making sure it sits evenly and snugly against the surface. For undermount sinks, follow the specific instructions for adhesive application and clamping until it sets.
Securing the Sink: Tightening Clips and Caulking
Once the sink is in place, attach any remaining clips or brackets according to the manufacturer’s guidelines. For drop-in sinks, tighten the clips just enough to secure the sink without distorting its shape. Finish by applying a thin layer of silicone caulk around the sink’s rim where it meets the countertop for added waterproofing.
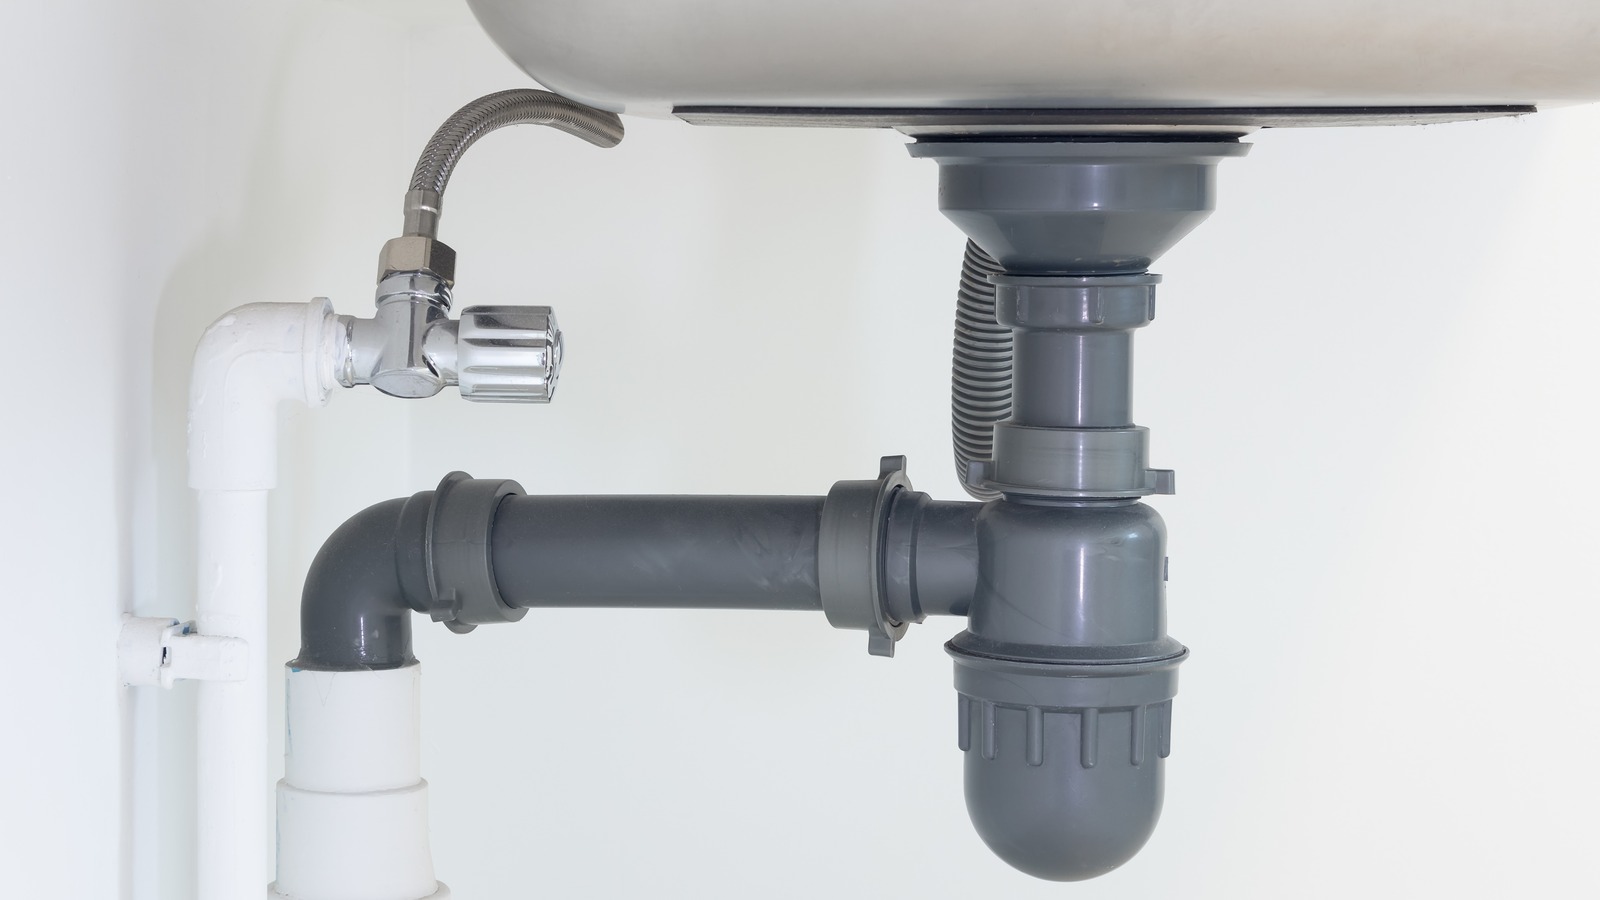
Reconnecting Plumbing: A Step-by-Step Approach
With the sink securely in place, it’s time to reconnect the drain and supply lines. Start by attaching the P-trap and any necessary extensions to the sink’s drain, ensuring all connections are tight but not overtightened. Reconnect the hot and cold water supply lines to their respective valves, again being cautious not to damage the fittings. Use Teflon tape on threaded connections for a leak-proof seal.
Testing for Leaks: The Moment of Truth
Turn the water supply valves back on slowly and let the water run for a few minutes. Check underneath the sink and around all connections for any signs of leaks. Also, inspect the sink’s rim for any water seepage. If you detect a leak, turn off the water immediately and tighten or reseal the problematic area before retesting.
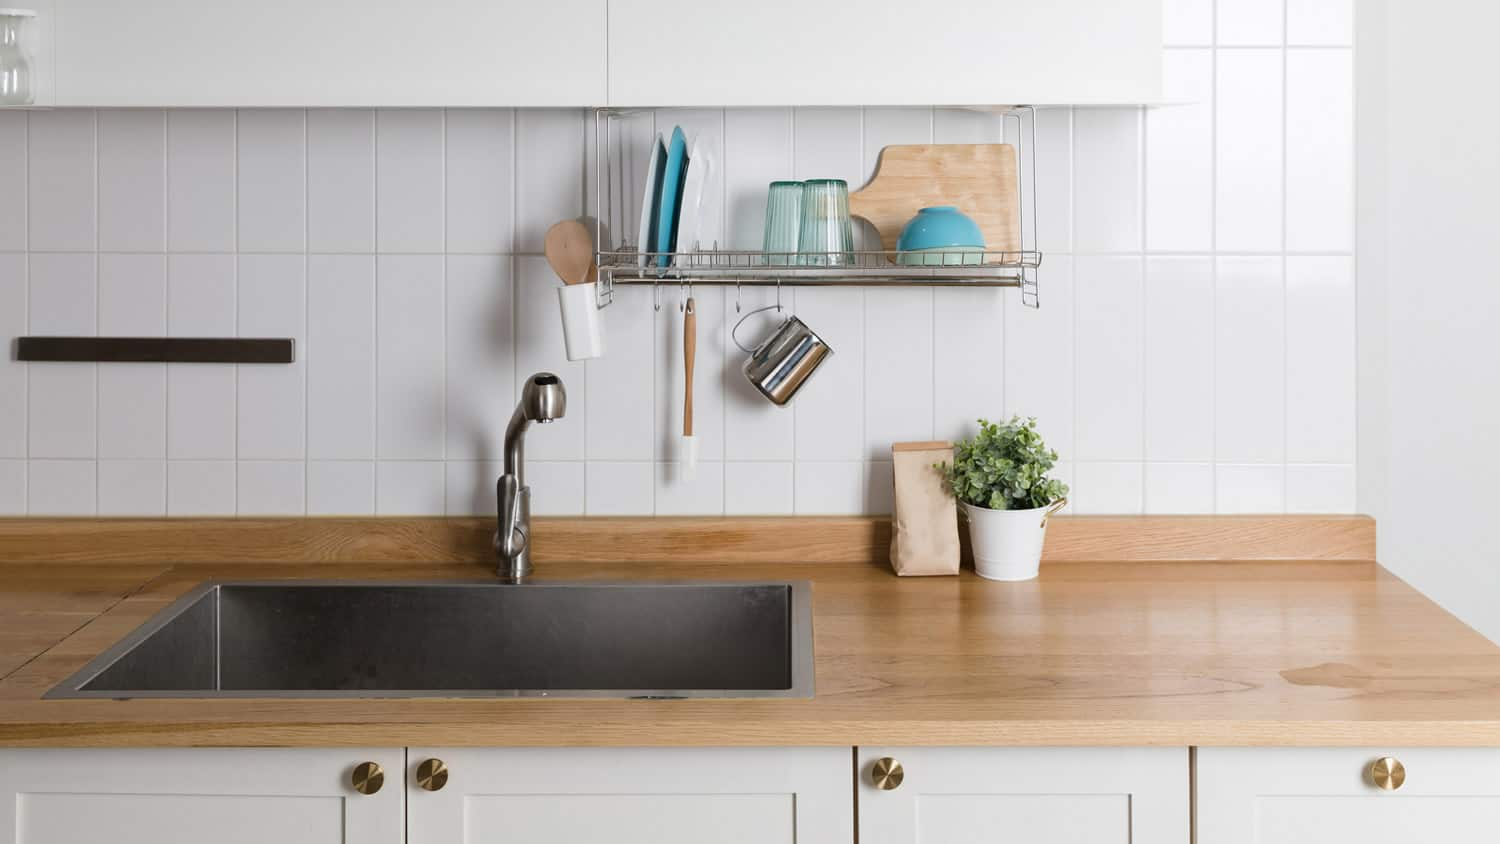
Finishing Touches: Cleaning and Polishing
With your sink successfully installed and leak-free, give it a final wipe down to remove any fingerprints, smudges, or excess caulk. Polish the faucet and sink basin to a shine, and admire your handiwork. Don’t forget to dispose of the old sink and packaging materials responsibly.
Enjoying Your New Sink:
Everyday Maintenance Now that your sink is installed and gleaming, adopting a few simple maintenance routines will ensure it stays in top condition:
- Daily Cleaning: After each use, rinse the sink with warm water and use a soft sponge or cloth to wipe away any residue. For stubborn stains, use a gentle cleaner recommended by the sink’s manufacturer.
- Preventing scratches: Avoid using abrasive sponges, steel wool, or harsh chemicals, as these can scratch or damage the sink’s surface. Place a mat or grid at the bottom of the sink to protect it from heavy pots and pans.
- Tackle hard water stains: If you have hard water, you may notice mineral buildup over time. Use a solution of equal parts water and vinegar to soak a soft cloth, then apply it to the stains and let sit for a few hours before rinsing and wiping dry.
- Drain care: Regularly clean the drain to prevent clogs. You can use a mixture of baking soda and vinegar followed by boiling water to naturally break down debris.
- Faucet care: Clean and inspect your faucet regularly, ensuring that aerators are free of debris that could impede water flow. A simple brush or toothpick can help remove buildup.
- Sealant inspection: Periodically check the silicone caulk around the sink’s edge for any signs of wear or cracking. Promptly reapply or replace the caulking as needed to maintain a watertight seal.
Conclusion: Celebrating Your DIY Triumph
Congratulations! You’ve successfully installed a sink on your own, adding both functionality and aesthetic appeal to your space. Not only have you saved on installation costs, but you’ve also gained valuable DIY skills and confidence. Remember, practice makes perfect, and with each project, you’ll become more adept at home improvements. Enjoy your newly refreshed kitchen or bathroom and look forward to tackling the next DIY challenge with ease.