
Introduction
Installing a kitchen sink can seem like a daunting task, but with the right guidance, it can be a straightforward process. In this comprehensive guide, we’ll break down each step of the installation process, providing clear instructions to simplify the task for any DIY enthusiast or homeowner looking to upgrade their kitchen.
Preparation: Gathering Supplies and Tools
Before diving into the installation process, it’s essential to gather all the necessary supplies and tools. Here’s a list of what you’ll need:
- Sink kit (including sink, faucet, strainer, and any additional components)
- Adjustable wrench
- Plumber’s putty
- Pipe wrench
- Bucket
- Screwdriver set
- Silicone caulking
- Safety goggles and gloves
- Measuring tape
- Pliers
Step 1: Removing the Old Sink
The first step in installing a new kitchen sink is to remove the old one. Follow these steps carefully:
- Turn off the water supply to the sink.
- Disconnect the plumbing connections underneath the sink using an adjustable wrench.
- Loosen and remove any clips or brackets securing the sink to the countertop.
- Carefully lift the old sink out of the countertop and set it aside.
Step 2: Preparing the Countertop
With the old sink removed, it’s time to prepare the countertop for the new sink installation.
- Clean the countertop surface thoroughly to remove any debris or old caulking.
- Measure the dimensions of the new sink opening to ensure a proper fit.
- If necessary, make any adjustments to the countertop cutout using a jigsaw or other appropriate tools.
Step 3: Installing the New Sink
Now it’s time to install the new sink into the countertop.
- Apply a bead of plumber’s putty along the underside of the sink flange.
- Carefully lower the sink into the countertop cutout, ensuring it is properly aligned.
- Secure the sink in place using clips or brackets provided with the sink kit.
- Reconnect the plumbing connections underneath the sink, ensuring they are tight and leak-free.
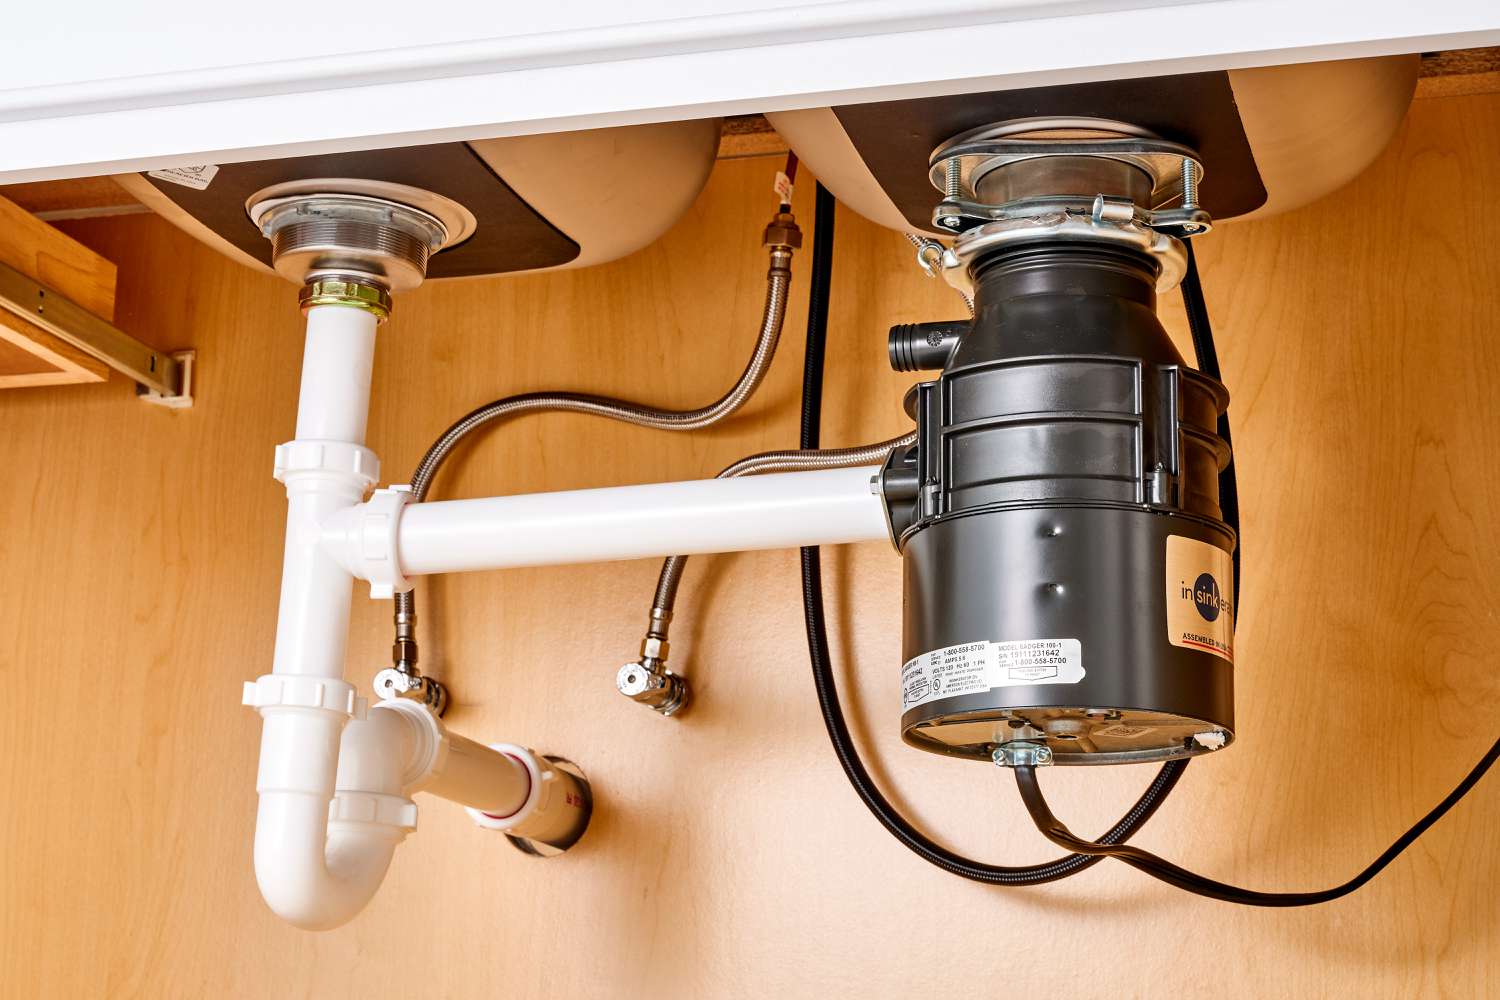
Step 4: Attaching the Faucet and Drain
With the sink in place, it’s time to install the faucet and drain assembly.
- Install the faucet according to the manufacturer’s instructions, using a screwdriver and adjustable wrench as needed.
- Apply plumber’s putty to the underside of the strainer assembly.
- Insert the strainer into the sink drain opening and tighten it from underneath using a pipe wrench.
- Connect the P-trap and other plumbing components, ensuring everything is properly aligned and leak-free.
Step 5: Sealing and Finishing
The final step is to seal the sink and countertop to prevent water damage and ensure a clean finish.
- Apply a bead of silicone caulking around the perimeter of the sink where it meets the countertop.
- Smooth the caulking with a damp cloth or your finger to create a neat seal.
- Allow the caulking to dry completely before using the sink.
Additional Tips for Maintenance and Troubleshooting
In addition to the methods mentioned above, there are several other tips for maintaining a clear bathtub drain and troubleshooting potential issues.
Regular Maintenance: Make it a habit to clean your bathtub drain regularly, even if it appears to be functioning properly. Pouring a mixture of hot water and vinegar down the drain once a week can help prevent buildup and keep your drains flowing smoothly. Additionally, periodically check the drain cover and remove any accumulated hair or debris to maintain optimal drainage.
Conclusion
By following this step-by-step guide, installing a kitchen sink can be a manageable project for any DIY enthusiast. Remember to take your time, follow the manufacturer’s instructions carefully, and prioritize safety throughout the installation process. With a little effort and attention to detail, you can enjoy the satisfaction of a newly installed kitchen sink that enhances both the functionality and aesthetics of your space.

