Introduction: Understanding the Task
Removing a kitchen sink faucet might seem daunting, but with the right tools and step-by-step approach, it can be accomplished smoothly. Whether you’re replacing an old faucet or making repairs, understanding the process is crucial. This guide will take you through each step, from gathering the necessary tools to handling the removal process carefully. By following these instructions, you’ll be able to remove your kitchen sink faucet efficiently and prepare for the next steps in your plumbing project.
Tools and Materials Needed
Before you begin, gather the tools and materials required for the job. These typically include an adjustable wrench, basin wrench, screwdrivers (both flathead and Phillips), plumber’s putty or silicone sealant, and possibly a flashlight for better visibility under the sink. Additionally, have a bucket or tray ready to catch any water that may drip during the process. Having these items prepared will streamline the removal process and ensure you have everything you need within reach.
Step 1: Preparation and Safety
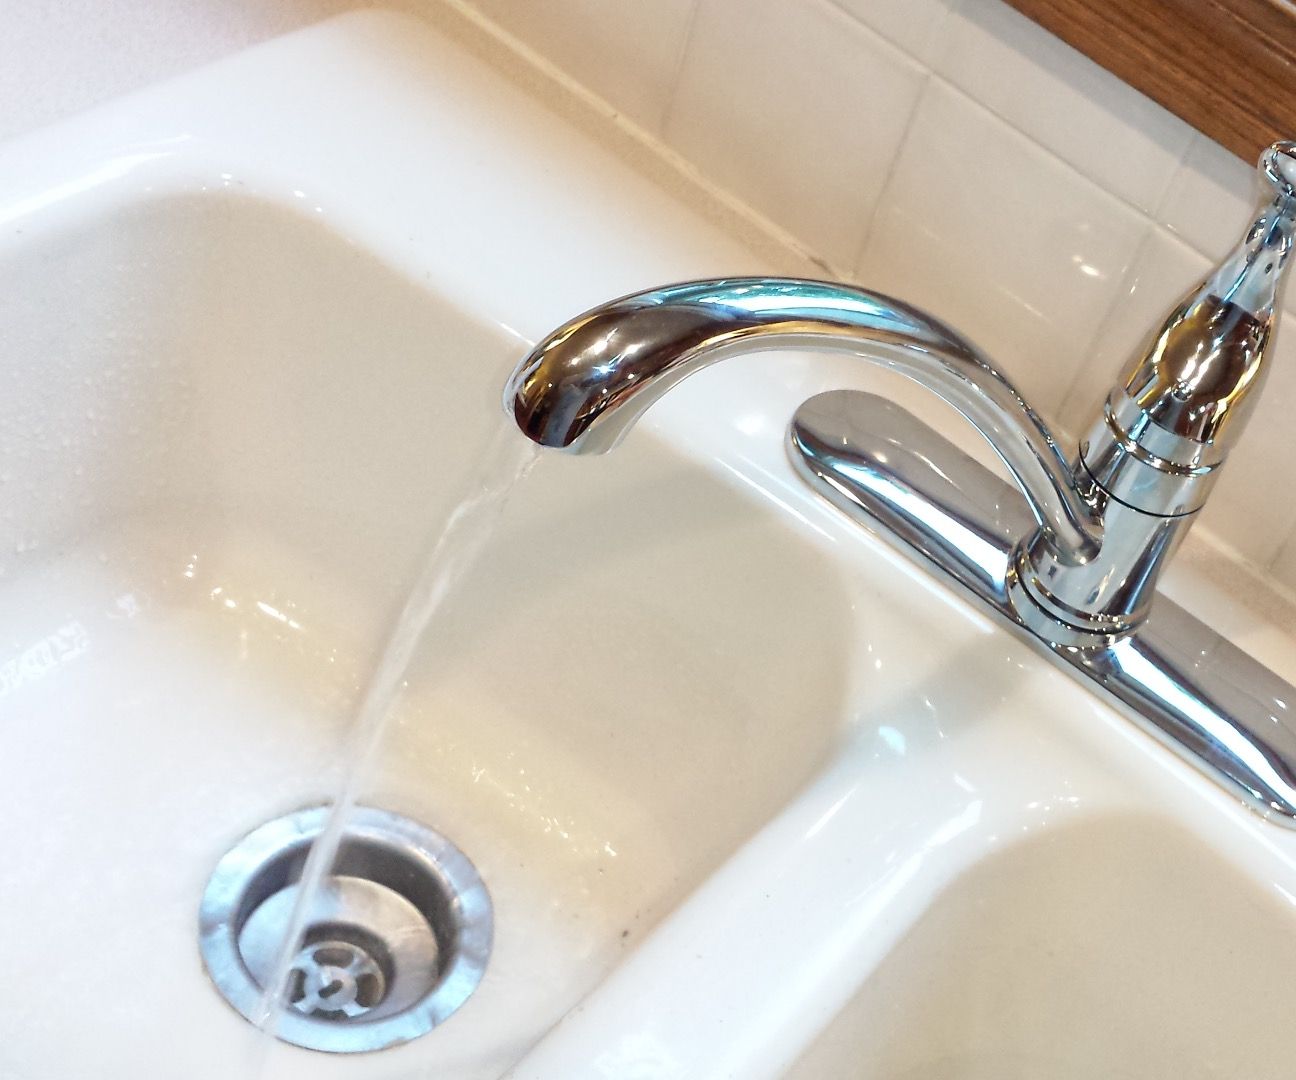
Start by turning off the water supply to the faucet. Locate the shut-off valves under the sink and turn them clockwise to close them completely. Once the water supply is off, turn on the faucet to release any remaining water pressure and drain the lines. Place a bucket or tray under the sink to catch any water that may still be in the lines or that may drip during the removal process. This step is crucial for preventing water damage and ensuring a dry work environment.
Step 2: Disconnecting the Water Lines
Using an adjustable wrench, disconnect the water supply lines from the hot and cold water valves connected to the faucet. Turn the nuts counterclockwise to loosen them, then carefully remove the lines. Some water may still be present, so be prepared with a towel or bucket to catch any drips. Inspect the lines for any signs of damage or wear that may necessitate replacement. Set the lines aside in a safe place where they won’t get tangled or damaged during the rest of the removal process.
Step 3: Removing the Mounting Nuts
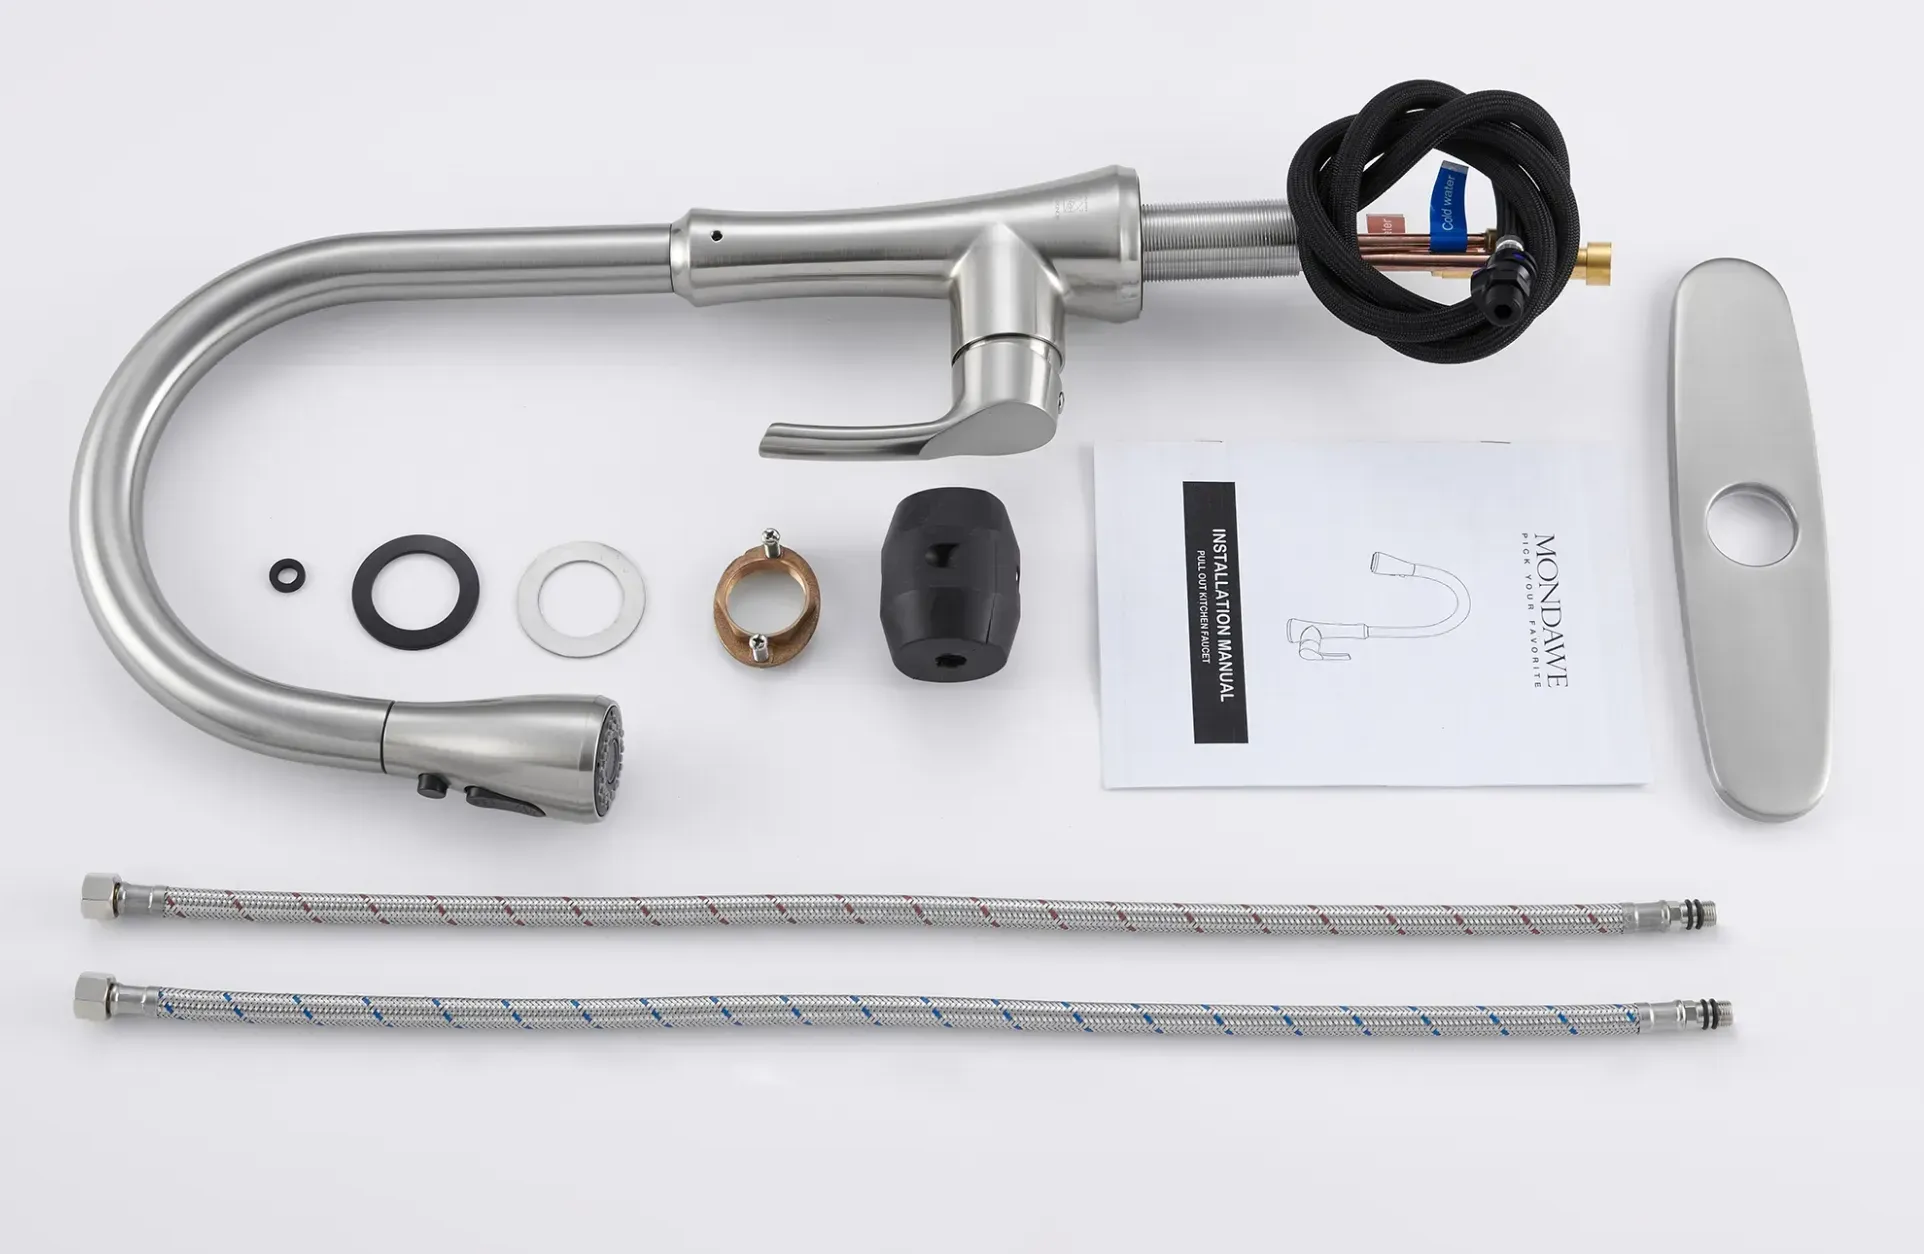
Underneath the sink, locate the mounting nuts that secure the faucet in place. These nuts are typically located on the underside of the sink, securing the faucet to the countertop or sink deck. Use a basin wrench or an adjustable wrench to loosen and remove these nuts by turning them counterclockwise. Depending on the design of your faucet, there may be one or more mounting nuts holding it in place. Take care not to force the nuts if they are stuck; applying penetrating oil can help loosen them.
Step 4: Detaching the Faucet
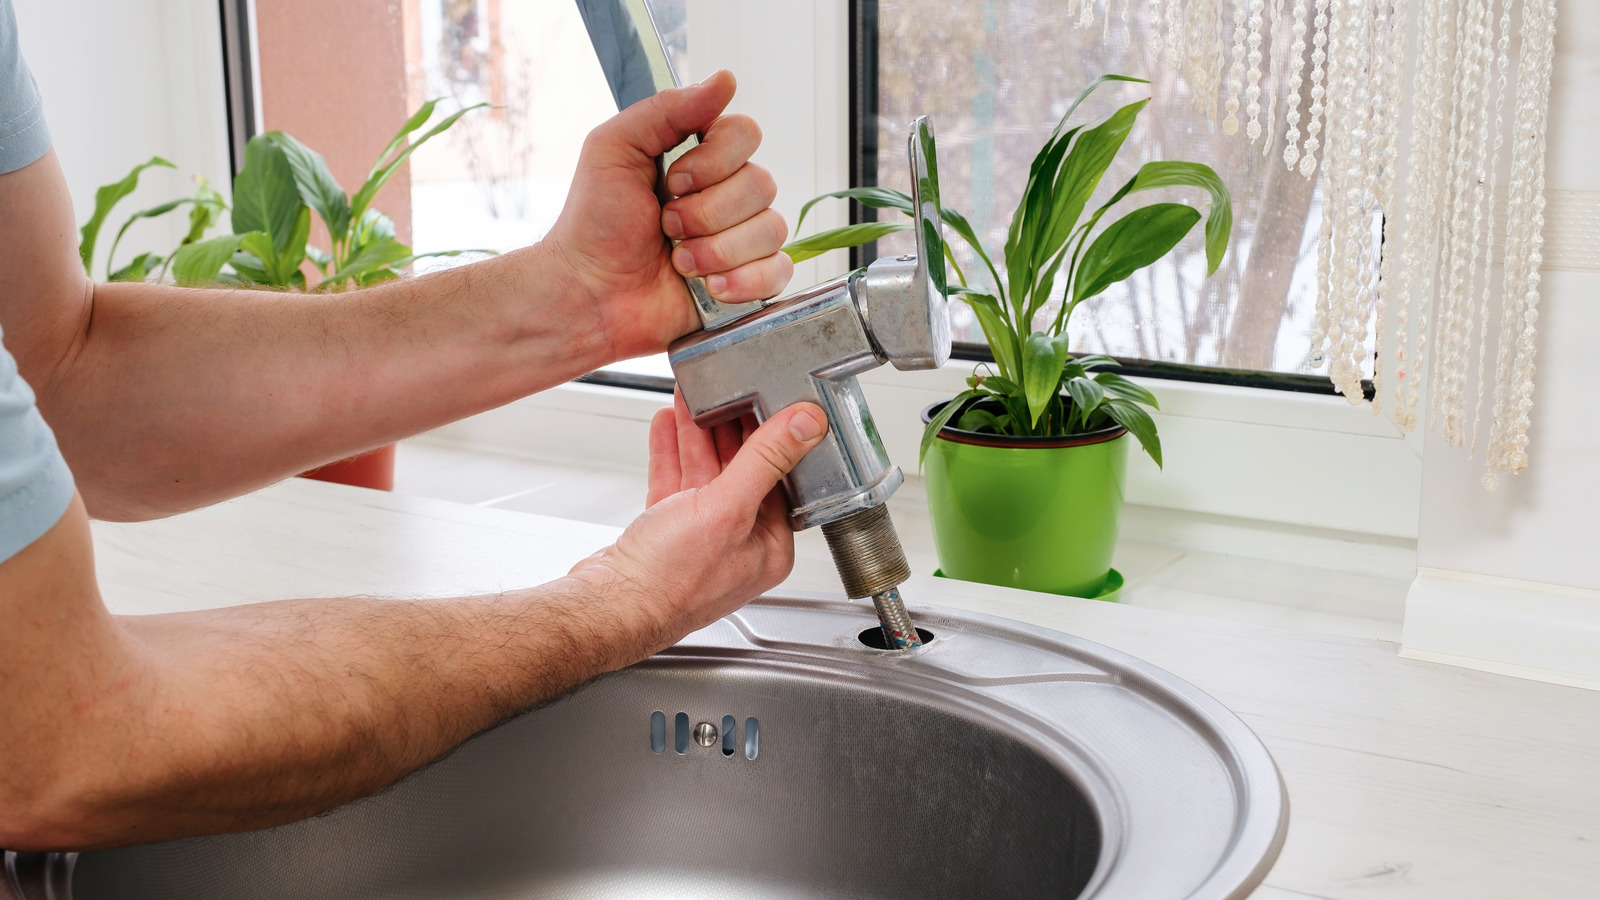
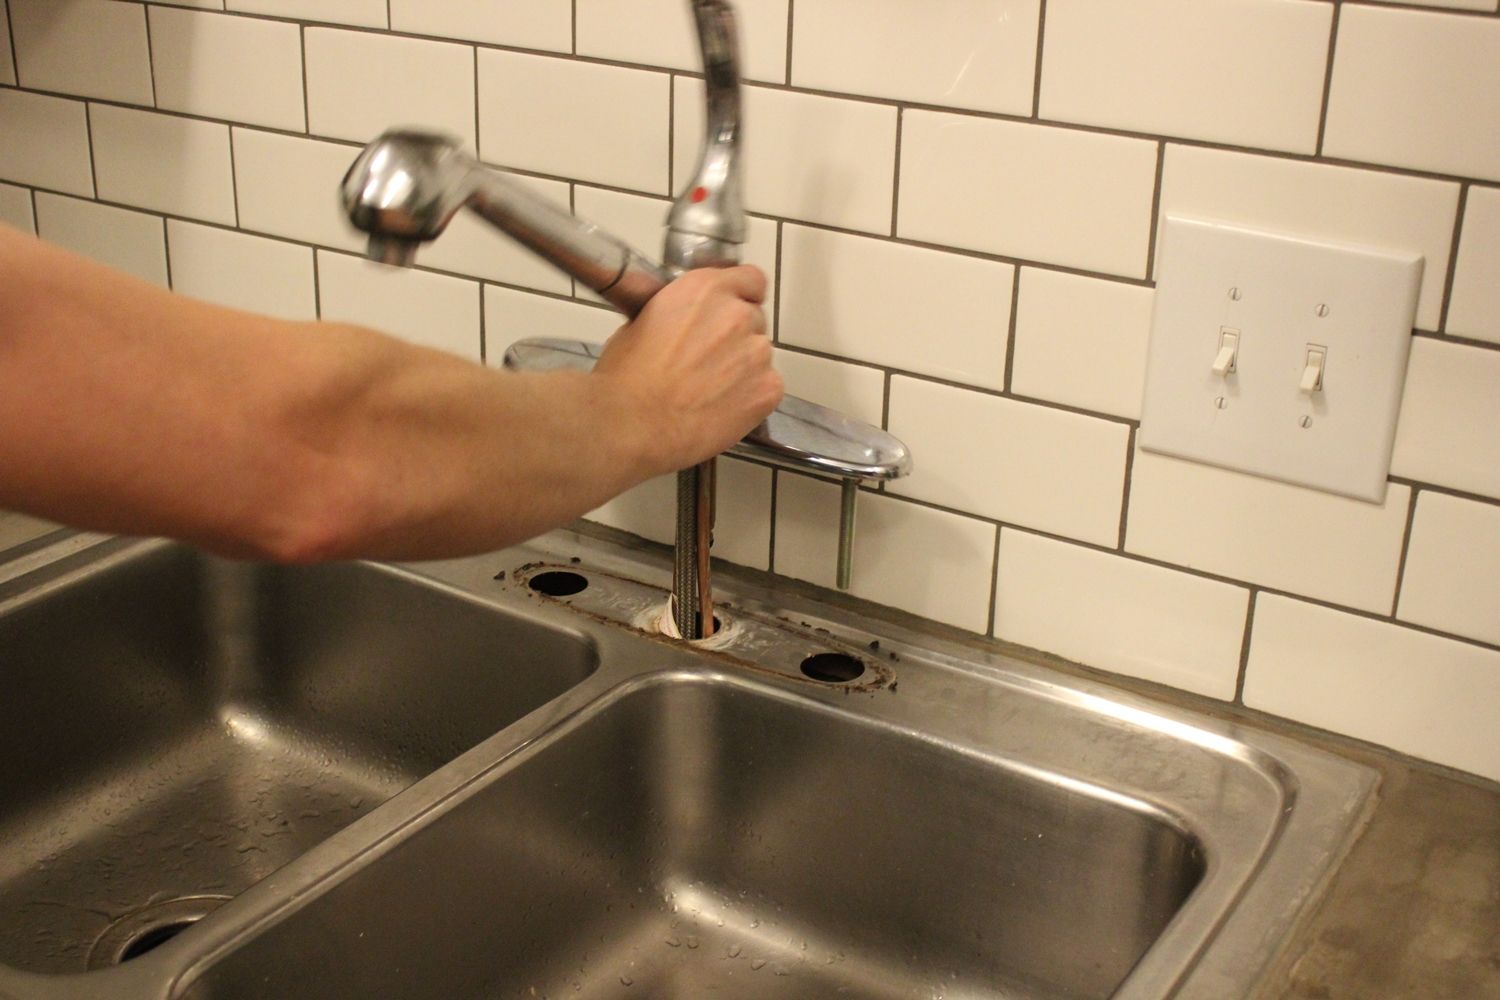
Once the mounting nuts are removed, carefully lift the old faucet out of the sink or countertop. Be mindful of any remaining water that may still be trapped in the faucet or lines. Gently wiggle the faucet if it feels stuck due to residual sealant or corrosion. Inspect the area around the faucet hole for any debris or old plumber’s putty that needs to be cleaned away before installing a new faucet. Place the old faucet in a safe location for disposal or recycling, if applicable.
Step 5: Cleaning and Preparation
With the old faucet removed, take the time to clean the area around the faucet hole thoroughly. Use a mild cleaner or soap and water to remove any debris, old sealant, or buildup that could affect the installation of the new faucet. Dry the area completely with a clean towel or cloth to ensure a clean and dry surface for the new faucet installation. This step is crucial for ensuring a proper seal and preventing leaks once the new faucet is installed.
Step 6: Inspecting and Replacing Components
Before installing the new faucet, inspect the components that came with it, such as gaskets or O-rings. Ensure they are in good condition and suitable for your sink type and installation requirements. If any components are damaged or missing, refer to the manufacturer’s instructions or contact customer support for replacements before proceeding. This proactive approach will prevent delays or issues during the installation process and ensure a smooth transition to the new faucet.
Step 7: Installing the New Faucet
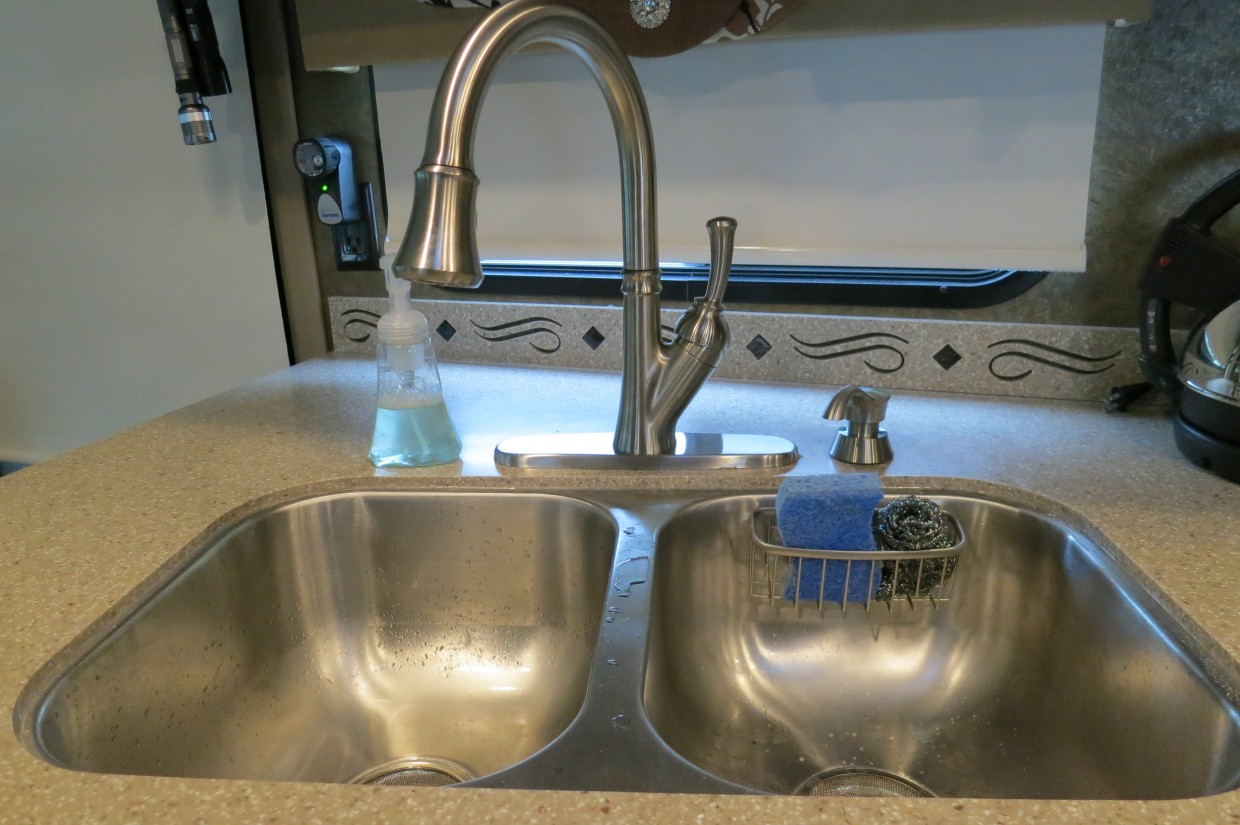
Follow the manufacturer’s instructions carefully to install the new faucet. Position the faucet in the designated hole or mounting location on the sink or countertop. From underneath, secure the faucet with the provided mounting hardware or nuts. Use a basin wrench or adjustable wrench to tighten the nuts securely, ensuring the faucet is stable and properly aligned. Avoid over-tightening, as this can damage the faucet or sink surface.
Step 8: Reconnecting Water Lines
Once the new faucet is securely in place, reconnect the water supply lines to the hot and cold water valves. Use your adjustable wrench to tighten the nuts clockwise onto the valve threads. Check for any leaks around the connections by turning on the water supply and inspecting carefully. If you notice any leaks, tighten the connections slightly more until they are snug and secure. Wipe away any excess water with a towel or cloth.
Step 9: Testing and Final Adjustments
Turn on the faucet and allow the water to run for a few moments to flush out any air bubbles and verify that the water flows smoothly. Check for leaks around the base of the faucet and at the water supply connections. If necessary, make final adjustments to the faucet position or tighten connections further to eliminate leaks completely. Once satisfied with the installation, clean the faucet and surrounding area with a mild cleaner to remove any fingerprints or residue.
Conclusion: Completing the Removal Process
Removing a kitchen sink faucet requires careful preparation, methodical steps, and attention to detail. By following this step-by-step guide and using the right tools, you can successfully remove an old faucet and prepare for the installation of a new one. Remember to work patiently, check for leaks, and ensure all connections are secure before completing the project. With these skills, you’ll be equipped to tackle future plumbing tasks confidently and maintain your kitchen with ease.
