Introduction:
Upgrading your kitchen sink can breathe new life into one of the most utilized areas of your home. Whether you’re looking to enhance functionality, improve aesthetics, or simply replace a worn-out fixture, replacing your old kitchen sink is a rewarding project that can dramatically transform your space. In this comprehensive guide, we’ll walk you through the process of replacing your old kitchen sink like a professional, covering everything from preparation and selection to installation and finishing touches.
Assessing Your Needs: Choosing the Right Sink for Your Kitchen
Before diving into the replacement process, it’s essential to assess your needs and determine the type of sink that best suits your lifestyle and kitchen layout. Consider factors such as size, configuration, material, and style. Do you need a single bowl or double bowl sink? Are you interested in stainless steel for its durability, or do you prefer the timeless elegance of porcelain? By understanding your requirements and preferences, you can narrow down your options and choose the perfect sink for your kitchen.
Preparation and Planning:
Once you’ve selected your new sink, it’s time to prepare for installation. Start by clearing out the area under your existing sink and disconnecting any plumbing connections. Measure the dimensions of your new sink to ensure it will fit seamlessly into the existing space. If necessary, make any adjustments to your countertop or cabinet to accommodate the new sink. Additionally, gather all the necessary tools and materials you’ll need for the installation process, including a wrench, plumber’s putty, silicone sealant, and pipe wrench.
Removing the Old Sink:
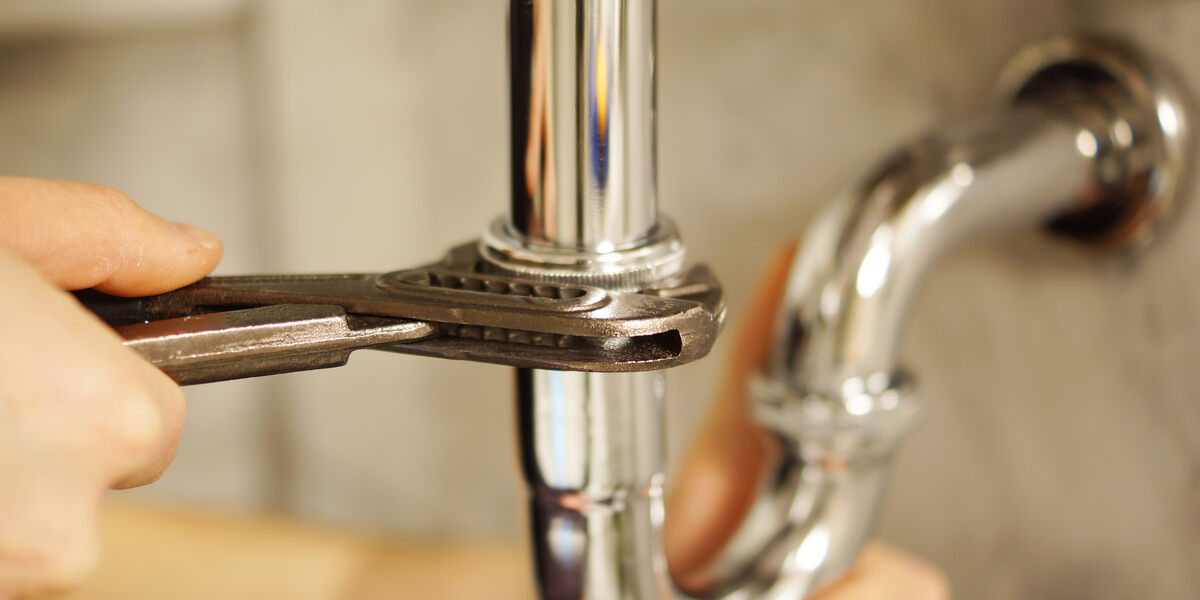
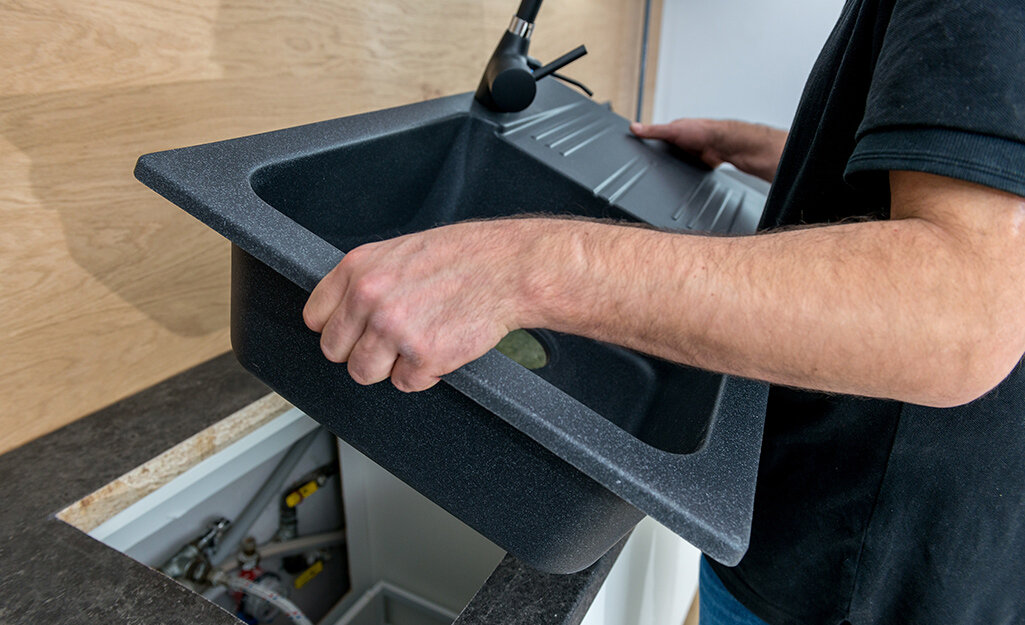
With your preparation complete, it’s time to remove the old sink. Start by turning off the water supply to the sink and disconnecting the water lines and drain pipes. Loosen any clips or fasteners securing the sink to the countertop, then carefully lift the old sink out of its place. Be sure to have a helper on hand to assist with lifting and maneuvering the sink, especially if it’s heavy or cumbersome. Once the old sink is removed, clean the surrounding area thoroughly to prepare for the installation of the new sink.

Installing the New Sink:
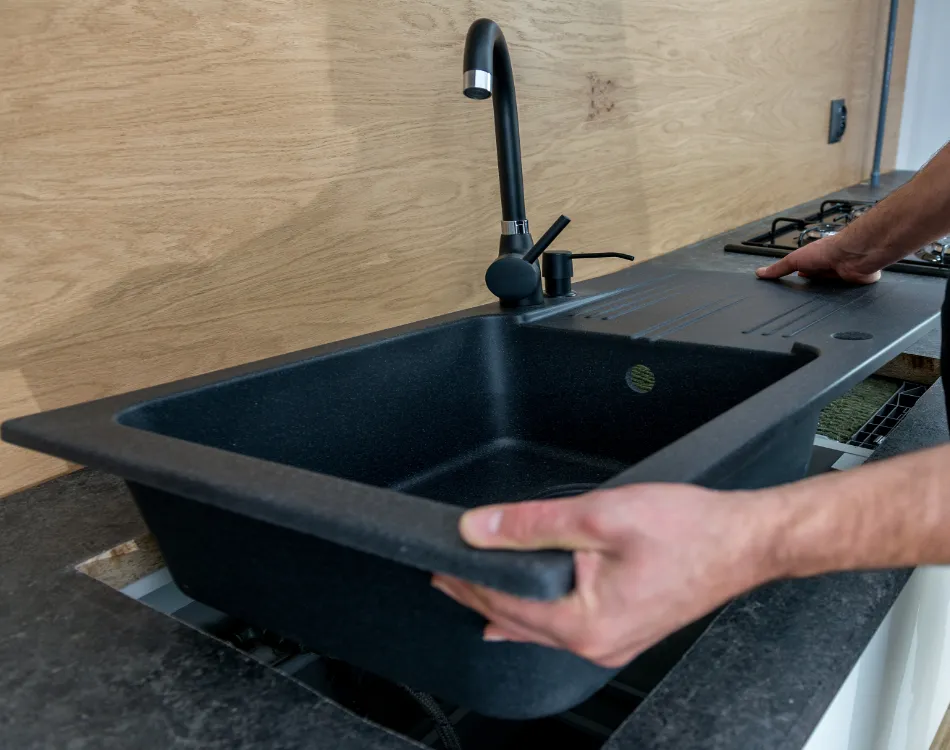
With the old sink out of the way, it’s time to install the new one. Begin by placing the new sink into the countertop cutout, ensuring that it sits level and flush with the surface. Depending on the type of sink you’ve chosen, you may need to use mounting clips, brackets, or adhesive to secure it in place. Once the sink is properly positioned, reconnect the water lines and drain pipes, making sure to tighten them securely with a wrench. Finally, apply a bead of plumber’s putty or silicone sealant around the edges of the sink to create a watertight seal.
Connecting the Plumbing:
With the sink securely in place, it’s time to reconnect the plumbing. Start by attaching the tailpiece of the sink drain to the waste pipe, using a pipe wrench to tighten the connection. Next, reconnect the water supply lines to the faucet, ensuring that the hot and cold lines are correctly aligned. Once all connections are secure, turn the water supply back on and check for any leaks or drips. If necessary, tighten any connections or apply additional sealant to ensure a watertight seal.
Finishing Touches:
With the plumbing connections secure, it’s time to add the finishing touches to your new sink installation. Install any accessories such as a faucet, soap dispenser, or garbage disposal according to the manufacturer’s instructions. Take the time to clean and polish the sink and surrounding area, removing any adhesive residue or fingerprints. Finally, step back and admire your handiwork—your new kitchen sink is now ready to serve as the centerpiece of your revamped kitchen space.
Maintenance and Care:
To ensure the longevity and performance of your new kitchen sink, it’s essential to practice proper maintenance and care. Clean your sink regularly with a mild detergent and warm water, avoiding abrasive cleaners or scouring pads that may scratch or damage the surface. Periodically check for any signs of leaks or corrosion around the plumbing connections, and address any issues promptly to prevent further damage. With proper care and maintenance, your new kitchen sink will continue to shine and serve you well for years to come.

Selecting the Perfect Faucet:
Now that you’ve chosen your ideal sink, it’s time to turn your attention to the faucet. Selecting the right faucet can complement your sink’s style while enhancing its functionality. Consider factors such as the faucet’s design, finish, and features to find the perfect match for your kitchen.
When it comes to design, you’ll want to choose a faucet that not only coordinates with your sink but also fits seamlessly with your kitchen’s overall aesthetic. Whether you prefer a sleek modern look, a classic traditional style, or something in between, there are faucets available to suit every taste and preference.
In addition to design, pay close attention to the faucet’s finish. Popular options include chrome, stainless steel, brushed nickel, and oil-rubbed bronze, each offering its unique blend of durability and aesthetic appeal. Select a finish that complements your sink and other fixtures in the kitchen for a cohesive look.
Finally, consider the features you need in a faucet to enhance your kitchen’s functionality. From pull-down sprayers and touchless operation to adjustable flow rates and temperature controls, today’s faucets offer a wide range of innovative features designed to simplify kitchen tasks and improve efficiency.
Once you’ve selected the perfect faucet for your kitchen, follow the manufacturer’s instructions to install it securely onto your sink. With the faucet in place, your kitchen renovation is one step closer to completion, bringing you one step closer to enjoying a beautiful and functional space you’ll love for years to come.
Conclusion:
Replacing your old kitchen sink is a rewarding home improvement project that can enhance both the functionality and aesthetics of your space. By following the steps outlined in this guide and taking the time to choose the right sink for your needs, you can achieve professional-quality results that will breathe new life into your kitchen. So roll up your sleeves, gather your tools, and embark on a kitchen revamp journey that will leave you feeling proud of your handiwork every time you wash the dishes. Happy renovating!