Are you tired of your old, stained kitchen sink? Perhaps it’s time for an upgrade! Replacing a kitchen sink may seem like a daunting task, but with the right tools and guidance, it can be a straightforward DIY project. In this comprehensive guide, we’ll walk you through each step of the process, from removing the old sink to installing the new one. So roll up your sleeves and get ready to give your kitchen a fresh new look!
Preparation: Gathering Your Tools and Materials
Before you begin, it’s essential to gather all the necessary tools and materials. Here’s what you’ll need:
- Adjustable wrench
- Pipe wrench
- Screwdriver (Phillips and flathead)
- Bucket
- Putty knife
- Plumber’s putty
- Plumbers tape
- Silicone caulk
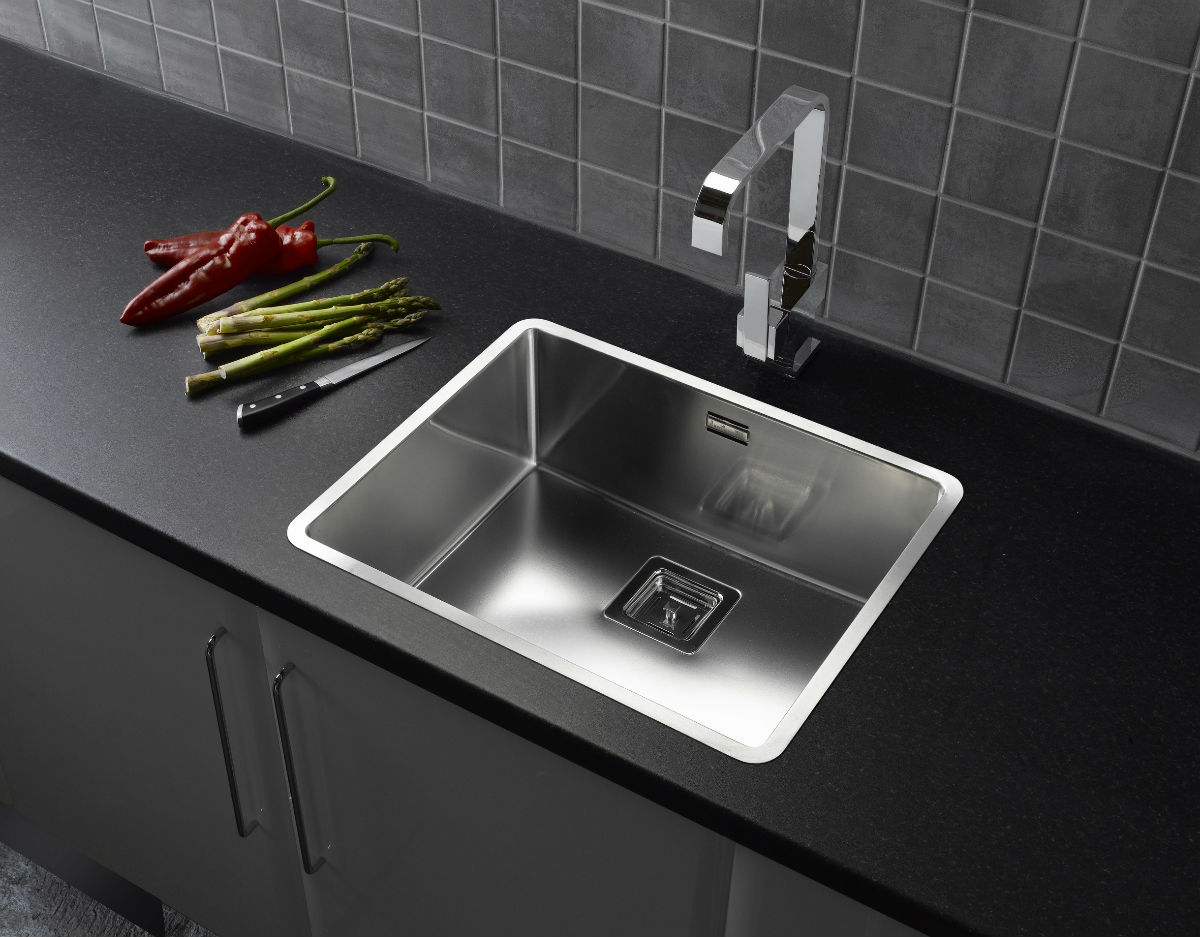
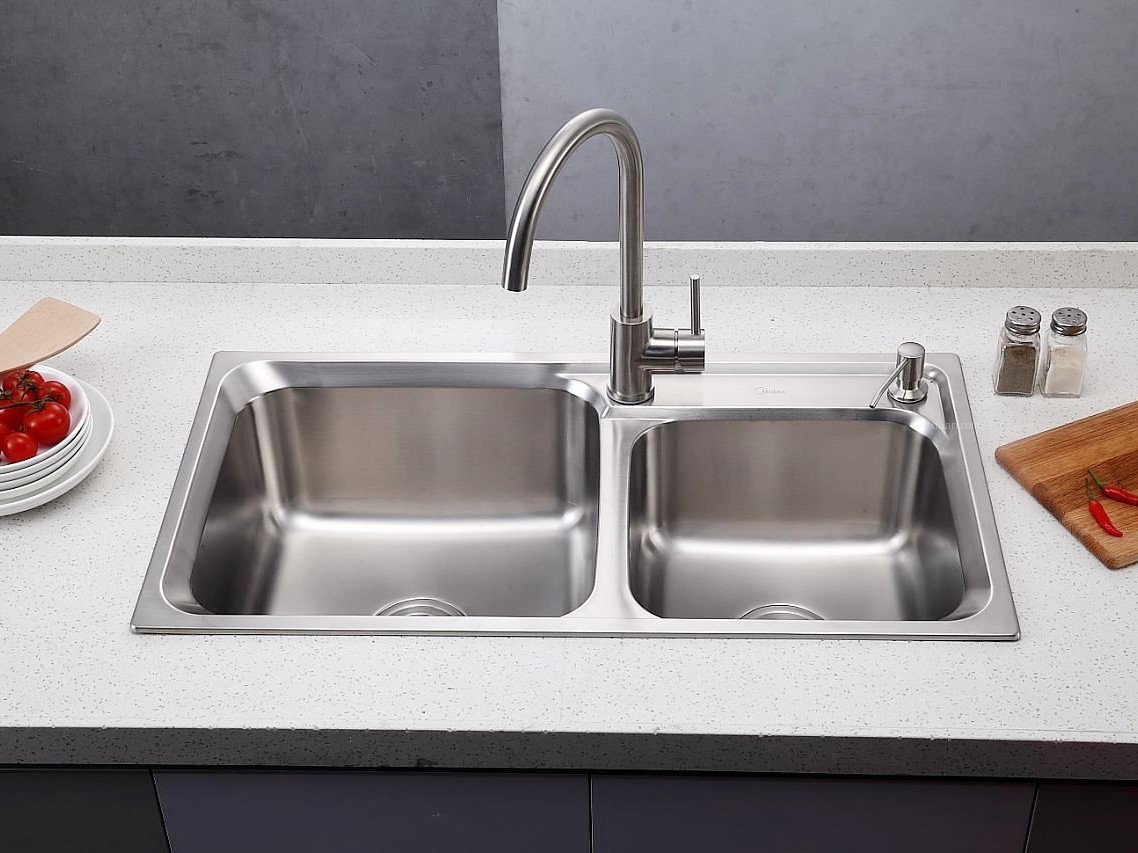
- New kitchen sink
- Faucet
- Drain assembly
- Safety glasses
- Work gloves
Once you have everything on hand, you’re ready to start the process.
Step 1: Turn Off the Water Supply
Safety first! Begin by turning off the water supply to the sink. Locate the shut-off valves under the sink and turn them clockwise to shut off the water flow. Afterward, turn on the faucet to release any remaining water in the pipes and relieve pressure.
Step 2: Disconnect the Plumbing
With the water supply turned off, it’s time to disconnect the plumbing. Place a bucket under the P-trap to catch any water that may spill out. Use an adjustable wrench to loosen the slip nuts connecting the P-trap to the drainpipe and the sink tailpiece. Once loosened, remove the P-trap and set it aside.
Next, disconnect the water supply lines from the faucet. Use a wrench to loosen the connections and remove the lines carefully. Be sure to have a towel handy to soak up any residual water.
Step 3: Remove the Old Sink
Now that the plumbing is disconnected, it’s time to remove the old sink. Start by using a putty knife to loosen any caulk or adhesive sealing the sink to the countertop. Once loosened, carefully lift the sink out of its position.
If your sink is held in place with clips or brackets, use a screwdriver to loosen and remove them. With the sink free, lift it out of the countertop and set it aside.
Step 4: Prepare the Area for Installation
With the old sink out of the way, it’s time to prepare the area for the new sink. Clean the countertop thoroughly, removing any old caulk or adhesive residue. Measure the dimensions of the new sink to ensure it will fit properly in the existing space.
If necessary, make any adjustments to the countertop to accommodate the new sink. This may involve cutting away excess material or enlarging the opening.
Step 5: Install the New Sink
With the area prepared, it’s time to install the new sink. Begin by applying a bead of plumber’s putty around the underside of the sink flange. Carefully lower the sink into the countertop opening, ensuring it is properly aligned.
Once in place, secure the sink by tightening the mounting clips or brackets. Use a screwdriver to tighten them securely but be careful not to overtighten, as this could damage the sink or countertop.
Step 6: Connect the Plumbing
With the sink securely in place, it’s time to reconnect the plumbing. Start by attaching the P-trap to the drainpipe and the sink tailpiece. Use an adjustable wrench to tighten the slip nuts securely.
Next, reconnect the water supply lines to the faucet. Use a wrench to tighten the connections, ensuring they are leak-free.
Step 7: Install the Faucet and Drain Assembly
With the plumbing connected, it’s time to install the faucet and drain assembly. Follow the manufacturer’s instructions carefully, ensuring each component is installed correctly.
Apply plumber’s tape to the threads of the faucet connections to prevent leaks. Then, attach the faucet to the sink, tightening the connections with a wrench.
Finally, install the drain assembly by inserting it into the sink’s drain opening and tightening the nut underneath. Apply a bead of silicone caulk around the edges of the drain to create a watertight seal.
Step 8: Test for Leaks
Once everything is installed, it’s essential to test the sink for leaks. Turn the water supply back on and check for any signs of dripping or pooling water. If you notice any leaks, tighten the connections as needed until they are secure.
Step 9: Clean Up and Enjoy Your New Sink
With the installation complete and no leaks in sight, it’s time to clean up your workspace. Wipe down the sink and countertop to remove any dust or debris, and dispose of any old materials properly.
Now that your new sink is installed, take a step back and admire your handiwork! Enjoy the fresh look and functionality of your updated kitchen sink for years to come.
Replacing a kitchen sink may seem like a daunting task, but with the right tools and guidance, it can be a manageable DIY project. By following these step-by-step instructions, you can replace your kitchen sink with ease and give your kitchen a fresh new look. So roll up your sleeves and get ready to tackle this project head-on!
Step 10: Additional Tips and Considerations
Check for Compatibility: Before purchasing a new sink, ensure it is compatible with your existing plumbing fixtures and countertop space. Measure the dimensions carefully to avoid any fitment issues during installation.
Upgrade Your Faucet: While you’re replacing the sink, consider upgrading your faucet for a fresh look and enhanced functionality. Choose a faucet that complements your kitchen’s aesthetic and offers features like a pull-out sprayer or touchless operation for added convenience.
Seal the Edges: Once the sink is installed, apply a bead of silicone caulk around the edges where the sink meets the countertop. This helps create a watertight seal and prevents water from seeping underneath the sink, which can cause damage over time.
Invest in Quality Materials: When selecting a new sink and faucet, invest in high-quality materials that are durable and long-lasting. Stainless steel and ceramic sinks are popular choices for their durability and resistance to stains and scratches.
Consider Professional Installation: If you’re uncomfortable with DIY projects or lack the necessary tools and experience, consider hiring a professional plumber to install the new sink for you. While it may incur additional costs, professional installation ensures the job is done correctly and reduces the risk of potential issues down the line.
Dispose of Old Materials Properly: Properly dispose of the old sink and any other materials removed during the installation process. Check with your local waste management facility for guidelines on disposing of large items like sinks and countertops to ensure compliance with environmental regulations.