Introduction: The Importance of Precision in Ceiling Tile Installation
Ceiling tiles play a crucial role in enhancing the aesthetics and functionality of interior spaces. Whether you’re renovating a commercial building or updating a residential property, mastering the art of cutting ceiling tiles with precision is essential for achieving professional-looking results. In this guide, we’ll explore various cutting techniques and tools to help you achieve flawless cuts and elevate the overall appeal of your ceilings.
Understanding Ceiling Tiles: Types and Materials
Before delving into cutting techniques, it’s essential to understand the different types and materials of ceiling tiles available. Common materials include gypsum, mineral fiber, metal, and PVC, each with its own unique properties and characteristics. Additionally, ceiling tiles come in various sizes, thicknesses, and designs, ranging from traditional square panels to decorative patterns and textures. Familiarizing yourself with the characteristics of different ceiling tile materials will help you choose the right cutting methods and tools for your project.
Tools of the Trade: Essential Equipment for Cutting Ceiling Tiles
To achieve precision cuts in ceiling tiles, you’ll need the right tools for the job. Some essential tools for cutting ceiling tiles include:
- Utility Knife: Ideal for making straight cuts in thin ceiling tiles such as gypsum or PVC.
- Tin Snips: Suitable for cutting metal ceiling tiles with precision, especially for intricate shapes or curves.
- Drywall Saw: Useful for cutting larger or thicker ceiling tiles, such as mineral fiber or gypsum, as well as for making cutouts for light fixtures or vents.
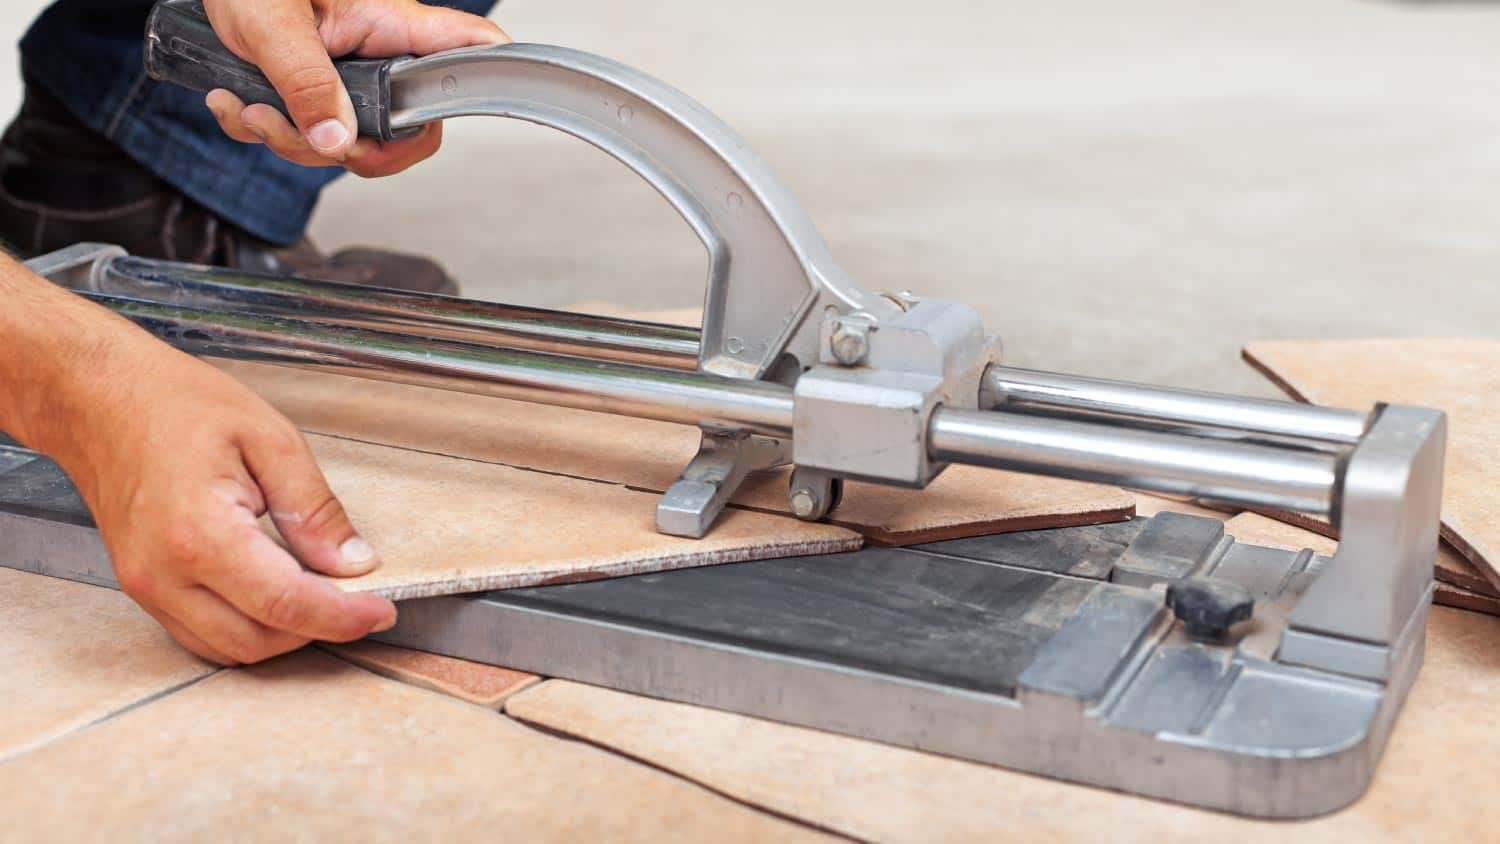
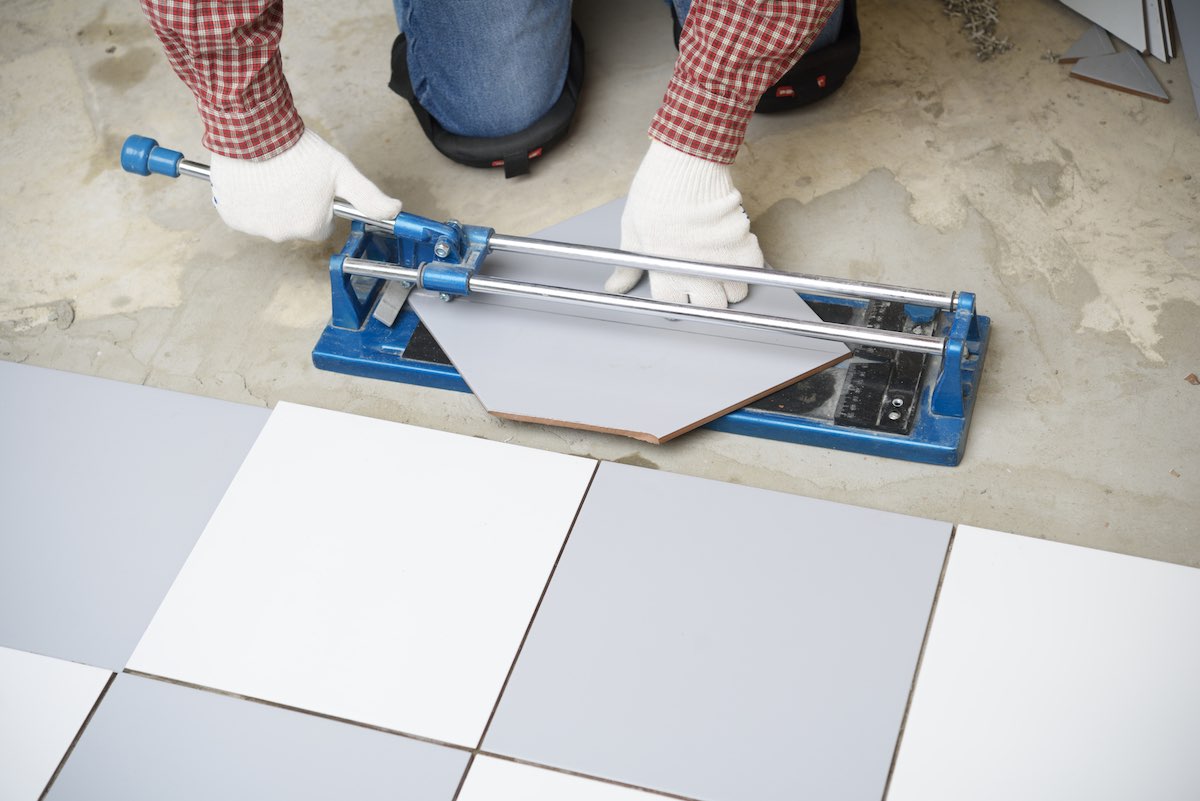
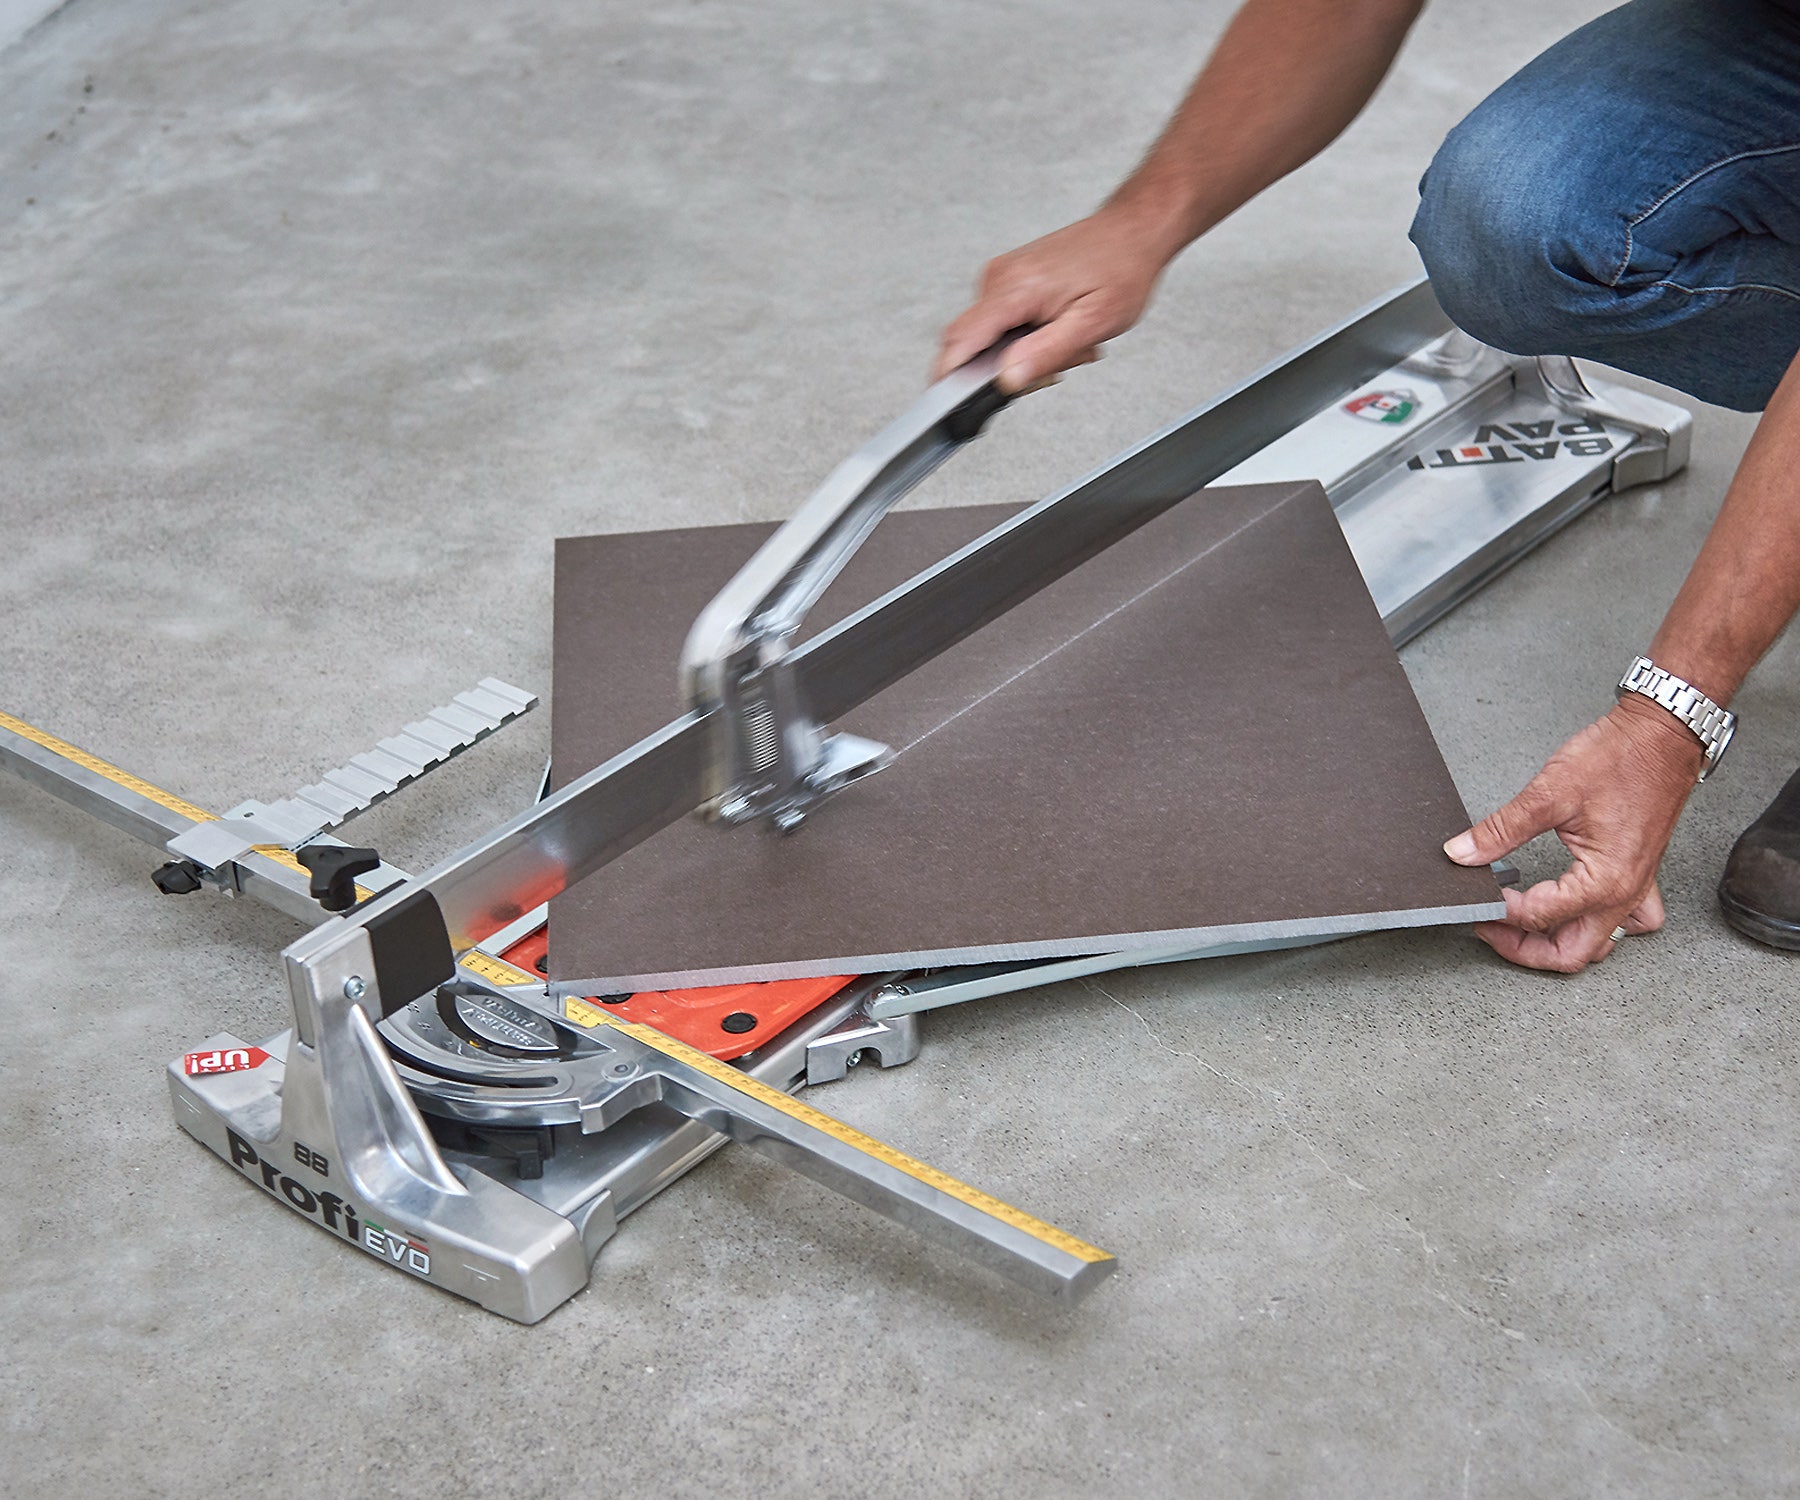
- Tile Cutter: Specifically designed for cutting ceramic or porcelain tiles, a tile cutter can also be used for cutting thinner ceiling tiles with precision.
- Straight Edge: Essential for guiding your cuts and ensuring straight, accurate lines.
- Measuring Tape and Pencil: For marking out cut lines and measurements accurately before cutting.
Having the right tools on hand will ensure that you can tackle any cutting task with confidence and precision.
Straight Cuts: Mastering the Basics
The most common type of cut required when installing ceiling tiles is a straight cut, which involves cutting tiles to fit along the edges of the ceiling or around obstacles such as light fixtures or vents. To achieve straight cuts with precision, follow these steps:
- Measure the space where the tile needs to fit and mark the cut line on the tile’s surface using a pencil and straight edge.
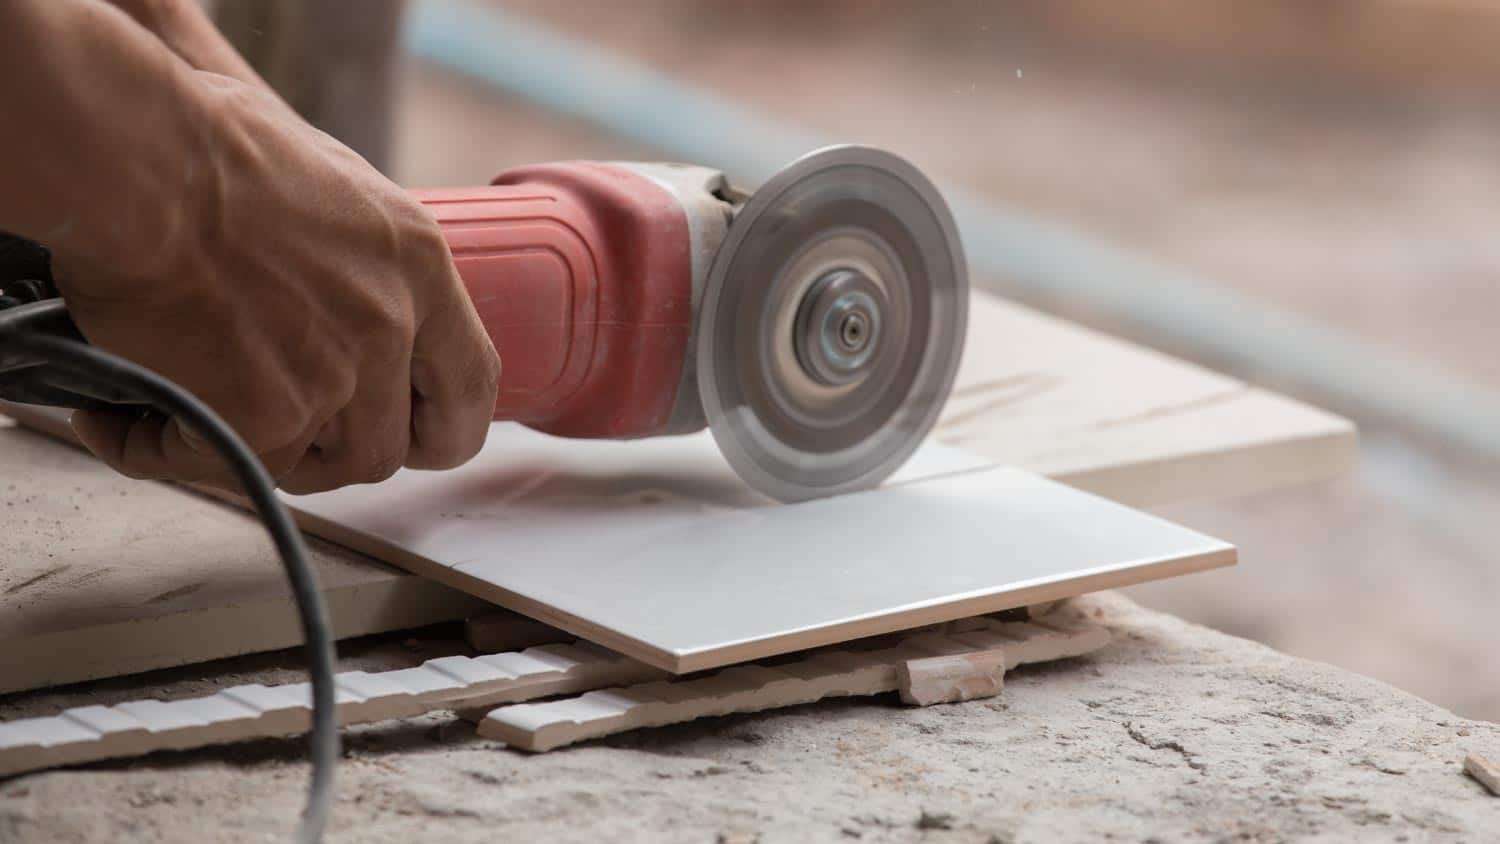
- Use a utility knife or drywall saw to make the cut along the marked line, applying even pressure and taking care to follow the line accurately.
- For thicker or more substantial tiles, such as mineral fiber or gypsum, use a drywall saw for cleaner cuts and better control.
By mastering the basics of straight cuts, you’ll be able to achieve clean, professional-looking edges that seamlessly blend into the surrounding ceiling.
In some cases, you may encounter obstacles such as pipes, ducts, or architectural features that require curved cuts in ceiling tiles. To achieve precision curved cuts, follow these steps:
- Use a measuring tape to determine the dimensions and shape of the obstacle that the tile needs to fit around.
- Transfer these measurements onto the surface of the ceiling tile, marking out the curved cut lines with a pencil.
- Use tin snips or a drywall saw to carefully cut along the marked lines, taking care to follow the curves accurately and maintain a smooth edge.
For more intricate curves or irregular shapes, you may need to make multiple smaller cuts and gradually shape the tile to fit the obstacle.

Decorative Cuts: Adding Flair to Your Ceiling Design
For homeowners or designers looking to add a touch of flair to their ceiling design, decorative cuts offer endless creative possibilities. From intricate patterns to custom shapes and designs, decorative cuts can elevate the aesthetic appeal of any space. To achieve precision decorative cuts, consider using a combination of tools such as a utility knife, tin snips, or even a jigsaw for more complex designs. Take your time to plan out the cut lines carefully, and use a straight edge or template to guide your cuts for flawless results.
Safety Precautions: Protecting Yourself and Your Work Area
When cutting ceiling tiles, it’s essential to prioritize safety to prevent accidents and injuries. Always wear appropriate protective gear, including safety glasses, gloves, and a dust mask, to shield yourself from debris and airborne particles. Additionally, ensure that your work area is well-ventilated and free from clutter to minimize the risk of accidents. Take care when handling sharp tools, and always follow the manufacturer’s instructions and safety guidelines for the tools and materials you’re using.
Advanced Techniques: Miter Cuts for Seamless Corners
When installing ceiling tiles in rooms with corners, achieving seamless transitions between tiles is essential for a polished finish. Miter cuts are an advanced cutting technique used to create precise angles at the corners of the ceiling, ensuring a seamless fit and professional appearance. To execute miter cuts effectively, follow these steps:
- Measure the angle of the corner using a protractor or angle finder tool.
- Transfer the angle measurements onto the surface of the ceiling tiles, marking out the miter cut lines with a pencil.
- Use a miter saw or a compound miter saw set to the appropriate angle to make precise cuts along the marked lines.
- Test fit the tiles at the corner to ensure a snug and seamless fit, making any necessary adjustments as needed.
Miter cuts require careful planning and precision to achieve optimal results, but the seamless corners they create can elevate the overall aesthetic of your ceiling installation.
Conclusion: Mastering Precision Cuts for Stunning Ceiling Installations
Precision cutting is a fundamental skill for anyone involved in ceiling tile installation, whether you’re a professional contractor or a DIY enthusiast. By understanding the different types of cuts, mastering essential cutting techniques, and using the right tools for the job, you can achieve flawless results that enhance the beauty and functionality of any space. Whether you’re creating straight cuts, navigating obstacles with curved cuts, or adding decorative flair to your ceiling design, precision is key to achieving professional-looking results. With practice, patience, and attention to detail, you can master the art of cutting ceiling tiles and transform any room into a stunning showcase of craftsmanship and design.