Introduction to Garbage Disposal Benefits
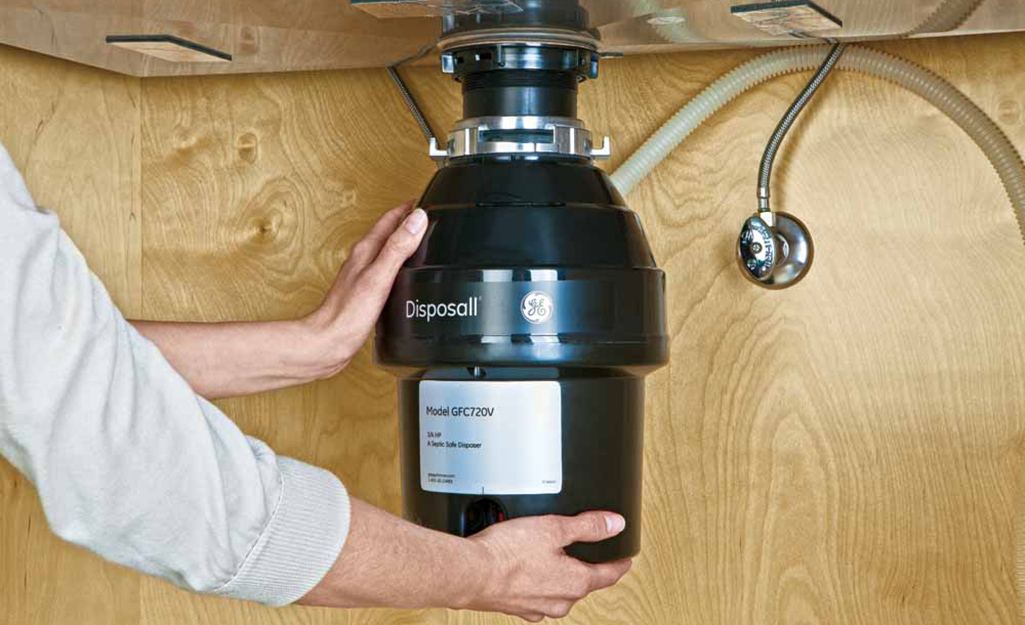
A garbage disposal unit in the kitchen sink is more than a modern convenience; it’s a sustainable solution that simplifies waste management and promotes eco-friendliness. By grinding food scraps into tiny particles that can easily flow through the plumbing system, disposals reduce the volume of organic waste sent to landfills, thereby decreasing methane emissions. Additionally, they contribute to cleaner, odor-free kitchens by promptly eliminating food remnants. Installing one in a single sink setup is a straightforward process that, with the right tools and guidance, can be a rewarding DIY project.
Assessing Your Sink’s Compatibility
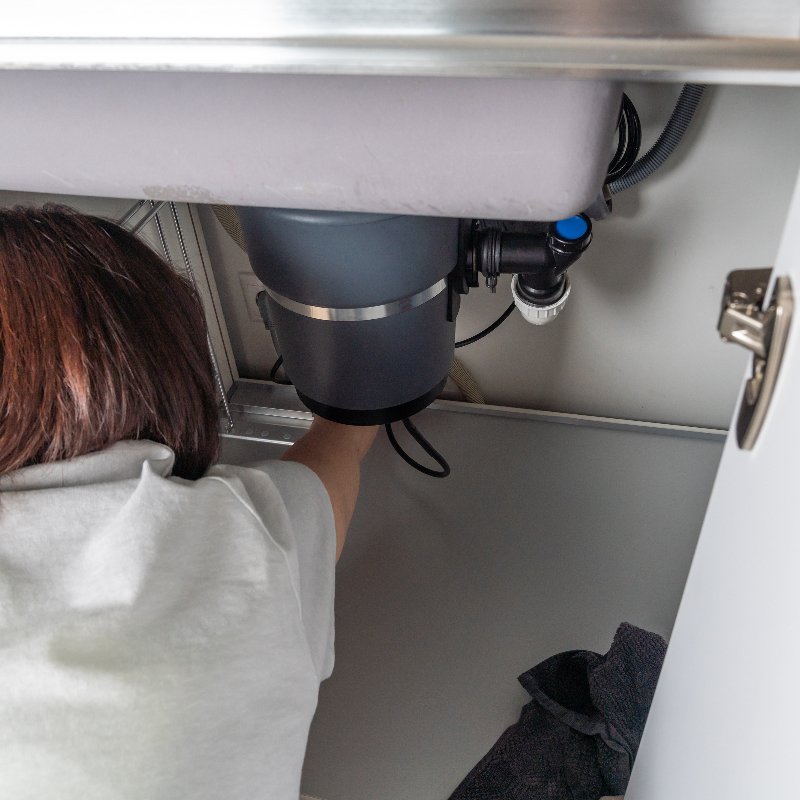
Before embarking on the installation journey, it’s crucial to ensure your single sink is compatible with a garbage disposal. Verify that there’s sufficient space beneath the sink for the unit, including clearance for connections and future maintenance. Moreover, check if the sink has the necessary mounting hardware or if an adapter kit is required. Inspect the drain opening to determine if it matches standard disposal sizes, typically 3.25 inches or 4.5 inches in diameter.
Gathering Tools and Materials
To execute this task efficiently, gather the following tools and materials: a new garbage disposal unit, plumber’s putty or silicone sealant, a hammer, screwdriver set, adjustable wrench, plumbers tape, a bucket, and a flashlight. Ensure you have all local code-compliant parts, such as a dishwasher connector kit if you plan to hook up a dishwasher to the disposal.
Shutting Off Power and Water Supply
Safety comes first. Turn off the electrical power to the sink area by switching off the appropriate circuit breaker at the main electrical panel. If your sink has a separate shutoff valve for cold water, turn it off as well. Use a non-contact voltage tester to confirm that the power is indeed disconnected before proceeding.
Removing the Old Drain Assembly (If Applicable)
If you’re replacing an existing disposal, start by disconnecting it. Unfasten the mounting assembly beneath the sink, detach the drain pipe, and disconnect the electrical wiring. Remove any plumber’s putty or sealant around the flange and lift out the old unit. Clean the sink surface and underside thoroughly to prepare for the new installation.
Installing the Mounting Assembly
Position the new disposal’s mounting ring over the sink’s drain hole from above, securing it with screws or clips provided. Apply a bead of plumber’s putty or silicone sealant around the sink’s lip where the flange will rest to create a watertight seal. Lower the flange into place and press firmly against the sink surface. From underneath, attach the mounting assembly and tighten the retaining bolts to secure the flange in position.
Attaching the Drain Lines and Electrical Wiring
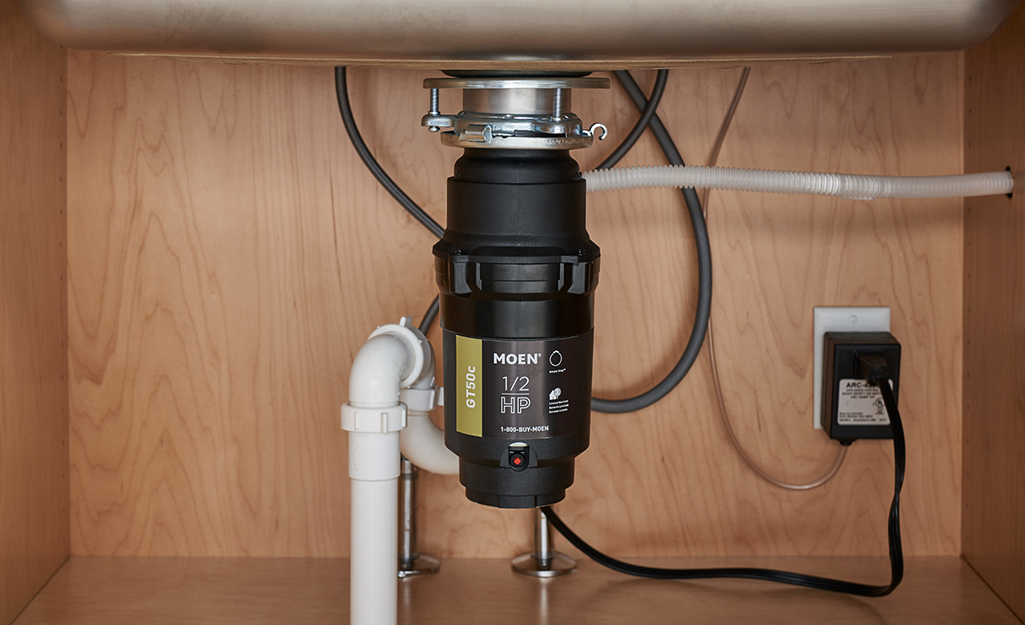
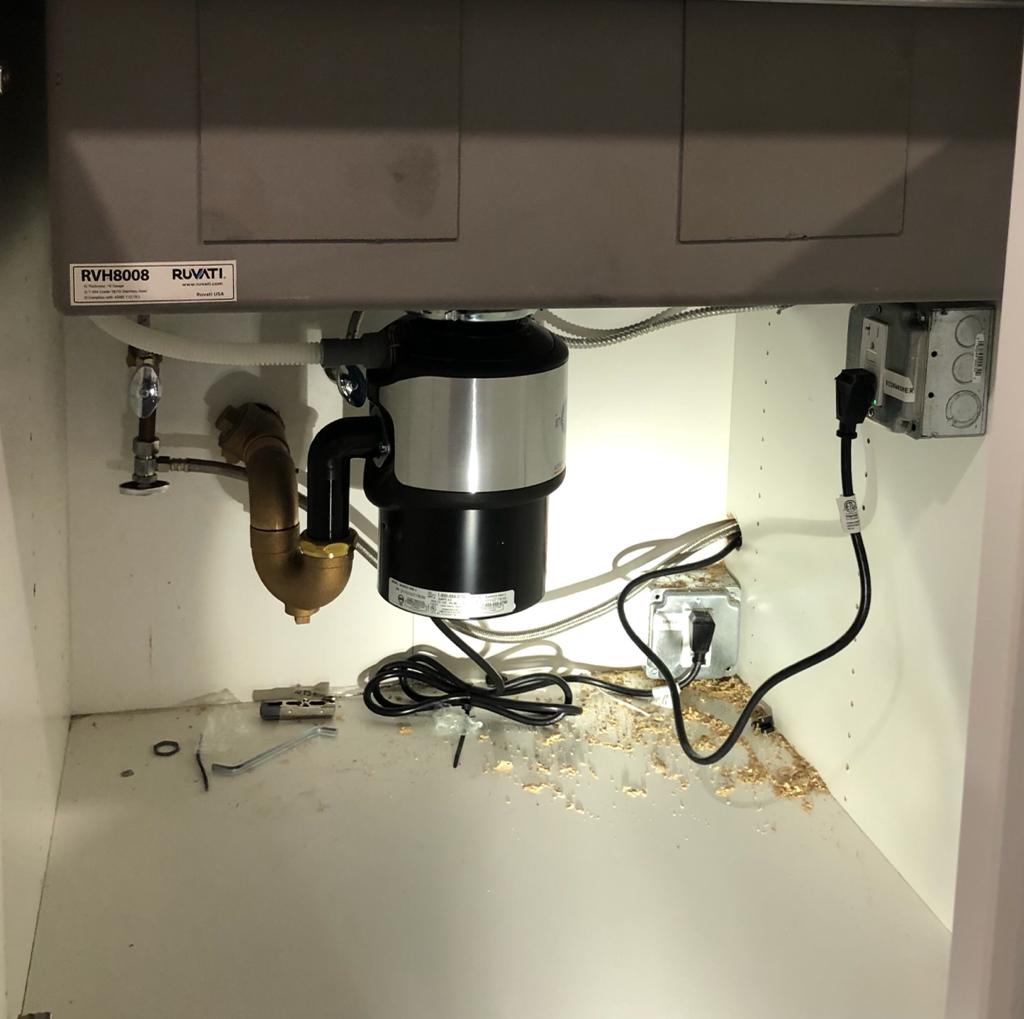
Connect the discharge tube (the part that directs waste into the drainpipe) to the disposal unit and secure it with the included fasteners. If connecting a dishwasher, use the dishwasher connector kit to link the dishwasher drain hose to the disposal’s designated inlet. For the electrical connection, consult the disposal’s manual for specific wiring instructions, which usually involves connecting the unit’s wires to the corresponding colored wires from the power source using wire nuts. Secure the connections inside a junction box and reinstall the access cover.
Checking for Leaks and Proper Functionality
With all components installed, it’s time to restore power and water supply. Gradually turn on the water supply and check for leaks around the flange, drain connections, and discharge tube. Use a flashlight to inspect for any moisture. Next, turn on the circuit breaker and test the disposal’s operation by running cold water and flipping the switch. Listen for any unusual noises and observe if food scraps are being processed effectively.
Maintaining Your New Garbage Disposal
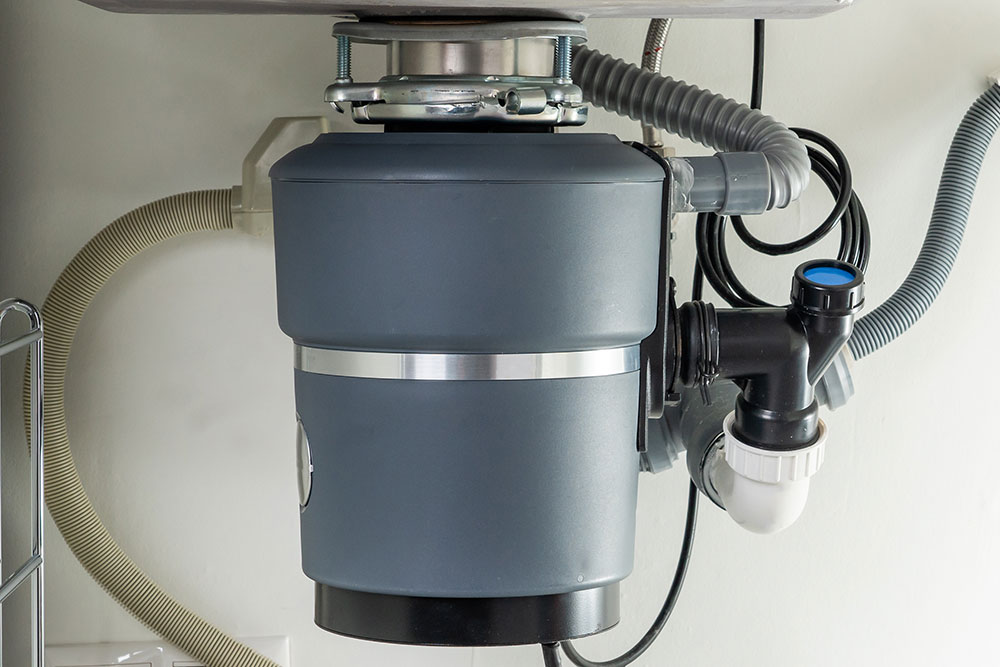
Proper care and maintenance are key to prolonging your garbage disposal’s lifespan. Regularly clean the unit with a mixture of ice cubes and rock salt or citrus peels to freshen and sharpen the blades. Avoid grinding hard materials like bones or fibrous foods that can clog the system. Always run cold water before and after using the disposal to flush waste and prevent grease buildup.
Enhancing Performance and Troubleshooting Tips
To further optimize your garbage disposal’s performance and address common issues, consider the following tips:
- Regular Cleaning: Besides the occasional ice cube and rock salt or citrus peel treatment, pour a small amount of dish soap into the disposal while running cold water to clean the unit and freshen it up.
- Use Cold Water: Continue to emphasize the use of cold water when operating the disposal. Hot water can cause grease and oils to liquefy and accumulate in your drain pipes, leading to clogs over time.
- Avoid Overloading: Feed food waste gradually into the disposal, allowing it time to grind each batch completely before adding more. Overloading can stress the motor and lead to jams.
- Troubleshoot Jams: If your disposal stops working or makes a humming noise, it might be jammed. First, turn off the power. Then, use a disposal wrench or a broom handle inserted into the bottom of the unit to rotate the flywheel manually and dislodge any obstruction. Once clear, restore power and try again.
- Hard-to-Grind Foods: While avoiding hard materials and fibrous items is ideal, if small bones or fibrous vegetables accidentally make their way in, ensure the disposal is running with ample water flow to help push them through.
- Odor Control: To keep odors at bay, periodically pour a mixture of baking soda and vinegar down the drain, followed by hot water. This natural solution helps neutralize odors without harming the disposal.
- Professional Inspection: Schedule a plumbing inspection every few years to check for any potential issues that may not be immediately noticeable, such as wear on the unit’s internal parts or hidden leaks.
Conclusion: A Sustainable Upgrade
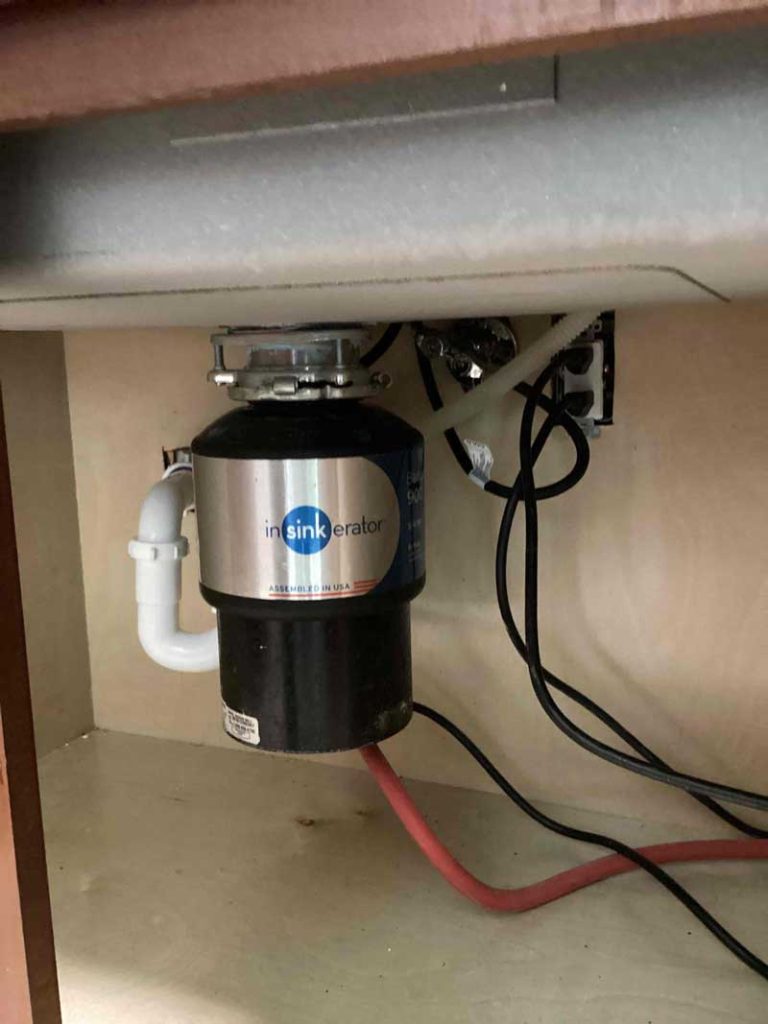
Installing a garbage disposal in your single sink not only streamlines your kitchen routine but also contributes to a greener lifestyle. With careful planning, the right tools, and adherence to safety guidelines, this DIY project can elevate your kitchen’s functionality and eco-credentials. Enjoy the convenience and satisfaction of transforming your kitchen into a more efficient and sustainable space.
