Introduction: Prepping for the Procedure
Before we dive into the nitty-gritty of sink removal, it’s crucial to understand the importance of preparation and safety. Removing a kitchen sink may seem like a daunting task at first, but with the right tools, a bit of patience, and this comprehensive guide, you’ll be well-equipped to undertake this DIY project. Ensure you have turned off the water supply to the sink and disconnected any electrical connections related to garbage disposals or hot water dispensers. Gather your tools, including a basin wrench, plumber’s putty, adjustable wrench, screwdrivers, and a bucket to catch any residual water.
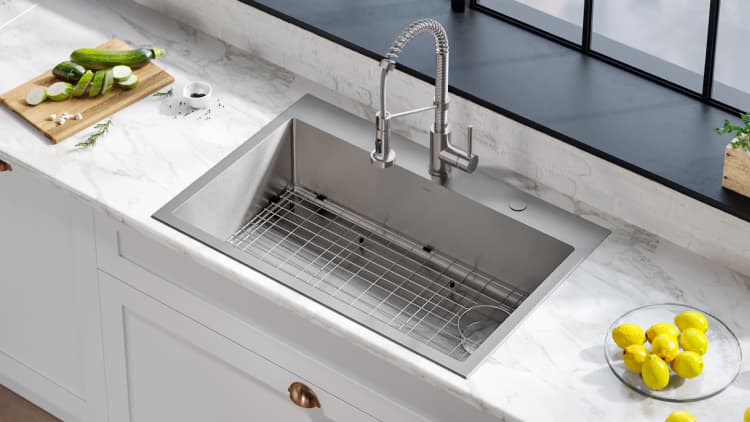
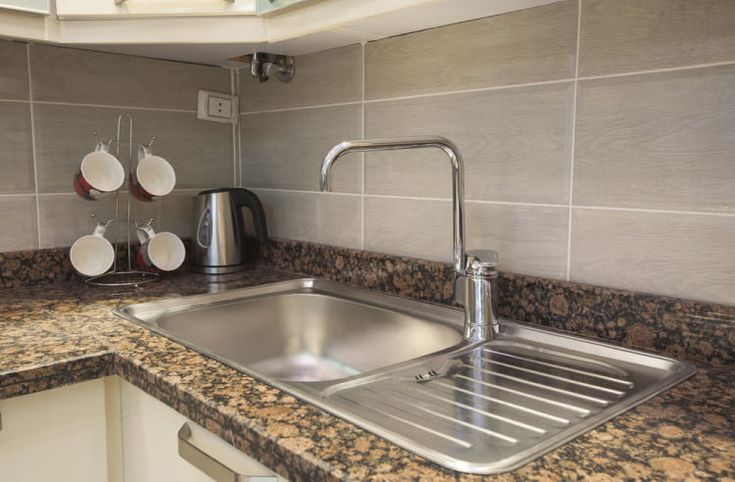
Understanding the Anatomy
The Fixture Framework
Before you begin disassembling, familiarize yourself with the basic anatomy of your kitchen sink. Most sinks are attached to the countertop via clips or mounting hardware, while the plumbing connections include supply lines for hot and cold water, and a drain assembly. Knowing where these components are located and how they function will make the process smoother.
Disconnecting the Water Supply
Cutting Off the Flow
Locate the shut-off valves beneath the sink, typically found near the floor or wall. Turn them clockwise until they are tightly closed, effectively stopping the flow of water to both the hot and cold taps. Once done, turn on the faucet to release any residual water in the lines and to confirm that the water supply.
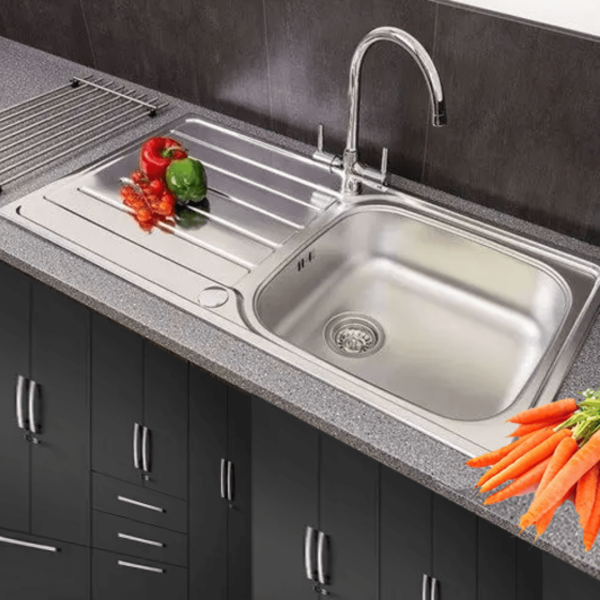
Draining Residual Water
Clearing the Pipes
Place a bucket beneath the sink’s P-trap, the curved pipe section beneath the drain. Using an adjustable wrench, loosen the slip nuts connecting the P-trap to the sink’s tailpiece and the waste line. Be cautious as water and debris may spill out. Once the nuts are removed, separate the P-trap and allow any remaining water to drain into the bucket.
Removing Plumbing Fixtures
Unplugging Connections
With the water supply and drainage taken care of, focus on disconnecting the faucet and any additional fixtures such as a sprayer or soap dispenser. Use an adjustable wrench to loosen the nuts securing the faucet to the sink or countertop. If there’s a garbage disposal, unplug it and disconnect the drain hose and electrical wiring following the manufacturer’s instructions.
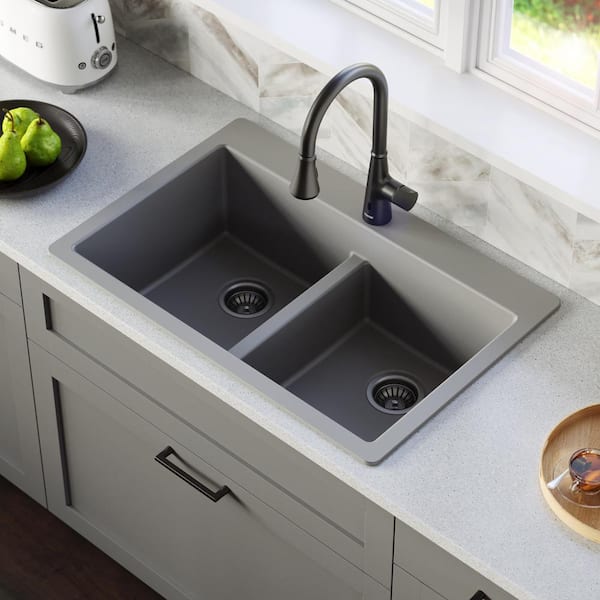
Detaching the Sink from the Countertop
Loosening the Mounts
This is where the surgery gets a little more hands-on. Depending on your sink’s installation method, you may need to remove screws, clips, or brackets that secure it to the countertop. For undermount sinks, look for clips along the rim. Top-mounted sinks often have a rim that rests on the countertop with screws beneath. Utilize a screwdriver or specialized tools to carefully remove these attachments, being mindful not to damage the countertop surface.

Lifting Out the Sink
The Final Extraction
With all connections severed and mounts released, it’s time to gently lift the sink out of its cavity. Enlist a helper if the sink is heavy or awkwardly sized. Slide a piece of cardboard or a soft cloth beneath the edges to protect both the sink and countertop from scratches during removal. Lift slowly and steadily, ensuring no pipes or wires are caught underneath.
Post-Removal Cleanup & Inspection
Healing the Wounds
Once the sink is out, inspect the surrounding area for any signs of water damage, mold, or worn-out seals. Clean the exposed cabinet space thoroughly, removing any debris or old putty. This is also an opportune moment to replace any damaged plumbing parts or upgrade to more efficient fixtures before installing a new sink.
Preparation for Installation: Laying the Groundwork
Now that the extraction is complete, it’s time to ready the area for the new sink. Begin by examining the sink cutout in the countertop. Ensure the edges are smooth and free from any damage that could compromise the seal of your new sink. Should you find any irregularities, use fine-grit sandpaper to smooth them out. Additionally, check that the cabinet beneath can accommodate the new sink’s dimensions, making adjustments as necessary.
Installing the New Sink: A Fresh Start
Lay down a bead of plumber’s putty or silicone caulk around the underside of the new sink where it will meet the countertop. This forms a watertight seal and prevents leaks. Carefully lower the sink into place, aligning it with the cutout and pressing down gently to secure the seal. For undermount sinks, follow the manufacturer’s guidelines closely, as they typically require special clips and adhesives for proper attachment.
Reconnecting Plumbing and Fixtures
With the sink in position, reinstall the drain assembly, reconnecting the P-trap and tightening the slip nuts securely but avoid over-tightening to prevent cracking. Reattach the faucet and any additional fixtures, ensuring they are tightened properly using your wrenches. If you’ve opted for a new faucet, follow the included instructions carefully, as installation procedures may vary.
Restoring Water Supply and Testing
Before turning the water supply back on, double-check all connections for tightness and proper alignment. Once satisfied, slowly turn the shut-off valves counterclockwise to restore the water flow. Check for any leaks around the faucet, drain, and supply lines. A small drip now could signal a bigger issue later, so address any leaks immediately by tightening connections or applying additional sealant.
Electrical Reconnection for Garbage Disposal
If your new sink setup includes a garbage disposal, reconnect the electrical wiring according to the manufacturer’s instructions, ensuring the power is still off at the circuit breaker. Attach the drain hose securely and ensure the unit is mounted correctly under the sink.
Final Touches and Cleanup
After everything is connected and tested, give your new sink a thorough cleaning to remove any fingerprints or residue from installation. Inspect the surrounding cabinet and countertop one last time, making sure everything is in order and no debris remains. Finally, marvel at your handiwork – a refreshed and functional centerpiece of your kitchen.
Conclusion: A Job Well Done
Congratulations on successfully completing your sink surgery! Remember, while the process might seem complex at first, careful planning, patience, and adherence to safety precautions can transform this task into a rewarding DIY accomplishment. With your old sink now removed, you’re one step closer to upgrading your kitchen’s functionality and aesthetics. Whether you’re replacing the sink as part of a full remodel or simply swapping out a worn fixture, take pride in the work you’ve done and enjoy the satisfaction of a job well executed.