Introduction: Understanding the Issue
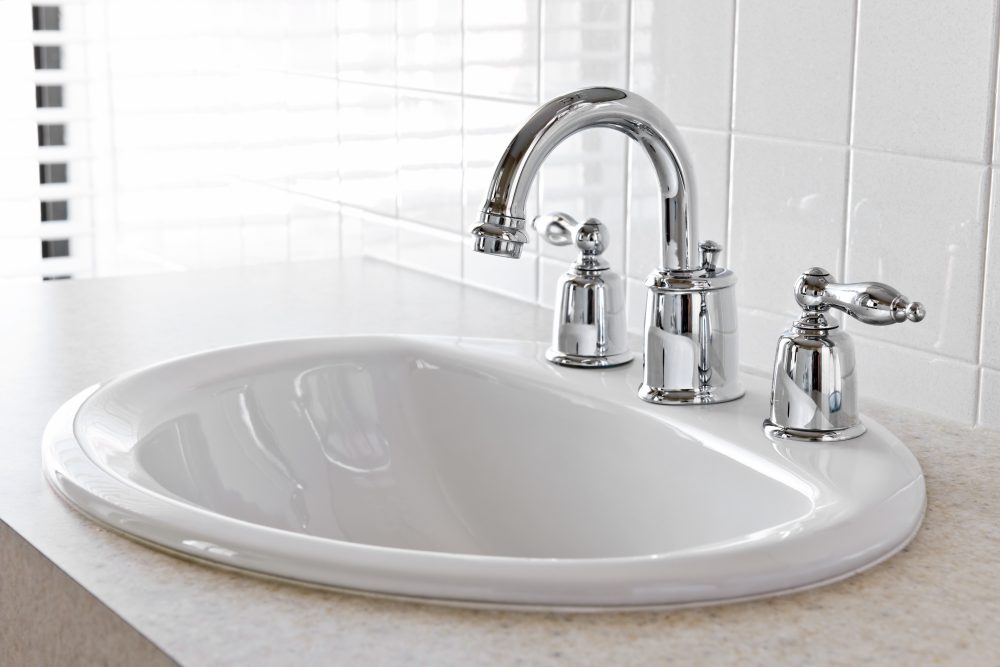
Porcelain sinks add a touch of elegance to any kitchen or bathroom, but over time, they may develop hairline cracks, compromising their appearance and functionality. These cracks can result from various factors such as temperature changes, impact damage, or simply the natural wear and tear of daily use. Fortunately, repairing hairline cracks in porcelain sinks is possible with the right tools and techniques. In this guide, we’ll explore effective methods for fixing these flaws and restoring your sink to its former glory.
Assessing the Damage: Identifying Hairline Cracks
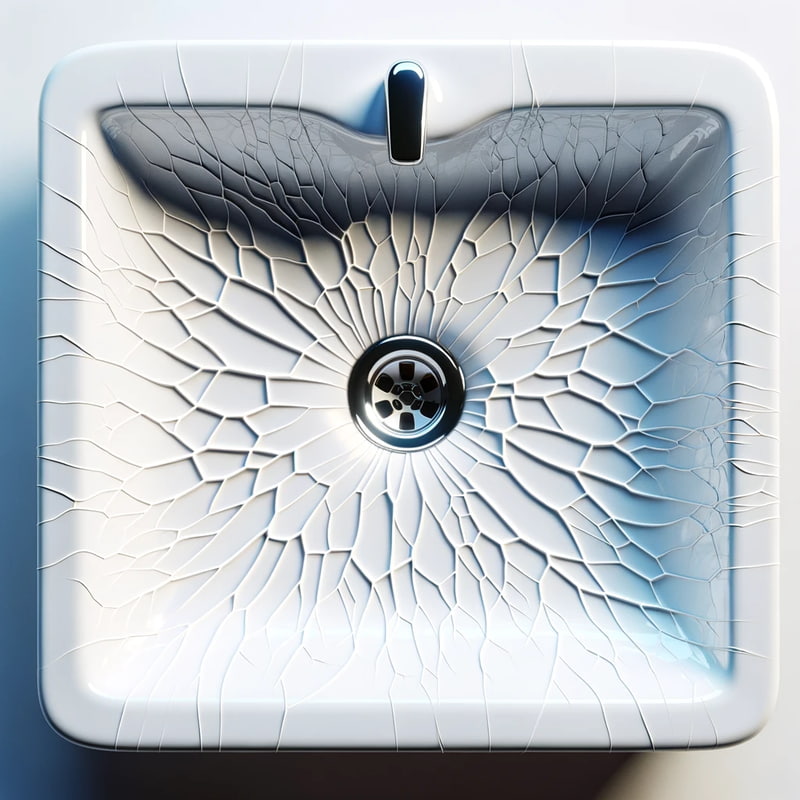
Before attempting any repairs, it’s essential to assess the extent of the damage and identify the hairline cracks in your porcelain sink. These cracks are often small and subtle, barely visible to the naked eye, but they can worsen over time if left untreated. Inspect the surface of the sink carefully, paying close attention to areas where water may accumulate, such as around the drain or along the edges. Use a magnifying glass or flashlight to illuminate the surface and look for fine lines or fissures that indicate the presence of hairline cracks.
Gathering the Necessary Supplies: Tools and Materials
Repairing hairline cracks in porcelain sinks requires a few basic tools and materials that are readily available at most hardware stores. Here’s what you’ll need:
- Porcelain Repair Kit: Look for a repair kit specifically designed for porcelain surfaces, which typically includes epoxy or filler compound, sandpaper, and a mixing tray.
- Safety Gear: Wear protective gloves and safety goggles to prevent skin irritation and eye injury while working with chemicals and abrasive materials.
- Cleaning Supplies: Use a mild detergent or cleaner and a soft cloth to clean the surface of the sink and remove any dirt, grease, or debris.
- Sandpaper: Choose fine-grit sandpaper (around 400-600 grit) to smooth the repaired area and blend it seamlessly with the surrounding surface.
- Masking Tape: Use masking tape to create a boundary around the damaged area, preventing the repair material from spreading onto unaffected areas.
- Disposable Gloves: Wear disposable gloves to protect your hands from coming into contact with repair chemicals and to ensure a clean and hygienic work environment.
Preparing the Surface: Cleaning and Degreasing
Before beginning the repair process, it’s crucial to prepare the surface of the porcelain sink by thoroughly cleaning and degreasing it. Use a mild detergent or cleaner and a soft cloth to remove any dirt, grease, or soap scum from the damaged area. Rinse the sink with water and allow it to dry completely before proceeding with the repair. Avoid using abrasive cleaners or harsh chemicals, as they may damage the porcelain surface and compromise the effectiveness of the repair.
Filling the Cracks: Applying Epoxy or Filler Compound
Once the surface is clean and dry, it’s time to fill the hairline cracks in the porcelain sink using epoxy or filler compound from the repair kit. Follow the manufacturer’s instructions carefully, as the application process may vary depending on the product you’re using. Use a small spatula or putty knife to apply the epoxy or filler compound evenly over the cracks, smoothing it out to ensure full coverage. Work quickly but carefully to avoid drips or excess buildup, as this can create uneven patches and require additional sanding later on.
Allowing for Cure Time: Patience is Key
After applying the epoxy or filler compound, allow sufficient time for it to cure and harden completely before proceeding with further steps. The curing time may vary depending on the product and environmental conditions, so refer to the manufacturer’s instructions for guidance. Avoid touching or disturbing the repaired area during this time to prevent damage or disruption to the curing process. Once the epoxy or filler compound has fully cured, it should form a strong and durable bond with the porcelain surface, effectively sealing the hairline cracks and preventing further damage.
Smoothing and Blending: Sanding the Repaired Area
Once the epoxy or filler compound has cured, use fine-grit sandpaper to smooth the repaired area and blend it seamlessly with the surrounding surface of the porcelain sink. Start with a gentle circular motion, gradually increasing the pressure as needed to remove any excess material and achieve a smooth finish. Be careful not to sand too aggressively, as this can damage the porcelain surface and compromise the integrity of the repair. Take your time and work methodically, periodically wiping away any dust or debris with a clean cloth to assess your progress.

Final Touches: Finishing and Polishing
After sanding the repaired area, inspect it closely to ensure that the hairline cracks have been effectively sealed and the surface is smooth and even. If necessary, repeat the sanding process to achieve the desired level of finish. Once you’re satisfied with the results, clean the surface of the porcelain sink with a damp cloth to remove any remaining dust or debris. For added shine and protection, consider applying a porcelain polish or sealant according to the manufacturer’s instructions. Allow the polish or sealant to dry completely before using the sink, and enjoy your beautifully repaired porcelain sink for years to come.
Maintaining the Repaired Surface: Tips for Long-Term Care
Once you’ve successfully repaired the hairline cracks in your porcelain sink, it’s essential to take proactive steps to maintain the integrity of the repaired surface and prevent future damage. Here are some helpful tips for long-term care:
- Avoid Harsh Chemicals: Use mild, non-abrasive cleaners and avoid harsh chemicals that can damage the porcelain surface or compromise the integrity of the repair. Opt for gentle cleaning solutions and avoid scrubbing too vigorously to prevent scratching or wearing down the repaired area.
- Promptly Address Issues: Keep an eye out for any signs of damage or wear and address them promptly to prevent small issues from escalating into more significant problems. Regularly inspect the surface of the sink for any new cracks or chips and take appropriate action to repair them as needed.
- Use Protective Mats: Consider placing protective mats or trays in the sink to cushion heavy objects and prevent them from causing impact damage or scratching the porcelain surface. This can help prolong the life of your sink and reduce the risk of future repairs.

Conclusion: Restoring Beauty and Functionality
Repairing hairline cracks in porcelain sinks may seem like a daunting task, but with the right tools and techniques, it can be a relatively straightforward process. By assessing the damage, gathering the necessary supplies, and following a few simple steps, you can effectively seal hairline cracks and restore the beauty and functionality of your porcelain sink. With patience, care, and attention to detail, you can achieve professional-quality results and enjoy a flawless sink that looks as good as new. So don’t let hairline cracks detract from the elegance of your porcelain sink – tackle the issue head-on and enjoy the satisfaction of a job well done.

