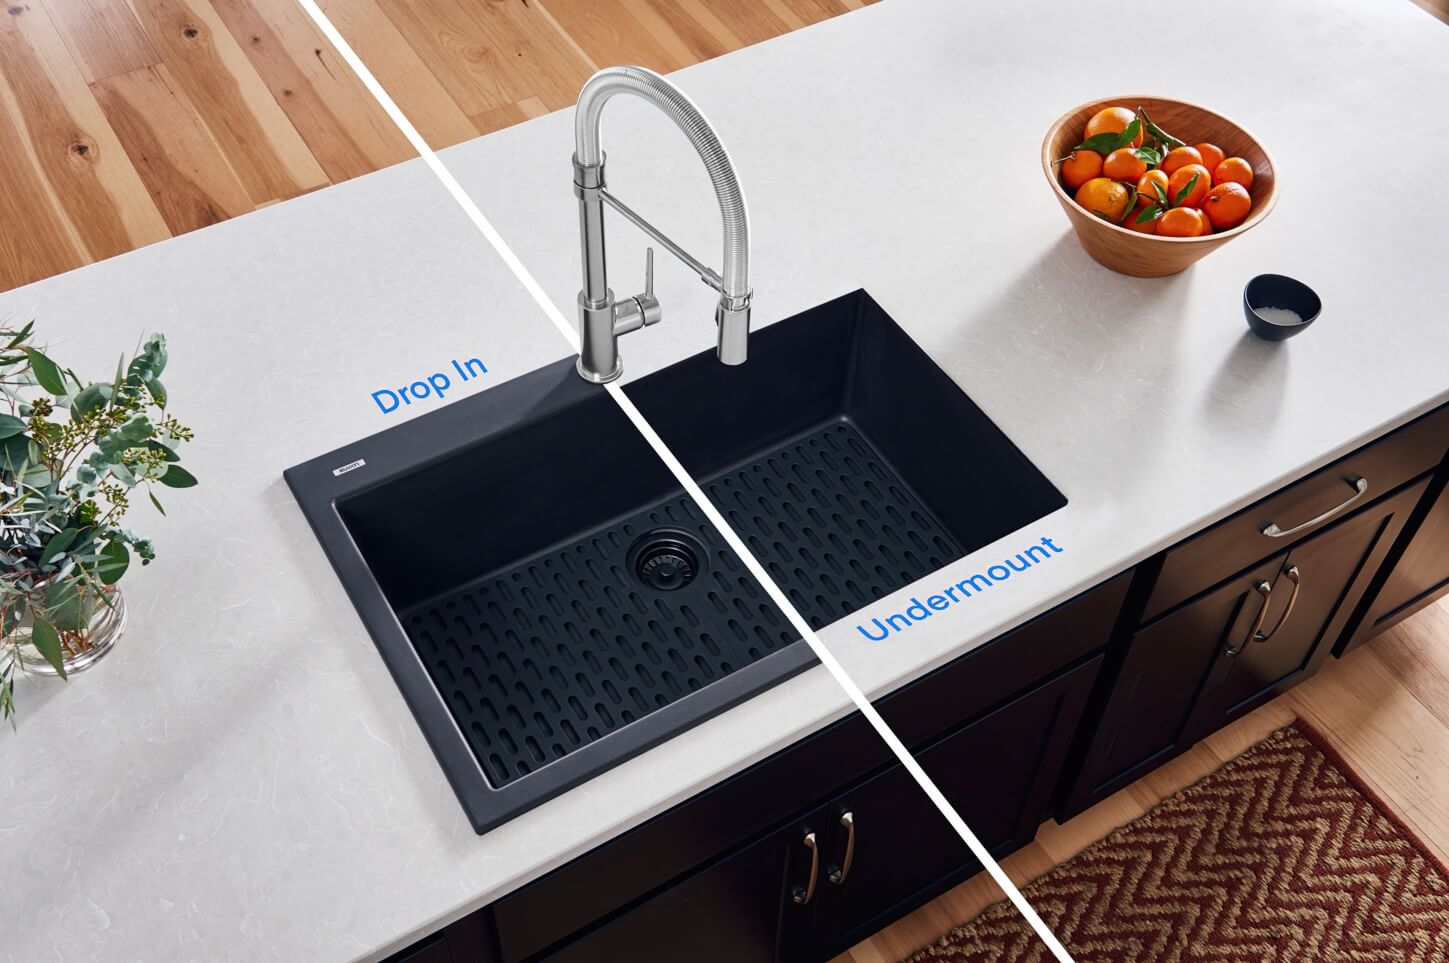
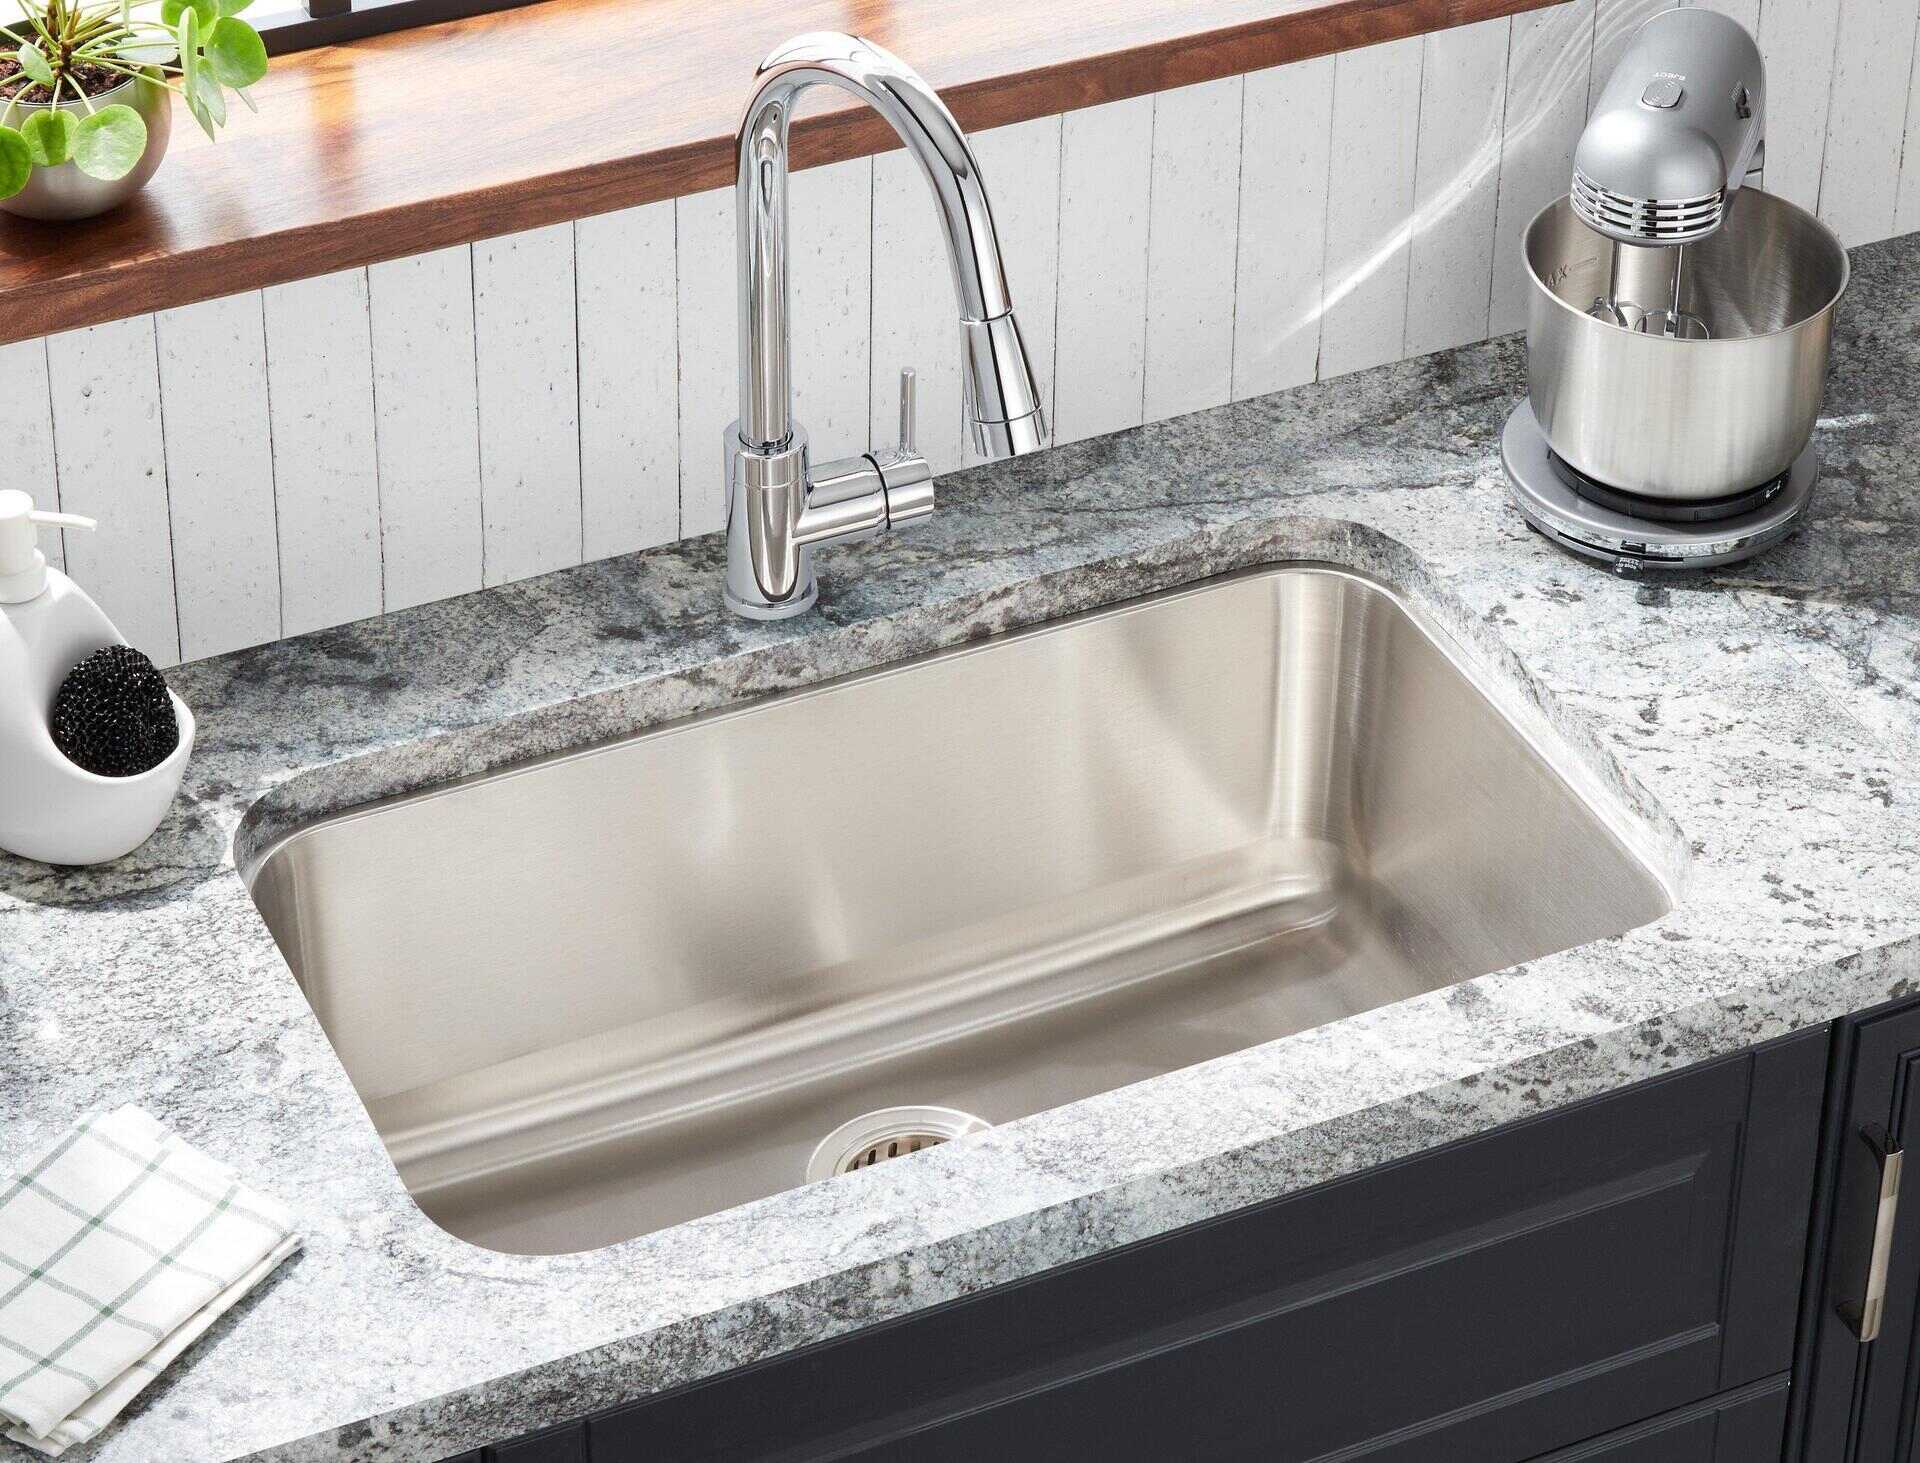
Introduction: The Undermount Appeal
In the realm of kitchen renovations, an undermount sink stands as a symbol of elegance and functionality. Its sleek design, with edges hidden beneath the countertop, not only enhances the visual appeal but also simplifies cleaning tasks. If you’re ready to upgrade your kitchen with an undermount sink, this comprehensive guide will walk you through the process like a professional installer, ensuring a flawless finish that blends seamlessly with your countertop.
Preparing for the Project: Tools & Materials Checklist
Before diving into the installation, gather the necessary tools and materials to ensure a smooth process. Your checklist should include:
- Undermount sink
- Silicone caulk (specifically designed for kitchen and bathroom use)
- Clamps or brackets for securing the sink
- Putty knife
- Drill with various drill bits
- Screwdriver set
- Measuring tape
- Level
- Safety goggles and gloves
Additionally, ensure your countertop is cut to accommodate the sink dimensions before starting.
Step 1: Workspace Preparation
Clear the workspace and cover surrounding surfaces with protective sheets to prevent scratches or damage. Disconnect the water supply and drain lines from your old sink if applicable, and remove it carefully.
Step 2: Accurate Sink Placement
Using your sink template (usually provided by the manufacturer), trace the outline onto the underside of the countertop. Double-check measurements to ensure accuracy, ensuring the sink is centered and level. Mark the locations for any mounting clips or screws.
Step 3: Cutting & Finishing Countertop Holes
If your countertop hasn’t been pre-cut, carefully follow the traced lines using a jigsaw or a router with a suitable bit. Smooth any rough edges with sandpaper or a file, ensuring a clean finish that won’t damage the sink.
Step 4: Securing the Sink
With assistance, gently lower the sink into place from above, aligning it perfectly with the cutout. Install the provided mounting clips or brackets according to the manufacturer’s instructions, securing them tightly to support the sink without over-tightening, which could crack the countertop.
Step 5: Sealing the Deal with Caulk
Apply a continuous bead of silicone caulk around the rim of the sink where it meets the countertop. This crucial step prevents water from seeping between the sink and the counter. Use a caulk gun for even application and a putty knife to smooth the bead, removing excess for a neat appearance.
Step 6: Attaching Drain and Faucet
Once the caulk has set according to the manufacturer’s instructions, usually a few hours, it’s time to install the drain assembly and faucet. Follow the manufacturer’s guidelines carefully, ensuring all connections are tight and leak-free. Use Teflon tape on threaded connections for added security.

Step 7: Plumbing Reconnection
Reconnect the water supply lines and drain to the new sink, using plumber’s tape on threads to prevent leaks. Turn on the water supply slowly, checking for any leaks at connections. Address any leaks immediately by tightening connections or applying additional sealant.
Step 8: Final Touches & Testing
Inspect the sink and countertop for any final adjustments or touch-ups. Run water through the faucet and drain to test for proper drainage and confirm there are no leaks. Wipe down the sink and surrounding area with a damp cloth to remove any residue or fingerprints.
Step 9: Post-Installation Cleanup
Remove protective coverings and clean up the workspace thoroughly. Dispose of any packaging materials and old sink responsibly, adhering to local disposal regulations.
Installing a New Toilet
Step 1: Preparing the Area
Shut off the water supply valve located behind the toilet. Flush the toilet to empty the tank and bowl, then use a sponge or small bucket to remove any remaining water. Disconnect the water supply line and unscrew the nuts securing the toilet to the floor bolts.
Step 2: Removing the Old Toilet
Carefully lift the toilet bowl, making sure not to strain your back, and place it on a protective covering to avoid damage. Remove the wax ring from the flange and clean the area thoroughly.

Step 3: Installing the New Wax Ring
Position a new wax ring onto the flange, ensuring it’s centered. If necessary, use an extender or repair kit if the flange is too low.
Step 4: Setting the New Toilet
Carefully lift the new toilet bowl, aligning the outlet with the wax ring on the flange. Gently press down to compress the wax seal, being cautious not to twist the bowl. Secure the toilet to the floor using new bolts and washers, tightening them alternately to ensure an even seal.
Step 5: Reattaching Water Supply and Testing
Reconnect the water supply line, ensuring it’s tightened properly but not overly so as to avoid damaging the connection. Turn on the water supply valve and let the tank fill. Check for any leaks around the base or the water supply connection.
Step 6: Adjusting the Tank Components
Ensure the toilet is flushing correctly and adjust the fill valve and flush handle as needed following the manufacturer’s instructions.
Step 7: Finishing Up
Put the toilet seat and lid in place, following their specific installation instructions. Test the toilet again for proper function, and don’t forget to add a touch of silicone caulk around the base for a finished look, avoiding gaps that can collect dirt.

Painting Interior Walls Like a Pro
Step 1: Preparation
Remove all wall decorations, switch plates, and outlet covers. Clean the walls thoroughly with a mild detergent solution and allow to dry completely. Sand any rough spots or old paint, then wipe away dust with a damp cloth.
Step 2: Taping and Covering
Use painter’s tape to protect trim, ceiling edges, and any other surfaces you don’t want painted. Cover the floor with a drop cloth or plastic sheeting.
Step 3: Priming
Apply a coat of primer to the walls, especially if you’re significantly changing the color or painting over a dark or stained surface. Allow the primer to dry completely according to its instructions.
Step 4: Cutting In
Using a quality brush, “cut in” along the edges, corners, and around trim where the roller won’t reach. This creates a straight edge for rolling.
Conclusion: A Seamless Upgrade
Installing an undermount sink may seem daunting at first, but with careful planning, the right tools, and following these steps meticulously, you can achieve a professional-looking result that adds both style and practicality to your kitchen. Not only does an undermount sink elevate the aesthetic appeal of your space, but it also simplifies daily cleaning routines, making it a worthwhile investment in your home. Enjoy your newly transformed kitchen sink area, knowing you’ve completed the job like a pro!