
Renovating your bathroom can breathe new life into your home and increase its value. One of the most impactful upgrades you can make is replacing an outdated or worn-out bathroom sink. Whether you’re looking to enhance aesthetics, improve functionality, or address plumbing issues, replacing a bathroom sink is a project that can be tackled by beginners with the right guidance. In this comprehensive guide, we’ll walk you through the process of replacing a bathroom sink, from preparation to installation, ensuring a successful upgrade for your space.
1. Assessing Your Needs: Choosing the Right Sink
Before diving into the replacement process, take some time to assess your needs and preferences. Consider factors such as size, style, and material to choose the right sink for your space. Are you looking for a sleek and modern vessel sink, or do you prefer a classic undermount design? Do you need additional storage space provided by a vanity sink, or would a pedestal sink better suit your minimalist aesthetic? By determining your priorities upfront, you can narrow down your options and make an informed decision that meets both your functional and aesthetic requirements.
2. Gathering Supplies and Tools: Preparing for the Project
Once you’ve selected the perfect sink for your bathroom, it’s time to gather the necessary supplies and tools for the replacement project. In addition to the new sink, you’ll need basic plumbing tools such as an adjustable wrench, pipe wrench, and plumber’s tape. Depending on the specifics of your installation, you may also require additional materials like silicone caulk, plumber’s putty, or replacement drain pipes. Make a checklist of everything you’ll need and ensure that you have everything on hand before getting started to avoid unnecessary delays.
3. Preparing the Workspace: Clearing the Path
Before removing the old sink, it’s essential to prepare the workspace to minimize mess and facilitate the installation process. Clear out any clutter from the area surrounding the sink and remove items stored in vanity cabinets or drawers. Lay down protective coverings on the floor and nearby surfaces to prevent damage from water or debris. Additionally, shut off the water supply to the sink and disconnect any plumbing connections to ensure a smooth transition to the new sink.
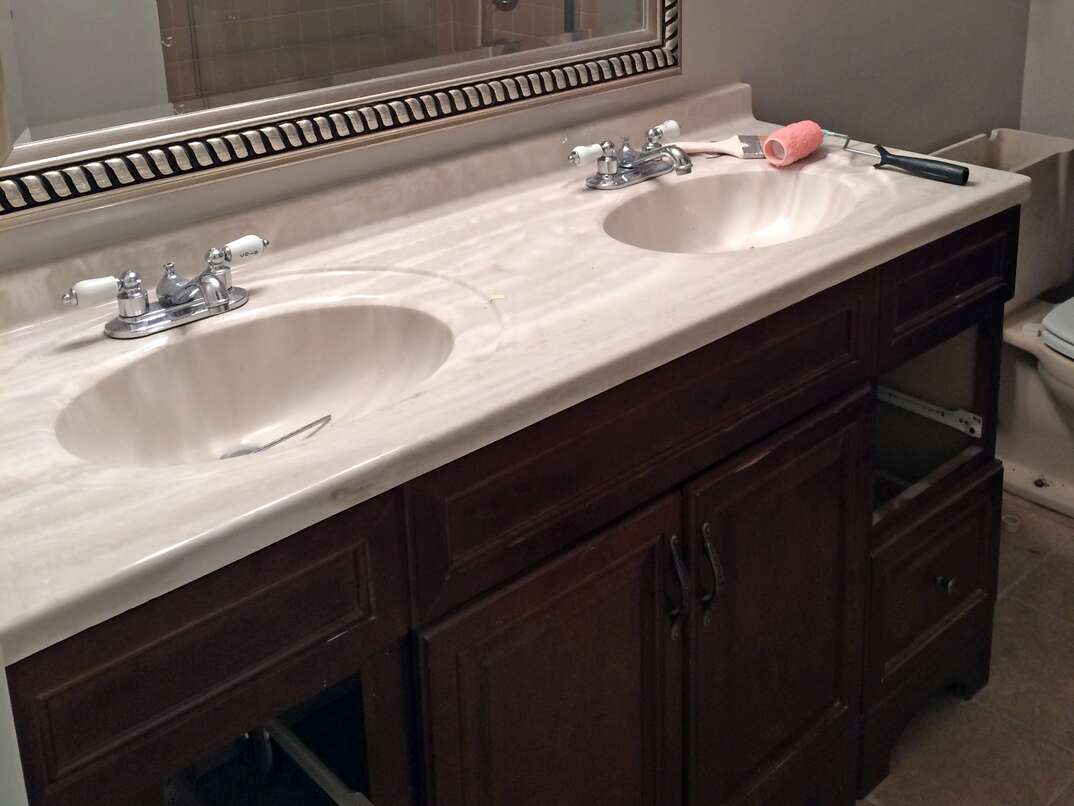
4. Removing the Old Sink: Step-by-Step Process
With the workspace prepped and ready, it’s time to remove the old sink. Start by turning off the water supply valves located beneath the sink and disconnecting the water supply lines using an adjustable wrench. Next, loosen and remove the nuts securing the sink to the countertop or vanity using a wrench or pliers. Carefully lift the old sink away from the countertop, taking care not to damage surrounding surfaces. Once the sink is removed, inspect the area for any signs of damage or corrosion that may need to be addressed before installing the new sink.
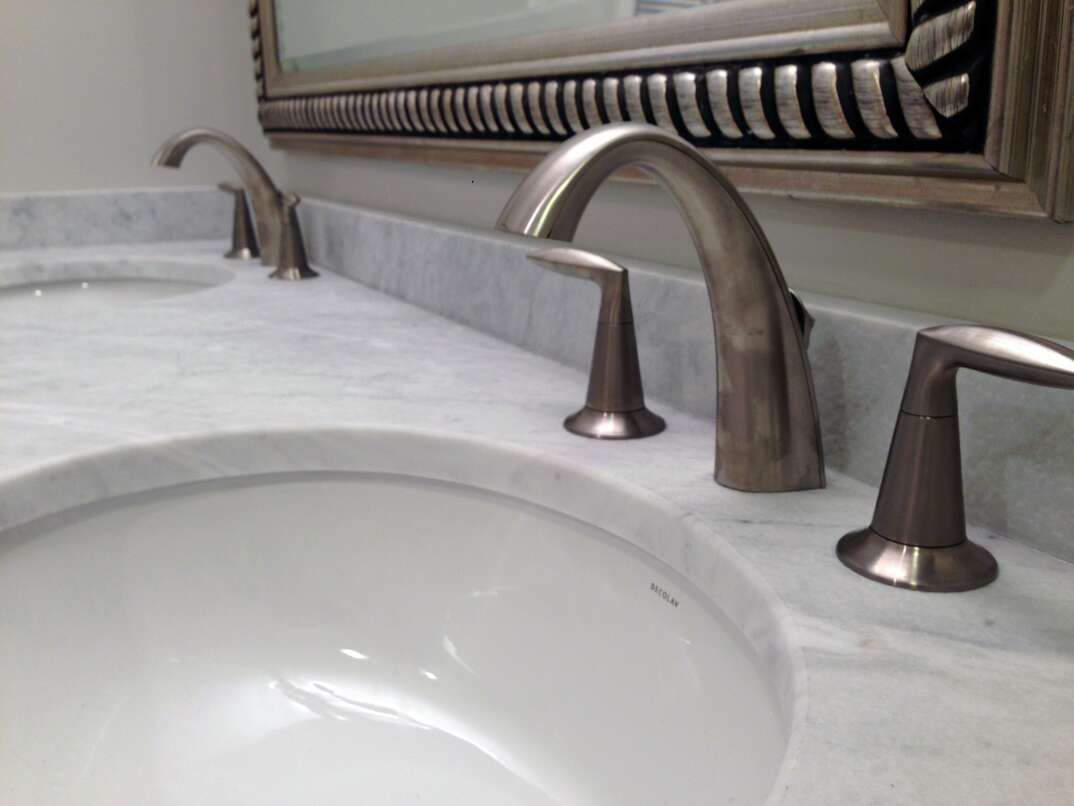
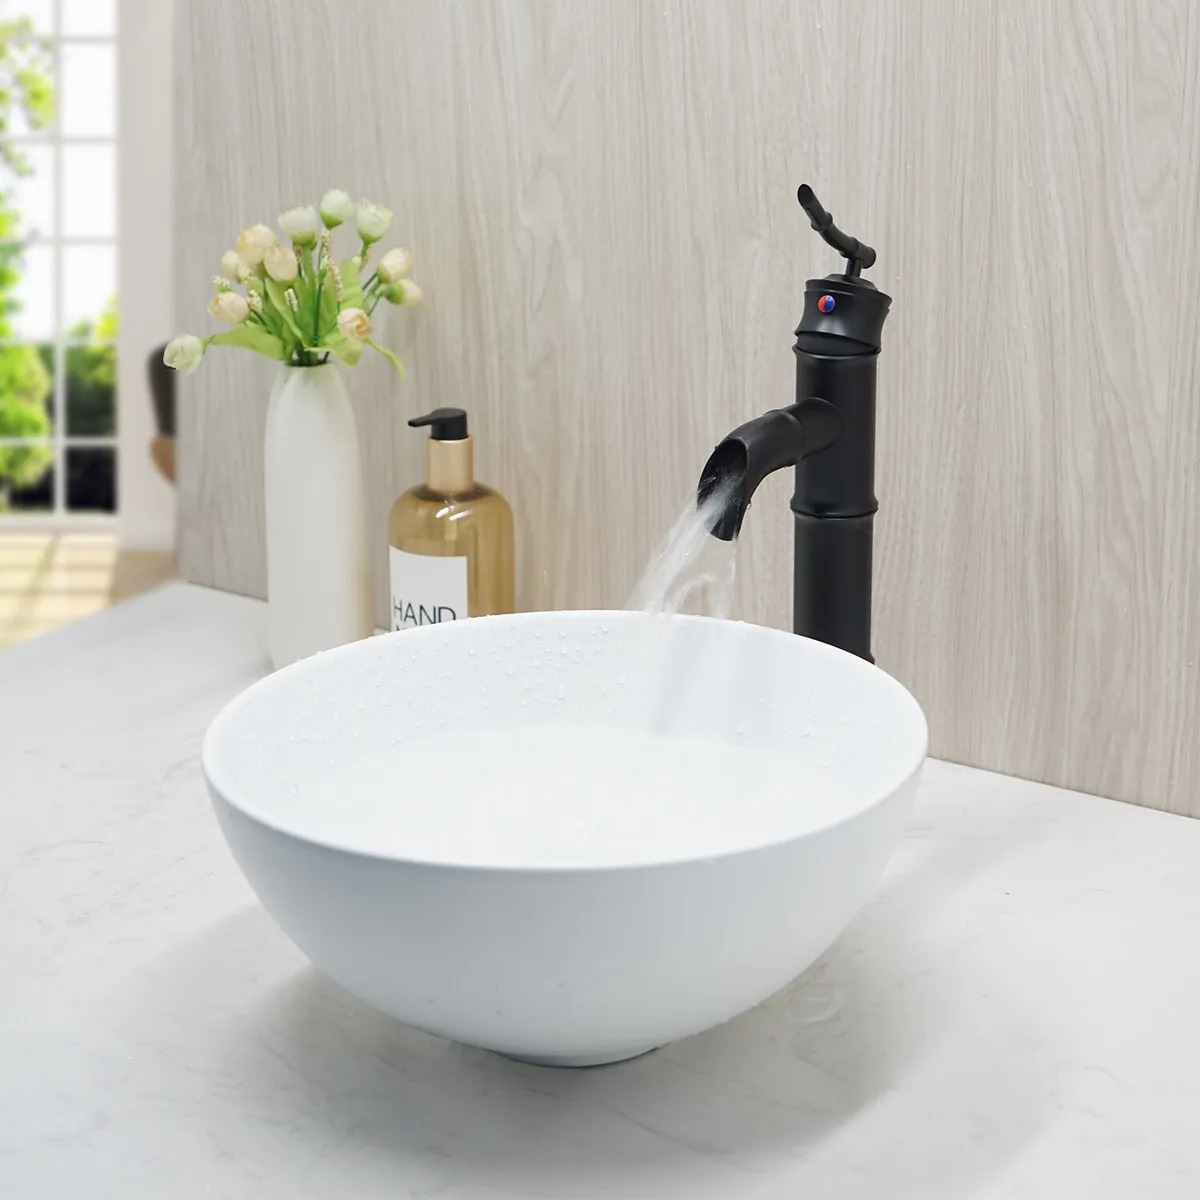
5. Installing the New Sink: Precision and Patience
With the old sink out of the way, it’s time to install the new one. Begin by placing the new sink into position on the countertop or vanity, ensuring that it sits flush and level. If necessary, use shims or adjustable feet to achieve a stable and balanced fit. Next, connect the water supply lines to the corresponding valves beneath the sink, using plumber’s tape to seal the threads and prevent leaks. Tighten the connections securely with an adjustable wrench, taking care not to overtighten and risk damaging the fittings. Finally, apply a bead of silicone caulk around the edges of the sink to create a watertight seal and prevent water damage to the surrounding area.
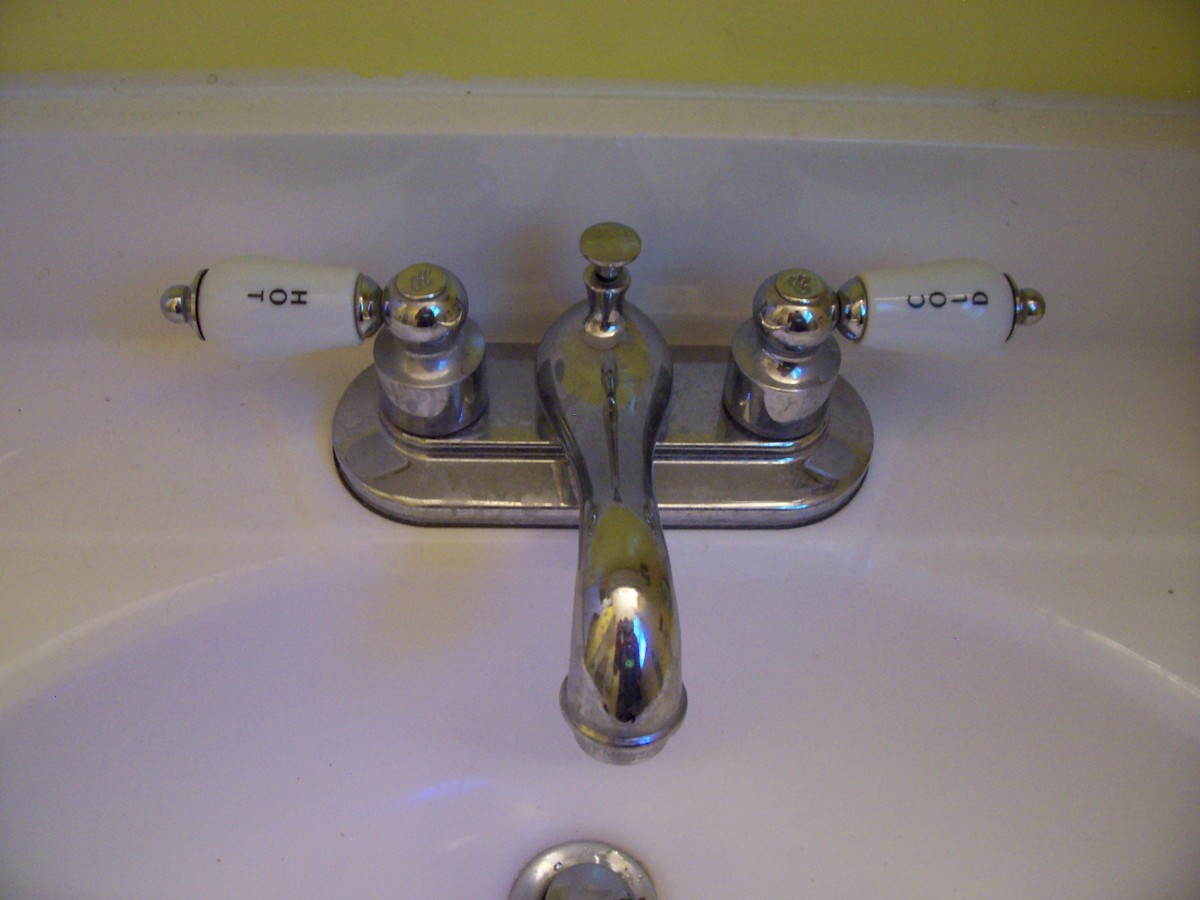
6. Testing and Finishing Touches: Ensuring Quality and Functionality
With the new sink installed, it’s time to put it to the test. Turn on the water supply valves and check for any leaks or drips around the connections. Run water through the faucet and drain to ensure proper functionality and drainage. If everything looks good, proceed with any finishing touches, such as installing new faucet handles or decorative trim. Take a moment to admire your handiwork and enjoy the refreshed look of your upgraded bathroom space.

7. Maintenance and Care: Preserving Your Investment
Once your new sink is in place, it’s important to maintain it properly to ensure longevity and performance. Regularly clean the sink and faucet with mild soap and water to remove dirt, grime, and mineral deposits. Avoid using abrasive cleaners or scouring pads, as these can scratch or dull the finish of the sink. Periodically check for leaks or drips around the connections and address any issues promptly to prevent water damage. By taking care of your new sink and performing routine maintenance, you can enjoy its beauty and functionality for years to come.
8. Enhancing Accessibility: Considerations for Individuals with Disabilities
Incorporating accessibility features into your bathroom design is essential for ensuring that individuals with disabilities can use the space comfortably and safely. When selecting a new sink, consider options that accommodate wheelchair users, such as wall-mounted sinks with open space beneath for wheelchair clearance. Additionally, choose faucets and controls that are easy to reach and operate for individuals with limited dexterity or mobility. By prioritizing accessibility in your bathroom renovation, you can create a welcoming and inclusive environment for people of all abilities.
9. Going Green: Eco-Friendly Sink Options
In today’s environmentally conscious world, choosing eco-friendly sink options can help reduce water consumption and minimize your carbon footprint. Look for sinks made from sustainable materials such as bamboo, recycled glass, or reclaimed wood. Additionally, opt for low-flow faucets and fixtures to conserve water without sacrificing performance. By making environmentally responsible choices in your bathroom renovation, you can contribute to a healthier planet and enjoy long-term savings on water and energy bills.
10. Personalizing Your Space: Customization and Design Trends
Express your personal style and elevate your bathroom design with customizations and design trends that reflect your unique tastes and preferences. Consider adding decorative elements such as mosaic tiles, statement lighting fixtures, or accent walls to infuse personality into the space. Explore trending design themes such as minimalist chic, industrial luxe, or Scandinavian-inspired simplicity to create a cohesive and inviting atmosphere. By incorporating elements that resonate with your aesthetic vision, you can transform your bathroom into a stylish sanctuary that you’ll love spending time in.
Conclusion: Elevating Your Bathroom Experience
Replacing a bathroom sink is a rewarding project that can transform the look and feel of your space while improving functionality and performance. By following this beginner’s guide and taking a systematic approach to the replacement process, you can achieve professional results without the need for costly professional assistance. With the right sink chosen to suit your needs, careful preparation and installation, and diligent maintenance, you can upgrade your bathroom space and elevate your daily routine to new heights of comfort and style.

