Sink Woes Begone: DIY Bathroom Sink Repair Made Easy
Is your bathroom sink causing you frustration with leaks, clogs, or other issues? Fear not! With the right tools and a little know-how, you can tackle common sink problems yourself, saving time and money on professional repairs. In this comprehensive guide, we’ll walk you through step-by-step instructions for DIY bathroom sink repair, covering everything from fixing leaks to clearing clogs and beyond. Say goodbye to sink woes and hello to a smoothly functioning bathroom fixture!
Identifying Common Sink Problems
Before diving into repairs, it’s essential to identify the specific issues plaguing your bathroom sink. Common problems include leaks around the faucet or drain, slow drainage, strange noises, and low water pressure. By pinpointing the source of the problem, you can determine the appropriate repair techniques needed to restore your sink to optimal condition.
Tools and Materials You’ll Need
Gather the necessary tools and materials before starting your DIY sink repair project. Essential items may include an adjustable wrench, plumber’s putty, pipe wrench, plumber’s tape, drain snake or auger, replacement washers or O-rings, and a sink plunger. Having these supplies on hand will ensure you’re prepared to tackle a variety of sink-related issues with confidence.
Fixing a Leaky Faucet
A leaky faucet is not only annoying but can also waste water and increase your utility bills. To fix a leaky faucet, start by turning off the water supply to the sink. Then, disassemble the faucet handle to access the cartridge or valve mechanism. Inspect the components for signs of damage or wear, such as corroded washers or O-rings, and replace them as needed. Reassemble the faucet, turn the water supply back on, and test for leaks. A properly repaired faucet should now operate smoothly without any drips or leaks.
Clearing a Clogged Drain
A clogged drain can lead to standing water in the sink and slow drainage, causing inconvenience and potential hygiene issues. To clear a clogged drain, begin by removing any debris or hair trapped in the drain stopper or strainer. Next, use a sink plunger to create suction and dislodge the clog. If the clog persists, try using a drain snake or auger to manually remove the obstruction from the pipe. Once the drain is clear, run hot water to flush out any remaining debris and restore proper drainage.
Replacing a Faulty Drain Stopper
If your sink’s drain stopper is broken or malfunctioning, it may need to be replaced to ensure proper functionality. Start by unscrewing or unfastening the drain stopper from the sink basin. Depending on the type of stopper mechanism, you may need to detach it from the pivot rod or linkage assembly underneath the sink. Once removed, inspect the stopper for damage and select a suitable replacement from your local hardware store. Install the new stopper according to the manufacturer’s instructions, ensuring a secure and watertight fit.
Restoring Water Pressure
Low water pressure can be caused by various factors, including mineral buildup, sediment accumulation, or a partially closed shut-off valve. To restore water pressure to your bathroom sink, start by checking the shut-off valves located beneath the sink. Ensure that the valves are fully open to allow maximum water flow. If the problem persists, remove and clean the faucet aerator to remove any debris or sediment that may be restricting water flow. Reattach the aerator and test the water pressure to see if it has improved.
Sealing Around the Sink
Proper sealing around the sink is essential for preventing leaks and water damage to your countertops and cabinets. To seal around the sink, apply plumber’s putty or silicone caulking along the edge where the sink meets the countertop. Use a putty knife or your fingers to spread the sealant evenly and create a watertight seal. Wipe away any excess sealant and allow it to dry completely before using the sink. Periodically check the sealant for signs of wear or deterioration and reapply as needed to maintain optimal sealing effectiveness.
Upgrading Your Bathroom Sink: Enhance Functionality and Style
Are you looking to give your bathroom sink a makeover? Whether you’re aiming to improve functionality, enhance aesthetics, or simply update outdated fixtures, upgrading your bathroom sink can breathe new life into your space. In this guide, we’ll explore various ways to upgrade your bathroom sink, from simple cosmetic changes to more extensive renovations. Get ready to transform your bathroom into a stylish and functional oasis that reflects your personal taste and lifestyle!

Cosmetic Enhancements
Sometimes, a few cosmetic upgrades can make a world of difference in the appearance of your bathroom sink. Consider the following enhancements to give your sink a fresh new look:
- Faucet Replacement: Swap out your old faucet for a sleek, modern design that complements your bathroom decor. Choose from a wide range of finishes, such as chrome, brushed nickel, or matte black, to create a cohesive look.
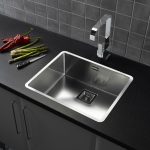
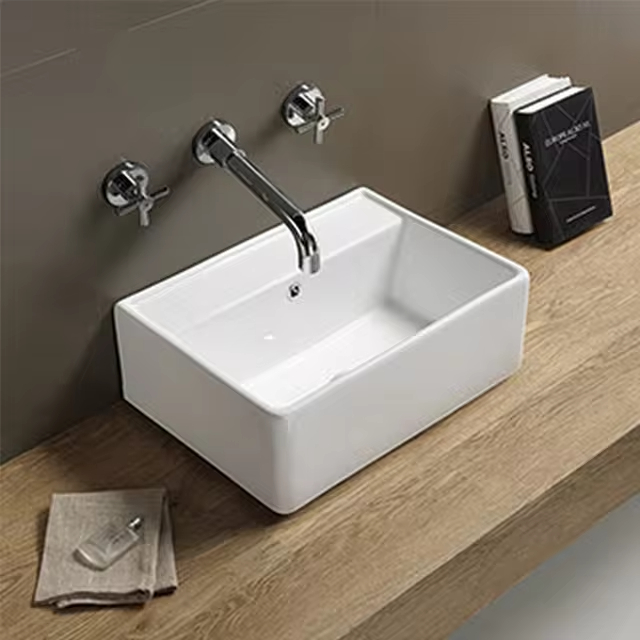
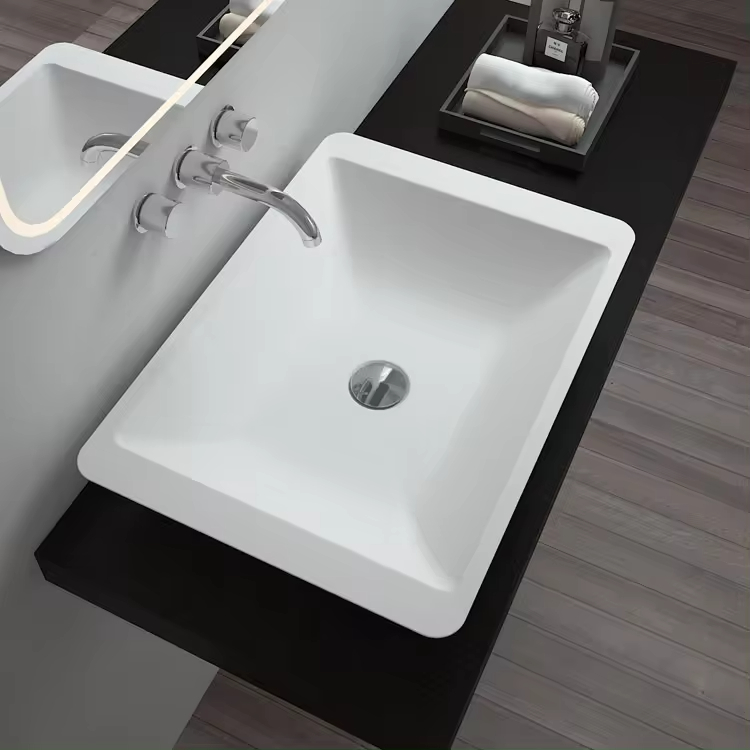
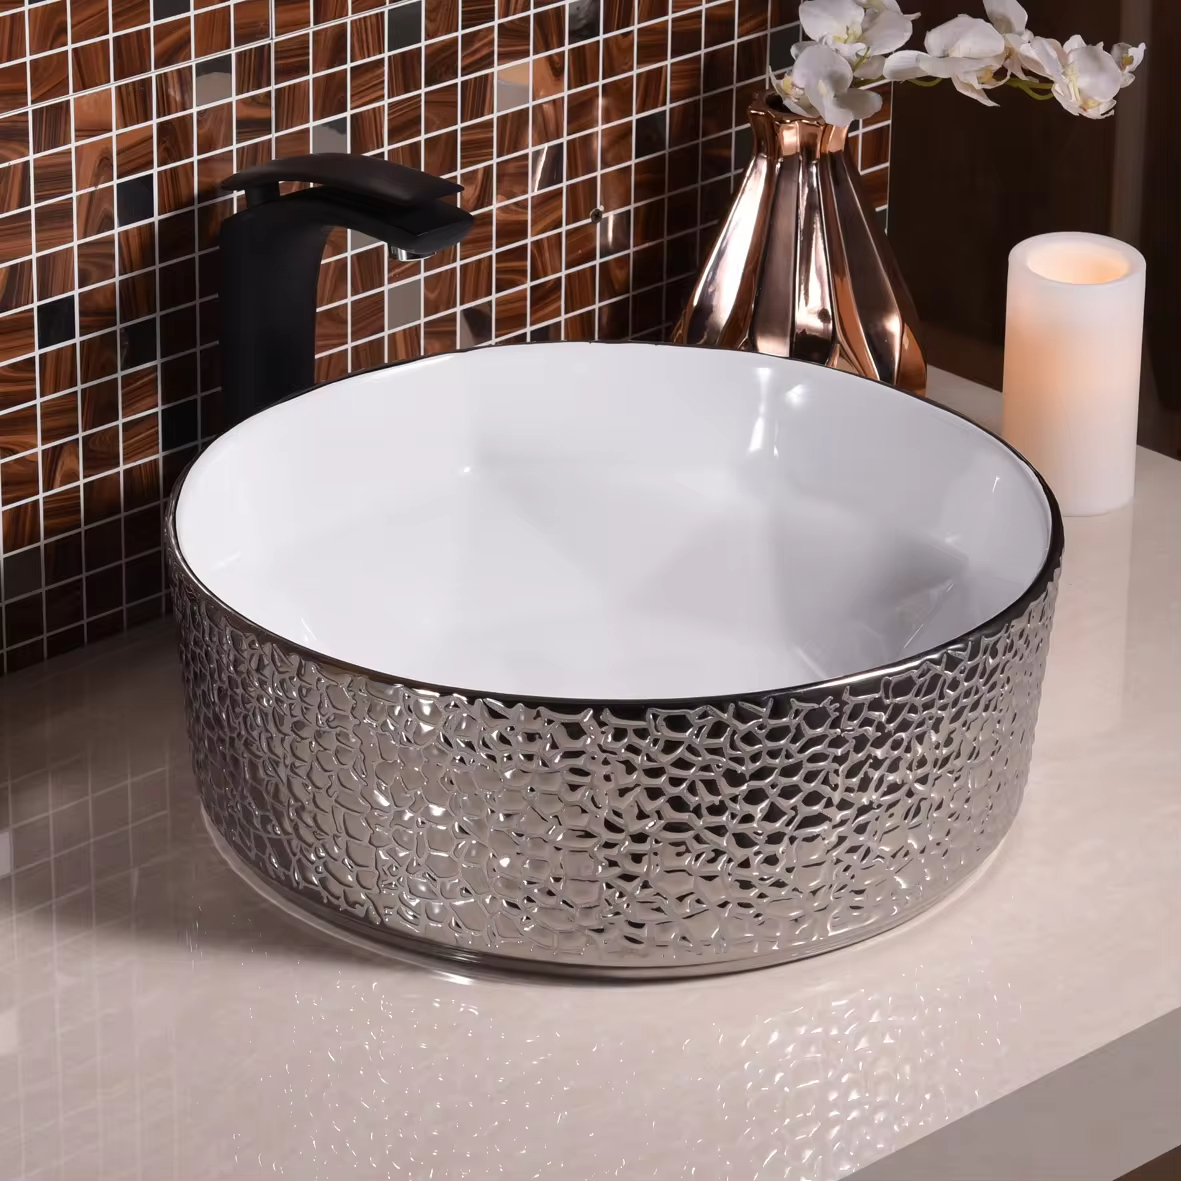
- New Sink Basin: Upgrade to a stylish sink basin that suits your aesthetic preferences and lifestyle needs. Options include undermount, vessel, pedestal, and wall-mounted sinks, each offering unique advantages in terms of design and functionality.
- Decorative Hardware: Install new cabinet knobs, drawer pulls, or towel bars to add a touch of elegance and personality to your bathroom vanity. Opt for coordinating hardware in complementary finishes to tie the look together seamlessly.
- Mirror Upgrade: Replace your old bathroom mirror with a statement-making piece that enhances the overall style of the space. Choose a mirror with built-in lighting or decorative frame detailing for added visual interest.

Conclusion: Enjoy a Fully Functional Bathroom Sink
By following these DIY repair tips and techniques, you can address common bathroom sink problems with ease and confidence. From fixing leaks and clearing clogs to replacing faulty components and restoring water pressure, you’ll have your sink back in working order in no time. Remember to prioritize safety and follow manufacturer instructions when performing repairs, and don’t hesitate to seek professional assistance if needed. With a little effort and know-how, you can bid farewell to sink woes and enjoy a fully functional bathroom fixture once again!