Introduction: Embracing Undermount Sinks
Undermount sinks have become increasingly popular in modern kitchens and bathrooms for their sleek appearance and practicality. Unlike traditional drop-in sinks, undermount sinks are installed beneath the countertop, creating a seamless and streamlined look. In this beginner’s guide, we’ll walk you through the process of installing an undermount sink, from preparation to finishing touches, empowering you to upgrade your space with style and functionality.
Understanding Undermount Sinks: A Closer Look
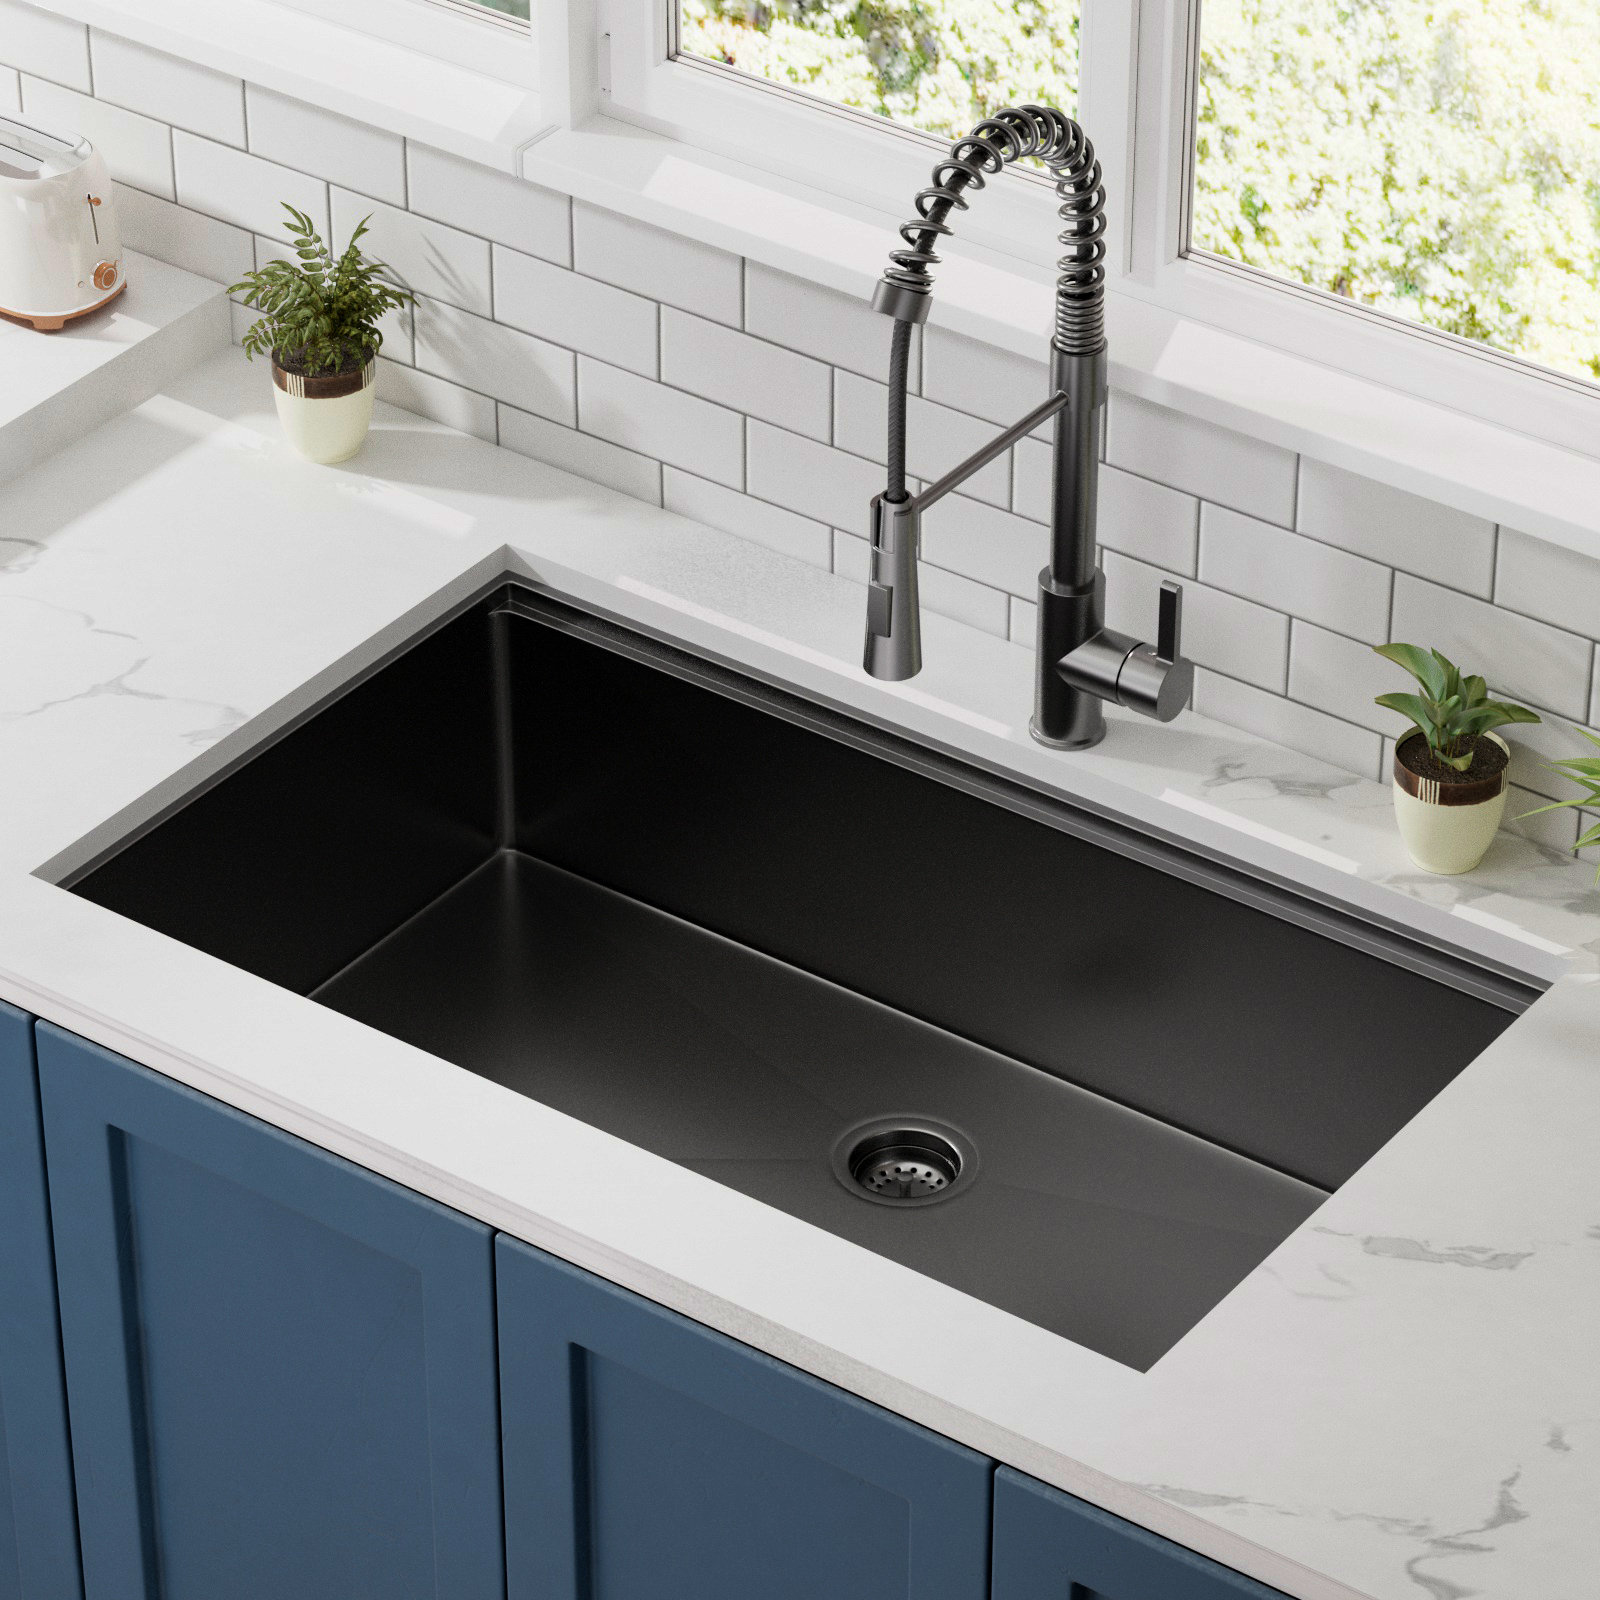
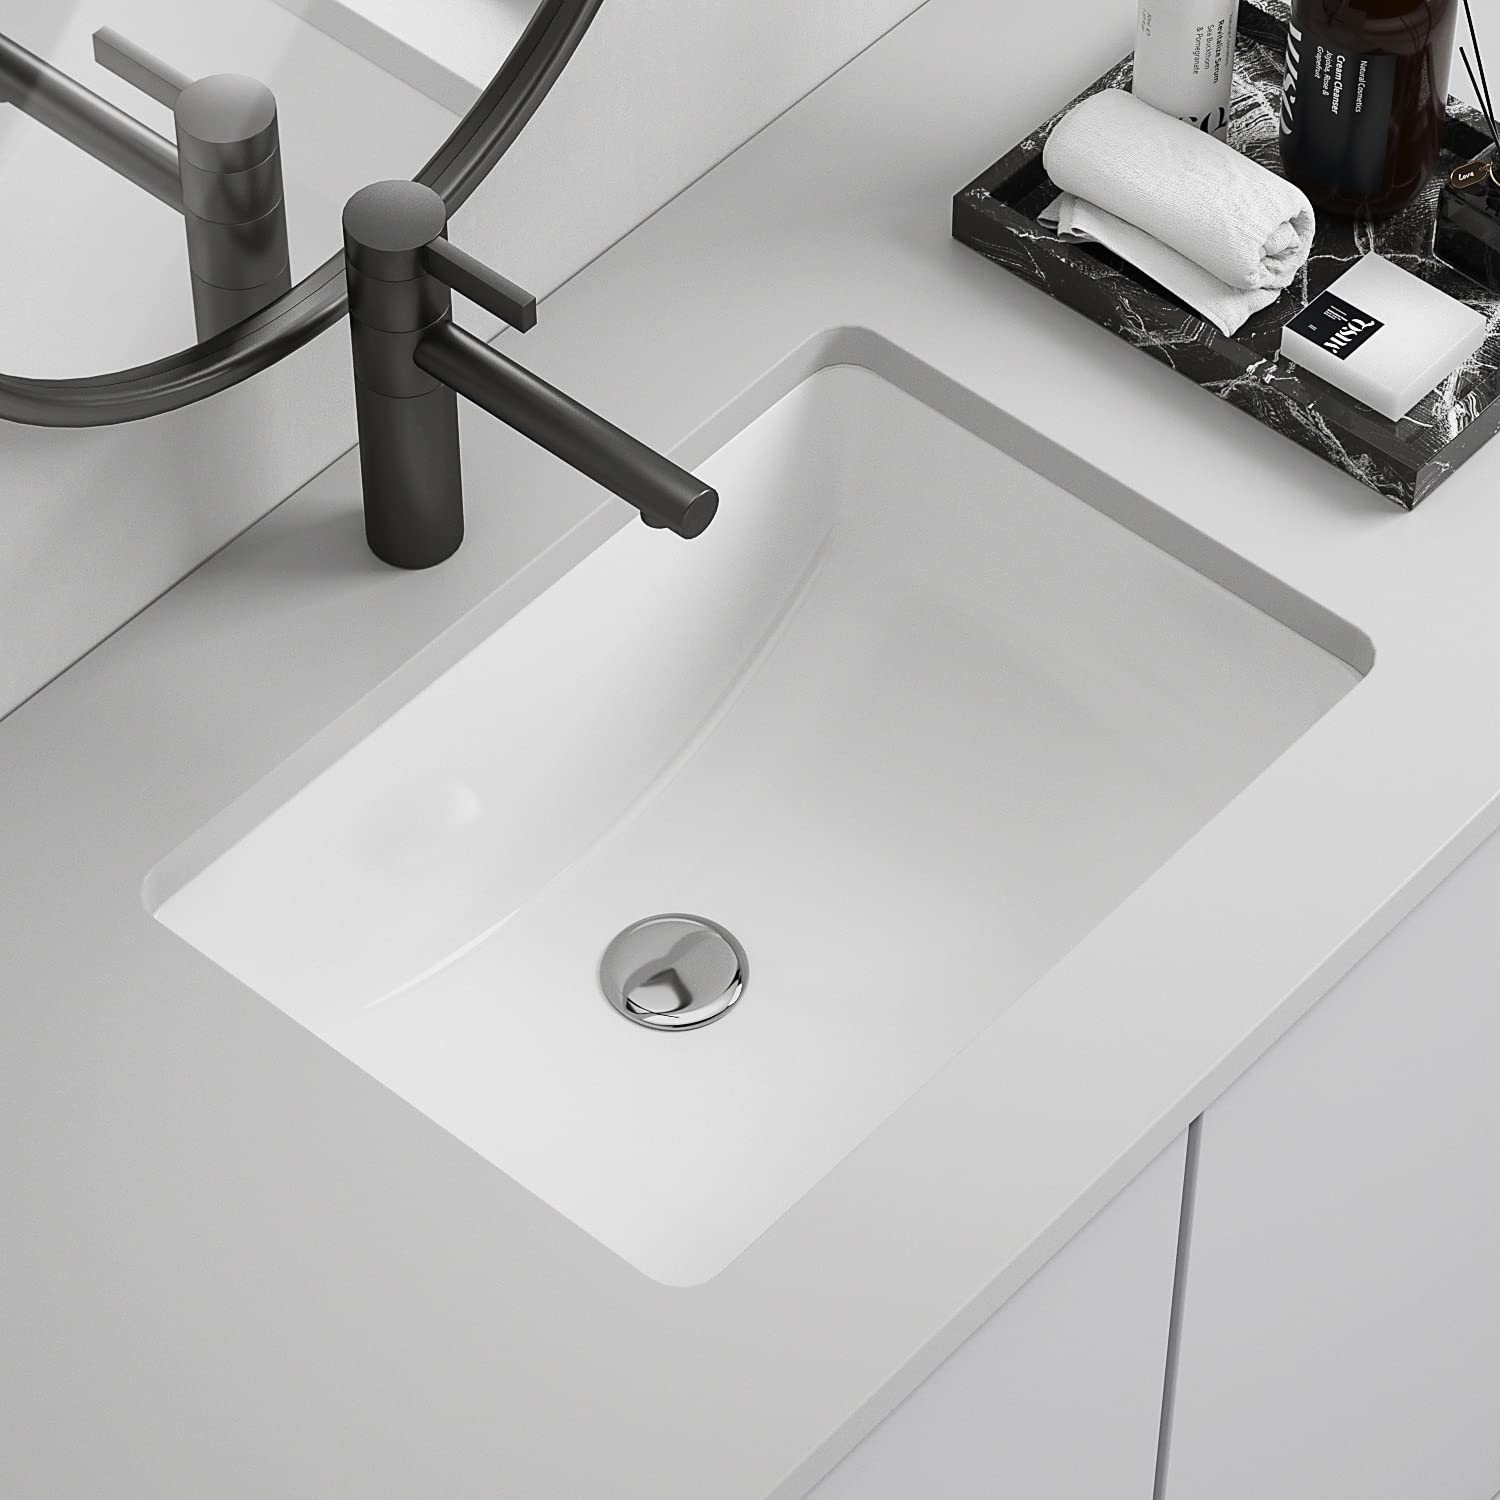
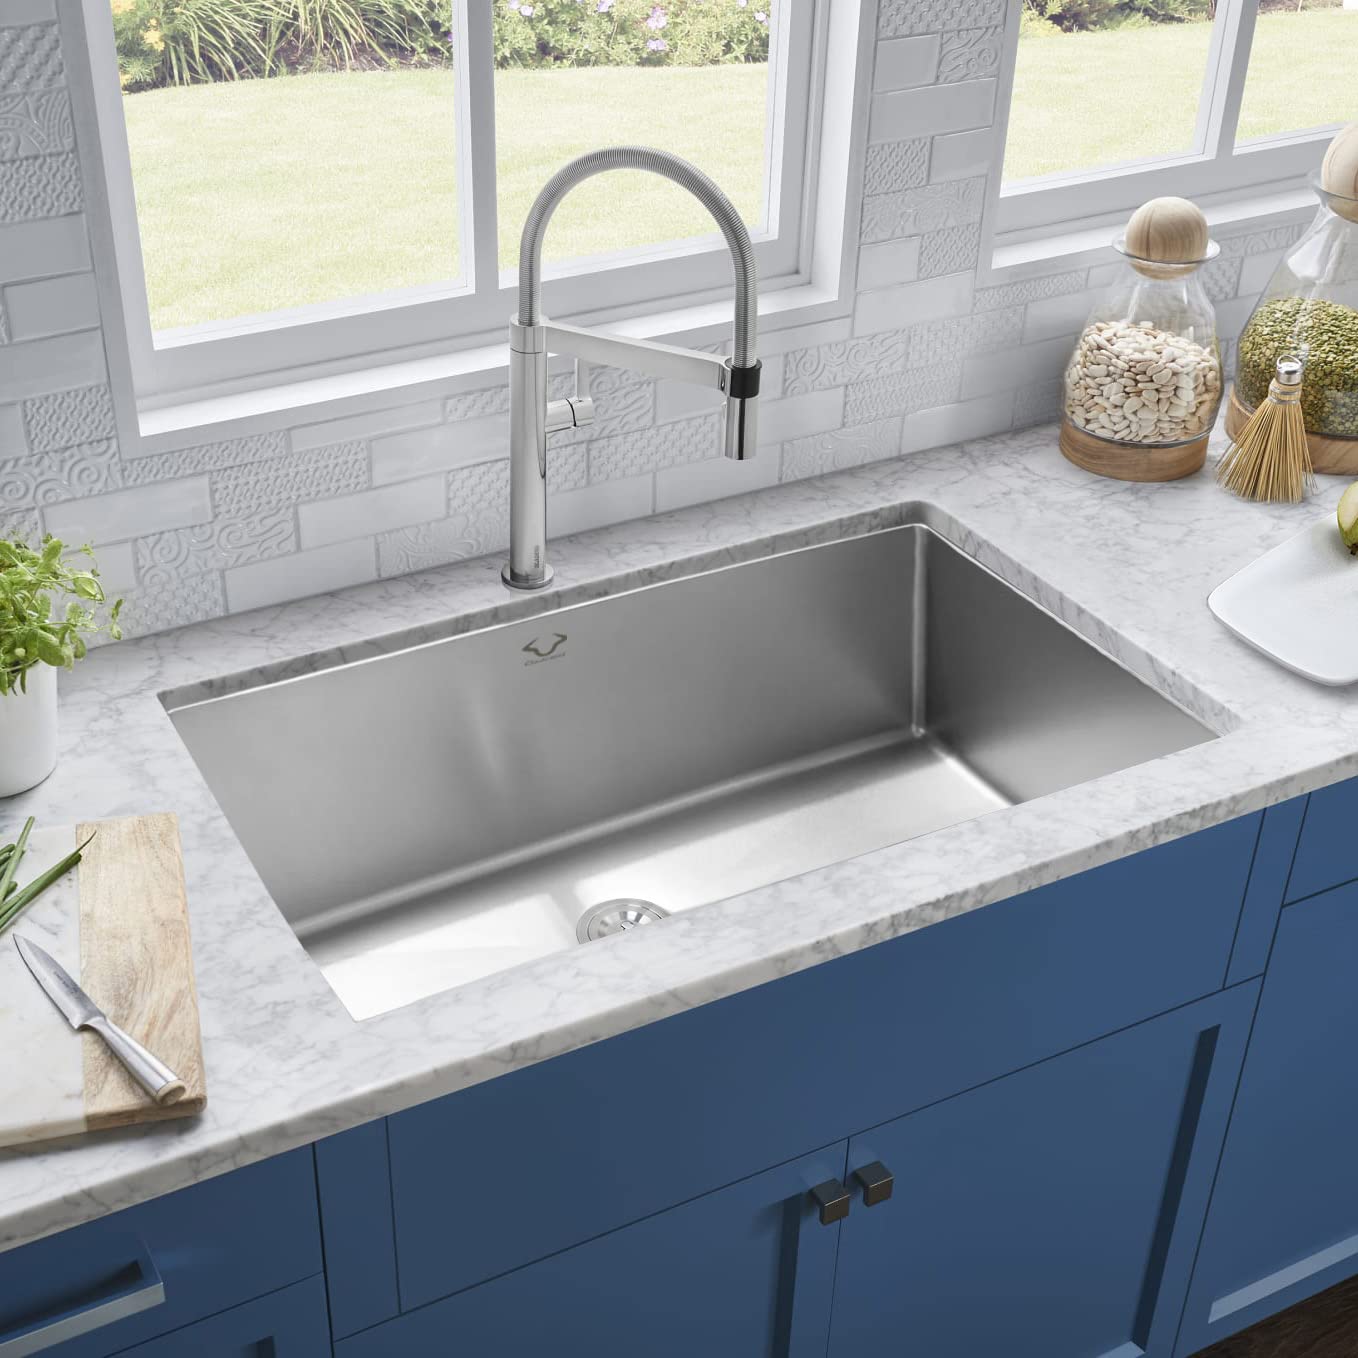
Before diving into the installation process, it’s essential to understand the anatomy of an undermount sink. These sinks typically consist of a basin, often made of stainless steel, porcelain, or composite materials, and a mounting system that attaches the sink to the underside of the countertop. Unlike drop-in sinks, undermount sinks do not have a rim that rests on the countertop, allowing for easier cleanup and a more modern aesthetic.
Assessing Your Space: Choosing the Right Sink and Countertop
The first step in installing an undermount sink is selecting the right sink and countertop combination for your space. Consider factors such as size, shape, and material compatibility to ensure a seamless fit and cohesive design. Additionally, take measurements of your countertop and cabinet space to determine the appropriate sink dimensions and placement, taking into account plumbing considerations and clearance requirements.
Preparation is Key: Gathering Materials and Tools
Before beginning the installation process, gather all the necessary materials and tools to ensure a smooth workflow. You’ll need items such as the undermount sink, countertop support brackets, adhesive sealant, plumber’s putty, silicone caulk, a drill with appropriate bits, and a jigsaw or hole saw for cutting faucet and drain holes. Having everything on hand will minimize disruptions and help you stay organized throughout the project.
Step-by-Step Installation Guide: From Start to Finish
- Removing the Existing Sink: Start by disconnecting the plumbing and removing any fixtures or accessories from the existing sink. Carefully detach the sink from the countertop and lift it out, taking care not to damage the surrounding cabinetry or plumbing fixtures.
- Preparing the Countertop: Clean and inspect the countertop surface to ensure it’s free of debris and in good condition. If necessary, reinforce the underside of the countertop with additional support braces or plywood to accommodate the weight of the undermount sink.
- Positioning the Sink: Place the undermount sink upside down on the countertop surface, making sure it’s centered and aligned properly. Use a pencil to trace the outline of the sink onto the underside of the countertop, indicating where the sink will be mounted.
- Cutting Faucet and Drain Holes: Using a drill equipped with the appropriate hole saw or jigsaw, carefully cut out holes for the faucet and drain fittings according to the manufacturer’s specifications. Take your time and use steady, controlled movements to avoid splintering or damaging the countertop surface.
- Attaching the Sink: Apply a generous bead of adhesive sealant or silicone caulk along the perimeter of the sink cutout on the underside of the countertop. Carefully lift the sink into place, ensuring it fits snugly within the cutout and aligns with the pencil markings. Secure the sink in position using countertop support brackets, following the manufacturer’s instructions.
- Connecting Plumbing: Once the sink is securely in place, reattach the plumbing fixtures and connect the water supply lines and drain pipes. Check for any leaks or loose connections and make adjustments as needed to ensure proper functionality.
- Finishing Touches: After the plumbing is reconnected and tested, apply a bead of silicone caulk along the seam between the sink and countertop to create a watertight seal. Wipe away any excess caulk with a damp cloth and allow it to dry thoroughly before using the sink.
Maintenance and Care: Keeping Your Sink Looking its Best
To maintain the beauty and functionality of your undermount sink, it’s important to practice regular maintenance and care. Clean the sink regularly with mild soap and water, avoiding abrasive cleaners or scouring pads that could scratch or damage the surface. Additionally, wipe down the countertop and sink edges after each use to prevent water damage and mold growth. With proper care, your undermount sink will continue to shine for years to come.
Enhancing Functionality: Incorporating Accessories and Features
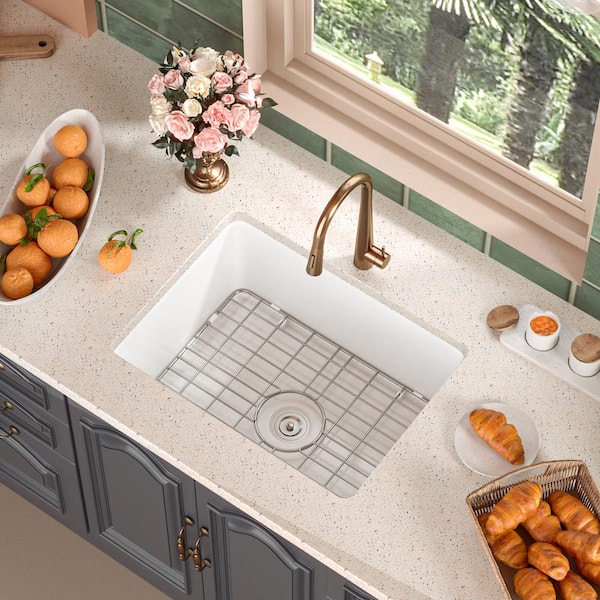
To maximize the functionality of your undermount sinks, consider incorporating accessories and features that enhance usability and convenience. Accessories such as sinks grids, cutting boards, and colanders can help optimize workspace and make meal preparation more efficient. Similarly, features like built-in soap dispensers, filtration systems, and touchless faucets add convenience and modern flair to your kitchen or bathroom environment. Explore the possibilities and choose accessories that align with your lifestyle and workflow preferences.

Addressing Installation Challenges: Troubleshooting Tips and Solutions
While installing an undermount sinks is relatively straightforward, it may pose challenges depending on the complexity of your countertop and plumbing configuration. Common issues such as uneven countertop surfaces, tight cabinet spaces, or incompatible plumbing connections can complicate the installation process. However, with patience and resourcefulness, many challenges can be overcome. Utilize shims or leveling compounds to correct uneven surfaces, reconfigure plumbing connections as needed, and seek assistance from professionals or online resources if you encounter difficulties beyond your expertise.
Considering Long-Term Durability: Materials and Maintenance Insights
When investing in an undermount sinks, it’s essential to prioritize durability and longevity to ensure your investment stands the test of time. Opt for high-quality sinks materials such as 18-gauge stainless steel or vitreous china that resist corrosion, stains, and scratches. Additionally, choose finishes that are easy to clean and maintain, requiring minimal effort to keep your sinks looking its best. Regular maintenance practices such as wiping down the sinks after each use, avoiding harsh chemicals, and promptly addressing any issues can help prolong the life of your undermount sink and preserve its beauty for years to come.

Conclusion: Elevating Your Space with Undermount Elegance
Installing an undermount sink is a rewarding DIY project that can instantly elevate the look and functionality of your kitchen or bathroom. By following this beginner’s guide and taking the time to prepare properly, you can achieve professional-quality results and enjoy the seamless beauty of an undermount sinks for years to come. So roll up your sleeves, gather your tools, and sinks into style with confidence—it’s time to transform your space one installation at a time.

