Introduction to Sink Repairs
A leaky sink can be more than just an annoying drip; it can lead to significant water waste, higher utility bills, and potential water damage to your cabinets and flooring. Addressing this issue promptly is essential for maintaining the integrity of your home. While the prospect of repairing a leaky sink may seem daunting, it is a task that homeowners can often manage themselves with a bit of guidance and the right tools. This guide will walk you through the step-by-step process of identifying and fixing common causes of sink leaks, empowering you to handle the repair with confidence and efficiency.
Gathering Necessary Tools and Materials
Before diving into the repair process, it’s crucial to gather all the necessary tools and materials. Having everything ready will streamline the process and prevent unnecessary trips to the hardware store. Essential tools include an adjustable wrench, pipe wrench, screwdriver set (both flathead and Phillips), plumber’s tape, and a bucket or container to catch water. Additionally, you might need replacement parts such as washers, O-rings, or faucet cartridges, depending on the type of faucet and the nature of the leak. By preparing these items in advance, you’ll ensure that the repair process goes smoothly and efficiently.
Turning Off the Water Supply
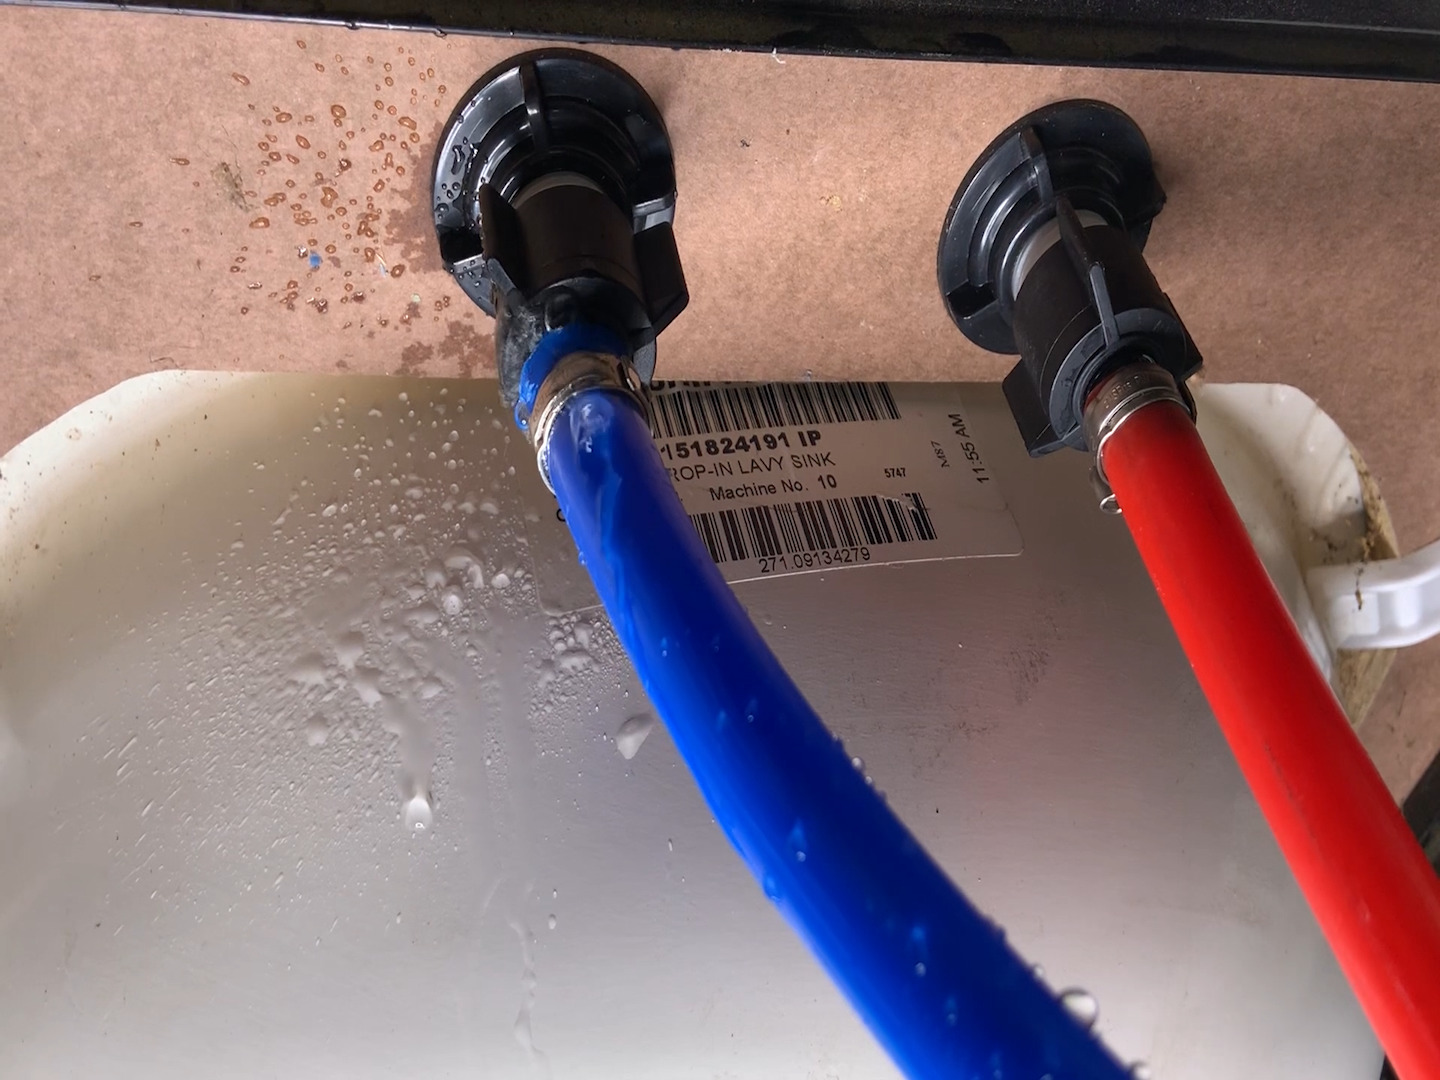
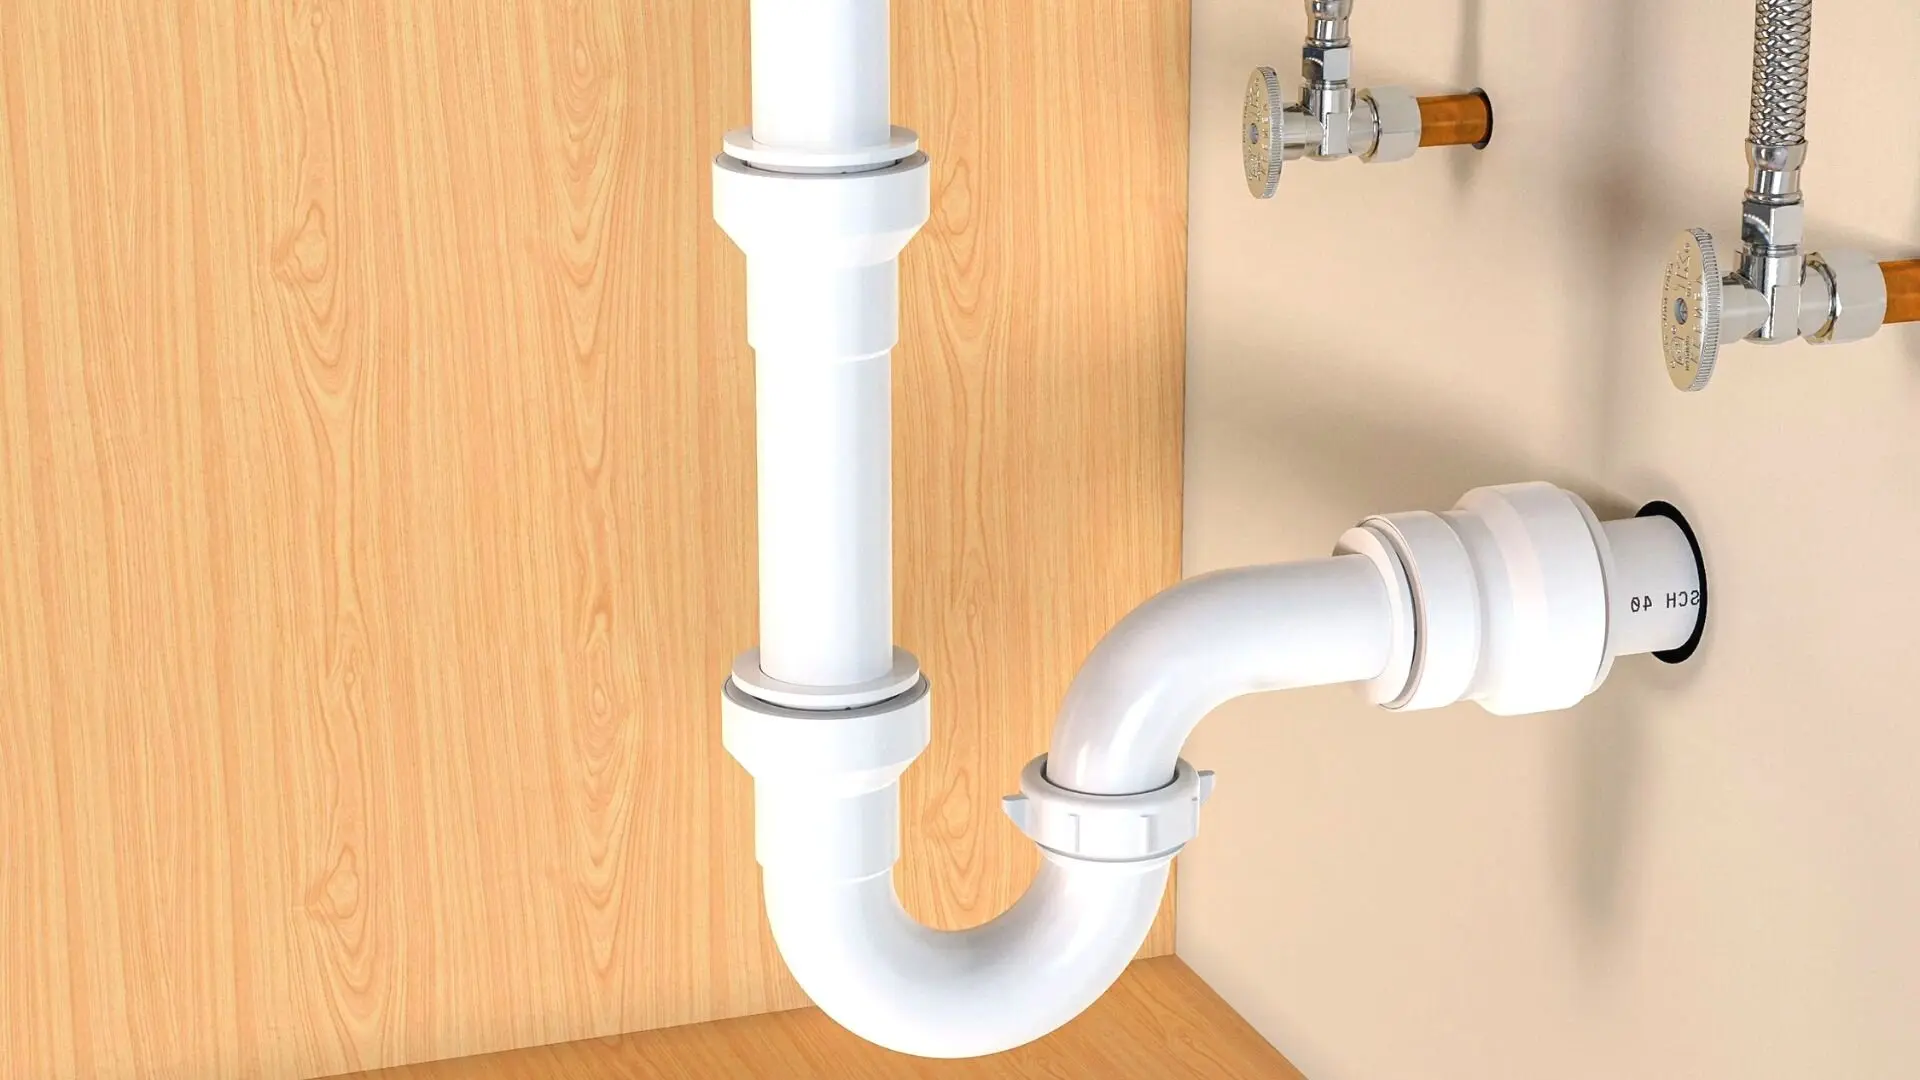
The first crucial step in fixing a leaky sink is to turn off the water supply to prevent any further water flow while you work. Locate the shutoff valves under the sink; there should be two valves—one for hot water and one for cold water. Turn both valves clockwise until they are fully closed. If the shutoff valves are stuck or not functioning properly, you may need to turn off the main water supply to your home. This step is vital to avoid water spillage and potential flooding, ensuring a dry and safe working environment as you proceed with the repair.

Identifying the Source of the Leak
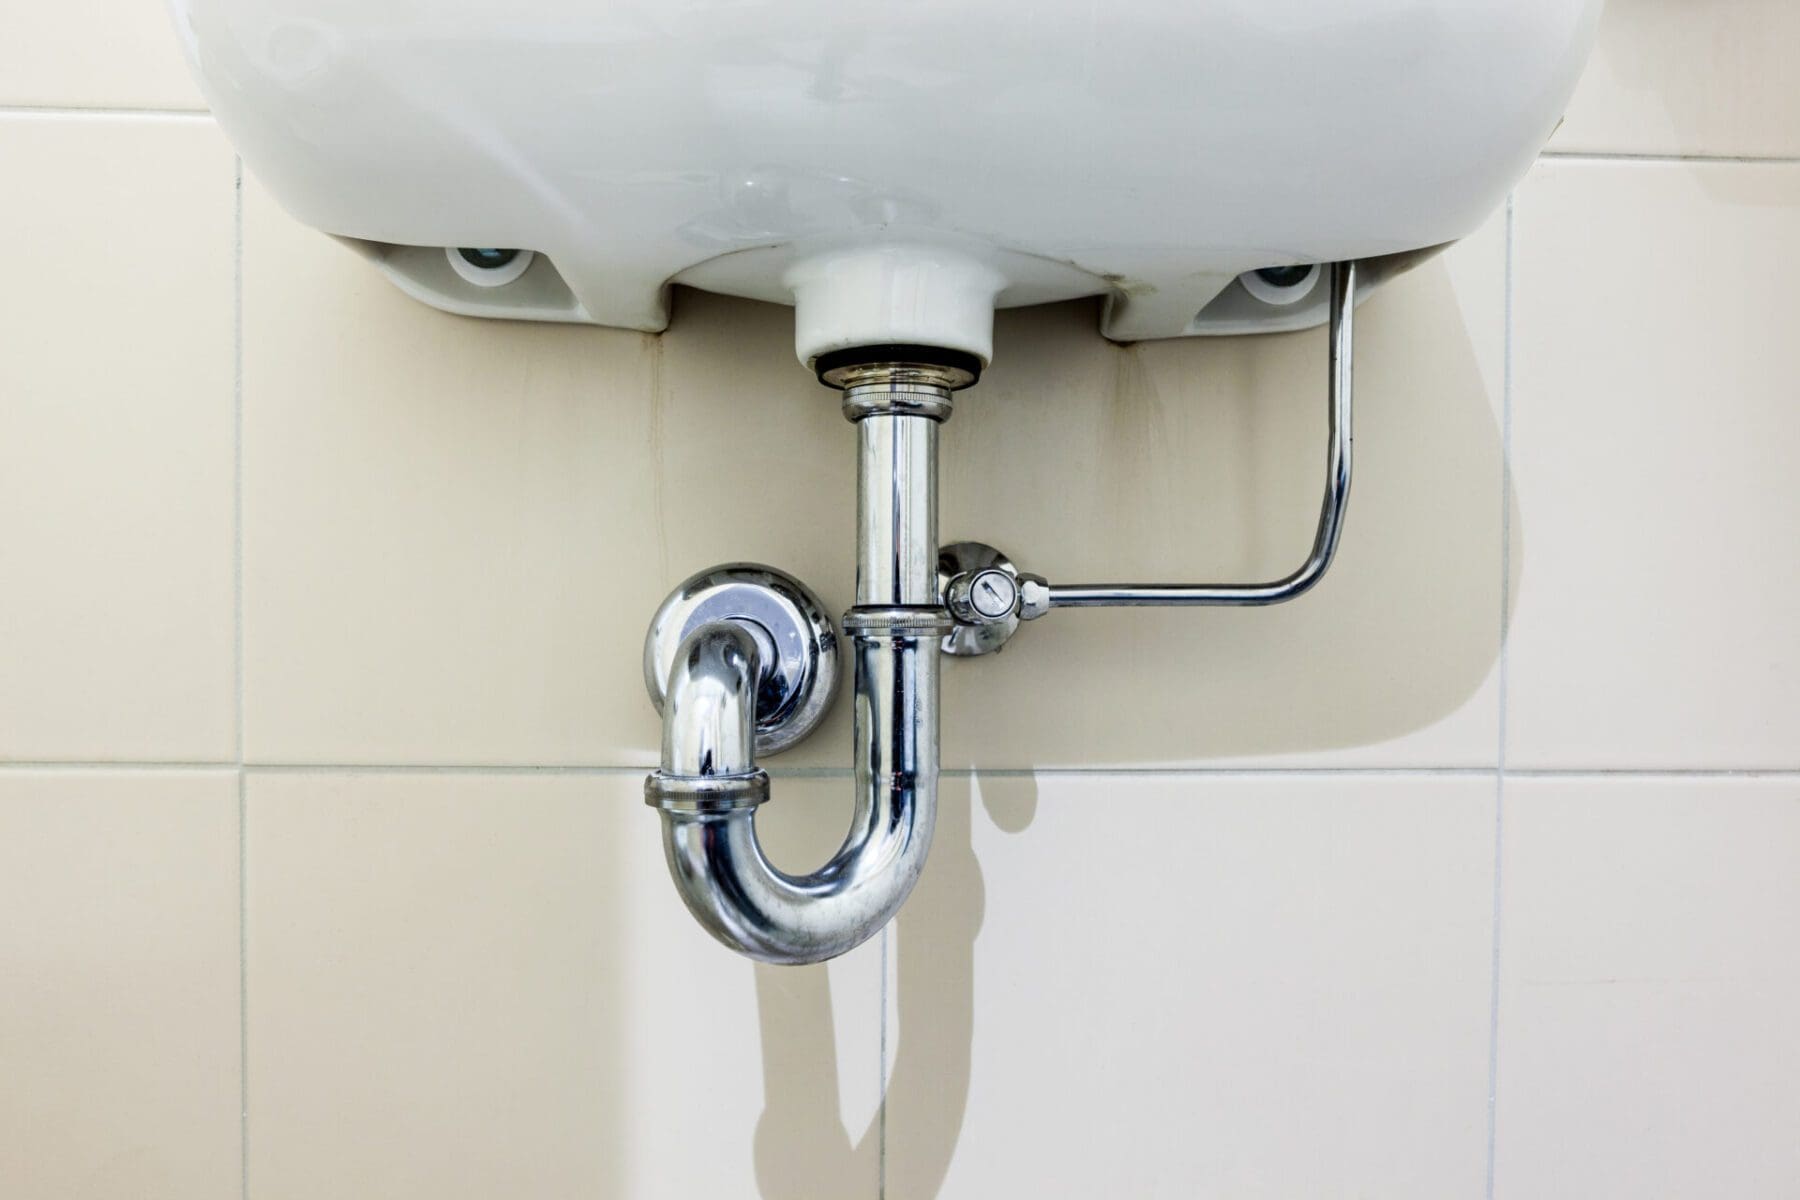
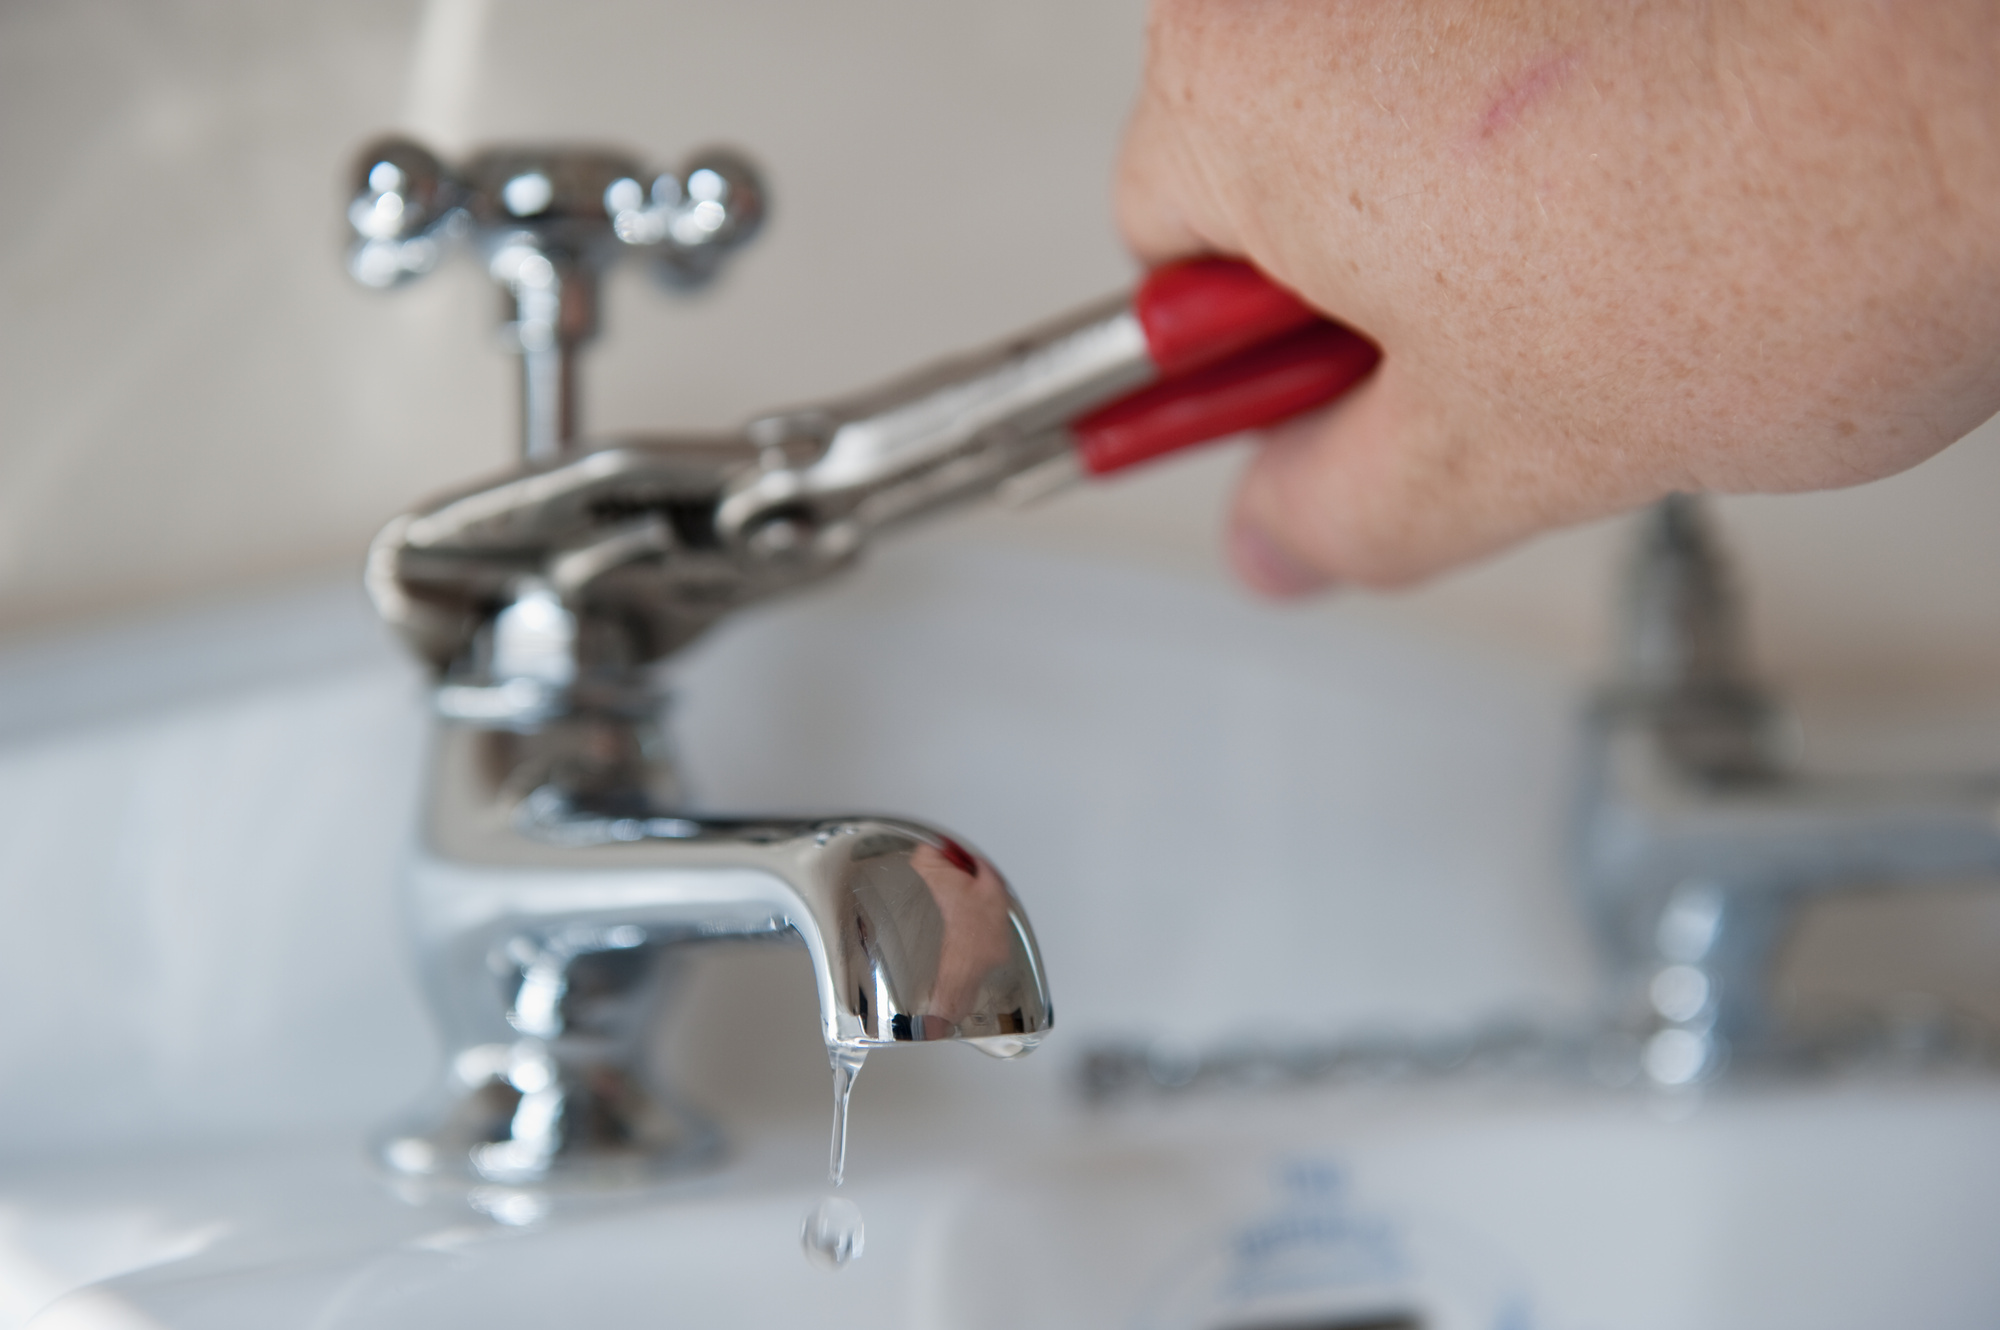
Once the water supply is turned off, the next step is to identify the source of the leak. Leaks can originate from various parts of the sink, including the faucet, the connections beneath the sink, or the sink basin itself. Carefully inspect the area around the faucet, paying close attention to the base and handles. Check underneath the sink for signs of moisture around the pipes, connections, and the P-trap. Identifying the exact location of the leak will help determine the appropriate repair method and ensure that all potential sources of leakage are addressed during the repair process.
Disassembling the Faucet
If the leak is coming from the faucet, you’ll need to disassemble it to access the internal components. Start by removing any decorative caps or covers on the faucet handles using a flathead screwdriver. Once exposed, use an adjustable wrench to unscrew the handle nuts and remove the handles. Next, carefully unscrew the retaining nuts or collars that hold the faucet cartridge or valve stem in place. This process will vary slightly depending on the type of faucet—compression, ball, cartridge, or ceramic disc—but the goal is to access the internal seals and components that might be causing the leak. Keep all removed parts organized to make reassembly easier later on.
Replacing Worn-Out Washers and O-Rings
One of the most common causes of faucet leaks is worn-out washers and O-rings. These small rubber or silicone components create a watertight seal within the faucet but can deteriorate over time due to wear and tear. Once you have disassembled the faucet and accessed these components, inspect them closely for signs of damage or wear. If they appear cracked, flattened, or hardened, they need to be replaced. Take the old washers and O-rings to a hardware store to ensure you get the correct size replacements. Installing new washers and O-rings can often resolve the leak and restore the faucet’s proper function.
Reassembling the Faucet
After replacing the worn-out washers and O-rings, it’s time to reassemble the faucet. Begin by carefully reinserting the faucet cartridge or valve stem into its housing, ensuring it is properly aligned. Secure it in place with the retaining nuts or collars, and tighten them with an adjustable wrench. Reattach the faucet handles, securing them with the handle nuts. Finally, replace any decorative caps or covers that were removed. Double-check that all components are securely tightened but avoid over-tightening, as this can cause damage. Once reassembled, the faucet should be ready for testing.
Testing for Leaks
With the faucet reassembled, it’s time to test for leaks. Turn the water supply back on by slowly opening the shutoff valves under the sink. Gradually increase the water pressure to check for any signs of leakage around the faucet handles, base, and spout. Allow the water to run for a few minutes, observing all connections and joints closely. If no leaks are detected, congratulations—you have successfully repaired your leaky sink! However, if you still notice any drips or moisture, further inspection and potential adjustments may be necessary to fully resolve the issue.
Addressing Under-Sink Leaks
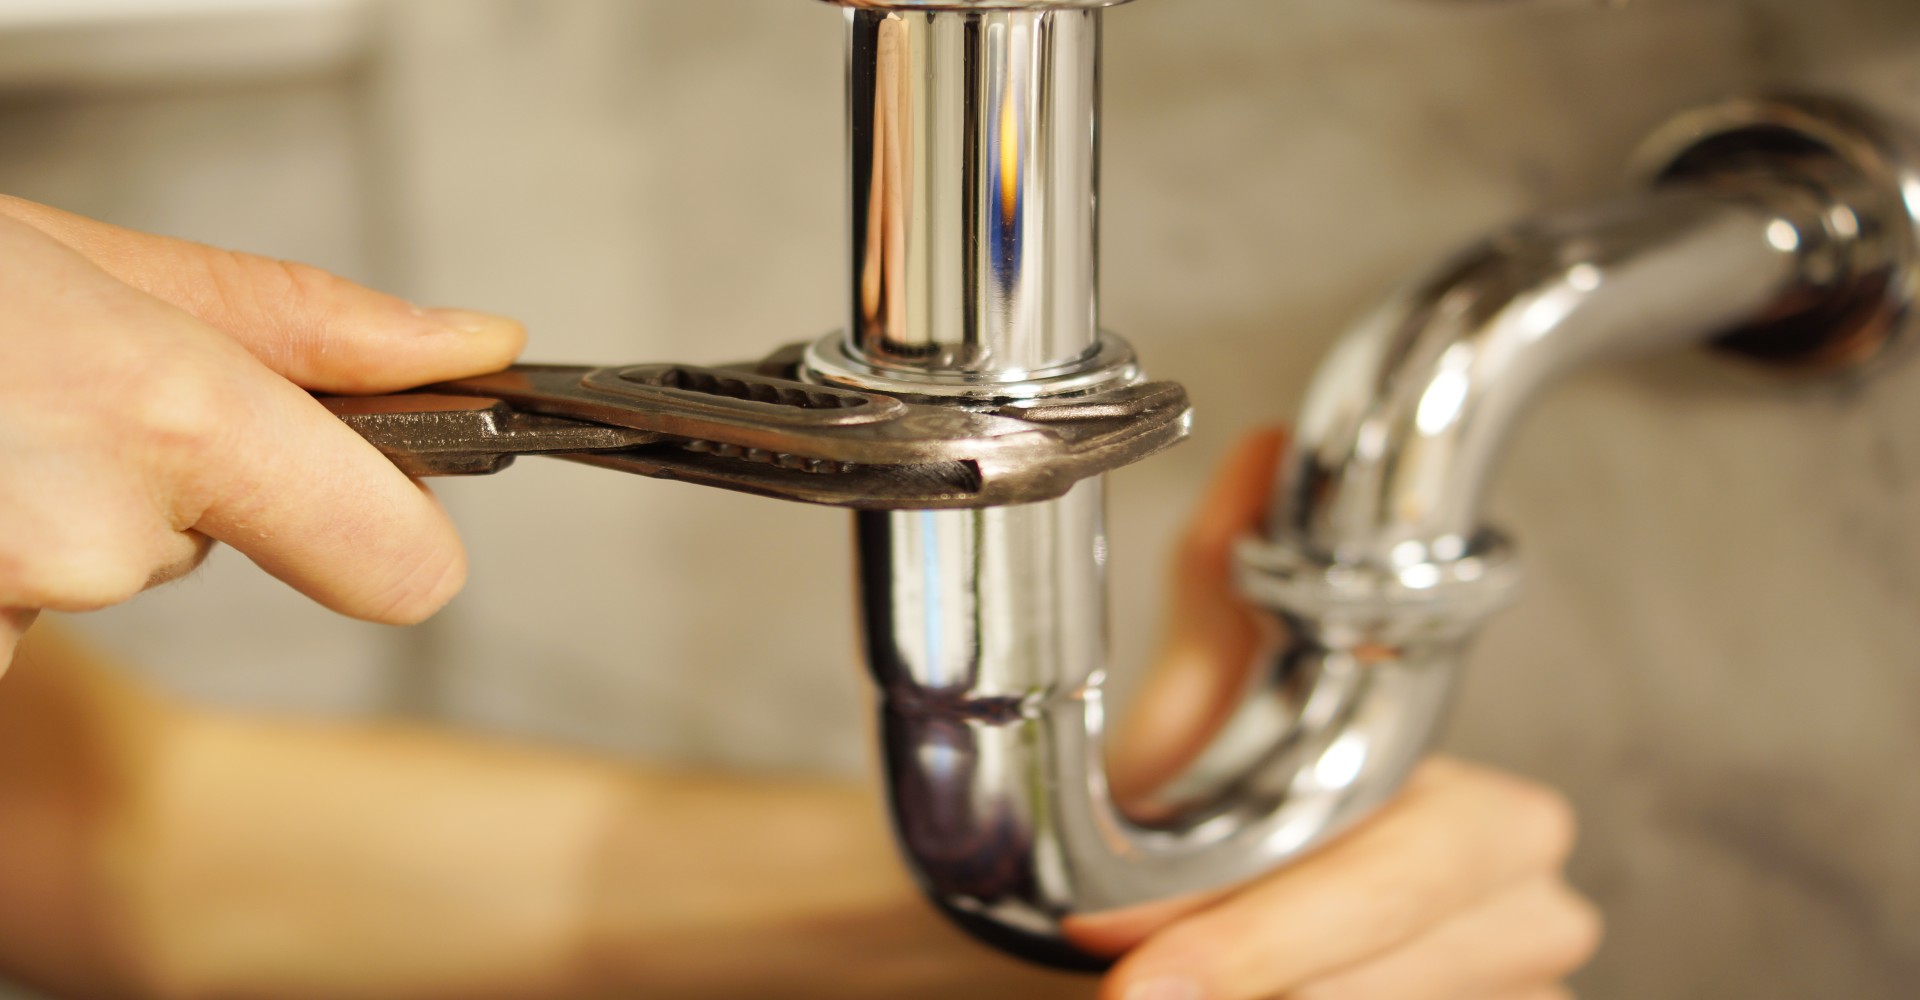
If the leak is not coming from the faucet but rather from the connections or pipes under the sink, additional steps are required. Begin by placing a bucket or container beneath the sink to catch any water that may spill during the repair. Check the connections at the supply lines and the P-trap for signs of looseness or damage. Tighten any loose connections using an adjustable wrench, but be careful not to overtighten and strip the threads. If the leak persists, inspect the P-trap for cracks or corrosion and replace it if necessary. Ensuring all connections are secure and properly sealed is crucial for addressing under-sink leaks effectively.
Replacing Faulty Sink Components
In some cases, a leaky sink may require replacing faulty components such as the faucet cartridge, valve stems, or supply lines. If tightening connections and replacing washers and O-rings do not resolve the issue, it may be necessary to invest in new parts. Consult the manufacturer’s instructions or seek guidance from a hardware store professional to ensure you purchase the correct replacement components for your specific sink model. Installing new components may involve additional disassembly and reassembly steps, so follow the instructions carefully to achieve a successful repair.
Ensuring Proper Sealing
Proper sealing is essential for preventing future leaks and ensuring the longevity of your sink repair. Apply plumber’s tape to the threaded connections of the supply lines and other fittings to create a watertight seal. Be sure to wrap the tape in a clockwise direction to match the direction of the threads. Additionally, use a high-quality waterproof sealant or plumber’s putty to seal any gaps between the sink basin and countertop, as well as around the base of the faucet. Properly sealing all joints and connections will help prevent leaks from reoccurring and maintain the integrity of your sink installation.
Conclusion: Enjoying a Leak-Free Sink
Fixing a leaky sink is a manageable task that can save you money, and contribute to a more efficient household. By following this step-by-step guide, you can confidently address common causes of sink leaks and perform the necessary repairs. Remember to gather your tools and materials, turn off the water supply, identify the source of the leak, and carefully disassemble, repair, and reassemble the faucet or under-sink components. Testing for leaks, ensuring proper sealing, and practicing preventive maintenance will help maintain a leak-free sink for years to come. However, don’t hesitate to call a professional if needed, and enjoy the satisfaction of a job well done and a fully functional, leak-free sink.

