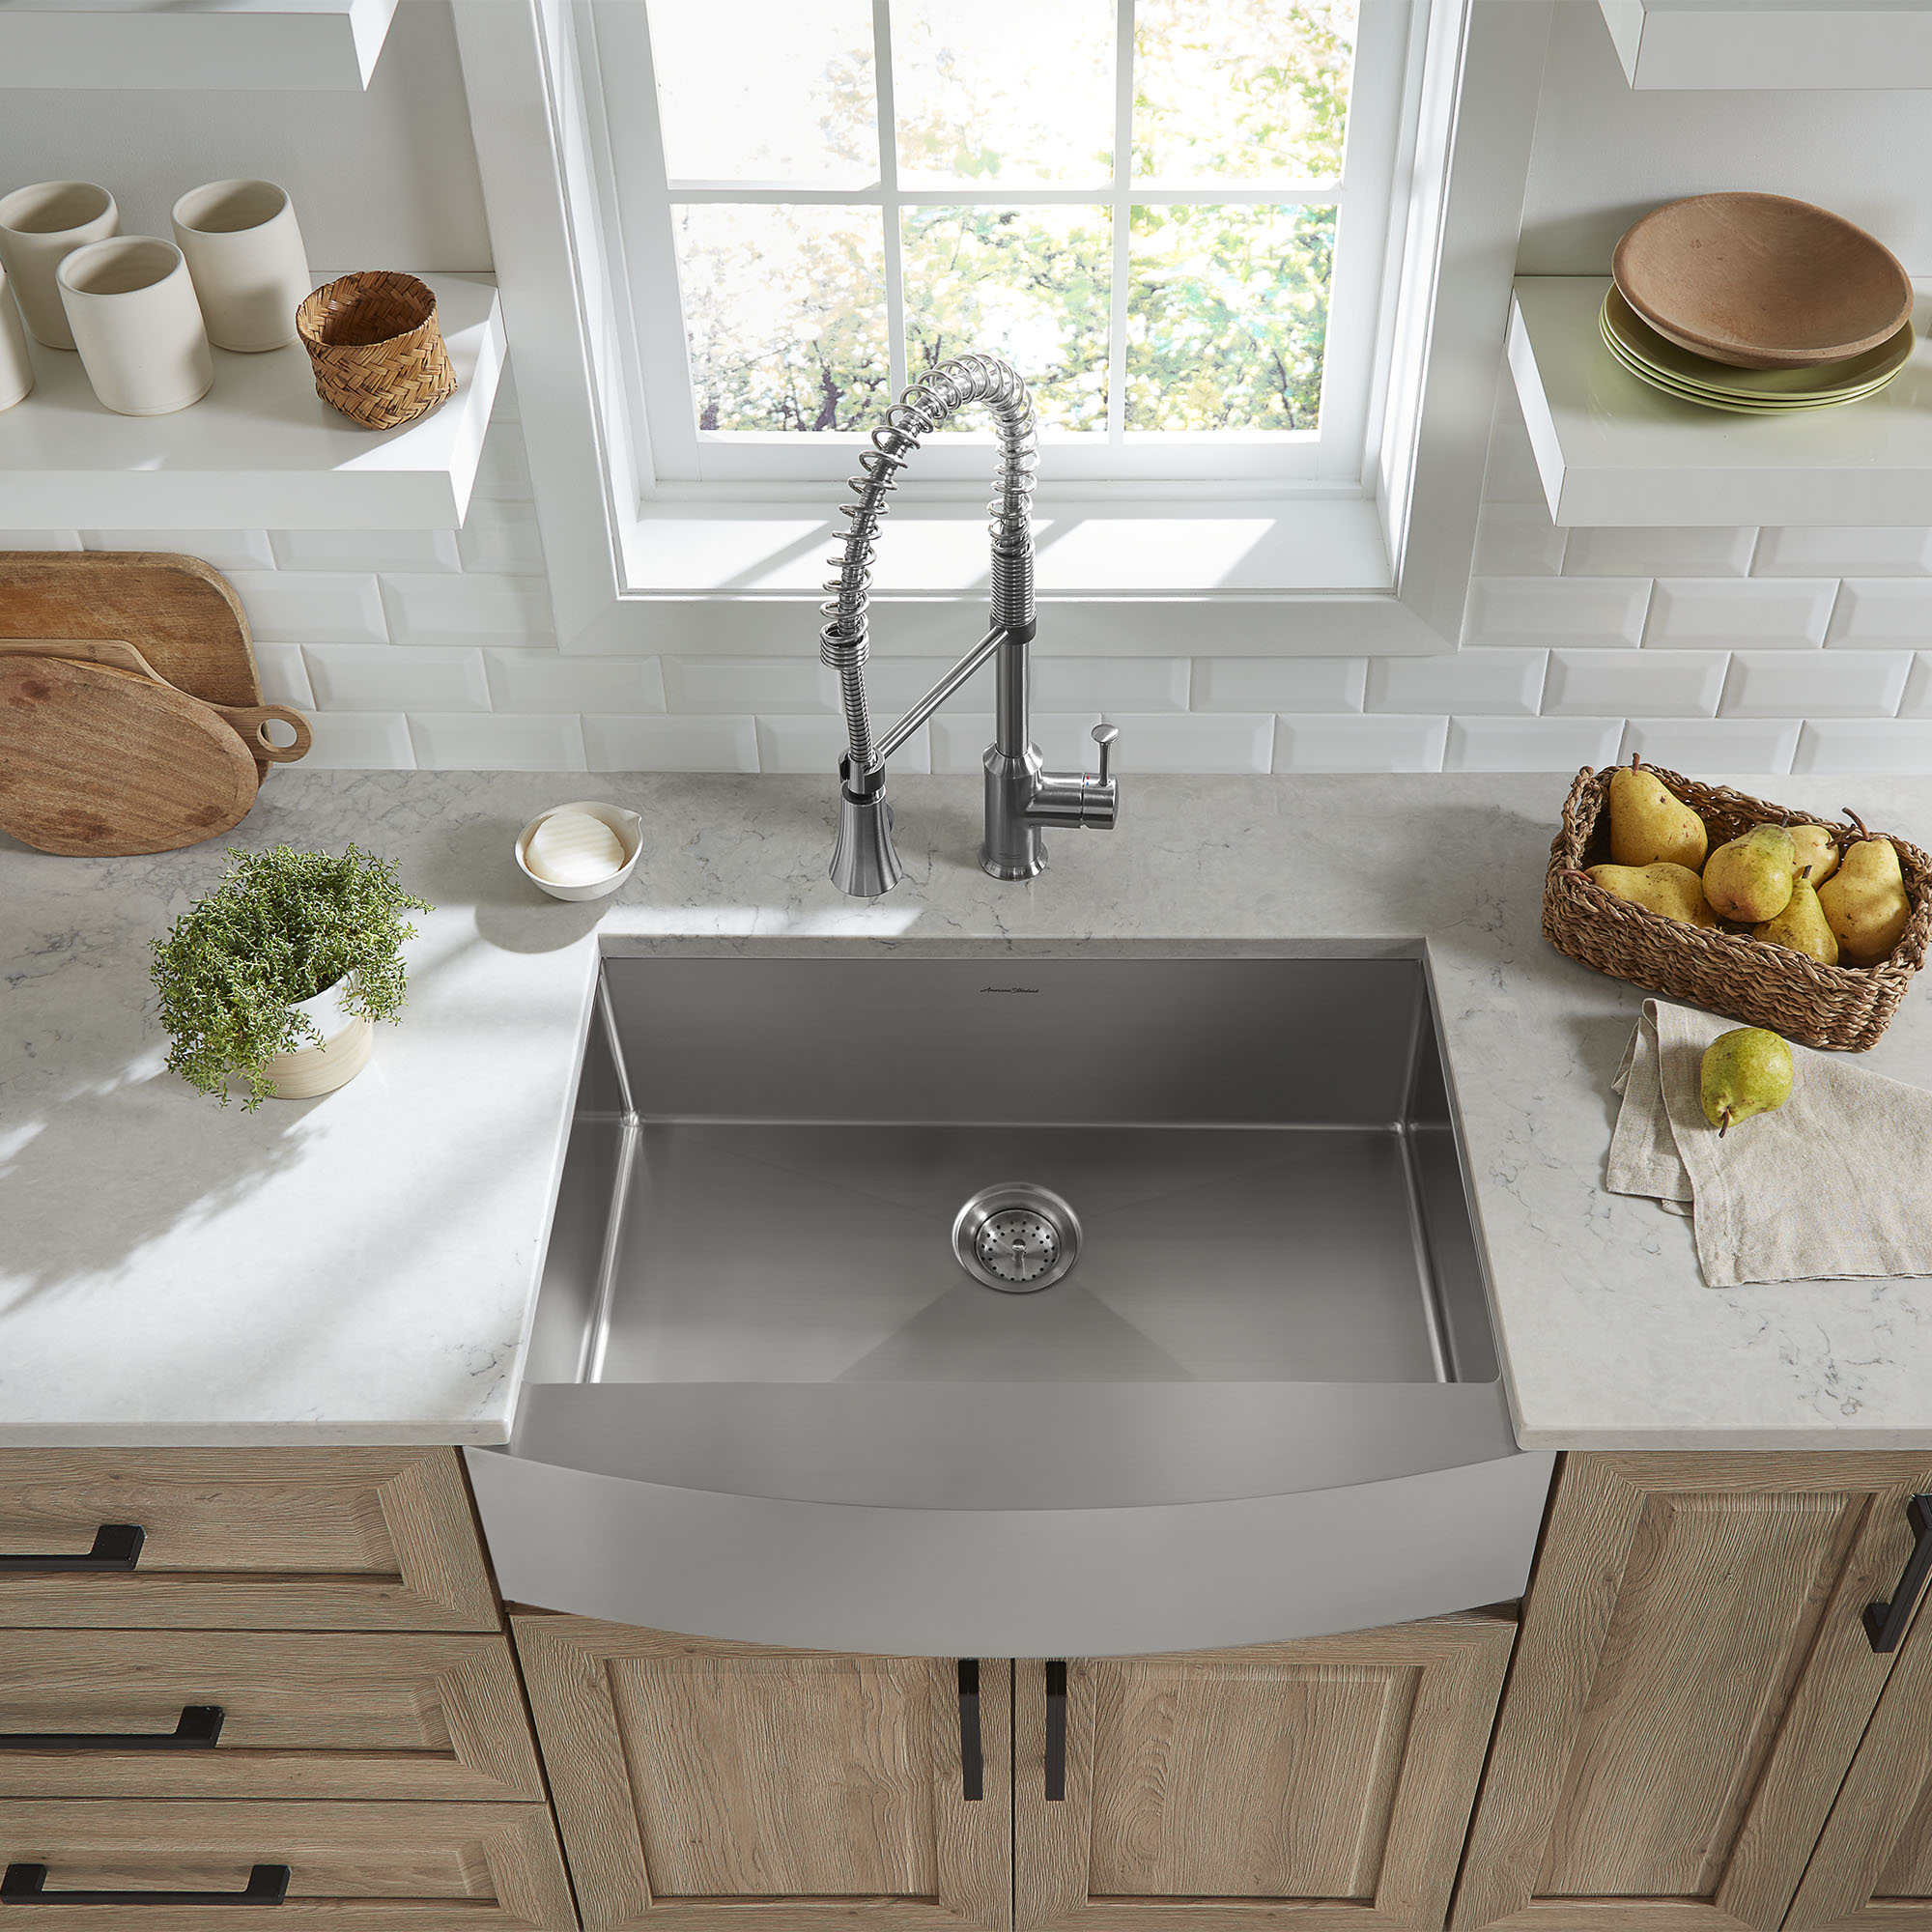
Introduction: Understanding the Issue
A leaking kitchen sink can be a frustrating and potentially costly problem to deal with. Not only does it waste water and drive up your utility bills, but it can also cause damage to your cabinets, flooring, and countertops if left unchecked. Fortunately, many common causes of kitchen sink leaks can be addressed with simple DIY solutions. In this comprehensive guide, we’ll explore eight effective strategies for fixing a leaking kitchen sink, helping you regain control over your plumbing and prevent further damage to your home.
1. Identifying the Source of the Leak
Before you can fix a leaking kitchen sink, it’s important to pinpoint the source of the problem. Leaks can occur in various parts of the sink, including the faucet, the drain, the supply lines, and the seals around the sink basin. Begin by thoroughly inspecting these areas for signs of moisture, corrosion, or damage. Run water in the sink and check for any visible leaks or drips. Use a flashlight to examine hard-to-reach areas under the sink for signs of water accumulation or dampness.

2. Tightening Loose Connections
One of the most common causes of kitchen sink leaks is loose or worn-out connections between the various components of the plumbing system. Use a wrench or adjustable pliers to tighten loose nuts, bolts, and fittings on the faucet, the drain assembly, and the supply lines. Be careful not to over-tighten, as this can cause damage to the threads or seals. Inspect rubber gaskets and washers for signs of wear and tear, and replace them if necessary to create a tight seal and prevent leaks.
3. Replacing Faulty Seals and Gaskets
Over time, the rubber seals and gaskets that create watertight connections between the different parts of your kitchen sink can degrade and deteriorate, leading to leaks. Inspect these seals and gaskets for cracks, tears, or signs of deterioration, and replace them as needed. You can find replacement seals and gaskets at most hardware stores or home improvement centers. Be sure to select the correct size and type for your specific sink and plumbing fixtures to ensure a proper fit and a reliable seal.
4. Repairing a Leaky Faucet
A dripping faucet is not only annoying but also wasteful. In many cases, a leaking faucet can be repaired without the need for professional assistance. Begin by turning off the water supply to the faucet and disassembling the faucet handle to access the internal components. Inspect the cartridge, O-rings, and other parts for signs of damage or wear, and replace any faulty components. Reassemble the faucet and turn the water supply back on to test for leaks. If the leak persists, you may need to replace the faucet entirely.
5. Fixing a Leaking Drain
A leaking drain can result in water pooling around the base of the sink or dripping into the cabinet below. To fix a leaking drain, start by removing the drain trap and inspecting it for clogs, cracks, or damage. Clean the trap thoroughly and check the rubber gaskets and washers for signs of wear. Replace any damaged components and reassemble the drain trap, making sure to tighten the connections securely. Run water in the sink to test for leaks, and adjust the fittings as needed to achieve a watertight seal.
6. Sealing Around the Sink Basin
Leaks can also occur where the sink basin meets the countertop, especially in older or improperly installed sinks. To seal around the sink basin, use a waterproof silicone caulk to fill any gaps or cracks between the sink rim and the countertop. Apply the caulk evenly and smoothly, using a caulking gun to ensure precise application. Smooth the caulk with a damp cloth or your finger to create a neat and uniform seal. Allow the caulk to dry completely before using the sink.
7. Insulating Exposed Pipes
In cold climates, exposed pipes under the sink can be prone to freezing and cracking, leading to leaks. To prevent this problem, insulate exposed pipes with foam pipe insulation sleeves or heat tape. Wrap the insulation tightly around the pipes, overlapping the edges slightly to create a snug fit. Secure the insulation in place with duct tape or zip ties. Insulating exposed pipes not only helps prevent leaks but also conserves energy by reducing heat loss from hot water pipes.

8. Calling in the Professionals
If you’ve tried the DIY solutions mentioned above and are still experiencing leaks or if you’re not comfortable tackling plumbing repairs on your own, it may be time to call in a professional plumber. A licensed plumber can accurately diagnose the source of the leak and recommend the appropriate repairs or replacements. While hiring a plumber may involve additional costs, it can ultimately save you time, frustration, and potential damage to your home.
9. Checking for Corroded Pipes
Corrosion can weaken pipes over time, leading to leaks and water damage. Inspect the pipes under your kitchen sink for any signs of corrosion, such as rust or greenish discoloration. Pay particular attention to areas where pipes connect to fittings or where they are exposed to moisture. If you notice any corroded pipes, it’s essential to replace them promptly to prevent further deterioration and potential leaks. You can find replacement pipes at most hardware stores, and it’s a relatively straightforward DIY task to remove the old pipes and install the new ones.
10. Addressing Water Pressure Issues
High water pressure can put excessive strain on your plumbing system, leading to leaks and other problems. Check the water pressure in your kitchen sink using a pressure gauge, which you can purchase at a hardware store. If the pressure is above 80 psi (pounds per square inch), consider installing a pressure regulator to reduce the pressure to a safe level. This can help prevent leaks and prolong the lifespan of your plumbing fixtures.
11. Installing a Leak Detection System
For added peace of mind, consider installing a leak detection system under your kitchen sink. These systems use sensors to detect moisture and can alert you to potential leaks before they cause significant damage. Some models even have the ability to shut off the water supply automatically in the event of a leak, helping to minimize water damage and costly repairs. While a leak detection system may involve an upfront investment, it can provide valuable protection for your home and belongings.
Conclusion: Taking Control of Your Plumbing
In conclusion, fixing a leaking kitchen sink doesn’t have to be a daunting task. With the right tools, materials, and know-how, many common causes of kitchen sink leaks can be addressed quickly and effectively using DIY solutions. By identifying the source of the leak, tightening loose connections, replacing faulty seals and gaskets, and taking other proactive measures, you can stop the drip and prevent further damage to your home. If DIY efforts prove unsuccessful or if you’re unsure how to proceed, don’t hesitate to seek professional assistance. With a little effort and attention to detail, you can regain control over your plumbing and enjoy a leak-free kitchen sink for years to come.