Introduction: Embracing Creativity with Homemade Tiles
Tiles are not just functional elements of a home; they can also be works of art that add beauty and personality to any space. Crafting tiles at home allows individuals to unleash their creativity, experiment with different materials and designs, and create unique pieces that reflect their personal style. In this comprehensive guide, we’ll explore the process of making tiles at home, from selecting materials to shaping, firing, and finishing the final product.
Choosing the Right Materials
The first step in making tiles at home is selecting the right materials for the project. While traditional ceramic tiles are commonly used, there are various other materials to consider, including porcelain, glass, stone, and even recycled materials like broken pottery or seashells. Each material offers its unique characteristics and aesthetic appeal, allowing for endless possibilities in tile design and composition.
Preparing the Clay or Material
Once the desired material has been selected, it’s time to prepare the clay or material for tile making. If working with clay, it should be properly kneaded and wedged to remove air bubbles and ensure uniform consistency. For other materials like glass or stone, they may need to be cut or shaped to the desired size and thickness using appropriate tools and techniques. Proper preparation of the material is essential for achieving quality results in the final tiles.
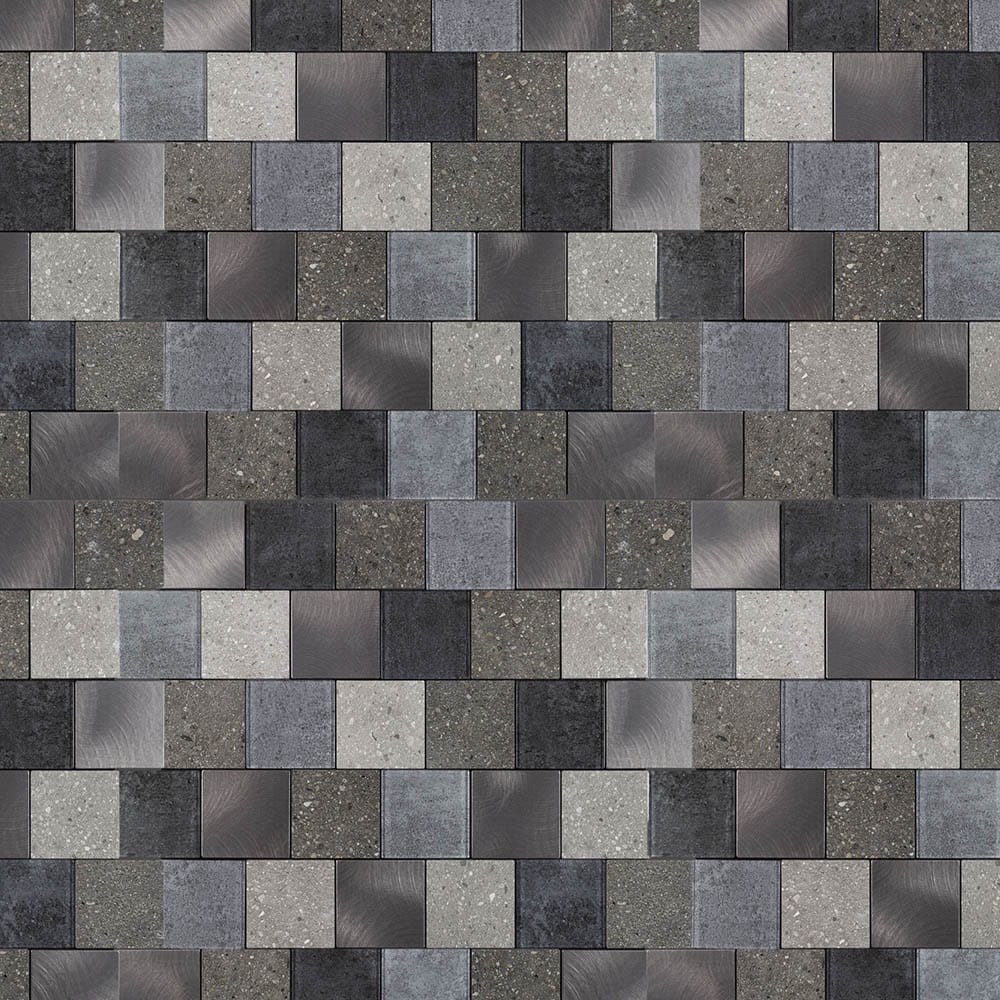
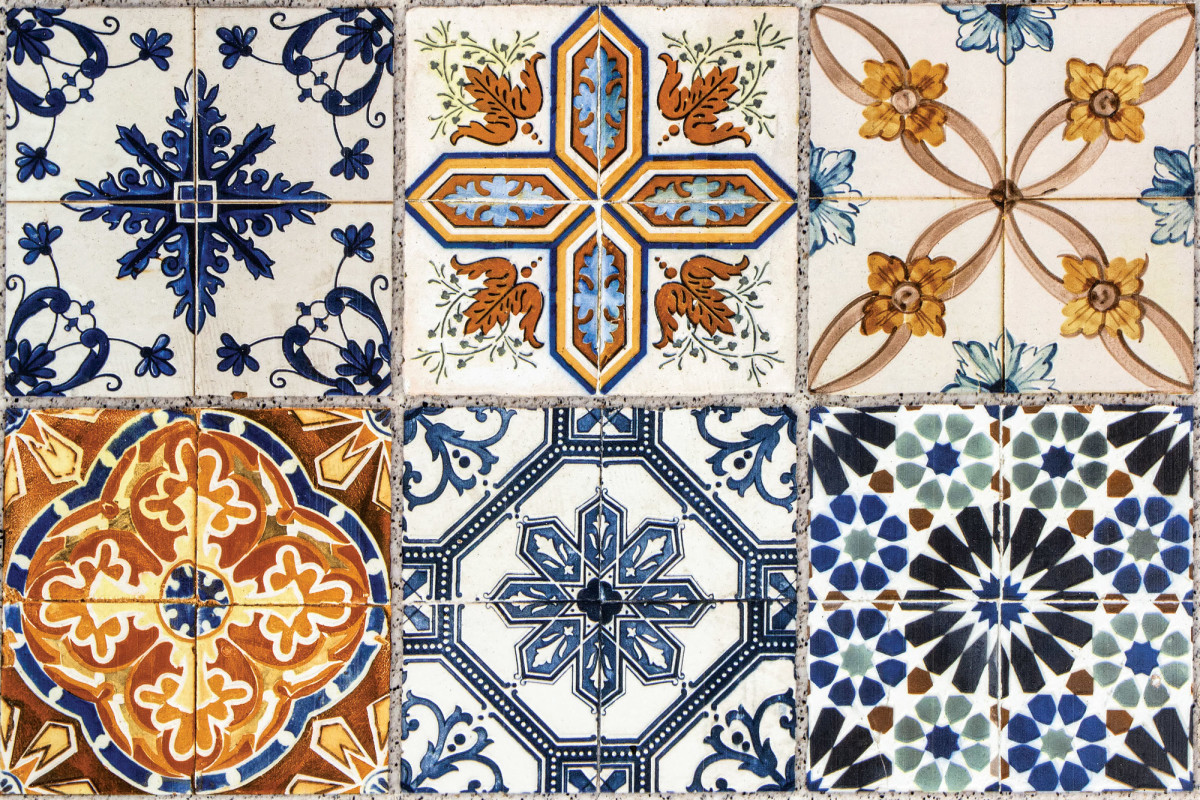
Creating the Tile Designs
With the prepared material in hand, it’s time to unleash creativity and begin designing the tiles. Whether opting for traditional geometric patterns, intricate mosaic designs, or abstract artistic expressions, the possibilities are endless. Consider using molds, stamps, or hand-carving techniques to add texture and dimension to the tiles, or experiment with different glazes, pigments, and finishes to achieve the desired aesthetic effect.
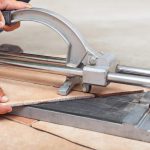
Forming and Shaping the Tiles
Once the designs have been finalized, it’s time to start forming and shaping the tiles. For clay tiles, this typically involves rolling out the clay to the desired thickness and cutting it into uniform shapes using a tile cutter or knife. Other materials may require different shaping techniques, such as cutting, grinding, or casting, depending on their properties and characteristics. Take care to ensure that the tiles are uniform in size and thickness for consistency in the final installation.
Drying and Firing the Tiles
After the tiles have been formed and shaped, they need to be dried thoroughly before firing to remove any remaining moisture and prevent warping or cracking during the firing process. Depending on the material used, the drying process may take several days to weeks, with frequent turning and flipping of the tiles to ensure even drying. Once fully dried, the tiles are ready for firing in a kiln, where they undergo high temperatures to vitrify the material and transform it into a durable, waterproof surface.
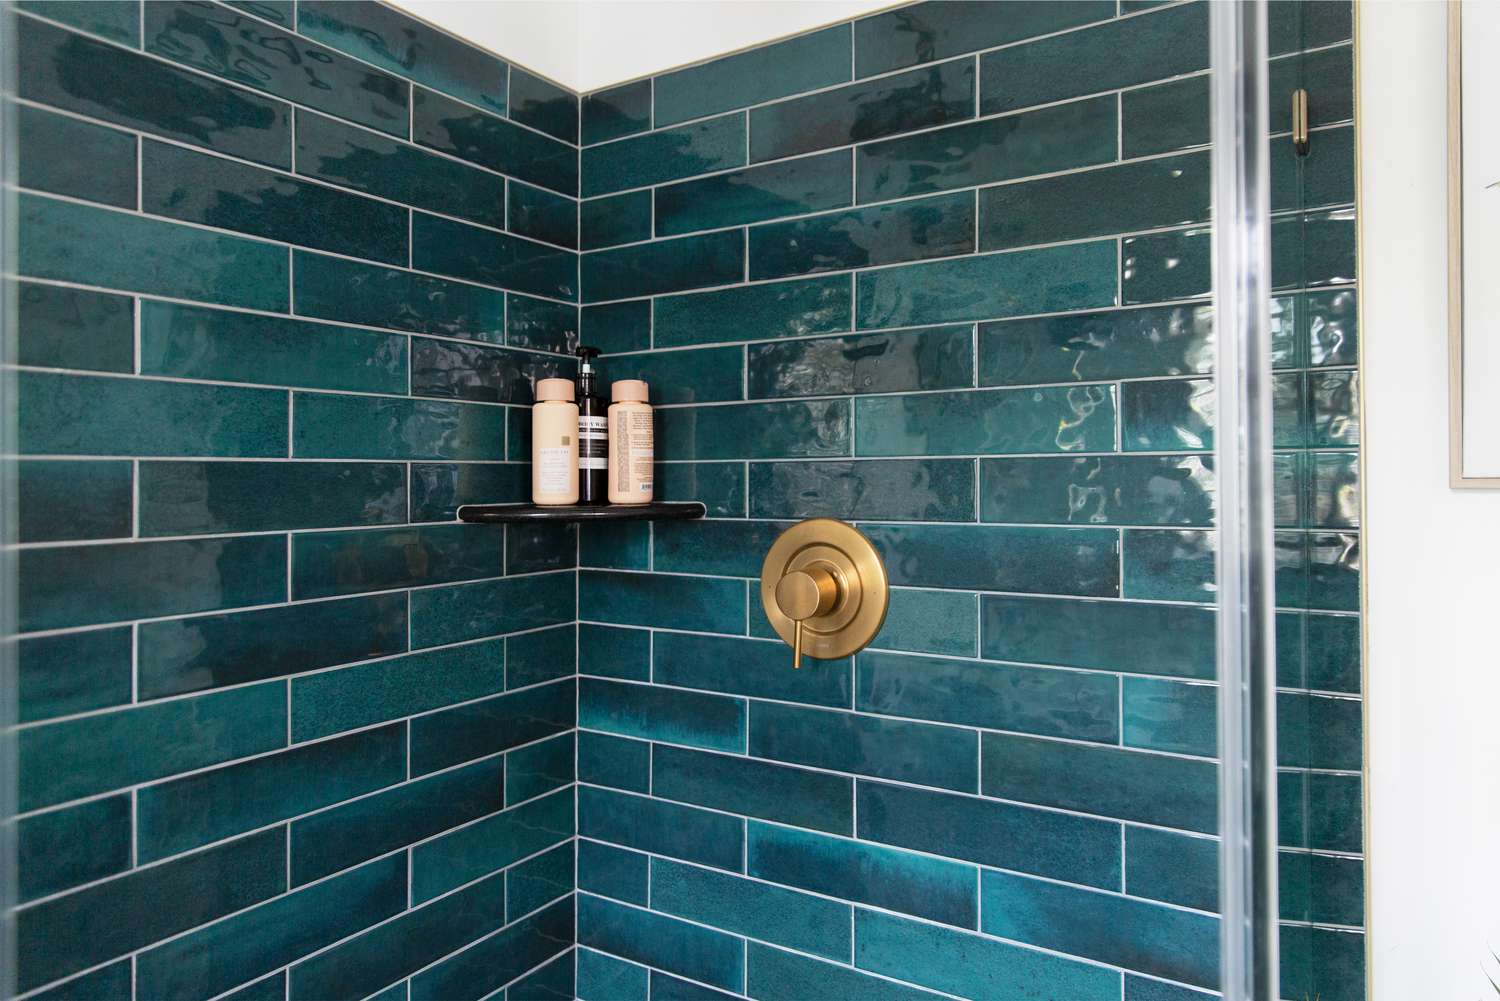
Applying Finishes and Sealants
After firing, the tiles may be left as is for a natural, rustic look, or they can be embellished with various finishes and sealants to enhance their appearance and durability. Consider applying glazes, stains, or paints to add color and depth to the tiles, or opt for a clear sealant to protect the surface and make it easier to clean and maintain. Experiment with different techniques and finishes to achieve the desired aesthetic effect and complement the overall design scheme of the space.
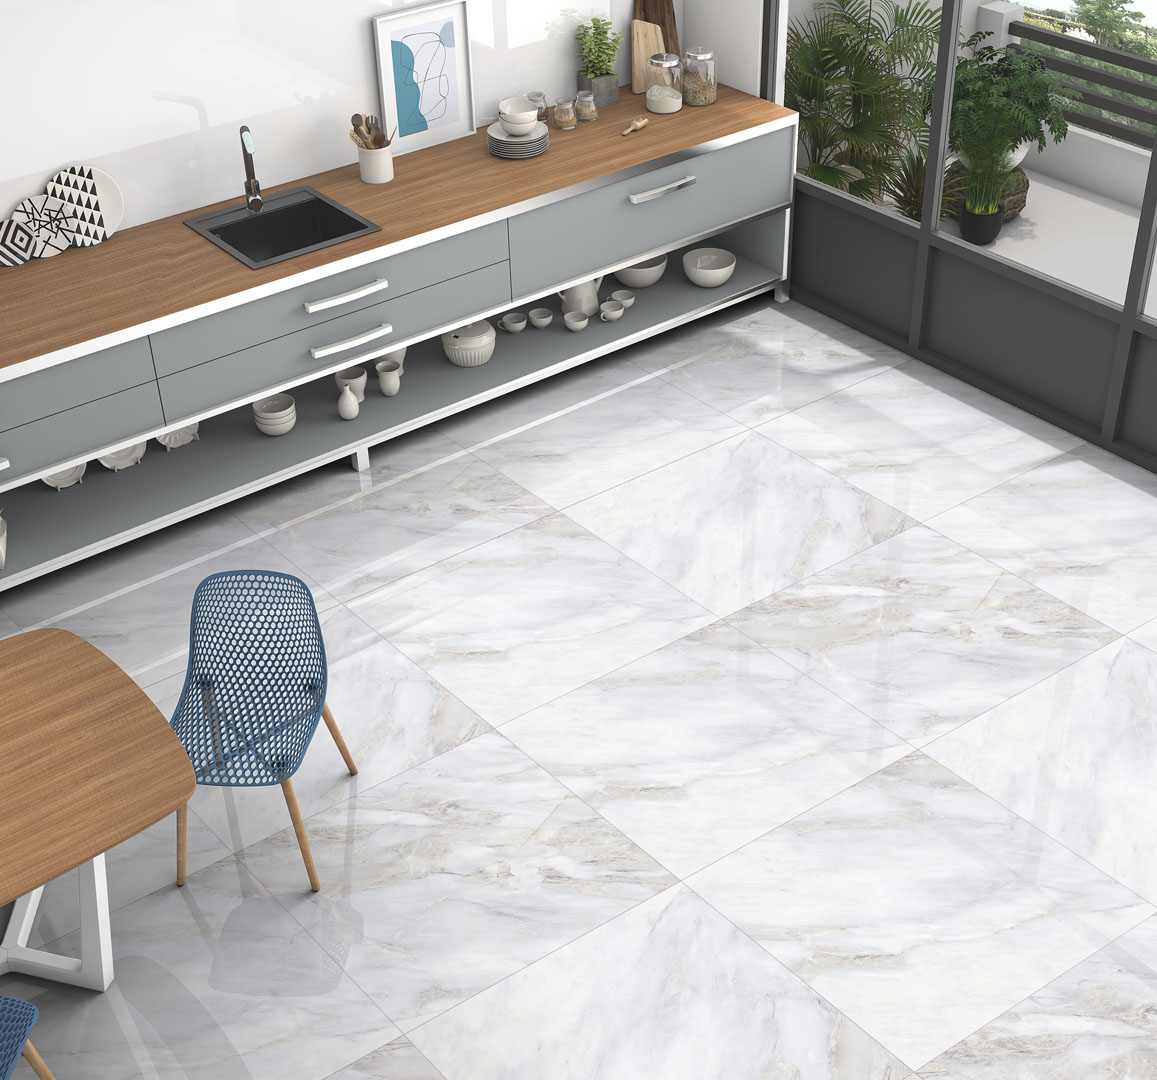
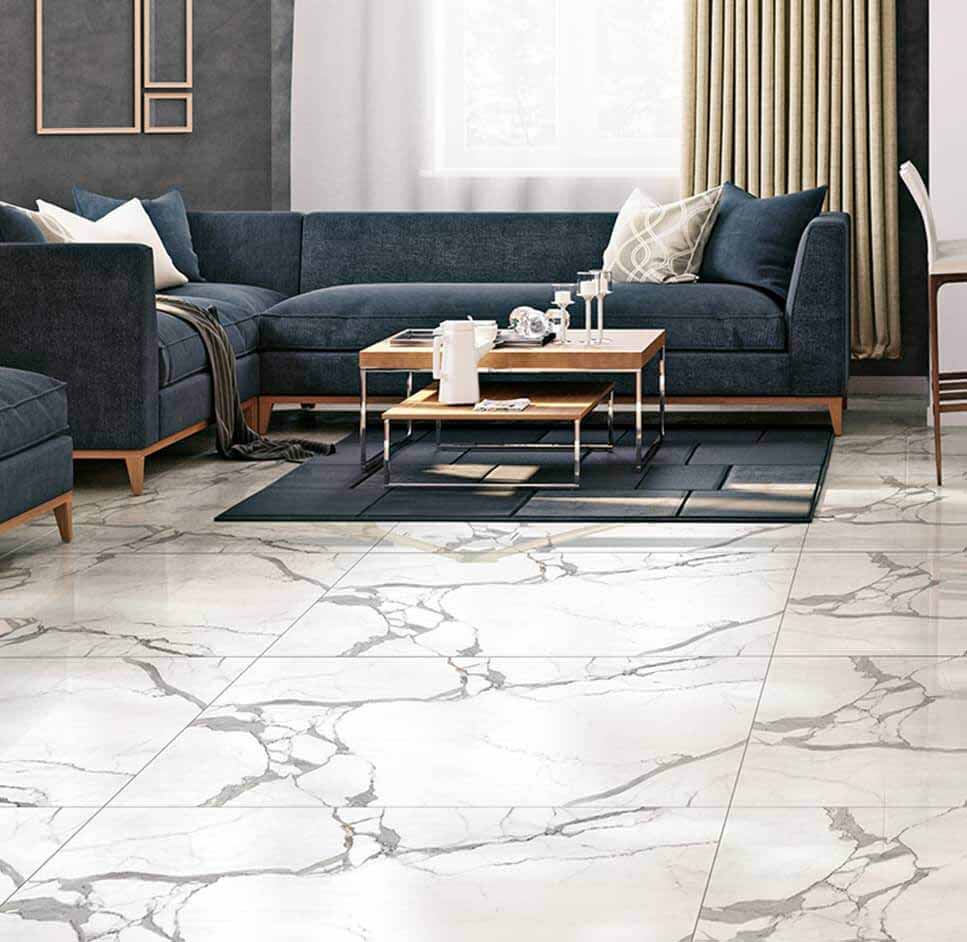
Installing and Enjoying Your Homemade Tiles
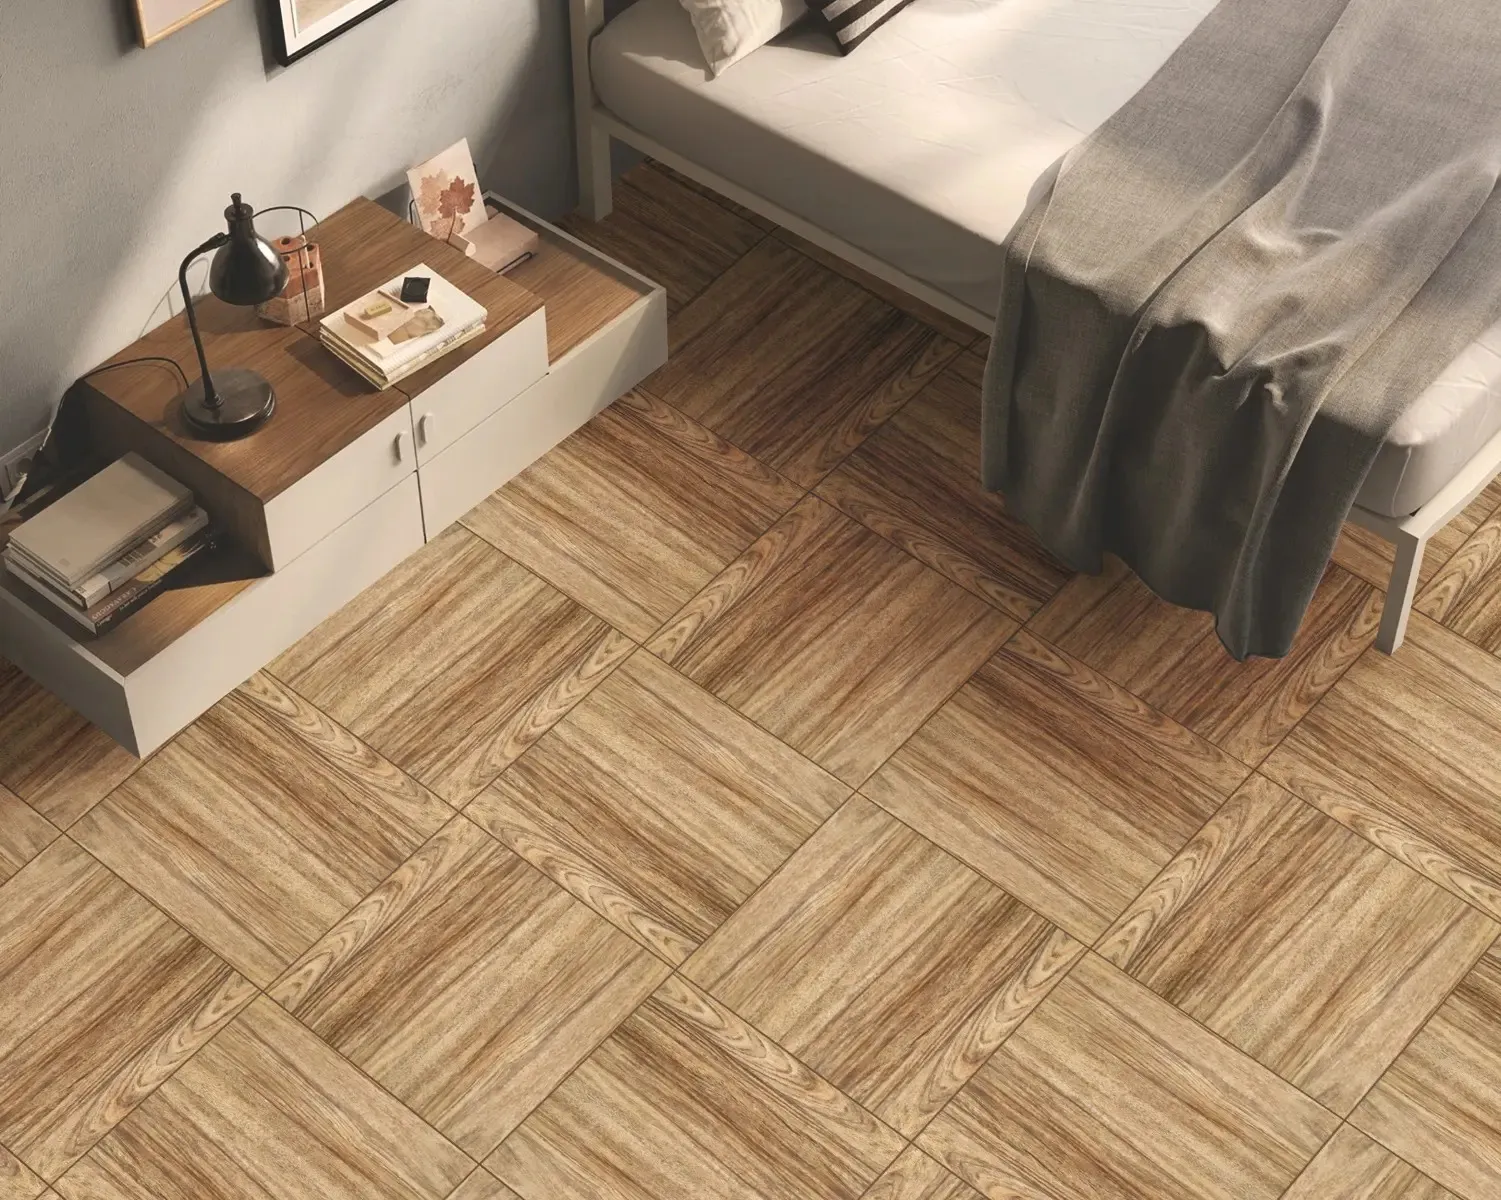
Once the tiles have been fired and finished, they are ready for installation in the desired space. Whether adorning a kitchen backsplash, bathroom floor, or outdoor patio, homemade tiles add a touch of handmade charm and character to any environment. Take pride in the creative process and craftsmanship that went into making each tile, and enjoy the beauty and functionality they bring to your home for years to come.
Exploring Advanced Techniques: Adding Dimension to Homemade Tiles
For those seeking to elevate their homemade tile to the next level, exploring advanced techniques can open up a world of possibilities for adding dimension and complexity to the designs. Consider incorporating techniques such as relief carving, inlaying, or embossing to create tile that are not only visually striking but also tactilely engaging. Relief carving involves carving designs or patterns into the surface of the tile, adding depth and texture to the finished piece. Inlaying allows for the incorporation of different materials, such as metal or glass, into the tile surface, creating intricate patterns or accents. Embossing involves pressing designs or textures into the surface of the tile, creating raised elements that catch the light and add visual interest. By mastering these advanced techniques, artisans can create homemade tiles that are truly works of art, showcasing their skill and creativity for all to admire.
Experimenting with Alternative Firing Methods: Raku and Pit Firing
While traditional firing methods involve the use of a kiln, artisans can also experiment with alternative firing methods to achieve unique effects and finishes in their homemade tiles. Raku firing, for example, involves removing the tiles from the kiln at high temperatures and placing them in a reduction chamber filled with combustible materials, such as sawdust or newspaper. This process creates distinctive metallic and crackled finishes on the tiles, adding depth and character to the surface. Pit firing is another alternative firing method that involves burying the tiles in a pit filled with combustible materials and firing them outdoors. The unpredictable nature of pit firing results in organic patterns and colors on the tiles, making each piece truly one-of-a-kind. By exploring these alternative firing methods, artisans can push the boundaries of traditional tile making and create tiles that are as unique as they are beautiful.
Collaborating with Other Artists: Incorporating Mixed Media into Tile Designs
To further expand the creative possibilities of homemade tile, artisans can collaborate with other artists and craftsmen to incorporate mixed media elements into their designs. Consider working with a metalworker to create custom metal accents or fixtures for the tile, or collaborate with a glass artist to incorporate fused glass elements into the design. By combining different materials and techniques, artisans can create tiles that are rich in texture, color, and dimension, adding depth and complexity to the overall design. Collaborative projects not only offer opportunities for artistic growth and exploration but also foster connections within the artistic community, enriching the creative process and resulting in truly extraordinary works of art.
Conclusion: Unleashing Creativity with Homemade Tiles
In conclusion, making tile at home offers a rewarding opportunity to unleash creativity, experiment with different materials and designs, and create unique pieces that add beauty and personality to any space. By selecting the right materials, preparing them properly, and taking care in the design and crafting process, homeowners can create handmade tiles that reflect their individual style and vision. Whether used for practical purposes or as decorative accents, homemade tile are a testament to the beauty of craftsmanship and the joy of creating something truly unique with your own hands.