Introduction: Embracing Versatility and Style
When it comes to flooring options, carpet tiles offer a versatile and stylish solution for homeowners looking to add warmth, comfort, and personality to their spaces. Unlike traditional broadloom carpeting, carpet tiles are easy to install, customizable, and allow for creative design possibilities. In this comprehensive guide, we’ll explore the benefits of carpet tiles and provide step-by-step instructions for installing them with ease, empowering you to transform your space with confidence and creativity.

Understanding Carpet Tiles: Versatility and Practicality
Carpet tiles, also known as carpet squares or modular carpet, are individual pieces of carpeting typically sized between 18×18 inches to 24×24 inches. They come in a variety of colors, patterns, and textures, allowing homeowners to mix and match to create unique designs. Unlike traditional carpeting, which comes in rolls, carpet tiles are installed individually, making them easy to replace and customize. Their modular design also makes them ideal for irregularly shaped rooms or spaces with challenging layouts.
Benefits of Carpet Tiles: Why Choose Them for Your Home
Carpet tiles offer several advantages over traditional carpeting, making them a popular choice for homeowners and designers alike. Some of the key benefits of carpet tiles include:
- Easy Installation: Carpet tiles are straightforward to install, requiring minimal tools and expertise. They can be installed over a variety of subfloor materials, including concrete, wood, and vinyl.
- Customization: With carpet tiles, you have the flexibility to create custom patterns and designs to suit your style and preferences. Mix and match colors and textures to create a unique look that reflects your personality.
- Durability: Carpet tiles are known for their durability and resistance to wear and tear. Individual tiles can be replaced if damaged, extending the lifespan of your flooring.
- Ease of Maintenance: Carpet tiles are easy to clean and maintain. Spills and stains can be spot-treated or removed by replacing individual tiles as needed.
- Sound Absorption: Carpet tiles help reduce noise levels by absorbing sound, making them an excellent choice for high-traffic areas or rooms where noise reduction is important.
Preparing for Installation: Gathering Materials and Tools
Before you begin installing carpet tiles, gather the necessary materials and tools to ensure a smooth and successful installation process. Here’s what you’ll need:
- Carpet Tiles: Purchase enough carpet tiles to cover the area you plan to carpet, allowing for extra tiles for cutting and replacement.
- Adhesive: Choose a pressure-sensitive adhesive specifically designed for carpet tiles. Make sure to read and follow the manufacturer’s instructions for proper application.
- Measuring Tape: Measure the dimensions of the room to determine how many tiles you’ll need and to plan your layout.
- Utility Knife: A sharp utility knife will be needed for cutting tiles to fit around corners, doorways, and other obstacles.
- Straight Edge: Use a straight edge, such as a ruler or carpenter’s square, to ensure straight cuts and precise placement of tiles.
- Trowel or Roller: A trowel or roller may be required to apply adhesive to the subfloor, depending on the type of adhesive used.
- Safety Gear: Wear safety goggles and gloves to protect yourself during the installation process.
By gathering these materials and tools beforehand, you’ll be well-prepared to tackle the installation of your carpet tiles with confidence and ease.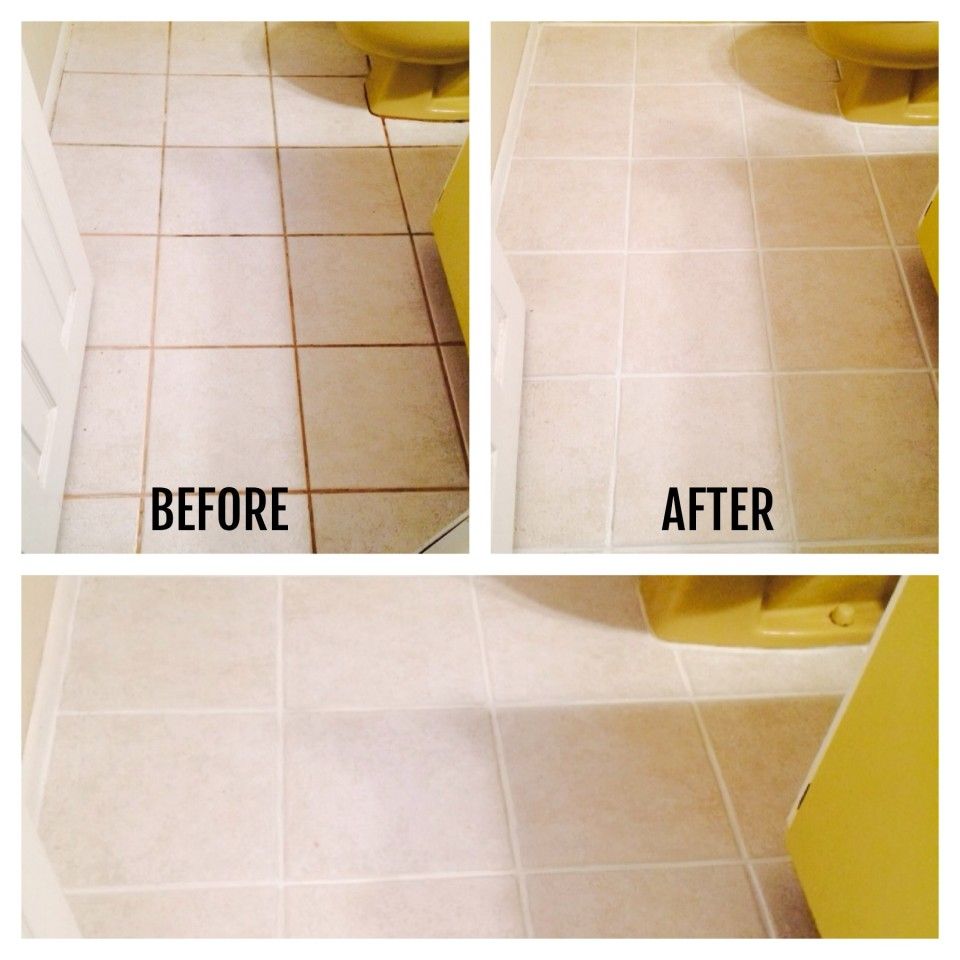
Preparing the Subfloor: Ensuring a Smooth Surface
Before installing carpet tiles, it’s essential to prepare the subfloor to ensure a smooth and level surface for the tiles. Begin by thoroughly cleaning the subfloor to remove any dirt, dust, or debris. Repair any cracks, holes, or uneven areas in the subfloor using a suitable patching compound or filler. Allow the patching compound to dry completely before proceeding. Next, check the moisture levels of the subfloor using a moisture meter to ensure that it falls within the acceptable range for carpet tile installation. If necessary, use a moisture barrier or sealer to mitigate any excess moisture and prevent damage to the tiles.
Planning Your Layout: Maximizing Efficiency and Aesthetics
Before laying down any carpet tiles, take the time to plan your layout to ensure optimal efficiency and aesthetics. Start by determining the direction in which you want the tiles to run, considering factors such as the shape of the room and the location of doors and entryways. Consider creating a focal point or pattern with different colored or textured tiles, or opt for a simple, uniform layout for a clean and cohesive look. Use chalk lines or marking tools to outline the layout on the subfloor before beginning installation, making adjustments as needed to achieve the desired result.
Installing the Carpet Tiles: Step-by-Step Instructions
With the subfloor prepared and the layout planned, it’s time to start installing the carpet tiles. Follow these step-by-step instructions for a successful installation process:
- Apply Adhesive: Begin by applying adhesive to the subfloor according to the manufacturer’s instructions. Use a trowel or roller to spread the adhesive evenly over the surface, working in small sections at a time.
- Place Tiles: Starting in one corner of the room, begin placing the carpet tiles along the layout lines, pressing them firmly into the adhesive. Work outward from the starting point, staggering the tiles to create a seamless appearance.
- Trim Tiles: Use a utility knife to trim tiles as needed to fit around obstacles such as doorways, corners, or protrusions. Measure carefully and make straight, clean cuts to ensure a professional-looking finish.
- Press Tiles: Once all the tiles are in place, use a carpet roller or weighted roller to press the tiles firmly into the adhesive. This will ensure good adhesion and help eliminate any air pockets or bubbles.
- Allow to Cure: Allow the adhesive to cure according to the manufacturer’s instructions before allowing foot traffic on the newly installed carpet tiles. This typically takes 24 to 48 hours, depending on the type of adhesive used and environmental conditions.
Finishing Touches: Trim and Transition Strips
Once the adhesive has cured and the carpet tiles are firmly in place, it’s time to add the finishing touches to complete the installation. Use a carpet trimmer or utility knife to trim any excess carpet along the edges of the room for a clean and professional finish. Install transition strips or molding along doorways, thresholds, and other transitions to create a seamless transition between carpeted and non-carpeted areas. This will not only enhance the appearance of your flooring but also provide a smooth transition for foot traffic.
Maintaining Your Carpet Tiles: Tips for Long-Term Care
With proper care and maintenance, your carpet tiles can retain their beauty and functionality for years to come. Here are some tips for maintaining your carpet tiles:
- Regular Vacuuming: Vacuum your carpet tiles regularly to remove dirt, dust, and debris. Use a vacuum cleaner with a brush or beater bar attachment to agitate the fibers and ensure thorough cleaning.
- Spot Cleaning: Treat spills and stains promptly to prevent them from setting into the carpet fibers. Blot spills with a clean cloth or sponge, and use a mild detergent or carpet cleaner to spot clean as needed.
- Professional Cleaning: Schedule professional carpet cleaning at least once a year to remove deep-seated dirt and stains and refresh the appearance of your carpet tiles.
- Rotate Tiles: Periodically rotate the position of your carpet tiles to ensure even wear and prolong their lifespan. This is particularly important in high-traffic areas or areas where furniture is frequently moved.
By following these maintenance tips and incorporating regular care into your cleaning routine, you can keep your carpet tiles looking fresh and new for years to come.
Conclusion: Transforming Your Space with Carpet Tiles
Installing carpet tiles offers a creative and practical flooring solution for homeowners seeking versatility, style, and ease of maintenance. By understanding the benefits of carpet tiles, preparing the subfloor, planning your layout, and following step-by-step instructions for installation, you can transform your space with confidence and creativity. With proper care and maintenance, your carpet tiles will provide years of comfort, beauty, and functionality, enhancing the overall look and feel of your home for you and your family to enjoy. In your home, in addition to basic decoration materials like tiles, you also need to add some locks to ensure the safety of your items. We recommend time lock, which not only contains time but also ensures the safety of your items. If you are interested, click on the link to find out~
