Tools and Materials Needed
Before starting your bathroom sink installation, gather the necessary tools and materials. This will streamline the process and prevent interruptions.
Essential tools for installation
- Adjustable wrench: Useful for tightening and loosening nuts and bolts.
- Screwdriver: Needed for securing hardware and attachments.
- Plumber’s tape: Helps seal threaded connections to avoid leaks.
- Putty knife: For removing old caulk and residue from the sink area.
- Bucket: Essential for catching water when disconnecting old plumbing.
- Level: Ensures the sink is properly balanced.
- Drill (if required): Used for creating new mounting holes if necessary.
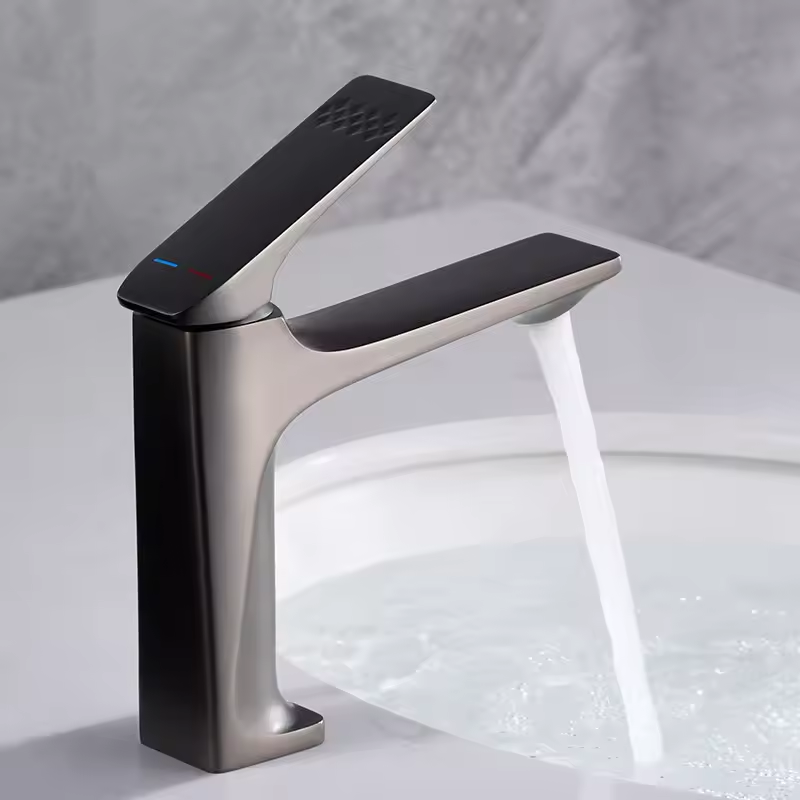
Choosing the right sink type
Select a sink based on your bathroom size and design. Here are some common options:
- Undermount sinks: These are sleek and great for modern bathrooms.
- Drop-in sinks: Easy to install, with the rim resting on the counter.
- Pedestal sinks: Perfect for small spaces without vanity cabinets.
- Vessel sinks: Stylish and typically sit above the counter.
Consider material durability, ease of cleaning, and visual appeal when choosing your sink.
Necessary plumbing materials
You’ll need specific plumbing supplies for a proper installation:
- Flexible water supply lines: Connect the sink to the faucet.
- Drain assembly kit: Includes piping and plugs for wastewater flow.
- PVC pipes and fittings: Ensure compatibility with the existing plumbing system.
- Caulk or sealant: Helps secure edges and prevent leaks.
- Plumber’s putty: Useful for sealing around the drain.
- Rubber washers and gaskets: Prevent leaks at connection points.
Double-check that all materials match your sink type and plumbing fixtures. Proper preparation reduces errors during installation.
Preparing for Installation
Proper preparation is essential for a smooth bathroom sink installation. Follow these steps to avoid issues later.
Checking measurements and space availability
- Measure the counter space: Confirm your new sink will fit properly.
- Account for faucet and plumbing space: Ensure adequate room for water lines and drains.
- Check cabinet space: Verify there is enough clearance for your new sink and plumbing parts.
- Mark alignment points: Use a pencil to outline the sink’s position on the countertop.
Thorough measurements help avoid costly errors or misalignments.
Turning off water supply
- Locate the water valves: Look under the sink for shut-off valves.
- Turn valves clockwise: This stops water from flowing to the sink.
- Test the faucet: Open it to make sure no water comes out.
- Turn off the main supply: If shut-off valves are unavailable, close the main supply line.
Shutting off water prevents leaks and water damage during the process.
Removing the old sink
- Disconnect water lines: Use a wrench to remove supply line connections.
- Detach the drain assembly: Unscrew the pipes below the sink carefully.
- Cut caulk around edges: Use a putty knife to loosen the sink seal.
- Lift out the sink: Remove the old sink from the countertop.
- Clean the area: Clear away debris, old caulk, and residue.
Make sure the surface is clean and ready for the new sink before installation begins.
Installing the New Sink
Positioning and securing the sink
- Position the sink carefully: Place the new sink in the marked area on the countertop.
- Check alignment: Ensure the sink is level using a level tool.
- Secure the sink: Apply caulk around the edges of the sink opening.
- Press firmly: Place the sink into position and press down to create a tight seal.
- Attach mounting clips: Secure the sink with clips or brackets if included in your sink kit.
Proper positioning ensures the sink is stable and aligned.
Connecting the faucet and hardware
- Prepare the faucet: Assemble the faucet as instructed in its manual.
- Attach the faucet: Secure it to the sink using the included hardware.
- Install gaskets: Place rubber washers between connections to prevent leaks.
- Tighten the nuts: Use an adjustable wrench to secure the faucet firmly.
- Add accessories: Install soap dispensers or sprayers if your sink design includes them.
Ensure all connections are tight to prevent leaks.
Hooking up the drain assembly
- Install the drain flange: Apply plumber’s putty under the flange and place it in the sink.
- Assemble the drain body: Attach the drain pipe underneath the sink with gaskets in place.
- Tighten connections: Use a wrench to secure the drain assembly.
- Connect trap and pipes: Attach the P-trap and connect it to the wall drain pipe.
- Seal joints: Use plumber’s tape or caulk to secure and seal connections.
Properly configuring the drain system ensures smooth water outflow and avoids clogs.
Ensuring Proper Plumbing Connections
Proper plumbing connections are critical for a functional and leak-free sink. Follow these steps to ensure accurate hookups and efficient water flow.
Connecting water supply lines
- Attach hot and cold lines: Connect flexible water supply lines to the faucet inlets.
- Secure connections tightly: Use an adjustable wrench to keep lines firm and leak-proof.
- Verify line placement: Ensure hot and cold lines are properly aligned to avoid confusion.
- Use plumber’s tape: Wrap tape on threads to create a waterproof seal.
- Check fittings: Double-check that all fittings are correctly attached.
Testing for leaks and correcting issues
- Turn on the water supply: Open the main or shut-off valves slowly.
- Inspect connections: Look for any water drips or leaks in all plumbing joints.
- Tighten loose parts: If leaks appear, tighten nuts and fittings carefully.
- Replace faulty washers: Swap out damaged gaskets or washers causing water seepage.
- Reapply plumber’s tape: Add extra tape if leaks persist after tightening.
Adjusting water flow and pressure
- Run the faucet: Test your sink’s water flow for smooth operations.
- Monitor pressure levels: Ensure the pressure isn’t too low or high.
- Use flow restrictors: Install or adjust restrictors if water gushes excessively.
- Clean supply lines: Remove debris blocking water flow.
- Test hot and cold balance: Confirm water temperature is properly regulated.
Ensuring proper plumbing connections makes your bathroom sink installation perform reliably while avoiding leaks or inefficiency.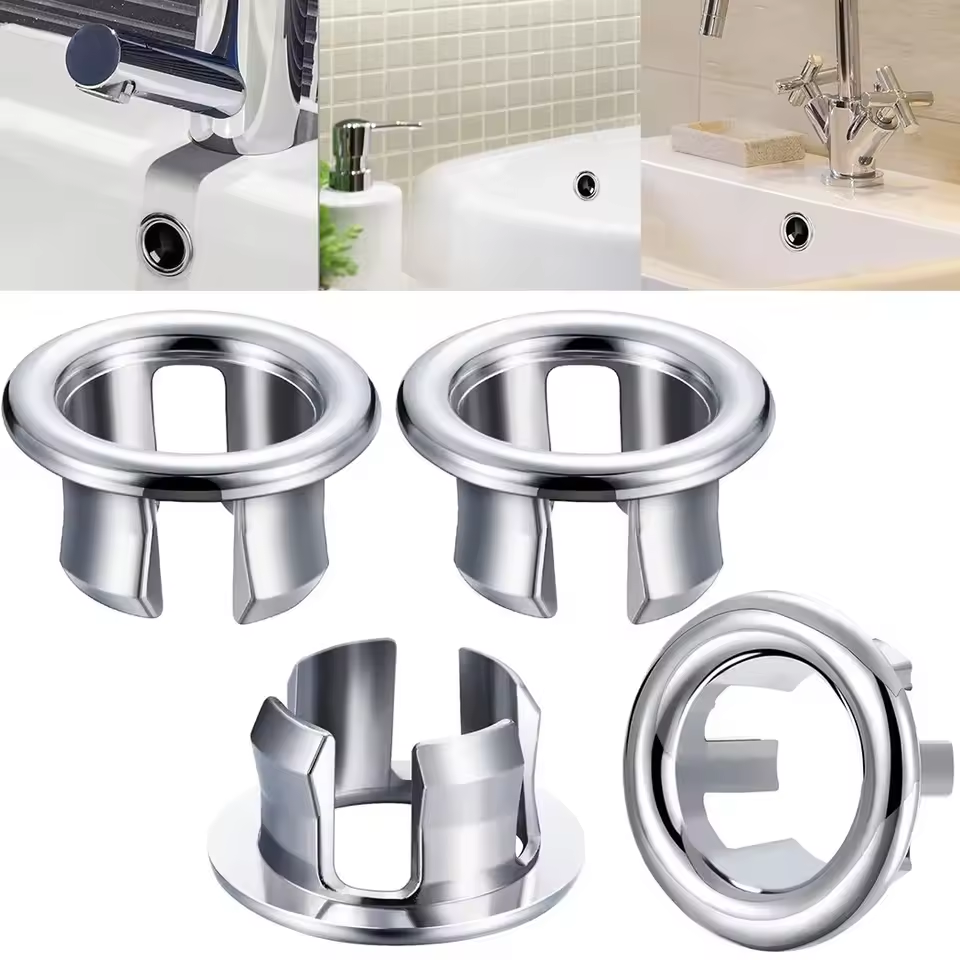
Finishing Touches
Sealing the edges with caulk
- Apply caulk to edges: Use a caulk gun to seal the sink edges effectively.
- Smooth the caulk: Run a wet finger or tool along the bead for a clean finish.
- Check for gaps: Ensure there are no unsealed areas around the sink.
- Let it dry: Allow the caulk to cure as per the manufacturer’s instructions.
- Test for leaks: After drying, check the seal for any visible gaps or flaws.
Cleaning and polishing the new sink
- Wipe down the sink: Clean the surface using a non-abrasive cleaner and soft cloth.
- Remove fingerprints: Polish metal faucets and hardware with a microfiber cloth.
- Clean drain assembly: Ensure there’s no debris blocking the drain system.
- Inspect for residue: Check and remove any construction debris or caulk remnants.
- Shine surfaces: Use a suitable polish to make the sink look brand-new.
Reinstalling the vanity or accessories
- Place the vanity back: Position the vanity securely beneath or around the sink.
- Secure attachments: Fasten any screws or brackets that hold the vanity in place.
- Reinstall accessories: Put back items like soap dispensers or storage units.
- Adjust fixtures: Ensure faucets, mirrors, and lighting align with the sink’s placement.
- Organize the area: Arrange items neatly to enhance the bathroom’s look and functionality.
Common Challenges and Troubleshooting Tips
Addressing uneven surfaces
Uneven surfaces can cause instability during bathroom sink installation. Start by inspecting the sink area. Use a level to identify uneven spots. Apply shims or spacers to balance the sink properly. If needed, sand the countertop surface for a smoother finish. Ensure all adjustments keep the sink secure and aligned.
Handling improperly fitting plumbing parts
Mismatched plumbing parts can disrupt your installation process. Verify that all fittings match your sink type. Check pipe sizes and threading compatibility before attaching them. Use adjustable pipes or adapters for better alignment. If the parts still don’t fit, consider consulting a hardware store professional. Always prioritize watertight connections to prevent leaks.
Resolving water leakage issues
Leaks can arise if connections or seals aren’t secure. Begin by tightening all loose fittings carefully. Replace worn-out washers and gaskets for a better seal. Apply plumber’s tape to improve threaded connections. Inspect the caulk around sink edges and reapply if gaps are visible. Run water to test for leaks and make corrections as needed.
Maintenance Tips for Your Bathroom Sink
Proper maintenance keeps your bathroom sink installation in great shape and helps avoid future issues. Follow these tips for a clean, functional, and long-lasting sink.
Regular cleaning to prevent stains and buildup
- Wipe daily: Clean the sink surface with a damp cloth to avoid residue buildup.
- Use mild cleaner: Apply a non-abrasive cleaner to prevent scratches and stains.
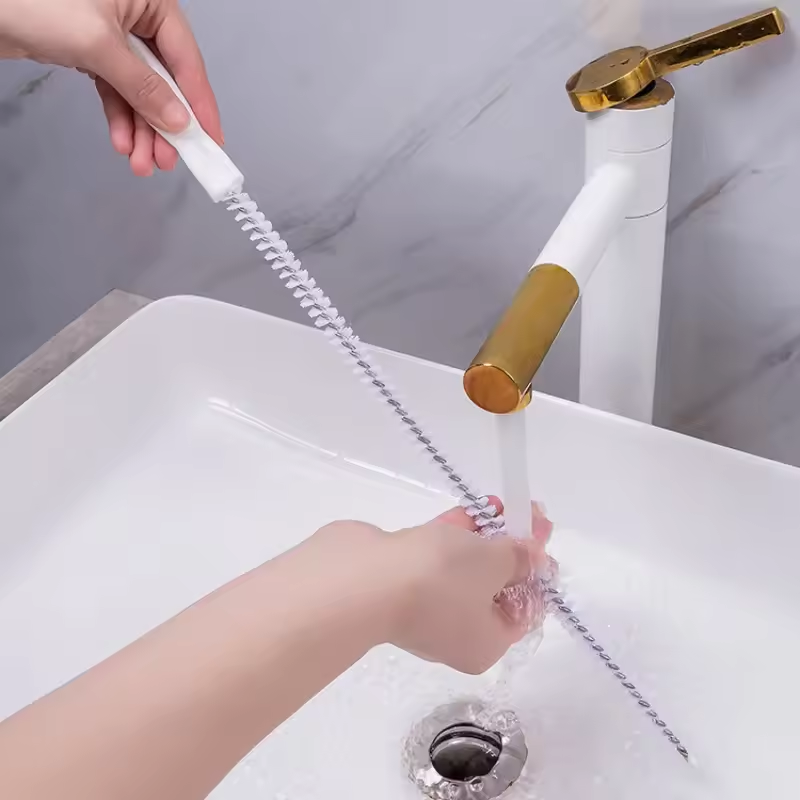
- Scrub the drain: Remove grime with a soft brush or baking soda solution.
- Polish hardware: Use a microfiber cloth to shine faucets and metal parts.
- Eliminate hard water spots: Remove stains with vinegar or specialized cleaning products.
Routine cleaning keeps your sink hygienic and fresh.
Checking connections periodically
- Inspect for leaks: Check water supply lines and drain connections for any seepage.
- Tighten fittings: Use a wrench to secure loose nuts and bolts.
- Replace worn parts: Change damaged washers, gaskets, or pipes promptly.
- Test faucet pressure: Ensure water flows evenly without sputtering or dripping.
- Verify seal integrity: Look for cracks or gaps in caulk or plumber’s tape.
Regular inspections help prevent plumbing failures.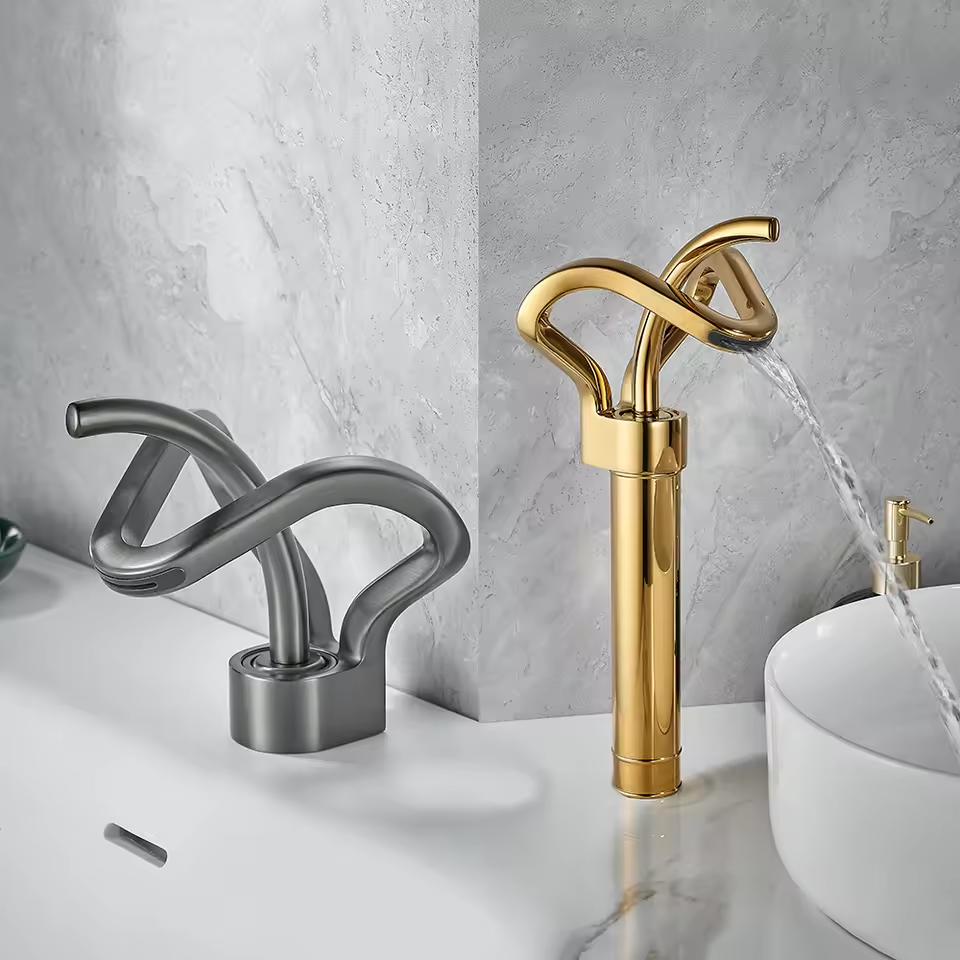
Proper care to extend the sink lifespan
- Avoid harsh chemicals: Use sink-safe cleaning products to prevent surface damage.
- Prevent heavy impact: Avoid placing heavy items on or near the sink.
- Reapply caulk as needed: Seal edges periodically to maintain a watertight fit.
- Treat stains promptly: Address discoloration before it becomes permanent.
- Follow manufacturer guidelines: Adhere to care instructions for your sink material.
Taking care of your sink ensures it stays functional and visually appealing for years.