Embarking on a kitchen cabinet installation project can significantly enhance the functionality and aesthetic appeal of your culinary space. Whether you’re renovating an outdated kitchen or building a new one from scratch, understanding the intricacies of cabinet installation is crucial for achieving a seamless and professional finish. This guide delves into the essential aspects of kitchen cabinet installation, providing you with the knowledge and confidence to undertake this transformative task effectively.
 Essential Tools and Materials for Cabinet Installation
Proper tools and materials are vital for smooth kitchen cabinet installation. Having everything ready saves time and avoids delays.
Choosing the Right Tools
Select high-quality tools for reliable results. Essential tools include:
- Tape Measure: For precise measurements during placement.
- Level: Ensures cabinets are perfectly aligned.
- Drill and Driver: For securing screws and bolts.
- Stud Finder: Locates wall studs for a secure mounting.
- Screws and Nails: Use a variety for different cabinet types.
- Clamps: Holds pieces steady during assembly.
- Utility Knife: Useful for trimming or adjustments.
Ensure all tools are functional and ready before starting the installation.
Gathering Required Materials
Prepare all necessary materials ahead of time. Common items include:
- Cabinets and Panels: Ensure you have all pieces delivered.
- Hardware: Includes hinges, knobs, handles, and drawer tracks.
- Shims: For leveling on uneven floors or walls.
- Wood Glue: Offers added stability for joints.
- Caulking Materials: Seals gaps and improves appearance.
- Paint or Sealant: Protects cabinets and enhances durability.
Organize materials so they’re easily accessible during installation. Quality materials ensure a sturdy and long-lasting kitchen setup.
 Preparing Your Kitchen Space
Proper preparation is essential before starting kitchen cabinet installation. This step ensures a seamless process.
Removing Old Cabinets and Fixtures
- Empty Cabinets and Disconnect Utilities: Remove everything inside cabinets. Turn off water, gas, and electricity lines.
- Loosen Mounting Screws: Use a drill to unscrew old cabinets from the wall.
- Remove Old Fixtures: Carefully take down cabinet doors, shelves, and any attached hardware.
- Inspect Walls and Floor: Check for damage after removing cabinets. Repair any holes or cracks immediately.
Measuring and Marking for Accurate Placement
- Measure Kitchen Dimensions: Use a tape measure to determine the kitchen’s length, width, and height.
- Mark Cabinet Positions: Draw guide lines on the wall for cabinet placement.
- Find Studs in Walls: Use a stud finder to locate secure points for fastening cabinets.
- Plan Electrical and Plumbing Adjustments: Ensure outlets and pipes don’t interfere with installation.
Ensuring Walls and Floors are Level
- Check Wall Flatness: Use a level to ensure walls are even. Sand or repair uneven areas.
- Inspect Floor Level: Place the level on the floor. Add shims to correct uneven flooring.
- Confirm Alignment: Double-check that guide lines, walls, and floors align properly before starting.
Thorough preparation lays the foundation for smooth and accurate cabinet installation.
Assembling and Modifying Cabinets
Proper cabinet assembly and modification are crucial for a perfect kitchen setup.
Unpacking and Inspecting Cabinets
Carefully unpack cabinets to avoid damage during installation. Follow these steps:
- Inspect for Shipping Damage: Check each cabinet for scratches or dents.
- Verify Completeness: Ensure all pieces and hardware are included. Missing components can delay installation.
- Organize Parts: Arrange panels, doors, and hardware for easy access.
- Examine Instructions: Review assembly guides for efficient handling.
Inspection guarantees all components meet quality standards before proceeding.
Customizing Cabinets for Special Fitments
Customizing cabinets ensures a perfect fit and usability. Consider these modifications:
- Adjust Sizes: Trim edges with a utility knife or saw for tight spaces.
- Add Cable Cutouts: Drill holes for electrical wires or plumbing access.
- Fit Special Hardware: Install handles or hinges as needed for unique designs.
- Use Shims: Adjust for uneven walls or floors.
Custom modifications allow cabinets to integrate seamlessly into your kitchen design.
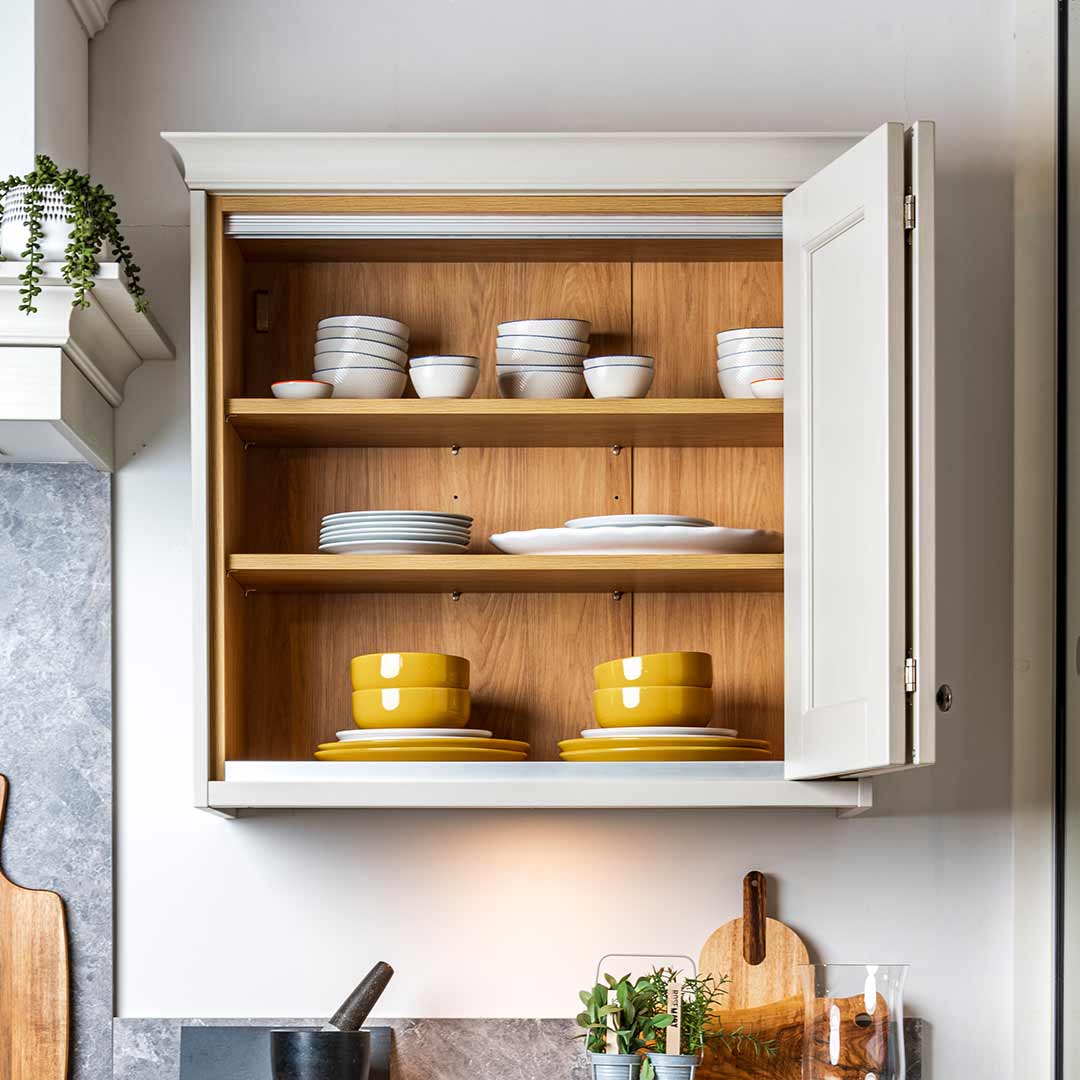
 Installing Wall Cabinets
Proper wall cabinet installation is a crucial step in kitchen cabinet installation. By following the correct methods, you can ensure your cabinets are securely mounted and perfectly aligned.
Identifying Correct Mounting Heights
- Measure Cabinet Height: Decide the height at which the cabinets will hang. Standard height is 54 inches from the floor.
- Consider Ceiling Space: Leave enough space between the cabinets and the ceiling for easy access.
- Account for Base Cabinets: Ensure that the wall cabinets align well with the planned height of base cabinets.
- Mark the Mounting Line: Use a pencil and level to draw a guide line for precise positioning.
Securing Cabinets to the Wall
- Install a Support Cleat: Attach a temporary cleat under the marked line for extra support during installation.
- Locate Wall Studs: Use a stud finder to identify secure points for screwing in the cabinets.
- Pre-Drill Holes: Create pilot holes in the cabinet back to align with the wall studs.
- Attach Screws: Secure the cabinets using long screws for strong support. Tighten screws firmly.
- Work in Sections: Start with the corner cabinets and work outward for better alignment.
Aligning and Leveling Wall Cabinets
- Check with a Level: Confirm that the cabinet edges and tops are perfectly level.
- Use Clamps for Positioning: Clamp adjacent cabinets together to maintain proper alignment.
- Add Shims if Necessary: Use shims to correct any gaps caused by uneven walls.
- Secure Adjacent Cabinets: Drill holes through the adjacent cabinet frames and fasten them together.
- Double-Check Alignment: Recheck alignment once all wall cabinets are installed for a flawless finish.
Following these steps ensures your kitchen wall cabinets are securely installed and perfectly aligned.
Installing Base Cabinets
Proper installation of base cabinets ensures stability and sets the foundation for your kitchen setup.
Positioning Base Cabinets Accurately
- Measure and Mark Cabinet Positions: Use a tape measure to define placement along the wall.
- Locate Wall Studs: Use a stud finder to pinpoint studs for secure cabinet mounting.
- Check Floor Levels: Use a level to identify any floor irregularities.
- Use Shims for Adjustments: Place shims under the cabinet base to fix uneven areas.
- Dry-Fit Cabinets: Temporarily position cabinets in place to ensure accuracy before permanent installation.
Accurate positioning prevents alignment issues and ensures the base cabinets fit perfectly.
Fastening Base Cabinets to the Walls
- Pre-Drill Holes: Drill pilot holes in the cabinet back and align with wall studs.
- Secure with Screws: Fasten cabinets to the wall with strong wood screws.
- Attach One Cabinet at a Time: Install and secure cabinets individually to avoid shifting.
- Clamp Cabinets Together: Temporarily clamp adjacent cabinets to maintain alignment during fastening.
- Install Corner Cabinets First: Start with corner cabinets to create a secure anchor point.
Proper fastening ensures the cabinets are stable and securely attached to the wall.
Ensuring Even Alignment Across Multiple Cabinets
- Check with a Level: Confirm each cabinet’s top is level before securing.
- Use Shims Between Cabinets: Fix gaps caused by irregular surfaces with shims.
- Fasten Adjacent Cabinets Together: Drill and connect adjoining frames for seamless alignment.
- Recheck Alignment After Installation: Verify that all cabinets are flush and evenly spaced.
- Double-Check Before Finalizing: Adjust any irregularities before adding countertops or hardware.
Even alignment provides a polished, professional look and ensures functionality in your kitchen.
 Attaching Cabinet Doors, Drawers, and Hardware
Attaching doors, drawers, and hardware finishes your kitchen cabinet installation. A proper approach ensures functionality and style.
Installing Cabinet Doors and Hinges
- Attach Hinges to Doors: Use screws to fix hinges onto the side of cabinet doors.
- Align Doors to Cabinet Opening: Position doors to fit snugly within the cabinet frame.
- Secure Hinges to Cabinet Frame: Fasten hinges to the cabinet structure using a drill and screws.
- Adjust Door Alignment: Use the hinge screws to tweak positions for a perfect fit.
- Test Door Movement: Open and close doors to ensure smooth operation.
Adding Drawer Systems
- Install Drawer Tracks: Attach tracks inside the cabinet frame for drawer movement.
- Attach Tracks to Drawers: Secure the other part of the track to the drawer sides.
- Insert Drawers into Tracks: Slide drawers into the tracks to test their fit and alignment.
- Adjust Drawer Placement: Ensure drawers open and close smoothly without sticking.
Securing Knobs, Handles, and Pulls
- Mark Handle Positions: Decide where knobs or handles will go and mark points.
- Drill Holes for Hardware: Use a drill to create precise holes for screws.
- Attach Knobs and Handles: Secure them using screws provided in the hardware set.
- Verify Tightness: Ensure all knobs and handles are firmly attached and don’t loosen.
By carefully following these steps, you’ll achieve a professional finish that enhances your kitchen cabinets’ look and usability.
Adjustments and Tips
Once installed, make final adjustments to ensure your kitchen cabinets function seamlessly. These steps refine the fit, appearance, and usability of your cabinets.
Leveling and Adjusting Doors and Drawers
- Check Door Alignment: Confirm cabinet doors align perfectly with the cabinet frame.
- Adjust Hinges: Turn hinge screws to level and align the doors properly.
- Test Door Movement: Open and close each door to ensure smooth operation.
- Examine Drawer Fit: Ensure drawers sit flush with the cabinet front.
- Tweak Drawer Tracks: Adjust tracks if drawers don’t open or close easily.
- Recheck All Adjustments: Double-check that all doors and drawers work smoothly after leveling.
Leveling doors and drawers ensures proper functionality and a polished look to your kitchen cabinets.
Cleaning and Polishing Cabinets
- Remove Dust and Debris: Wipe cabinets with a damp cloth to eliminate dirt.
- Choose Mild Cleaners: Use non-abrasive cleaners to prevent surface damage.
- Polish Exterior Surfaces: Apply wood polish or surface protector for added shine and durability.
- Inspect Hardware: Clean around knobs, handles, and hinges for a pristine finish.
- Dry Thoroughly: Dry surfaces with a soft cloth to avoid streaks or water spots.
Regular cleaning keeps your cabinets looking new and maintains their durability over time.
Common Mistakes to Avoid During Installation
- Skipping Measurements: Inaccurate measurements can cause placement and alignment issues.
- Ignoring Wall Stud Positions: Neglecting wall studs leads to weak mounting and instability.
- Rushing the Process: Hurrying can result in uneven installation or damage.
- Overlooking Floor Level Issues: Failing to level floors creates cabinet misalignment.
- Using Poor Quality Hardware: Low-quality screws or hinges compromise the cabinets’ overall stability.
- Forgetting Adjustments After Installation: Ignoring final checks can leave drawers or doors misaligned.
Avoiding these mistakes helps achieve a professional-looking, secure kitchen cabinet setup. Proper care and adjustments ensure your cabinets remain functional and visually appealing for years.
Personalizing Your Kitchen Through Cabinet Installation
Personalizing your kitchen cabinets allows you to express your unique style and create a space that reflects your personality. Here are some ideas to add a personal touch to your kitchen through cabinet design.
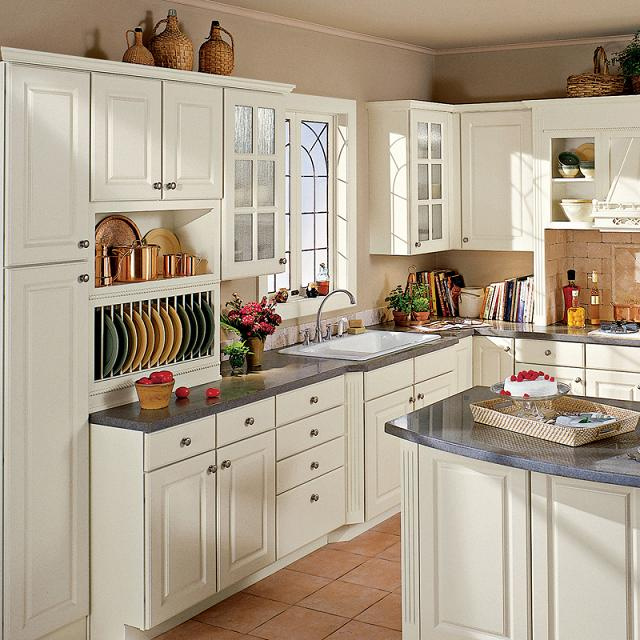
Custom Cabinet Features
Incorporate custom features such as glass inserts, open shelving, or decorative moldings to add character to your cabinets. These personalized elements make your kitchen stand out and align with your overall design aesthetic.
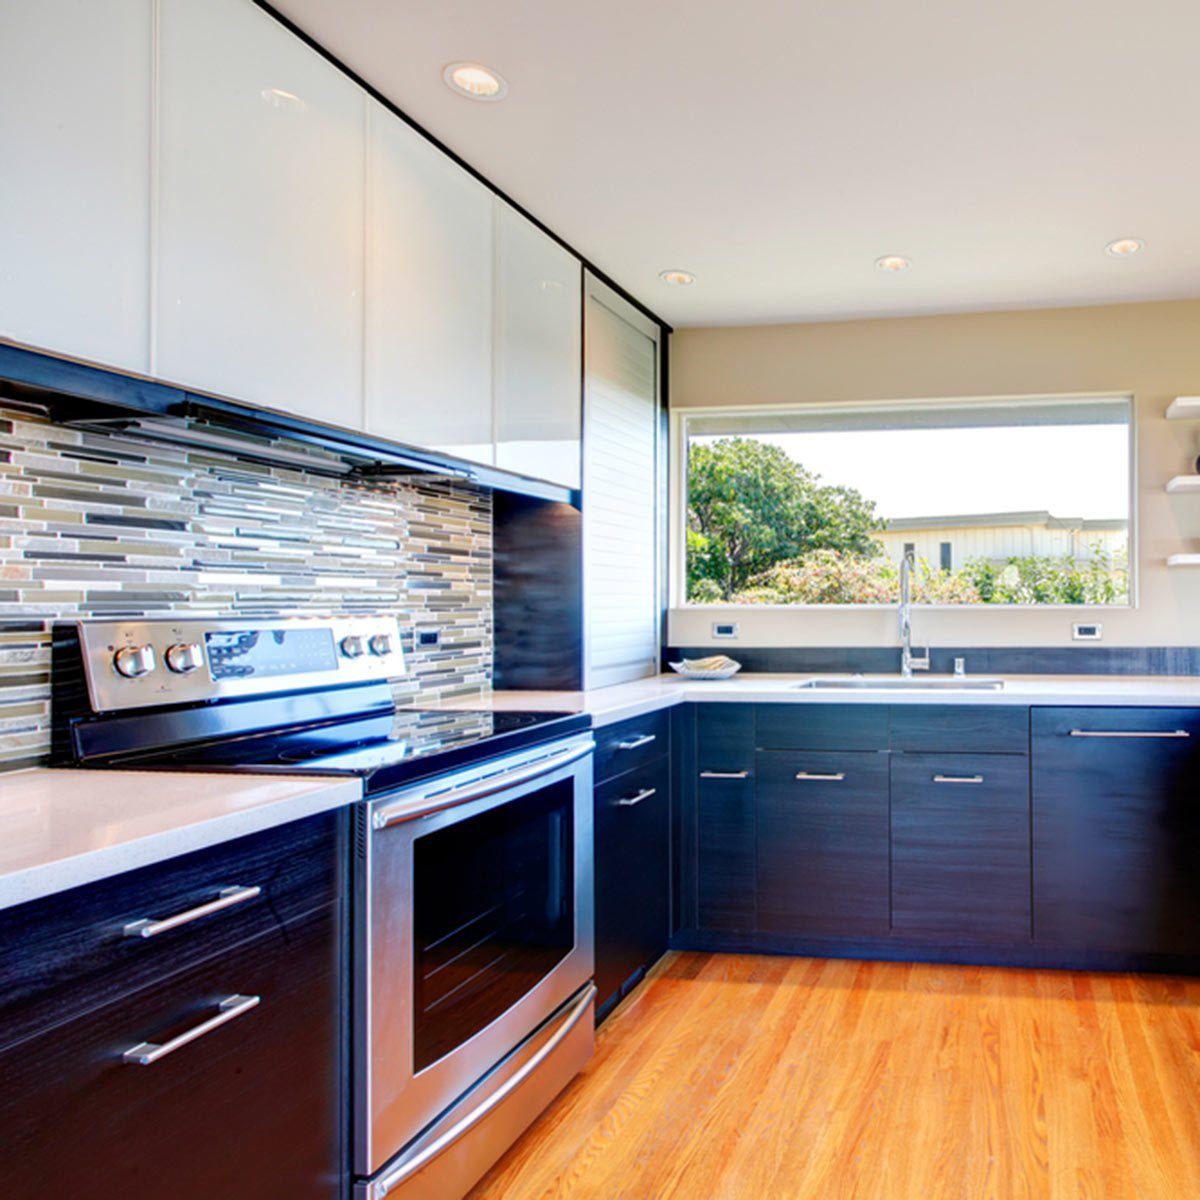
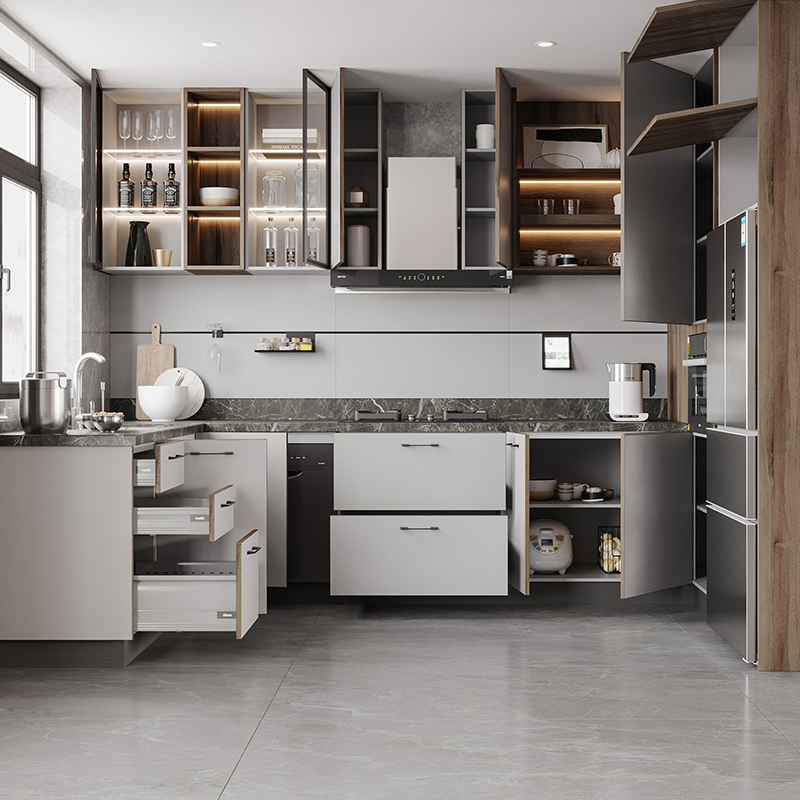
Mixing Finishes and Colors
Experiment with mixing different finishes and colors to create visual interest and depth. Combining matte and glossy finishes or contrasting colors for upper and lower cabinets can add a dynamic and stylish flair to your kitchen.
Adding Decorative Hardware
Choosing distinctive hardware, such as vintage knobs, modern handles, or unique pulls, can significantly impact the look of your cabinets. Select hardware that complements your kitchen’s theme and adds a touch of elegance or contemporary charm.
Incorporating Artistic Elements
Integrate artistic elements like mural paintings, stenciled patterns, or mosaic tiles into your cabinet design. These artistic touches can transform your cabinets into functional pieces of art, enhancing the overall ambiance of your kitchen.
Personalizing with Lighting
Adding personalized lighting, such as LED strips or pendant lights, to your cabinets can create a warm and inviting atmosphere. Customized lighting highlights the beauty of your cabinets and makes your kitchen a welcoming space for both cooking and socializing.
 Final Thoughts on Kitchen Cabinet Installation
A well-executed kitchen cabinet installation can transform your kitchen into a functional, stylish, and personalized space. By meticulously planning your layout, selecting the right cabinets, and following a systematic installation process, you can achieve professional and lasting results. Remember to address common challenges with patience and precision, and don’t hesitate to seek professional assistance when needed. Embracing innovative storage solutions and sustainable practices further enhances the efficiency and environmental friendliness of your kitchen. Ultimately, investing time and effort into your kitchen cabinet installation project pays off in a beautifully organized and inviting culinary haven that meets your needs and reflects your personal style.