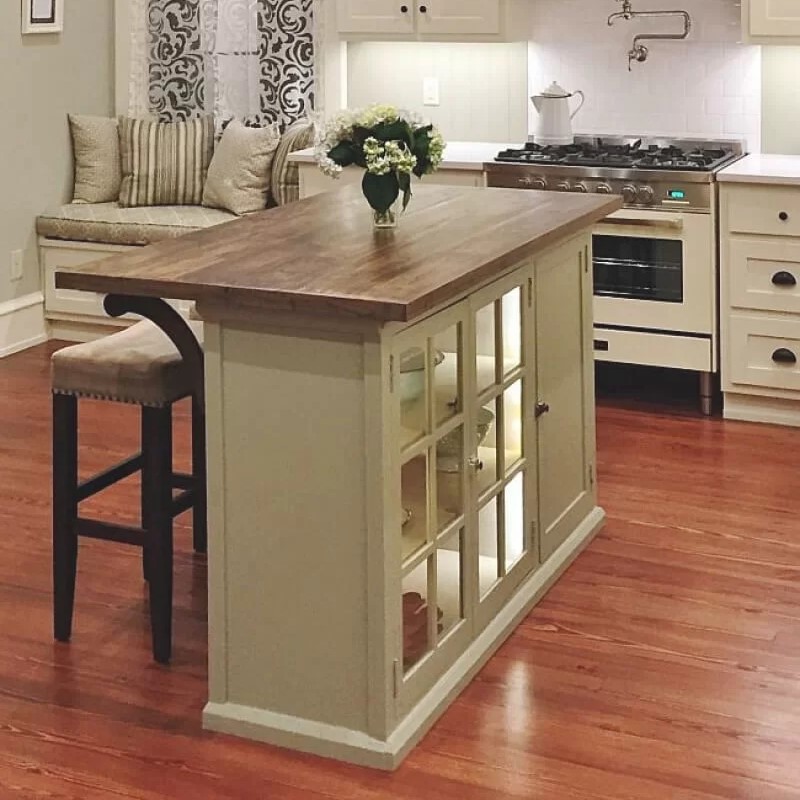
Creating a stunning and functional kitchen space is a dream for many homeowners, and a DIY kitchen island can be the perfect centerpiece to achieve this vision. Not only does a kitchen island provide additional workspace, but it also enhances the overall aesthetic of your kitchen. In this comprehensive guide, you will discover everything you need to know about building your own DIY kitchen island, from planning and materials to step-by-step construction and finishing touches.
 Benefits of Adding a DIY Kitchen Island
Adding a DIY kitchen island offers numerous advantages that can significantly improve your kitchen’s functionality and appearance. Firstly, it provides extra counter space, which is invaluable for meal preparation, cooking, and even casual dining. Additionally, a well-designed island can incorporate storage solutions, keeping your kitchen organized and clutter-free.
Moreover, a kitchen island serves as a social hub where family and friends can gather while you cook, fostering a more interactive and enjoyable environment. Furthermore, designing and building your own island allows for customization, ensuring that it perfectly fits your kitchen’s layout and your personal style.
Planning Your Kitchen Island
Before embarking on your DIY kitchen island project, thorough planning is essential. Proper planning ensures that your island will not only look great but also function seamlessly within your kitchen space.
Assessing Your Kitchen Space
Firstly, evaluate your kitchen’s layout to determine the best location for the island. Consider the available space and ensure there is enough clearance around the island for easy movement. Typically, a minimum of 42 inches of walkway space on all sides is recommended to maintain an open and accessible kitchen.
Next, think about your kitchen’s workflow. The island should complement the existing layout, whether it’s in a U-shaped, L-shaped, or galley kitchen. Additionally, assess the proximity to key areas like the stove, sink, and refrigerator to create an efficient work triangle.
Designing the Layout
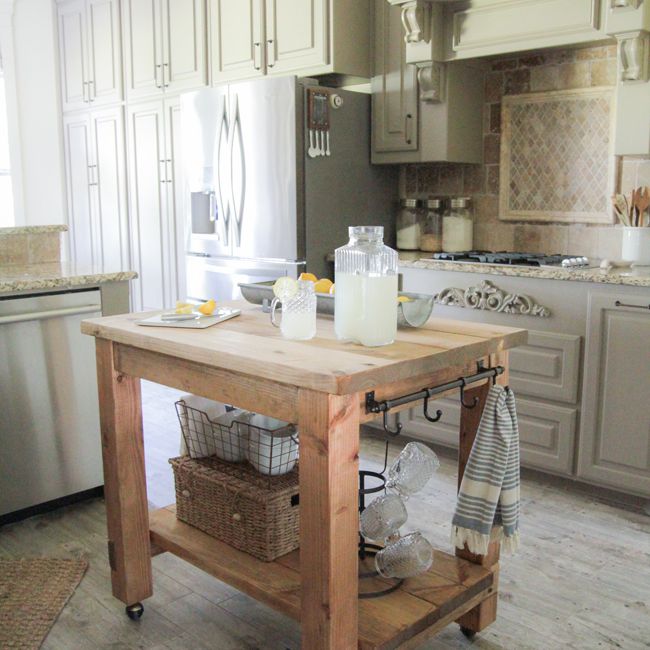
Once you’ve assessed your space, it’s time to design the layout of your DIY kitchen island. Sketching a rough blueprint can help visualize the island’s dimensions and features. Consider the primary functions of the island, such as food preparation, dining, or storage, and allocate space accordingly.
Furthermore, think about the island’s height. Standard countertop height is around 36 inches, but if you plan to include a bar or seating area, adjust the height to accommodate comfortable seating. Additionally, decide whether you want a mobile island with wheels or a fixed one that remains in place.
Choosing Materials for Your Kitchen Island
Selecting the right materials is crucial for both the durability and appearance of your DIY kitchen island. High-quality materials ensure that your island stands the test of time and complements your kitchen’s decor.
Selecting Durable Surfaces
The countertop is a vital component of your kitchen island, so choosing a durable and attractive surface is essential. Popular options include granite, quartz, butcher block, and laminate. Each material has its unique benefits: granite and quartz offer a luxurious look and excellent durability, while butcher block provides a warm, natural appearance and is ideal for food preparation. Laminate is a budget-friendly option that comes in a variety of colors and patterns.
Additionally, consider the maintenance required for each material. For instance, granite countertops require periodic sealing, whereas quartz surfaces are relatively low-maintenance. Choose a countertop material that aligns with your lifestyle and maintenance preferences.
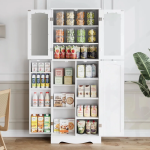
Picking the Right Cabinets and Storage
Cabinets form the backbone of your kitchen island, providing necessary storage and contributing to the overall design. When selecting cabinets, opt for materials and finishes that match or complement your existing kitchen cabinetry. Solid wood cabinets offer durability and timeless appeal, while plywood or MDF cabinets can be more affordable alternatives.
Furthermore, think about the storage solutions you need. Incorporate drawers, shelves, and cabinets to store utensils, cookware, and other kitchen essentials. Additionally, consider adding specialized storage options, such as spice racks, wine racks, or pull-out cutting boards, to enhance the island’s functionality.
 Step-by-Step Guide to Building Your Kitchen Island
With your planning and materials in place, it’s time to dive into the construction of your DIY kitchen island. Follow these steps to ensure a successful build.
Gathering Tools and Supplies
Before you begin, gather all the necessary tools and supplies. You will typically need a measuring tape, level, saw, drill, screws, wood glue, sandpaper, and a screwdriver. Additionally, ensure you have all the materials selected during the planning phase, including cabinets, countertop, and any decorative elements.
Constructing the Base and Frame
Start by constructing the base and frame of the island. Measure and cut the lumber to the desired dimensions, ensuring that all pieces fit together accurately. Assemble the frame using screws and wood glue, maintaining a level and sturdy structure. Once the frame is complete, attach the cabinet units, securing them firmly in place.
Next, reinforce the structure by adding additional support beams or braces if necessary. This step is crucial to ensure that your kitchen island can support the weight of the countertop and any additional features you plan to include.
Installing the Countertop
After the base and frame are securely in place, proceed to install the countertop. Carefully measure and cut the countertop material to fit the island’s dimensions. If you’re using a heavy material like granite or quartz, it may be necessary to have it pre-cut by a professional to ensure precise measurements.
Once the countertop is ready, apply a bead of adhesive along the top edges of the cabinets and carefully place the countertop onto the base. Secure it using screws or brackets, following the manufacturer’s instructions. Ensure that the countertop is level and properly aligned with the cabinets.
Enhancing Your Kitchen Island with Custom Features
To truly make your DIY kitchen island unique and functional, consider adding custom features that cater to your specific needs and preferences.
Adding Lighting and Electrical Outlets
Proper lighting is essential for both functionality and aesthetics. Install pendant lights or under-cabinet lighting above your kitchen island to provide ample illumination for meal preparation and dining. Additionally, incorporating electrical outlets into the island allows you to conveniently power appliances like blenders, toasters, and coffee makers.
Position the outlets strategically to maintain a clean and organized look. You can install pop-up outlets or use sleek, built-in options to keep cords hidden and the workspace clutter-free.
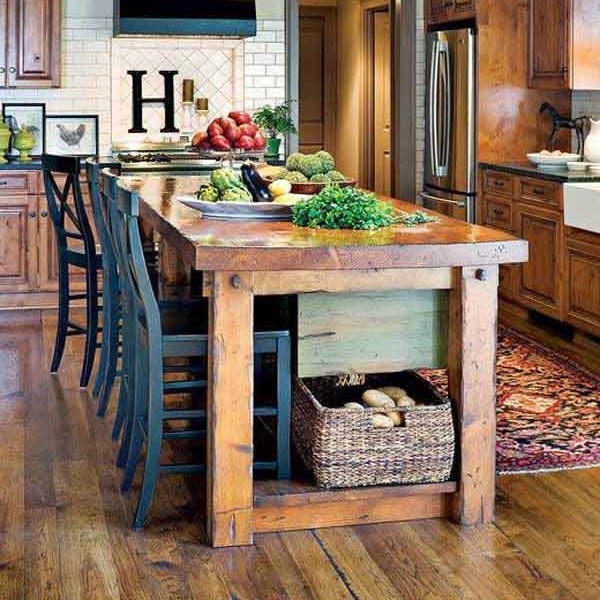
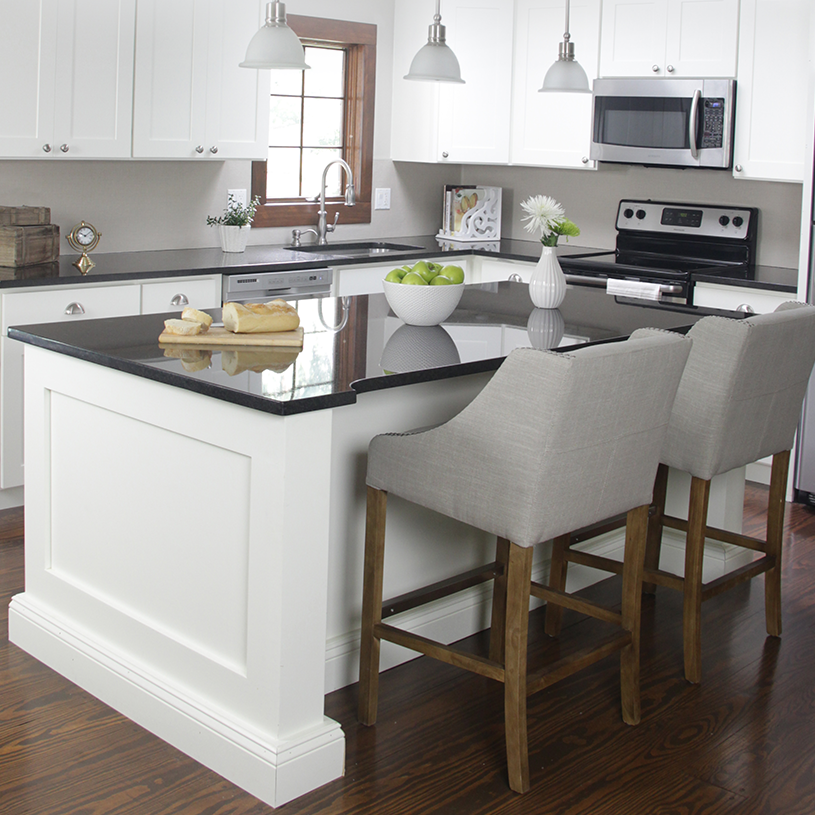
Incorporating Seating and Storage Solutions
A kitchen island often serves as a dining area, so incorporating seating is a practical addition. Install a countertop overhang or extend the length of the island to create space for bar stools or chairs. Ensure there is enough room for comfortable seating without obstructing movement around the island.
Furthermore, maximize storage by adding shelves, drawers, or cabinets beneath the countertop. Utilize every inch of space by including vertical storage options, such as hanging pot racks or pegboards, to keep utensils and cookware easily accessible.
 Maintenance and Care for Your Kitchen Island
Maintaining your DIY kitchen island is essential to ensure its longevity and continued appearance. Regular upkeep will keep your island looking fresh and functional for years to come.
Cleaning and Upkeeping Surfaces
Different countertop materials require specific cleaning methods. For example, granite and quartz surfaces should be wiped down with a mild detergent and water, avoiding harsh chemicals that can damage the finish. For butcher block countertops, regularly oiling the surface helps prevent drying and cracking.
Additionally, clean the cabinet surfaces with a soft cloth and a suitable cleaner to remove stains and spills promptly. Regularly inspect the hardware, such as handles and hinges, and tighten any loose screws to maintain the island’s stability.
Addressing Wear and Tear
Over time, wear and tear are inevitable. Address minor damages promptly to prevent them from worsening. For instance, sand and refinish scratched or stained wood surfaces to restore their appearance. Replace any worn-out components, such as drawer slides or cabinet doors, to keep the island functioning smoothly.
Moreover, periodically check for any structural issues, such as wobbly legs or loose joints, and make necessary repairs to ensure the island remains sturdy and reliable.
Creative Design Ideas for Your Kitchen Island
Personalizing your DIY kitchen island can transform it into a statement piece that reflects your style and enhances your kitchen’s overall design.
Choosing the Right Color Scheme
Selecting a cohesive color scheme is vital for creating a harmonious look. Coordinate the island’s colors with your existing kitchen palette, whether you prefer bold, contrasting hues or subtle, complementary tones. Consider using paint or stain to match the cabinets and countertops, creating a unified and polished appearance.
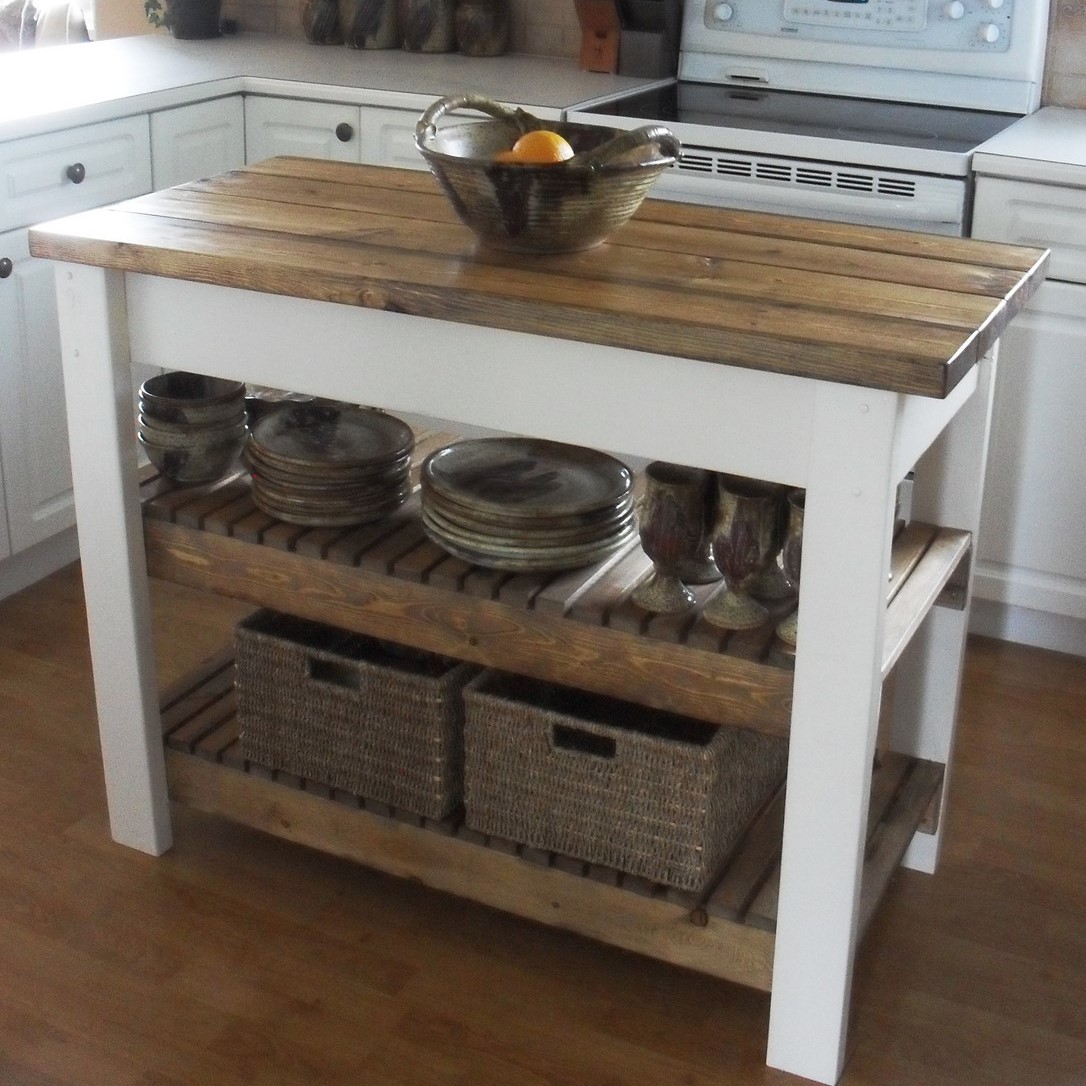
Incorporating Unique Materials and Textures
Adding unique materials and textures can elevate the island’s design. Incorporate metal accents, such as stainless steel sinks or hammered copper hardware, to introduce an industrial touch. Alternatively, use reclaimed wood or exposed brick to create a rustic or farmhouse-inspired look.
Mixing different textures, like smooth granite countertops with rough-hewn wood cabinets, adds visual interest and depth. Experiment with various materials to achieve a balanced and aesthetically pleasing design.
Personalizing with Decorative Elements
Personal touches can make your DIY kitchen island truly one-of-a-kind. Add decorative elements such as a mosaic backsplash, open shelving for displaying cookbooks, or a built-in wine rack. Incorporate artwork or plants to infuse personality and warmth into the space.
Additionally, consider customizing the island’s shape and size to fit your kitchen’s unique layout. Whether you opt for a rectangular, L-shaped, or circular island, ensure it complements the overall design and meets your functional needs.
 Budget-Friendly Tips for Your Kitchen Island
Building a DIY kitchen island doesn’t have to break the bank. With careful planning and smart choices, you can create a stylish and functional island on a budget.
Repurposing Existing Furniture
One cost-effective approach is repurposing existing furniture pieces. For example, convert an old dresser or console table into a kitchen island by adding a new countertop and updating the hardware. This method not only saves money but also gives your island a unique character.
Opting for Affordable Materials
Choose affordable materials without compromising quality. Instead of premium hardwood for cabinets, consider using plywood or MDF, which are more budget-friendly alternatives. Laminate countertops offer a wide range of styles at a fraction of the cost of natural stone.
Additionally, explore discount stores or salvage yards for unique hardware and fixtures. These venues often have high-quality items at significantly reduced prices, allowing you to add stylish details without overspending.
DIY Finishing Touches
Taking on finishing tasks yourself can further reduce costs. Paint or stain the cabinets, install the countertop, and add decorative elements without hiring professionals. With a bit of effort and creativity, you can achieve a polished look while staying within your budget.
Moreover, seek out online tutorials and resources to guide you through the finishing process, ensuring a professional appearance without the hefty price tag.
Troubleshooting Common Kitchen Island Challenges
During your DIY kitchen island project, you may encounter various challenges. Being prepared and knowing how to address these issues can ensure a smooth and successful build.
Dealing with Uneven Floors or Walls
Uneven floors or walls can pose significant challenges when installing a kitchen island. To address this, use shims or adjustable feet to level the island and ensure stability. Alternatively, install a self-leveling base to create a flat surface for your island to sit on.
It’s essential to take the time to assess and correct any unevenness before proceeding with the construction to prevent future structural problems.
Ensuring Proper Ventilation and Electrical Connections
Proper ventilation and electrical connections are critical for a functional kitchen island, especially if you plan to include appliances or a sink. Plan the layout carefully to ensure adequate ventilation for cooking areas, and consult a professional electrician to handle electrical installations safely and up to code.
Additionally, consider incorporating ventilation hoods or fans to keep the kitchen air fresh and free from cooking odors. Proper planning and professional assistance can help you avoid potential hazards and ensure your island functions efficiently.
Managing Project Timelines and Expectations
Building a DIY kitchen island requires time, patience, and realistic expectations. To manage project timelines effectively, create a detailed plan outlining each step of the process and allocate sufficient time for each task.
Expect delays or unexpected issues and build in extra time to address them without feeling overwhelmed. By staying organized and flexible, you can maintain progress and achieve your desired results without unnecessary stress.
 Final Thoughts
Embarking on a DIY kitchen island project is an exciting and rewarding endeavor that can transform your kitchen into a more functional and stylish space. By carefully planning your design, selecting quality materials, and following a systematic construction process, you can create a custom kitchen island tailored to your needs and preferences.
Moreover, adding personal touches and creative features can make your island a unique centerpiece that enhances your home’s overall aesthetic. With dedication and attention to detail, your DIY kitchen island will not only improve your kitchen’s functionality but also add significant value to your home.
Whether you’re a seasoned DIY enthusiast or a beginner looking to tackle a new project, building a DIY kitchen island is a fulfilling way to make a lasting impact on your living space. Start your journey today and enjoy the benefits of a beautifully crafted kitchen island that reflects your style and enhances your daily life.