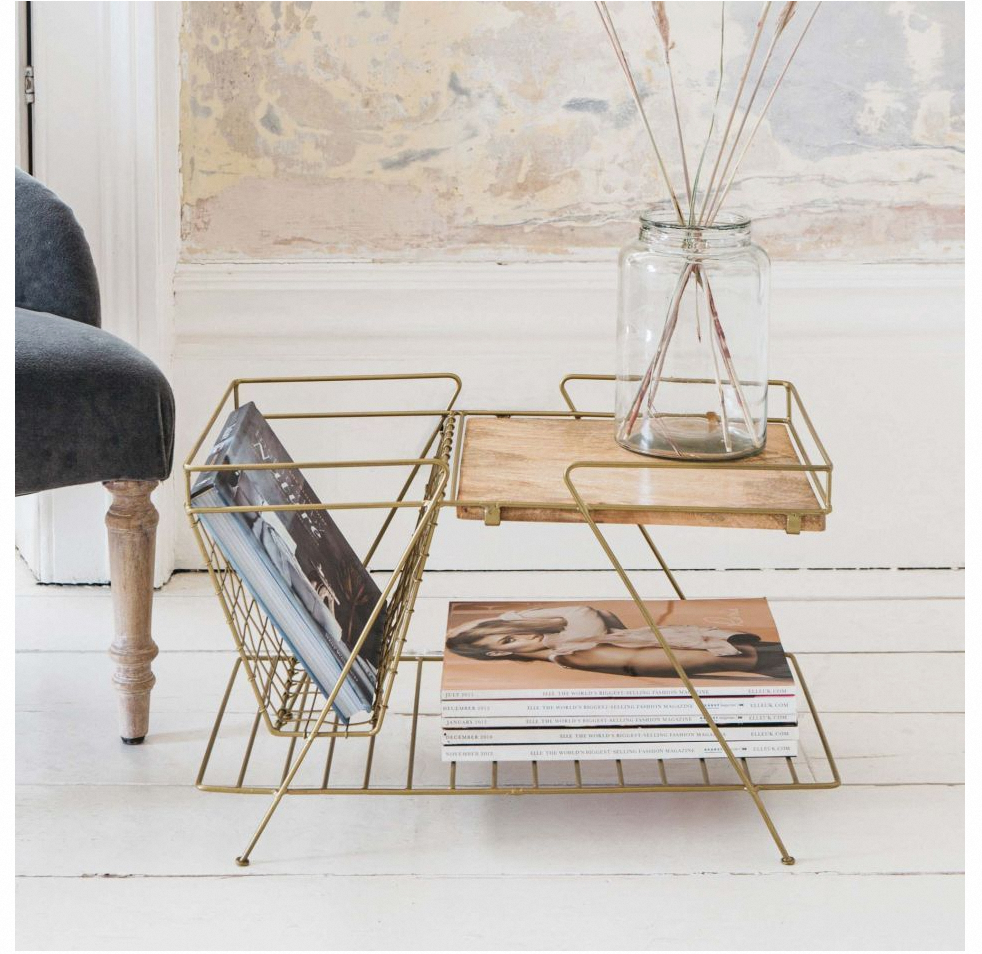
In today’s digital age, it’s easy to overlook the importance of physical mail. With bills, letters, and other important documents still being sent via snail mail, it’s crucial to have an organized system in place to manage it all. One simple and cost-effective solution is to repurpose a magazine holder into a mail organizer.
Magazine holders are designed to hold and display magazines, but their size and structure also make them ideal for storing and sorting mail. With a few modifications and creative touches, you can transform your magazine holder into a functional and stylish mail organizer that will keep your mail neatly organized and easily accessible.
Here’s a step-by-step guide on how to transform your magazine holder into a mail organizer:
Step 1: Choose the Right Magazine Holder
Start by selecting a magazine holder that suits your style and fits well with your existing home decor. There are various options available, ranging from sleek and modern designs to more rustic and vintage-inspired styles. Consider the size and capacity of the magazine holder as well, ensuring it can accommodate the amount of mail you typically receive.
Step 2: Prepare the Magazine Holder
Before you begin transforming your magazine holder, remove any labels, stickers, or price tags that may be attached to it. Clean the surface thoroughly to remove any dust or dirt. This will ensure that any paint or adhesive you use will adhere properly.
Step 3: Personalize Your Mail Organizer
To add a personal touch to your mail organizer, consider painting it or applying decorative elements such as wallpaper, fabric, or washi tape. You can choose a color or pattern that complements your overall decor or opt for something bold and eye-catching. This step is entirely optional, but it can make your mail organizer more visually appealing.
Step 4: Create Dividers
To keep your mail sorted and organized, you’ll need to create dividers within the magazine holder. Cut pieces of cardboard or foam board to fit inside the holder vertically. These dividers will create separate compartments for different types of mail, such as bills, letters, and magazines. Attach the dividers securely using strong adhesive or hot glue.
Step 5: Label the Dividers
To easily identify the different sections of your mail organizer, label each divider with the corresponding category. You can use adhesive labels, write directly on the dividers with a permanent marker, or get creative by using decorative stickers or tags. Make sure the labels are clear and easily readable.
Step 6: Add Additional Features
To make your mail organizer even more functional, consider adding a few extra features. For example, you can attach a small chalkboard or whiteboard to the front of the magazine holder to jot down important reminders or notes. You can also incorporate hooks or clips to hang keys, small envelopes, or other accessories.
Step 7: Find the Perfect Spot
Once you’ve completed the transformation, find the perfect spot for your mail organizer. Choose a location near your entranceway or in a home office space where you typically sort and manage your mail. Make sure it’s easily accessible and visible so you can quickly retrieve or deposit your mail as needed.
Step 8: Maintain and Update Regularly
To ensure your mail organizer remains effective, it’s essential to maintain it regularly. Set aside time each week to sort through your mail, discard any junk or unnecessary items, and file away important documents. By keeping up with this routine, you’ll prevent your mail organizer from becoming cluttered and overwhelmed.
In conclusion, repurposing a magazine holder into a mail organizer is a simple and practical solution for managing your physical mail. With a bit of creativity and customization, you can transform a basic magazine holder into a stylish and functional organizer that will help you stay on top of your mail and reduce clutter in your home. Give it a try and discover the convenience and efficiency of having a dedicated space for all your important mail.