Reasons for Replacing a Bathroom Exhaust Fan
When undertaking the task of how to replace a bathroom exhaust fan, it’s crucial to understand the reasons behind the decision. Here are several key factors that might prompt a replacement:
- Increased Efficiency: Over time, exhaust fans may lose their efficiency. A new fan can perform better, reducing moisture and improving air quality.
- Noise Reduction: Older fans often get noisier. Replacing them with modern, quieter models can enhance bathroom comfort.
- Upgraded Features: New fan models come with additional features like humidity sensors or built-in lights, offering more convenience and functionality.
- Aesthetic Appeal: A new exhaust fan can contribute to a bathroom’s overall look, aligning with recent renovations or updates in decor.
- Maintenance Issues: If frequent repairs are needed, it might be more cost-effective to install a new unit.
These considerations illustrate why homeowners decide to replace bathroom exhaust fans. Diving into this project can result in both practical improvements and an enhanced bathroom experience.
Signs That Your Bathroom Exhaust Fan Needs Replacement
Knowing when to undertake how to replace a bathroom exhaust fan is key to maintaining your bathroom’s air quality. Look for these telltale signs to determine if it’s time for a replacement:
- Persistent Noises: If your fan consistently makes rattling, buzzing, or humming sounds, it may indicate motor or fan blade issues.
- Inadequate Ventilation: Noticeable moisture on walls or a lingering musty odor suggests that your fan is not removing humidity effectively.
- Aged Equipment: Exhaust fans have a lifespan. If yours is old, it might not work as efficiently, regardless of visible damage.
- Non-Functioning Fan: A fan that doesn’t start or has intermittent operation may have electrical problems or a faulty motor.
- Visible Damage: Rust, grime, or other damage can hinder fan performance and also become an eyesore.
Recognizing these issues promptly not only ensures that you maintain good air quality but also helps prevent more extensive damage caused by excess moisture. Let these signs guide you to decide when a replacement is necessary. By acting swiftly, you can enhance your bathroom’s functionality and comfort.
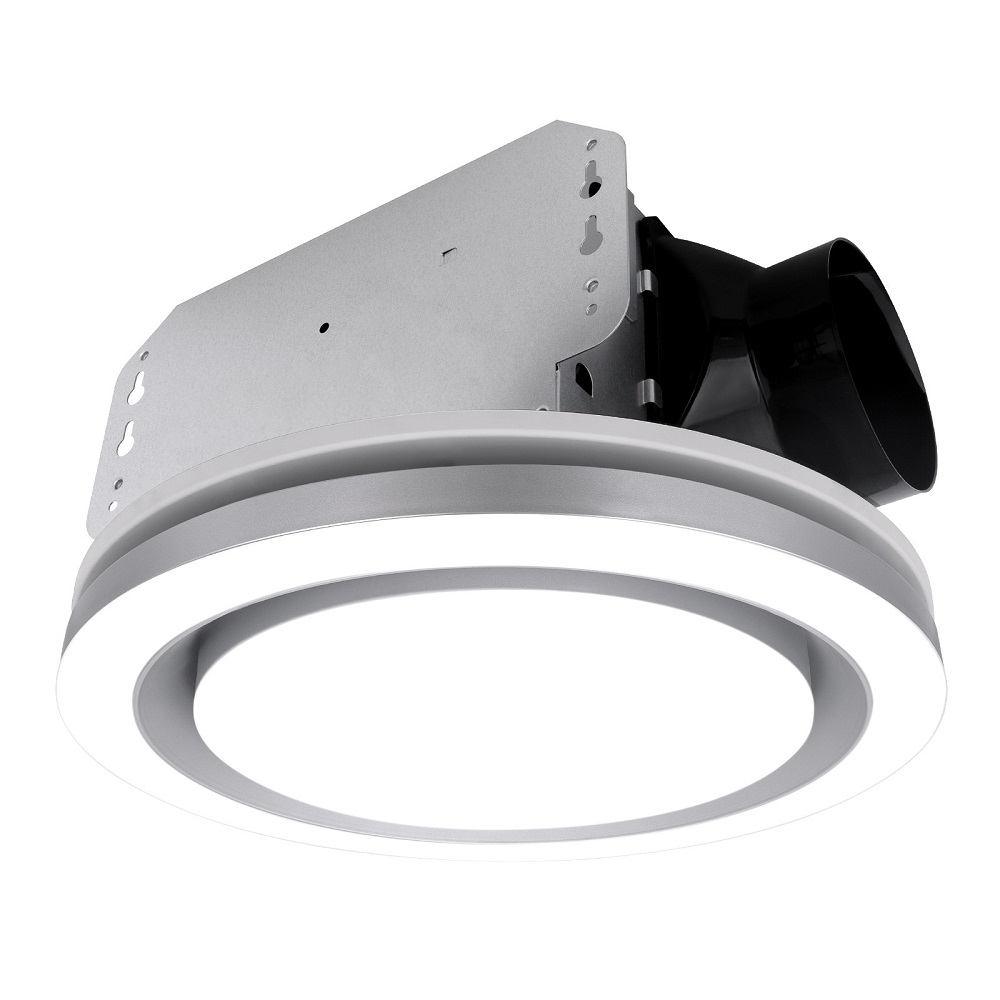
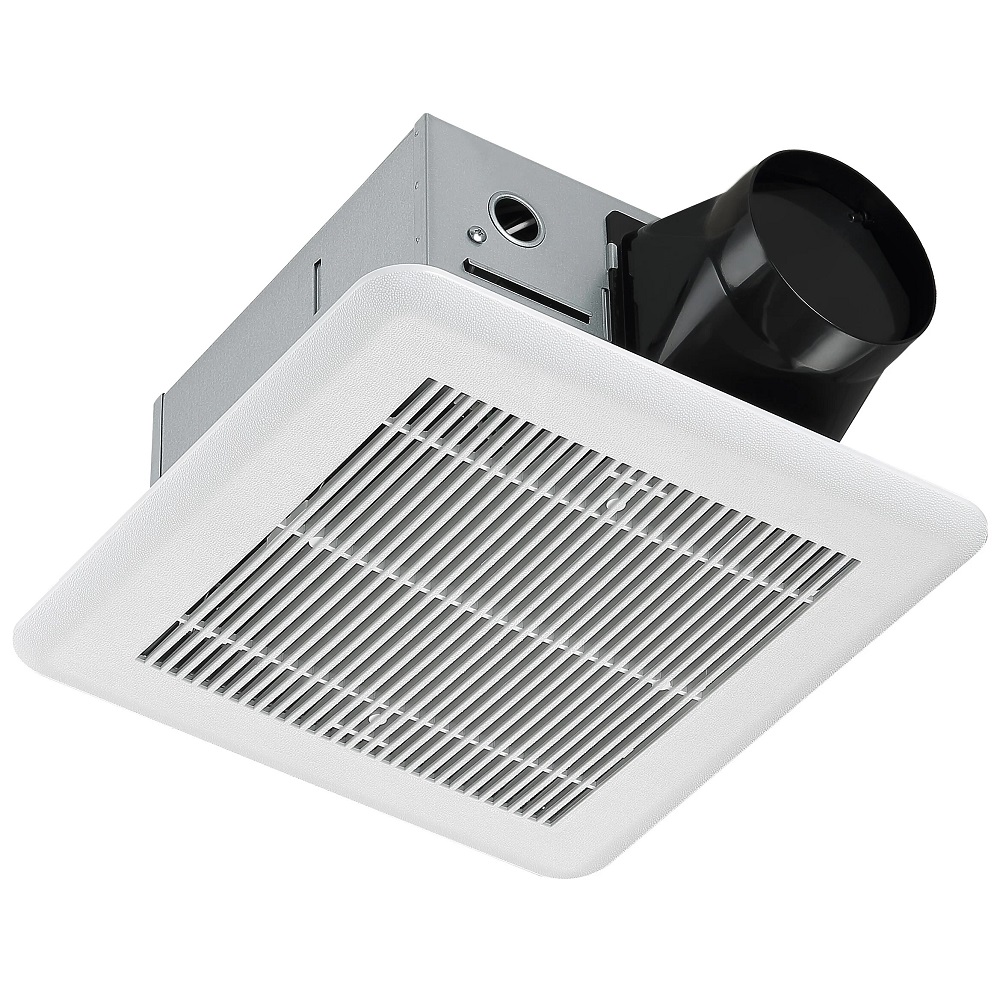
Choosing the Right Replacement Fan
When learning how to replace a bathroom exhaust fan, picking the right fan is crucial. Here’s how to make a wise choice:
- Consider Fan Size: Measure your current fan’s housing to find a matching size. This ensures a smooth installation.
- Check CFM Ratings: CFM stands for cubic feet per minute. Choose a CFM rating that can handle your bathroom’s size for optimal ventilation.
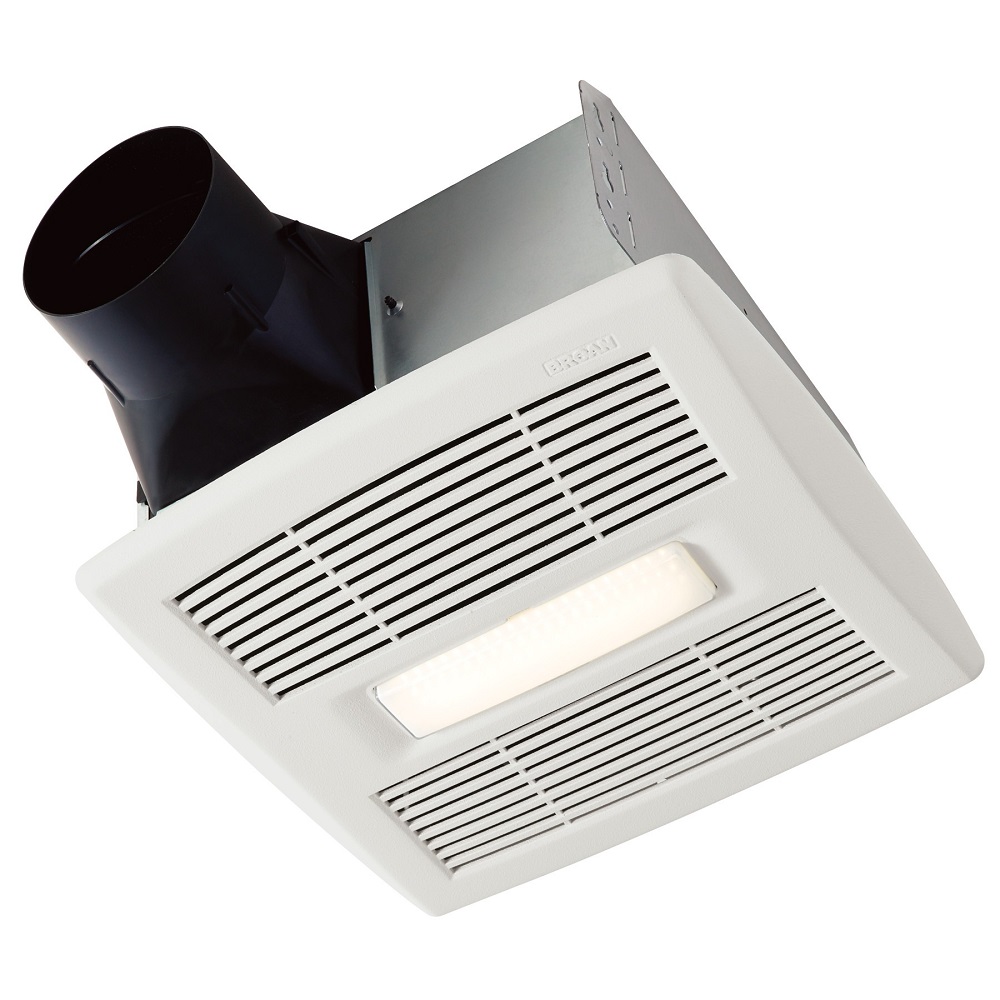
- Look for Features: Decide if you want extra features like a humidity sensor, heater, or light. These can add convenience and comfort.
- Assess Noise Levels: Fans list noise levels in sones. A lower sone number means a quieter fan. Pick one that won’t disturb your peace.
- Energy Efficiency: Opt for fans with Energy Star ratings. They use less power and save on electricity bills.
- Review Compatibility: Make sure the new fan fits with your existing ductwork. This can save you time and additional modification costs.
- Style Matters: Choose a design that fits your bathroom’s aesthetic. It can be a subtle addition or a statement piece.
- Set a Budget: Fans come in various price ranges. Know how much you’re willing to spend while meeting your needs.
Selecting the right exhaust fan means considering these factors carefully. A good fit can improve air quality and bathroom comfort for years to come.
Necessary Tools and Materials
When planning how to replace a bathroom exhaust fan, having the right tools and materials is essential for a smooth process. Here’s what you’ll need to get started:
- Screwdriver Set: for removing and securing the fan unit’s components.
- Circuit Tester: to ensure the power is off before starting your work.
- Wire Strippers/Cutters: for handling electrical connections safely.
- Adjustable Wrench or Pliers: for tightening or loosening nuts and bolts.
- Dust Mask and Safety Glasses: to protect your lungs and eyes from insulation and debris.
- Ladder: to reach the fan if it’s installed on the ceiling.
- Drill and Drill Bits: if new holes are needed for the installation.
- Caulking Gun and Silicone Sealant: for sealing the unit and preventing moisture intrusion.
- Duct Tape or Aluminum Tape: to secure the ductwork connections.
- New Exhaust Fan: matching the correct size and features for your bathroom.
- Extension Cord: if your power source isn’t close to the work area.
Make sure to gather all these items before you begin the replacement to avoid any interruptions. With these tools and materials at hand, you’ll be set to remove the old fan and install a new one efficiently.
Safety Precautions Before Starting the Replacement Process
Before diving into how to replace a bathroom exhaust fan, it’s imperative to take safety precautions. These safety steps will protect you and ensure a smooth replacement process:
- Turn Off the Power: Safety first—always switch off the electricity at the circuit breaker to prevent electric shock.
- Double-Check with Circuit Tester: Use the circuit tester to confirm the power is indeed off. This adds an extra layer of safety.
- Wear Protective Gear: Don a dust mask and safety glasses before starting to guard against insulation and debris.
- Secure a Stable Work Area: Ensure your ladder is stable and at the correct height before you start working.
- Have a Spotter: If possible, have someone nearby to assist you. They can hold the ladder and pass tools.
- Consult Manufacturer Instructions: Before removing the old fan, review the new fan’s manual for any specific safety tips.
- Be Aware of Wiring: Understand your bathroom’s wiring layout to avoid damaging electrical lines during removal and installation.
Adhering to these safety measures during how to replace a bathroom exhaust fan not only prevents accidents but also instills confidence as you undertake the task.
Step-by-Step Instructions for Removing the Old Exhaust Fan
Removing an old bathroom exhaust fan is a straightforward process when you follow these step-by-step instructions. Ensure that you’ve taken all safety precautions before starting, as outlined in the previous section.
- Turn off Power: Begin by cutting power to the bathroom at the circuit breaker.
- Check Power is Off: Use your circuit tester to confirm there is no electricity flowing to the fan.
- Remove the Cover: Carefully take down the fan cover. It may require gentle prying or unscrewing.
- Disconnect the Fan: Unhook the fan unit’s wiring from the electrical supply, keeping note of how it’s connected.
- Loosen Fasteners: Use your screwdriver to remove screws or fasteners holding the fan in place.
- Detach Duct Connector: Carefully separate the duct connector from the fan unit, using pliers if necessary.
- Remove the Fan: Gently pull the old fan out from the housing. If it resists, check for any missed screws.
- Clean the Area: Once removed, clean any dust or debris from the empty space where the fan was installed.
Remember to take your time and refer to the specific instructions that came with your new fan for any unique removal steps. By following how to replace a bathroom exhaust fan, you will have the old unit out and be ready to proceed with installing your new fan, enhancing your bathroom’s ventilation and overall comfort.
Installing the New Bathroom Exhaust Fan
Once you have removed the old exhaust fan, it’s time to install the new one. Here are the steps to follow for a successful installation:
- Prep the Area: Ensure the space is clean, and the existing ductwork is in good shape.
- Position the New Fan: Carefully place your new fan into the housing. Align it correctly with the duct connector.
- Secure the Fan: Fasten the fan unit with screws or other provided fasteners. Make sure it’s snug and stable.
- Connect the Wiring: Refer to your notes or take guidance from the manual. Attach the wires using wire nuts and electrical tape.
- Attach the Duct Connector: Reattach the ductwork to the new fan. Use tape or clamps to secure it firmly.
- Apply Sealant: Use silicone sealant around the housing to prevent moisture from entering.
- Test Fit the Cover: Before finalizing the installation, place the cover to check for a proper fit.
- Restore Power: Turn the power back on at the circuit breaker to test the fan.
- Run a Test: Switch the fan on. Confirm that it operates quietly and moves air effectively.
- Install the Cover: Once you’re sure the fan works, install the cover as instructed.
By carefully following these steps, you should now have a fully functional bathroom exhaust fan. Remember to consult your specific fan’s installation guide for any unique requirements or steps. These instructions are designed to give you a general understanding of how to replace a bathroom exhaust fan.
Final Checks and Testing After Installation
After installing your new bathroom exhaust fan, the final steps are crucial to ensure everything is working correctly. Here’s what you need to do to wrap up the project:
- Inspect the Installation: Check that all components are secure and properly aligned. No loose parts should be evident.
- Ensure Proper Sealing: Verify that the sealant around the fan housing is intact, with no gaps or cracks.
- Reconnect the Power: Restore power at the circuit breaker. This step readies the system for testing.
- Test the Fan: Turn on the fan to make sure it operates. Listen for abnormal sounds and ensure air is moving.
- Check the Vent Flow: Confirm that exhaust is exiting the building. There should be airflow at the vent outlet.
- Monitor for Issues: After testing, watch for signs like vibration or unusual noises that could indicate a problem.
- Test Additional Features: If your fan has a light or heater, test these too. They should work without issues.
- Repeat Safety Checks: Double-check all safety aspects, like the electrical connections and the stability of the installation.
By conducting these final checks, you can be confident that you have successfully learned how to replace a bathroom exhaust fan. Your bathroom should now be equipped with an efficient, quiet, and functional exhaust system.