Introduction to Removing a Bathroom Sink Drain
Removing a bathroom sink drain might sound daunting at first. However, with the right guidance and tools, it can be a straightforward task. Whether you’re tackling a clog, updating your fixtures, or just curious about the process, learning how to remove a bathroom sink drain is a valuable skill. In this guide, we provide a detailed approach to ensure this DIY project is completed efficiently and safely.
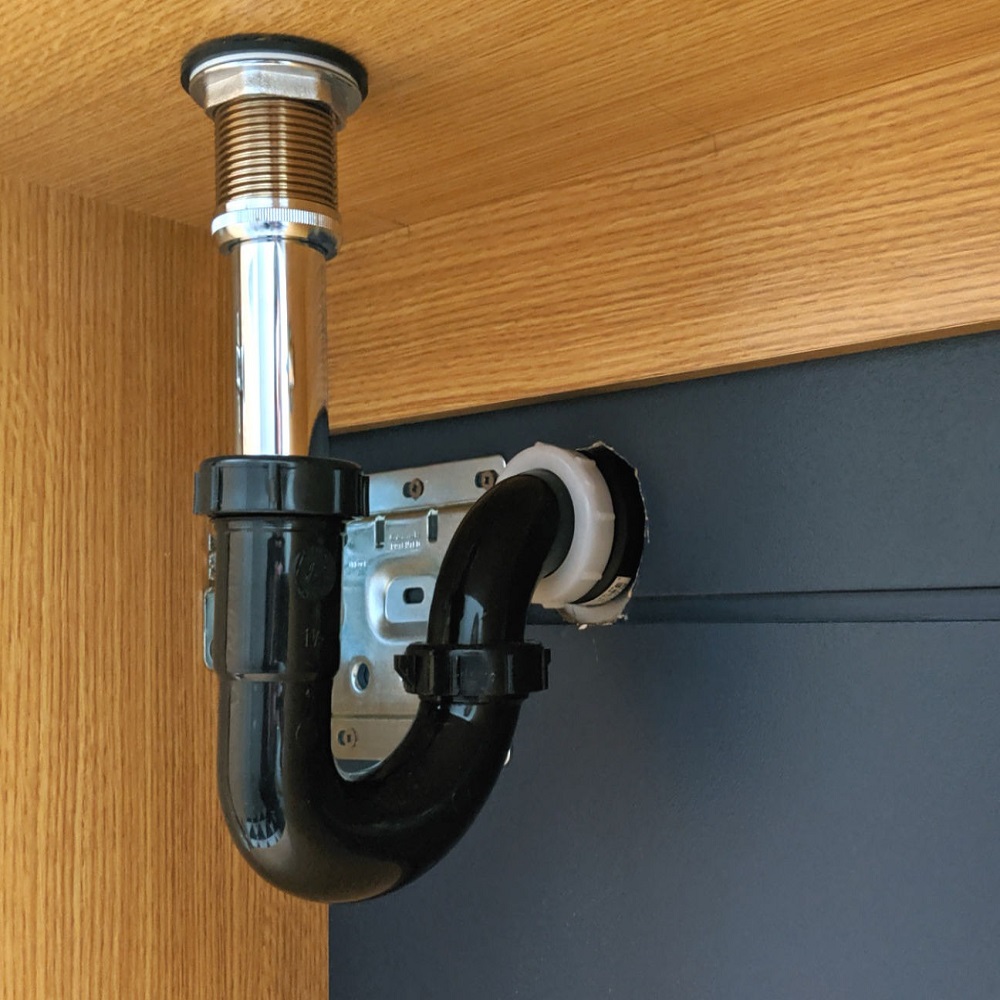
Understanding the basics is key. The sink drain is typically composed of a few key components: the stopper, the drain body, and the P-trap, which may all need attention during removal. Grasping the role each part plays in your sink’s function will help to identify the starting point and method for removal. Stay with us to get acquainted with the tools and safety tips that will aid in a hassle-free removal.
Tools and Materials Needed
Before you start the process of how to remove bathroom sink drain, gather all necessary tools and materials. This step is crucial for a smooth and efficient removal experience. Here’s what you’ll need:
- Adjustable wrench: To loosen and remove nuts and connections.
- Channel-lock pliers: For a firm grip on various components.
- Plumber’s putty or silicone sealant: To seal any openings after removal.
- Bucket or small container: To catch any water that may spill.
- Towel or cloth: To clean up spills and protect surfaces.
- Penetrating oil: In case you encounter rusted or tight connections.
- Gloves: To protect your hands during the work.
Having the right tools at your disposal simplifies the task. Ensure they are all in good condition and you’re comfortable using them to avoid any complications during the drain removal process.

Safety Precautions Before Starting the Task
Undertaking the task of how to remove bathroom sink drain safely requires attention to detail and preventive measures. Safety should always be your top priority when working on any DIY plumbing project. Here are some essential safety precautions to keep in mind before you begin removing the bathroom sink drain:
- Turn Off the Water Supply: Avoid water flow surprises by shutting off the water valves under the sink. Check that all water flow has stopped before proceeding.
- Clear the Workspace: Make sure the area under and around the sink is free of items. This will give you ample space to work and help prevent accidents.
- Protect Your Eyes: Small debris or drops of water can cause eye irritation. Wear safety goggles to shield your eyes during the process.
- Use Gloves: Wearing gloves not only keeps your hands clean but also protects them from sharp edges and potential irritants.
- Check for Electrical Hazards: If there are electrical outlets or appliances nearby, ensure they are not in contact with water. Use caution when working around these areas.
- Test for Lead: If you’re dealing with older plumbing, it might contain lead. Consider using a test kit or consult a professional if you suspect lead in your plumbing.
- Drain Water from the P-trap: Before loosening any connections, place a bucket underneath to catch any residual water that may spill out.
- Work in a Ventilated Area: If you’re using chemicals like penetrating oil, make sure the bathroom is well-ventilated to avoid inhaling fumes.
By following these safety tips, you can minimize the risk of accidents and ensure a smoother drain removal process.
Step-by-Step Instructions for Removing the Drain
Now that you have your tools ready and safety measures in place, let’s dig into how to remove bathroom sink drain step by step. These instructions will guide you through the process with ease.
- Position Your Bucket: Begin by placing your bucket or container under the P-trap. This will catch any remaining water when you disconnect the parts.
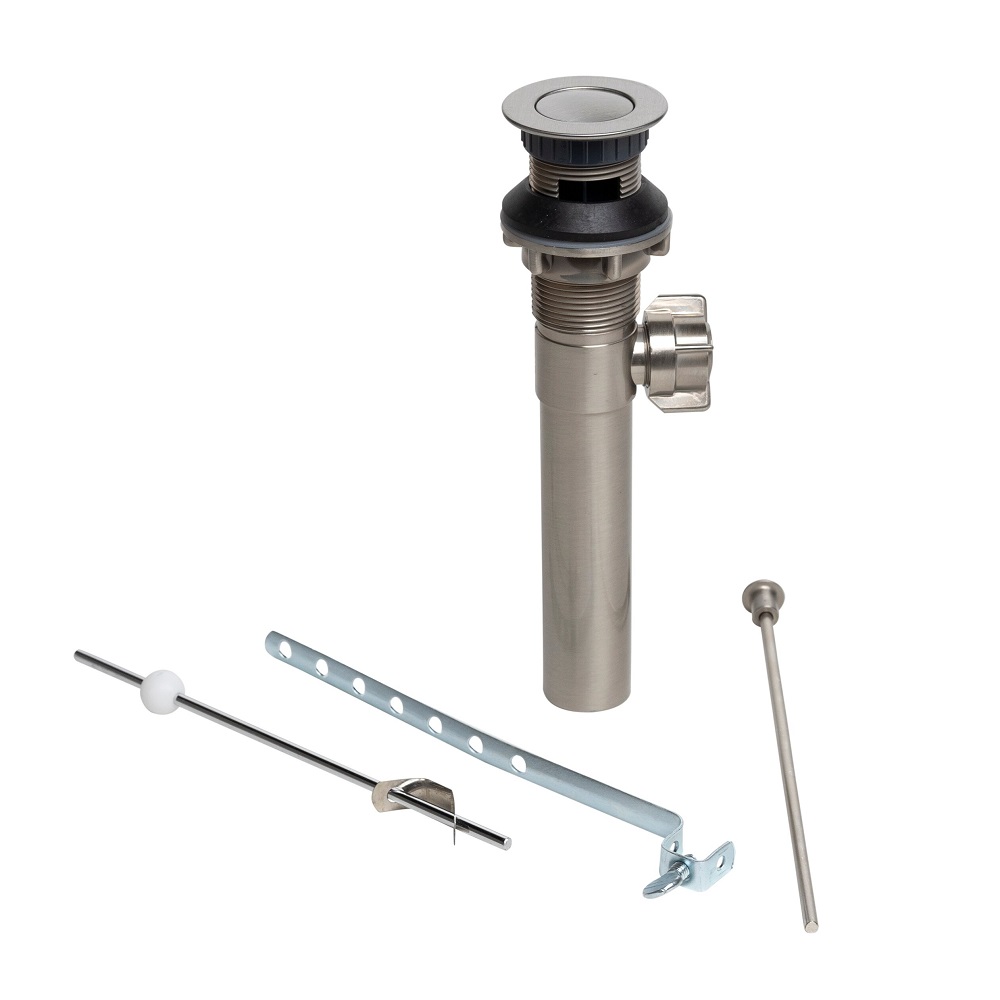
- Remove the Stopper: Many sinks have a pop-up stopper. To remove it, first, pull it up and twist to see if it comes out. If not, the mechanism beneath might need loosening.
- Loosen the P-trap: Use your channel-lock pliers to carefully loosen the slip nuts securing the P-trap. Once it’s loosened, remove this section and let the water drain out.
- Unscrew the Drain: With your adjustable wrench, turn the locknut connecting the drain to the sink counter-clockwise. Once the locknut is loose, you can lift out the drain body from above.
- Clean the Area: Take this chance to clean any residue or build-up around the drain opening. A simple cloth or towel will suffice.
- Prepare for Re-installation: If you plan to replace the drain, now is the time to apply plumber’s putty or silicone sealant around the new drain’s bottom before installing it.
Each step should be performed patiently and with care. If any connectors are tough to remove, apply some penetrating oil and wait a few minutes before trying again. We’ll move onto troubleshooting common issues next, which can save you time and prevent damage during the removal process.

Troubleshooting Common Issues During Removal
When removing a bathroom sink drain, you may face some common issues. These could slow down your progress. But with the right know-how, you can overcome them quickly. Let’s address some of these challenges and how to solve them.
- Stubborn Locknuts: Sometimes, locknuts under the sink won’t budge. If they don’t move, apply penetrating oil. Give it time to work, then try again with the wrench.
- Pop-up Stopper Won’t Come Out: If twisting doesn’t free it, go under the sink. Loosen the nut holding the horizontal pivot rod. This will release the stopper.
- Spinning Drain Body: If the drain body spins as you turn the locknut, hold it from above. Use one hand to hold and the other to turn the wrench.
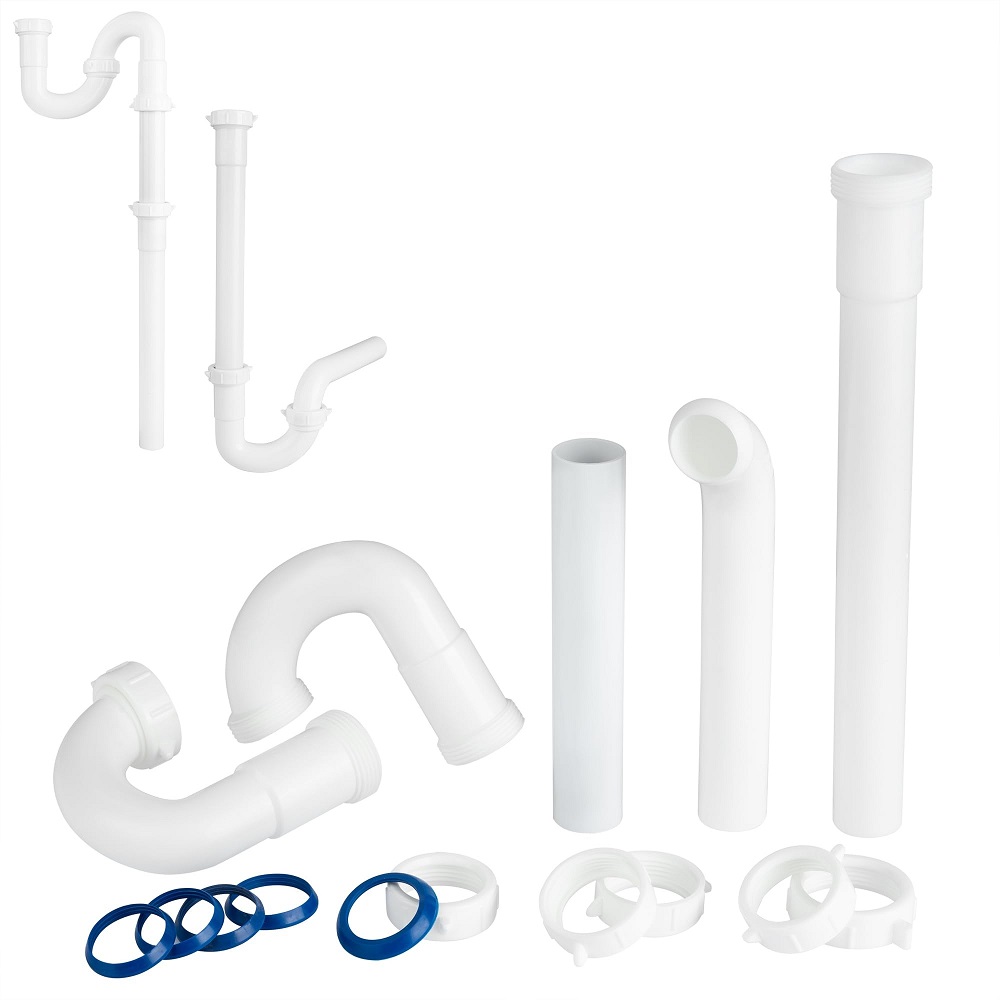
- P-trap Issues: The P-trap may be hard to remove if it’s old or over-tightened. If it’s plastic, be careful not to crack it. For metal, penetrating oil can help loosen it up.
- Water Spillage: Even after draining, some water may still linger in the pipes. Always keep the bucket underneath until you finish removing all parts.
- Rusty Components: Older sinks might have rust that makes removal tough. Don’t force the parts. Apply oil, wait, and gently work the parts loose.
Patience is key when dealing with these problems. Take your time, and don’t force things to prevent damage. With these troubleshooting tips for how to remove bathroom sink drain, you should be able to handle any hiccups that arise.
Tips for Cleaning and Maintaining the Drain Area
Once you have removed your bathroom sink drain, it’s important to clean and maintain the area to prevent future clogs and ensure smooth operation. Here are some useful tips for keeping your drain area in top condition:
- Wipe the Drain Opening: Use a cloth to wipe around the drain opening. Remove any gunk or residue that may have built up over time.
- Use a Mild Cleaner: A gentle, non-abrasive cleaner can help clean the sink surface without causing damage. Apply it around the drain area and rinse thoroughly.
- Inspect for Damage: Look for any signs of wear or damage around the drain opening. If you find any issues, it’s best to address them before reinstalling the drain.
- Avoid Chemical Drain Cleaners: These can be harsh on your plumbing. Instead, use a mixture of baking soda and vinegar for a natural cleaning solution.
- Regularly Clear Debris: Make it a habit to clear any visible debris from the drain opening regularly. This can prevent build-up that leads to clogs.
- Use a Strainer: Installing a small strainer can catch hair and other debris, keeping it from entering the drain.
- Seal Properly: If reinstalling a drain, make sure to use plumber’s putty or silicone sealant to create a watertight seal.
- Tighten Connections: When putting the drain back, ensure all connections are tight and secure to avoid leaks.
By following these steps regularly, you’re setting up your bathroom sink drain for long-term functionality and minimizing the chances of future plumbing problems.

Replacing or Upgrading Your Bathroom Sink Drain
After removing your bathroom sink drain, you may decide to replace or upgrade it. This is a great opportunity to enhance your bathroom’s functionality and style. Follow these steps to complete the process effectively.
- Select a New Drain: Choose a drain that fits your sink and matches your bathroom’s design. Consider the finish and type, such as pop-up or grid drains.
- Check the Fit: Ensure the new drain fits into the sink hole snugly. The fit should be tight with no gaps.
- Apply Sealant: Use plumber’s putty or silicone sealant on the bottom flange of the new drain. This creates a waterproof barrier.
- Position the Drain: Place the new drain in the sink hole. Press down firmly to set it in the sealant.
- Secure the Drain: From below, attach the washer and nut to the bottom of the drain. Tighten these by hand, then finish with a wrench.
- Reconnect the P-trap: Align the P-trap with the bottom of the drain. Tighten the slip nuts to secure the trap in place.
- Check for Leaks: Turn on the water and fill the sink. Watch for leaks around the new drain.
- Make Adjustments: If you spot leaks, tighten the connections a bit more. Do not overtighten, as this may cause damage.
By following these steps, you can replace or upgrade your bathroom sink drain with confidence. A fresh, well-installed drain can improve your sink’s performance and give your bathroom a refreshed look. Remember to always refer to the manufacturer’s guidelines to ensure compatibility and proper installation.
Conclusion and Final Check
Great job reaching the final steps in learning how to remove bathroom sink drain! Let’s wrap up with a conclusion and final check to ensure everything is in order. Here’s what you should do:
- Review Your Work: Look back at the removal process and confirm you’ve followed all the steps correctly.
- Check for Leaks: After any reinstallation, run water through the drain and check for leaks below the sink. Address any leaks immediately.
- Clean Up Your Space: Return tools to their proper places and dispose of old parts responsibly.
- Test the Drain: Fill the sink with water and watch how it drains to be sure the flow is smooth and there are no backups.
- Maintain Regularly: Keep an eye on the area and clean regularly to avoid future clogs.
- Seek Help if Needed: If issues persist or you’re unsure about something, don’t hesitate to consult a professional.
By taking your time and paying attention to detail, you’ve successfully completed a plumbing task that can save you money and improve your home. Feel proud of your DIY skills and enjoy the benefits of your hard work!


