Introduction to Bathroom Ventilation Needs
Understanding the need for proper bathroom ventilation is crucial for maintaining a healthy indoor environment. Many homes experience issues like mold and mildew due to insufficient ventilation. Here, we’ll explore why installing a bathroom fan is essential.
Bathrooms are typically high-humidity areas. This moisture can fog up mirrors, make wooden doors swell, and is the perfect breeding ground for mold. Without adequate ventilation, this moisture has nowhere to go, soaking into walls and ceilings, causing damage and potentially leading to health risks.
A well-installed bathroom fan not only helps clear out unwanted odors but also reduces the overall humidity level. This helps to protect any fixtures and finishes in your bathroom from deteriorating prematurely. Moreover, by removing moisture effectively, a bathroom fan helps prevent the growth of mold and mildew.
Additionally, it’s important to ensure that your bathroom fan vents to the outdoors. Venting into an attic, crawlspace, or another enclosed area can lead to moisture problems in those areas, creating a new set of issues.
In conclusion, installing a bathroom fan not only enhances comfort but also plays a significant role in maintaining the integrity of your home’s structure and indoor air quality.
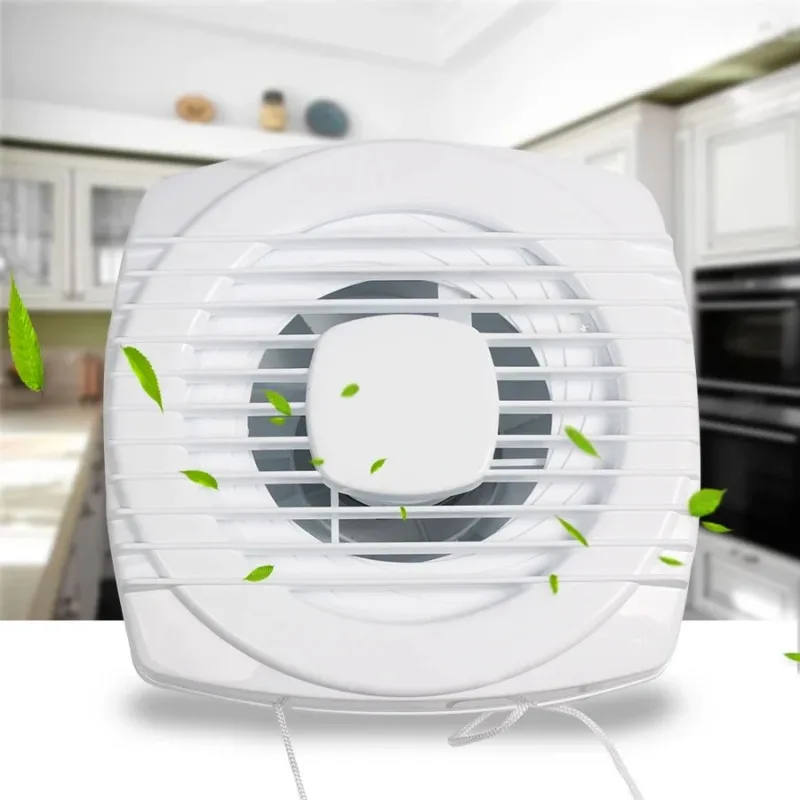
Tools and Materials Required for Installation
To ensure a smooth bathroom fan installation process, gathering the right tools and materials is essential. Here’s a comprehensive list to help you get started:
- Screwdriver Set: Needed for attaching components. Preferably have both flathead and Phillips head screwdrivers.
- Jigsaw or Reciprocating Saw: For cutting out the ceiling opening for the fan.
- Drill with Bits: A power drill for making holes for screws or for the intake port.
- Tape Measure: To accurately measure the space for installation.
- Stud Finder: This is crucial for locating joists in the ceiling where the fan will be mounted.
- Duct Tape or Foil Tape: To securely attach the ductwork.
- Wire Strippers and Connectors: For handling the electrical wiring of the fan.
- Safety Gear: Includes goggles and gloves to protect your eyes and hands during the job.
- Ventilation Ductwork: Ensure you have the correct size and length as per your bathroom’s specifications.
- Exhaust Fan Kit: Contains the bathroom fan and usually includes mounting hardware.
- Caulking Gun and Silicone Sealant: Needed for sealing the vent to prevent moisture and air leaks.
- Ladder: Required to reach the ceiling for most installation steps.
Gathering all these materials beforehand will streamline the installation process and reduce the need for multiple trips to the hardware store.
Step 1: Choosing the Right Bathroom Fan
Choosing the right bathroom fan is critical for effective ventilation. First, consider the fan’s capacity, measured in cubic feet per minute (CFM). To find the needed CFM, multiply the bathroom’s square footage by 1.1. For instance, a 100-square-foot bathroom would require a 110 CFM fan. This ensures the fan can adequately handle the air volume.
Next, assess the noise level of the fan, indicated in sones. A lower sone rating means the fan is quieter. Typical ratings range from 0.5 to about 6.0 sones. A quieter fan is preferable for a more peaceful bathroom environment.
Look at different types of fans. Ceiling-mounted fans are common, but inline or wall-mounted options might suit certain layouts. Consider the installation requirements and the fan’s compatibility with your existing ductwork.
Finally, ensure the fan you choose has a suitable installation kit. This includes all necessary hardware for securing the fan and ductwork. Opting for a model with a comprehensive kit can simplify the installation process.
Step 2: Preparing for Installation
Preparation is key to a successful bathroom fan installation. This step ensures that the installation goes smoothly and that the fan operates efficiently.
Locating the Optimal Installation Spot
Choosing the right spot for your bathroom fan is crucial. You want to place the fan between the shower and the toilet for optimal performance. This placement helps in efficiently removing moisture and odors. Use a stud finder to locate joists in the ceiling. The fan should ideally be between two joists, but watch out for any nearby pipes or other obstructions. Measure the space to ensure it fits the fan’s housing.
Ensuring Proper Venting to the Outdoors
Always vent the bathroom fan to the outdoors to prevent moisture problems in the attic or between walls. You can vent through the roof, soffit, or sidewall. Avoid venting into an enclosed space. Check the exterior vent cap periodically to ensure it remains clear and functional. This step prevents backflows of air and potential damage.
Step 3: Cutting the Ceiling and Preparing the Opening
Cutting the right opening in your bathroom ceiling is key to properly fitting the exhaust fan. Here’s how to prepare the opening accurately and safely.
- Mark the Position: Based on your earlier measurements between the shower and toilet, mark the ceiling where the fan will be installed. Use a layout square or framing square to outline the intake port.
- Drill a Reference Hole: Use a 3/8-inch spade bit to drill a hole in the center of your marked outline. This reference hole will help you confirm the location from the attic.
- Check for Clearance in the Attic: Climb into the attic to ensure there are no obstructions around the reference hole. This includes checking for joists, electrical wiring, or pipes that might hinder the installation.
- Draw the Outline on the Ceiling: Back in the bathroom, use the reference hole as a guide to draw the detailed outline of the intake port on the ceiling. The accuracy of this step is crucial for a proper fit.
- Cut Out the Ceiling: Wearing safety goggles and a mask for dust protection, use a jigsaw or drywall saw to cut along the marked lines. Support the cutout piece from below to prevent it from falling abruptly.
- Prepare the Opening: Once cut, smooth out any rough edges and check the fit of your fan’s housing to make sure it will sit flush against the ceiling. If needed, make slight adjustments to ensure a tight fit.
Following these steps will create a clean and precise opening in your ceiling, ready for the next stages of fan installation.
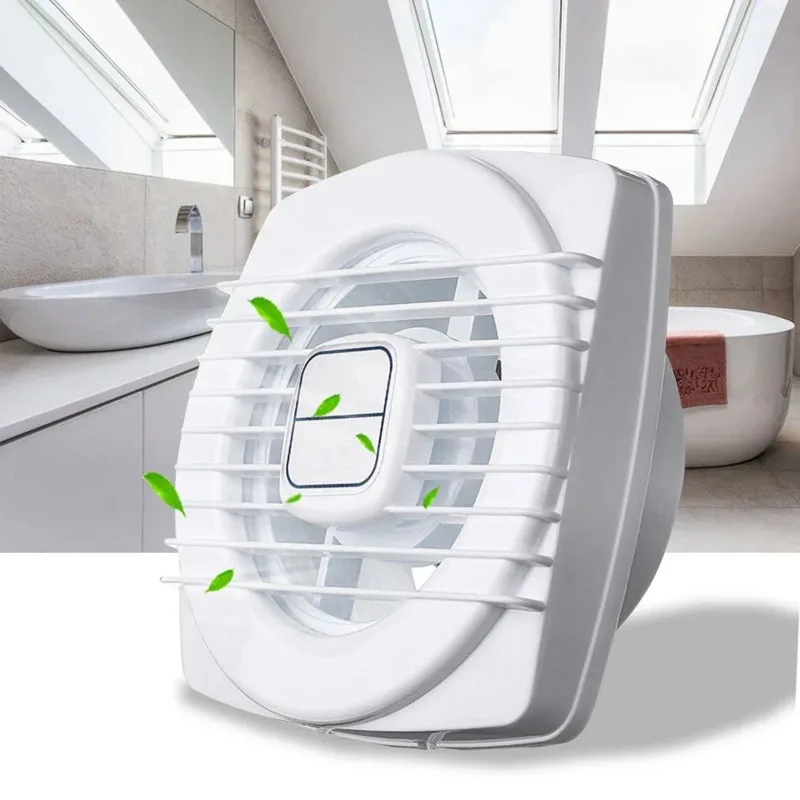
Step 4: Attaching the Fan to the Joists
Once you’ve prepared the ceiling opening, the next step is to secure the fan to the joists. Attaching the fan properly ensures stability and reduces vibration noise. Follow these steps to attach your bathroom fan to the ceiling joists securely:
- Extend the Mounting Brackets: Your exhaust fan kit should include adjustable mounting brackets. Extend these brackets until they reach the joists on either side of the fan.
- Position the Fan Housing: Carefully lift the fan housing and align it with the ceiling opening. Make sure it’s centered for a balanced fit. This will prevent issues with the grille placement later on.
- Secure with Screws: Using a screwdriver, attach the fan housing to the joists with the provided screws. Typically, you’ll need at least one screw per bracket end.
- Check for Firmness: Gently tug on the fan to make sure it’s firmly attached. If it moves, tighten the screws until the housing is secure.
- Ensure Level Placement: Use a spirit level to check if the fan housing is level. An uneven fan can lead to improper function and increased noise.
By properly securing your bathroom fan to the joists, you make certain that it operates smoothly and effectively. This crucial attachment step lays the groundwork for a stable and functioning bathroom ventilation system.
Step 5: Installing the Ventilation Ductwork
Installing the ventilation ductwork is a key step for effective exhaust fan operation. Here’s how to do it properly:
- Measure the Duct Route: Determine the duct route from the fan’s location to the outside. Measure this distance to estimate how much ducting you will need.
- Attach the Duct Connector: Connect the ductwork to the exhaust fan with a duct connector. Use foil tape to seal this connection, ensuring no air leaks.
- Run the Ductwork: Extend the duct along the predetermined route. Avoid sharp bends or long horizontal runs to maintain air flow efficiency.
- Secure the Ductwork: Use duct straps to secure the ductwork throughout its run. This prevents sagging and ensures a smooth air path.
- Insulate the Ductwork: Insulate the ductwork, especially if it runs through unheated spaces like attics. This prevents condensation and boosts efficiency.
Following these steps helps ensure that your newly installed bathroom fan performs optimally, extracting humid air effectively and improving bathroom ventilation.
Step 6: Making External Openings for the Duct
To finish your bathroom fan installation, you must create an opening on your home’s exterior. Here’s how to make the duct’s external openings properly.
- Select the Right Spot: Find a place on your home’s exterior wall within 6 feet of the fan. Ensure it lies between two studs.
- Measure and Mark: From inside the attic, take reference measurements. Use these to mark the duct’s exit point on the siding.
- Drill a Pilot Hole: Drill a small hole at the marked spot. This pilot hole is a guide for cutting the larger duct opening.
- Cut the Main Hole: Use a hole saw attached to your drill to cut a 4-inch hole for the duct.
- Check the Fit: After cutting, ensure the exterior vent cap fits snugly in the hole to prevent leaks.
Completing these steps will effectively vent your bathroom fan and protect your home from moisture damage.
Step 7: Wiring and Securing the Fan
After placing the fan and running the ductwork, wiring is the next critical step. Here’s how to wire and secure your bathroom fan safely and properly.
Turn Off Electricity
Before you start, turn off the power to the bathroom at the circuit breaker. This ensures safety while working with electrical components.
Connect to Power Source
Feed your electrical cable through the fan’s housing. If you’re not confident in doing this step, call a professional.
Make Wire Connections
Use wire connectors to join the fan’s wires to your power source. Typically, this involves connecting like colors: black to black, white to white, and attaching the ground wire.
Secure the Fan
Once wired, push the fan up into the ceiling hole. Extend the brackets to reach the joists and secure the fan with screws.
Confirm Stability and Placement
Gently tug on the fan to check for any movement. If the fan feels loose, tighten the screws until stable.
Restore Electricity and Test
Turn the power back on and test the fan. It should run smoothly and quietly.
Following this step ensures your bathroom fan is safely wired and ready for use. This step is crucial for the fan’s correct operation and to prevent electrical hazards.
Step 8: Attaching and Sealing the Wall Cap
After you have installed the ductwork, the next crucial step is securing the wall cap correctly. This ensures that the system ventilates properly, protecting your home from moisture and pests.
- Position the Wall Cap: From the outside, place the wall cap into the hole you have cut for the duct.
- Check for a Tight Fit: Make sure the cap sits snug against the siding. If not, trim as needed.
- Apply Silicone Sealant: Use a caulking gun to apply silicone adhesive around the cap’s edges. Be generous but neat.
- Press Cap into Place: Push the wall cap against the siding. Make sure it’s flat and even.
- Secure with Screws: Attach the wall cap with screws. Usually, four screws are enough.
- Seal with Foam Gasket: If gaps remain around the cap, fill with a foam-rubber gasket cut to size.
- Check from Inside: Go back to the attic. Ensure the duct attaches well to the wall cap.
- Seal the Interior Connection: Use foil tape to secure the duct to the cap’s connector.
Following these steps helps to properly exhaust air out of the bathroom, keeping your space dry and mold-free. Proper sealing also prevents draft and ensures the wall cap stays in place over time. The right sealant and installation technique are what safeguard your bathroom’s ventilation effectiveness and efficiency.
Step 9: Finishing Touches and Grill Installation
Once the core components of the bathroom fan are installed, the final touches are crucial. Here’s how to complete the grill installation seamlessly:
- Inspect All Connections: Double-check all ductwork and electrical connections are secure.
- Install the Grille: Align the fan’s grille with the housing in the ceiling.
- Fasten the Grille: Fasten it using the provided clips or screws. Ensure it’s snug.
- Check for Proper Venting: Turn on the fan, making sure air flows out smoothly.
- Final Aesthetic Check: Ensure the grille looks even and is flush with the ceiling.
Perfecting these final touches ensures your new bathroom fan not only functions well, but is also aesthetically pleasing. This step-significant for both performance and the overall look of your bathroom.
