Installing a kitchen sink drain might seem daunting, but with the right tools and guidance, you can achieve a professional finish. This comprehensive guide provides you with all the steps necessary, allowing you to tackle the project with confidence. Let’s break it down into manageable sections, ensuring you understand every detail involved.
Understanding the Components of a Kitchen Sink Drain
Before you dive into installation, it’s crucial to familiarize yourself with the components of a standard kitchen sink drain. The primary parts include the sink strainer, tailpiece, P-trap, and the drain pipe that connects to your home’s plumbing system. Each of these components plays a distinct role in ensuring the sink functions effectively.
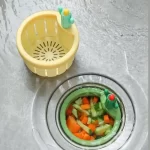
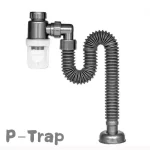
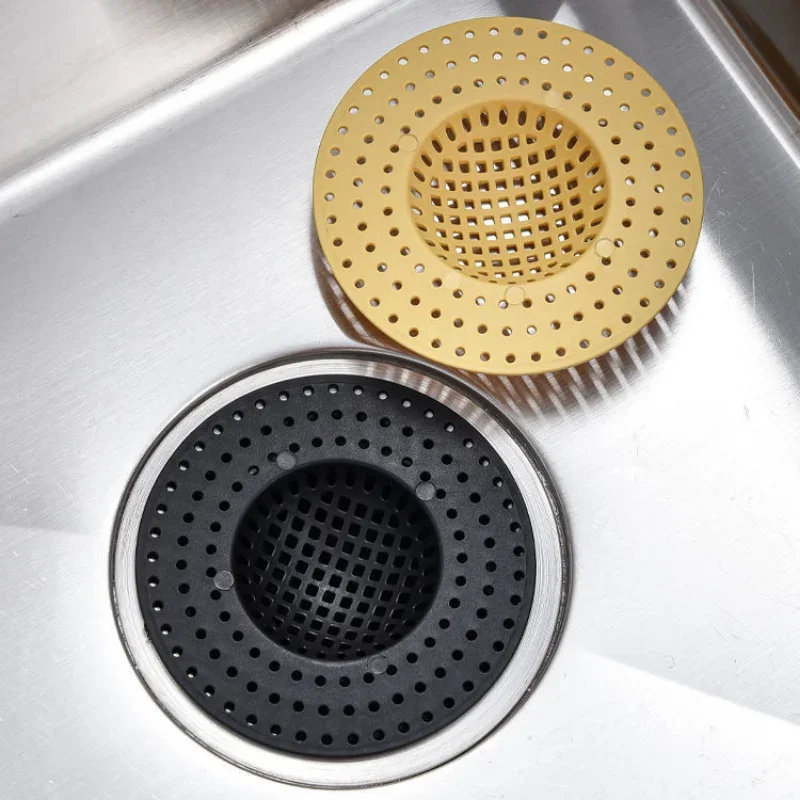
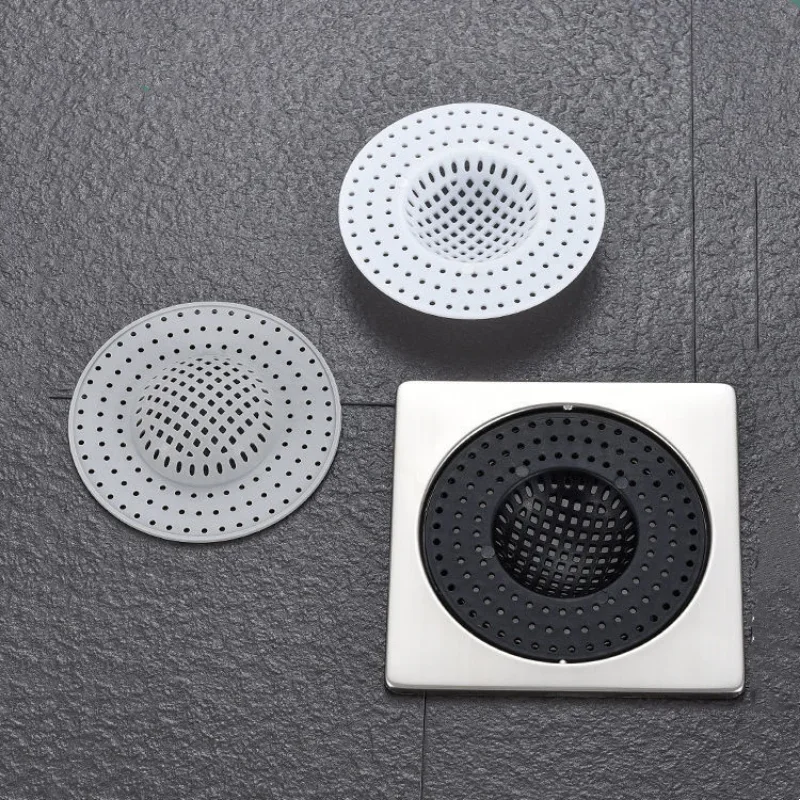
The sink strainer is a mesh or perforated device that fits into the sink’s drain hole, preventing debris from entering the plumbing lines. Below this is the tailpiece, which is a vertical pipe that connects the strainer to the P-trap. The P-trap is a curved pipe that prevents sewer gases from entering your home, while allowing wastewater to flow away. Lastly, you’ll have the drain pipe connecting the P-trap to the rest of your plumbing network. Understanding these components will make installation much easier and help you troubleshoot any issues in the future.

Gather Your Tools and Materials
Before you get started, it’s essential to have all the necessary tools and materials on hand. A well-prepared workspace will make your installation smoother and more efficient. You’ll need a basin wrench, adjustable wrench, plumber’s putty, Teflon tape, a hacksaw (if any pipes need resizing), and a bucket to catch any water that may spill during installation.
In addition to tools, you’ll also require your kitchen sink drain components, which you can typically purchase together in a kit. Ensure you get the right size according to your sink’s specifications. Each component’s quality matters to ensure that you won’t encounter leaks or issues down the line. Investing in durable materials will save you time and hassle in the long run.
Prepare the Sink for Installation
With your tools and materials ready, the next step is to prepare the sink for installation. If you’re replacing an old drain, start by removing the existing sink strainer. Use the basin wrench to loosen the locking nuts underneath the sink. This process may take some effort, especially if the nuts are rusted or corroded.
Once the old strainer is removed, thoroughly clean the area to ensure a good seal for the new strainer. Any debris, old plumber’s putty, or leftover residue can lead to leaks if not addressed. Use a cloth or sponge to wipe the surface clean. It’s also a good idea to inspect the sink hole for any damage or wear—address these issues before proceeding.
Installing the Sink Strainer
Now that your sink is prepared, it’s time to install the new sink strainer. Start by applying a bead of plumber’s putty around the rim of the strainer. This putty serves as a sealant, preventing leaks from developing once you tighten everything in place. Place the strainer into the sink hole, pressing down firmly to ensure the putty adheres well to the surface.
Underneath the sink, you’ll see a backing plate that supports the strainer. Place this over the strainer and hand-tighten the locknut onto the bolt. Be careful not to overtighten, as this can warp the strainer or damage the sink. Once everything feels secure, wipe away any excess plumber’s putty that might have oozed out during tightening. A neat finish will not only look professional but also prevents a messy cleanup later.
Attaching the Tailpiece
After successfully installing the sink strainer, the next component is the tailpiece, which connects the strainer to the P-trap. Start by measuring the necessary length for the tailpiece based on the distance from the strainer down to the P-trap. If your tailpiece is too long, you can easily cut it with a hacksaw—just ensure that the cut is straight for a snug fit.
Once you have the correct length, apply some Teflon tape to the threads of the tailpiece to ensure a watertight seal. Simply wrap the tape around the threads in a clockwise direction. Next, screw the tailpiece into the sink strainer, tightening it by hand and using the adjustable wrench for additional torque if necessary. Your goal is to create a secure connection without overtightening, which can lead to damage.
Installing the P-Trap
With the tailpiece securely attached, the next step is to install the P-trap. This U-shaped piece of pipe is critical for preventing sewer gases from entering your home. First, check the alignment of the P-trap and ensure it can connect both to the tailpiece and the drain pipe leading to your plumbing system.
Before installing, it may be necessary to adjust the P-trap’s lengths via cutting or fittings. Measure the distance and, if needed, use a hacksaw to get the desired length. Once the P-trap fits properly, apply Teflon tape to its threaded ends, just as you did with the tailpiece. Attach the P-trap to the tailpiece and secure it in place using the locknuts provided. Hand-tighten initially and then give each connection a gentle turn with an adjustable wrench.
Connecting to the Household Drainage System
The final phase of your drain installation is connecting the P-trap to your home’s drainage system. Most kitchens have a wall-mounted drain pipe that your P-trap will hook into. Align the outgoing section of the P-trap with this pipe and ensure that there’s a slight downward slope, which will allow water to flow easily into the drain.
Attach the P-trap to the drain pipe using the provided slip nut and washer. Ensure everything fits snugly but avoid overtightening. Once the connection is complete, double-check all your fittings and joints to ensure everything is secure. This step is vital as it will help prevent leaks, which could lead to further complications and extra work in the future.
Testing for Leaks
After every installation, the most crucial step is to test your work for leaks. Before closing up, put a bucket beneath the P-trap to catch any potential drips. Slowly turn on the faucet and let water run for several minutes. Pay close attention to all joints—the connections between the sink strainer and tailpiece, the tailpiece and P-trap, and the P-trap and drainage system.
If you observe any leaks, turn off the water and gently tighten the corresponding joint. Be cautious not to overtighten, as this can cause damage rather than fix the issue. If leaks persist after adjustments, you may need to disassemble the affected area, reapply Teflon tape or plumber’s putty, and reform the connection.
Final Touches and Clean-Up
With successful testing and no leaks detected, it’s time to complete your installation with some final touches. Ensure that all your tools are put away, and any remaining debris is cleaned up. A tidy workspace gives a professional finish to your project and helps ensure that you can find all of your tools for future repairs or installations.
You may also want to inspect surrounding areas for any signs of moisture or issues that were present before your installation. Consider keeping a checklist or log of what you’ve done for future reference. Documenting repairs can be invaluable for both yourself and any future homeowners.
Conclusion and Maintenance Tips
Congratulations on successfully installing your kitchen sink drain! You’ve not only saved time and cost by tackling this project yourself, but you’ve also gained valuable skills and knowledge. Ensure that you periodically check the connections for leaks and clean any debris that collects in the sink strainer. Regular maintenance will prolong the life of your plumbing fixtures and help avoid clogs or drainage issues down the road.
A well-maintained kitchen sink drain can save you money and ensure a hassle-free experience in the kitchen. Should you encounter persistent issues, don’t hesitate to consult a plumbing professional. With these skills in hand, you can feel more empowered to handle small repairs around your home, fueling your confidence for future DIY projects.