Creating a stylish and functional bathroom need not always involve breaking the bank or hiring professionals. With the right materials, tools, and some creativity, you can undertake DIY projects that can significantly elevate the aesthetics and functionality of your space. One such rewarding project is creating your own bathroom sink. This step-by-step guide on “DIY Bathroom Sink: A Step-by-Step Guide to Creating Your Own Stylish Sink” walks you through the entire process, from planning and material selection to the final touches that will make your bathroom sink both stylish and unique.
Planning Your Project: Setting a Solid Foundation
Before diving into the actual construction, it’s crucial to plan your project meticulously. Start by assessing the existing layout and plumbing in your bathroom. Measure the available space to determine the dimensions of the sink you can accommodate. Consider the style of your bathroom as well—whether it’s modern, rustic, minimalist, or eclectic—your DIY sink should complement the overall design theme.
Next, sketch a rough design of your desired sink, factoring in functionality and aesthetics. Decide whether you want a countertop sink, a vessel sink, or an integrated countertop and sink unit. This will influence the type of materials and tools you need. Think about the type of faucet and any additional features, such as built-in soap dispensers or towel bars, that you might want to include.
Don’t forget to set a realistic budget. DIY projects can sometimes exceed initial cost estimates, so it’s good practice to have a buffer. List out all the materials, tools, and accessories you’ll need and start sourcing them. If you don’t already own the necessary tools, consider borrowing from friends or renting from a local hardware store to keep costs down.
Choosing the Right Materials: Balance Between Style and Function
Selecting the right materials is a critical step in your DIY bathroom sink project. There’s a wide range of materials to choose from, each offering distinct aesthetic and functional benefits. Common materials for bathroom sinks include ceramic, stone, glass, concrete, and wood. Your choice will largely depend on your design preference and the overall style of your bathroom.
Ceramic is a popular choice due to its durability, ease of maintenance, and classic look. It’s also relatively easy to work with and readily available in different shapes, sizes, and colors. Stone sinks, made from materials like marble or granite, offer a luxurious and timeless appeal. However, they are heavier and might require additional support, as well as more maintenance to prevent staining.
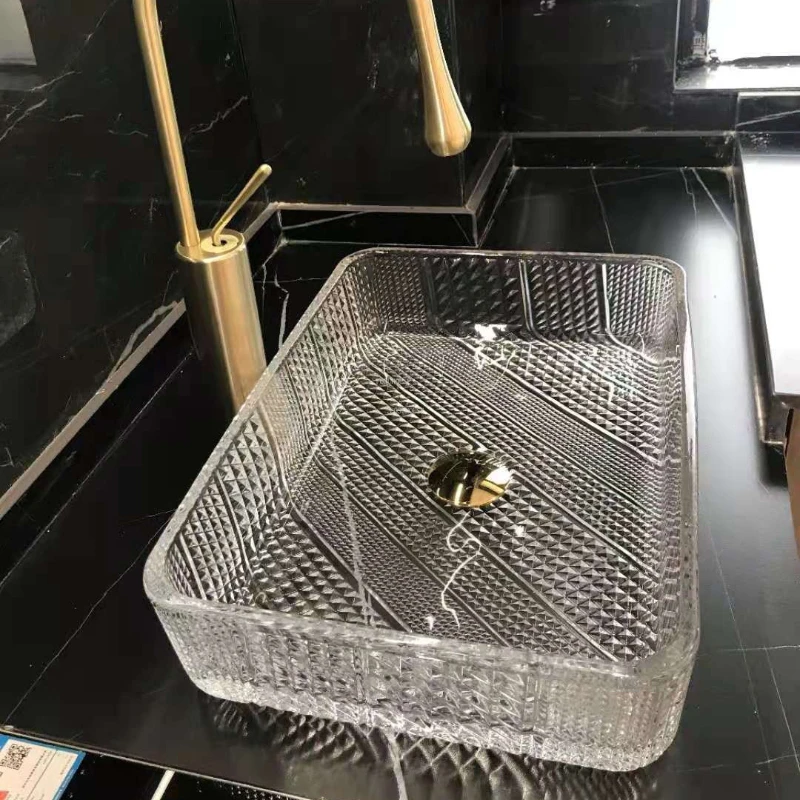
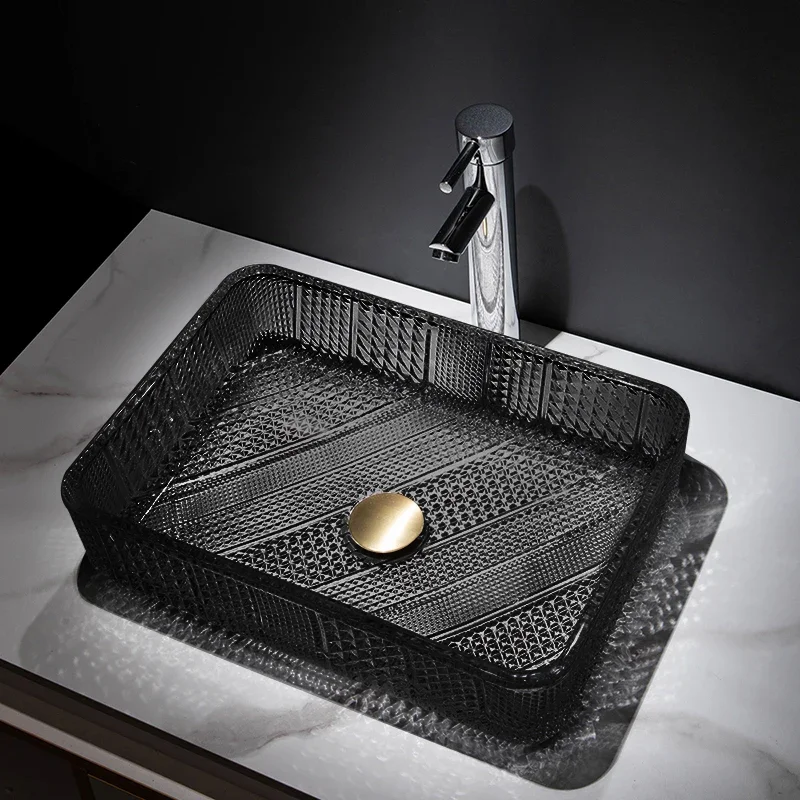
Glass sinks provide a modern and sleek look, available in various colors and designs. They require careful handling during installation but can add a striking focal point to your bathroom. Concrete sinks have gained popularity for their industrial and contemporary aesthetics. They are highly customizable in terms of shape and finish, though they may require sealing to prevent water absorption.
For a unique and rustic touch, consider using wood. With proper sealing and waterproofing, wooden sinks can be both functional and stylish, adding warmth to your bathroom. Bamboo is a sustainable option that combines durability with eco-friendliness. Whichever material you choose, ensure it matches your skill level and the tools you have at your disposal.
Assembling the Tools: Gear Up for Success
Having the right tools can make or break your DIY project. Ensure you have all the necessary tools before you start to avoid interruptions. Here’s a checklist of essential tools you’ll need for building your DIY bathroom sink:
- Tape Measure and Marking Tools: For accurate measurements and markings.
- Jigsaw or Circular Saw: Essential for cutting through materials like wood, stone, or concrete.
- Drill and Drill Bits: For making holes for the faucet and drain, and securing components.
- Sander or Sandpaper: To smooth out rough edges and surfaces.
- Sealant and Applicator: Necessary for waterproofing, especially for porous materials like wood and concrete.
- Safety Gear: Gloves, goggles, and a mask to protect yourself from dust and debris.
Depending on the complexity of your design, you might also need specialized tools like a concrete mixer for a concrete sink or tile nippers for a mosaic design. Plan ahead and ensure you are familiar with how to use each tool properly to ensure safety and precision.
Building the Base: Foundation for Stability
The first step in constructing your DIY bathroom sink is building the base. This could be a countertop where a vessel sink will rest or a complete vanity structure if you’re integrating the sink. The base needs to be sturdy and level to ensure the sink functions properly.
If you’re making a wooden countertop, measure and cut the wood to your desired dimensions. Sand the edges to smooth out any roughness and apply a water-resistant sealant. If your sink will be installed on an existing countertop, ensure it’s clean and level.
For a concrete base, mix the concrete according to the manufacturer’s instructions and pour it into a mold. Use a trowel to smooth out the surface and remove air bubbles. Let it cure for the recommended time before proceeding. This might take several days, so plan your project timeline accordingly.
Once your base is ready, measure and mark the position for the sink and faucet holes. Use a drill to make these holes carefully, ensuring they are the right size for the fixtures you’ve chosen. It’s essential to be precise at this stage, as incorrect hole sizes or placements can create problems during installation.

Crafting the Sink: Bringing Your Vision to Life
With the base ready, it’s time to craft the sink itself. The process will vary depending on the material you’ve chosen. For a ceramic or glass vessel sink, you might be able to purchase a ready-made basin and focus on the installation process. However, for materials like concrete or wood, you’ll be creating the sink from scratch.
For a concrete sink, mix the concrete and pour it into a pre-designed mold. The mold can be made from plywood, silicone, or other materials that can shape the concrete until it cures. Embed a PVC pipe into the mold to create the hole for the drain. Once the concrete has set, remove it from the mold and sand any rough edges. Seal the concrete to prevent water damage and staining.
A wooden sink involves cutting and assembling wooden pieces to your desired shape. Use waterproof glue and screws to assemble the pieces, and sand the surface to ensure it’s smooth. Apply several coats of a water-resistant sealant to protect the wood from moisture. You might also use epoxy resin to coat the wood for added durability and a glossy finish.
Installing the Sink: Connecting the Plumbing
With your sink crafted and ready, the next step is installation. Position the sink on the countertop, aligning it with the pre-drilled holes. Attach the faucet and secure it in place, following the manufacturer’s instructions. Make sure all connections are tight to prevent leaks.
Connect the sink drain to the plumbing system. Apply plumber’s putty around the drain opening and insert the drain flange. Tighten the locknut from underneath and attach the tailpiece. Connect the P-trap to the tailpiece and the wall drain, ensuring all connections are secure to prevent leaks.

Maintenance and Care: Ensuring Longevity
Regular maintenance and care are essential to keep your DIY bathroom sink looking and functioning great for years to come. Clean your sink regularly using appropriate cleaning agents for the material. Avoid harsh chemicals that can damage the surface, and instead use mild soap and water.
For wooden sinks, reapply the sealant or epoxy periodically to maintain water resistance. For concrete sinks, reseal as needed to prevent staining and water damage. Regularly check the plumbing connections for any signs of leaks and address them promptly.
If your sink features tiles or grout, clean the grout lines regularly to prevent mold and mildew buildup. Using a soft brush and gentle cleaner can keep the grout looking fresh and clean. Avoid abrasive cleaners that can scratch the surface.
Conclusion: A Rewarding DIY Project
Creating your own DIY bathroom sink is a rewarding project that combines creativity, craftsmanship, and functionality. By following this step-by-step guide, you can design and build a stylish sink that not only enhances the aesthetics of your bathroom but also reflects your personal taste and style.
From planning and material selection to crafting, installation, and finishing touches, every step offers an opportunity to customize and personalize your sink. With regular maintenance and care, your DIY sink will remain a durable and attractive feature in your bathroom, providing a sense of accomplishment and pride in your handiwork.