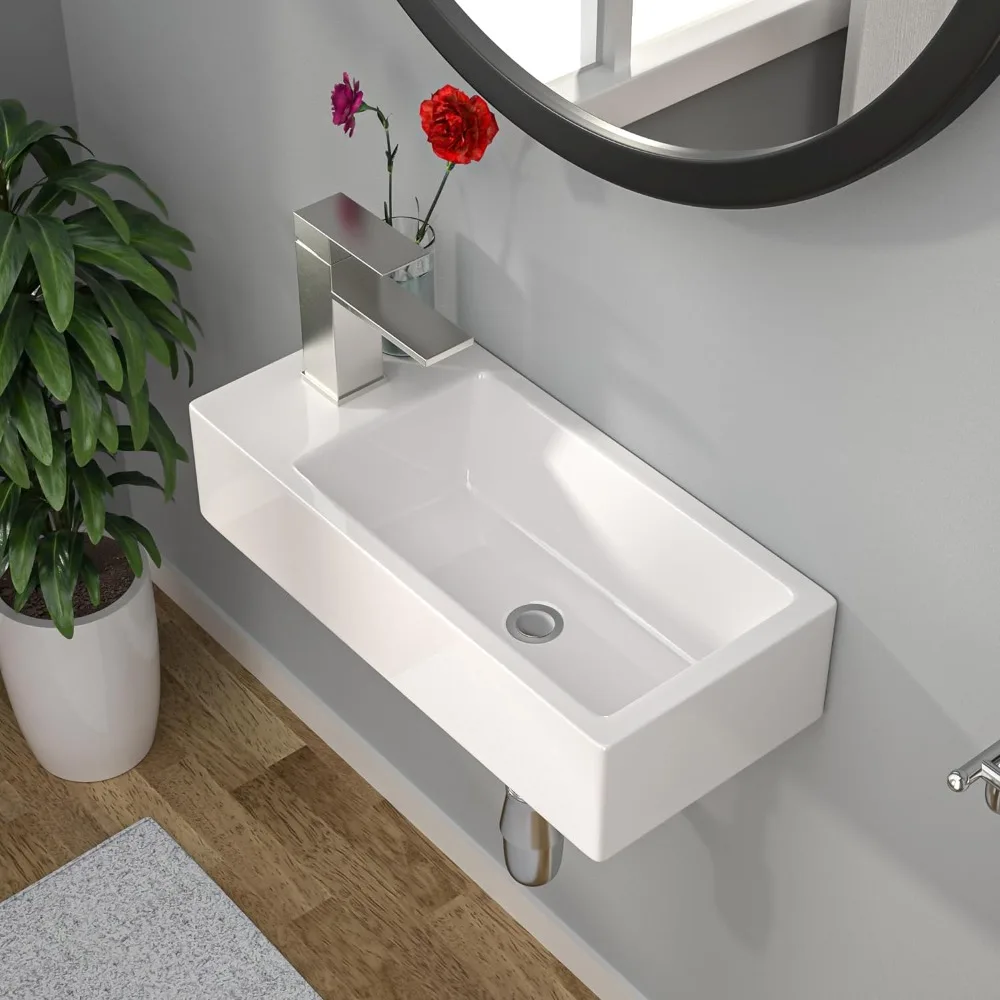
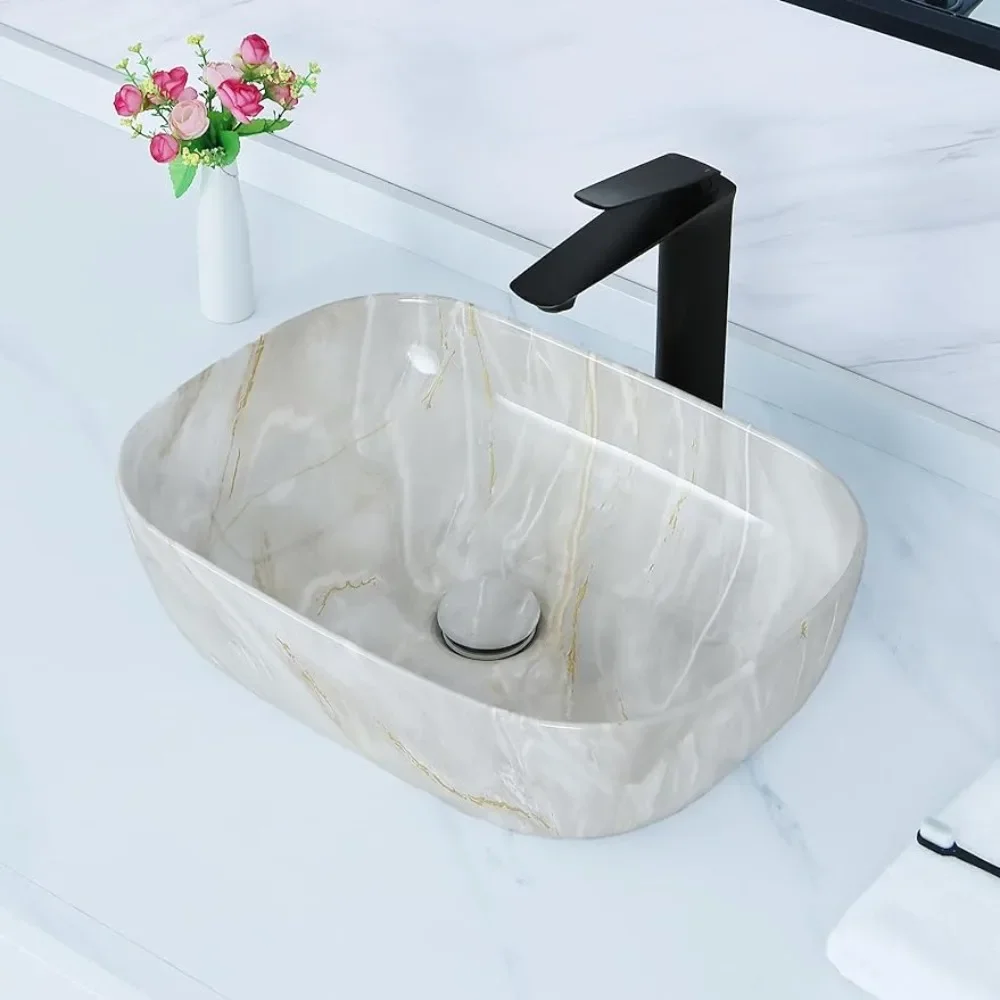
Removing a bathroom sink might seem like a daunting task, but with the right guidance and a bit of DIY spirit, it can be a straightforward process. Whether you’re replacing a worn-out basin, upgrading to a newer model, or simply performing routine maintenance, this comprehensive guide will walk you through each step, ensuring the job is done efficiently and safely.
Preparation is Key
Before diving into the removal process, gather all necessary tools and prepare the workspace to ensure a smooth operation.
- Tools & Materials: You’ll need adjustable wrenches, pliers, a screwdriver set (both flathead and Phillips), a bucket to catch water, and potentially a putty knife or scraper for removing any caulk or sealant.
- Turn Off Water Supply: Locate the shut-off valves under the sink, typically found on the hot and cold water supply lines, and turn them clockwise to shut off the water flow. If you cannot locate individual valves, turn off the main water supply to your home.
- Drain the Sink: Open the faucet to release any remaining water in the lines and then place a bucket beneath the sink’s P-trap (the curved pipe under the drain) to catch any water that may drain out during disassembly.

Disconnect the Plumbing
With the sink prepped, the first step in removal involves disconnecting the plumbing connections.
- Remove the Trap: Loosen the nuts connecting the P-trap to the sink’s tailpiece and the waste line using pliers or a wrench. Once loose, carefully remove the trap and set it aside, ensuring any residual water is caught in the bucket.
- Detach Supply Lines: Use an adjustable wrench to loosen the nuts connecting the supply lines to the shut-off valves and the faucet. Turn the nuts counterclockwise until they are free, then carefully pull the lines away from the faucet.
Removing the Faucet (If Necessary)
If you’re replacing the sink and faucet together, removing the faucet is the next step.
- Unscrew Mounting Hardware: Depending on the type of faucet, there may be mounting nuts or screws securing it to the sink or countertop. Use your screwdriver and wrench to loosen and remove these fasteners.
- Lift Out the Faucet: Once all mounting hardware remove, gently lift the faucet out of the sink, taking care not to damage the sink surface or surrounding countertop.
Detaching the Sink from the Countertop
This is the heart of the removal process, where the sink is separated from its mounting surface.
- Remove Caulk: If your sink is sealed with caulk around the edges, use a putty knife or scraper to cut through and remove the caulk seal. Work slowly and carefully to avoid damaging the countertop or sink.
- Loosen Clamps or Brackets: Some sinks are held in place with brackets or clamps underneath the countertop. Check for these and use a wrench or screwdriver to loosen and remove them.
- Lift the Sink: With the caulk removed and any brackets loosened, the sink should be ready to lift. Gently rock the sink back and forth to break any remaining seals, then lift it straight up and out of the countertop opening. Have a helper on standby for heavier sinks to ensure safe lifting.
Post-Removal Clean-Up and Inspection
Once the sink is out, take the opportunity to clean the area and inspect for any damage.
- Clean the Countertop: Remove any leftover sealant, debris, or residue from the countertop. This is also an excellent time to check for and repair any damage that may have conceal beneath the sink.
- Inspect the Plumbing: Before installing a new sink, inspect the plumbing connections and pipes for signs of wear, leaks, or corrosion. Addressing these issues now can prevent future problems.
Tips and Tricks for a Smooth Removal Process
A few additional pointers can make the sink removal even smoother:
- Work Slowly and Deliberately: Taking your time helps prevent accidental damage to the sink, countertop, or plumbing.
- Label Everything: If your sink has multiple parts or complicated plumbing, label each piece before disassembly to simplify reinstallation.
- Protect Surrounding Surfaces: Cover adjacent surfaces with towels or drop cloths to protect them from scratches or damage during the removal process.

Post-Sink Removal: Preparing for the New Installation
Successfully removing your old bathroom sink is just the beginning of your renovation journey. To ensure a smooth transition to your new basin, it’s essential to take a few preparatory steps before installation begins.
Assessing and Preparing the Area
-
Inspect the Countertop: With the sink out, thoroughly examine the countertop for any damage that may have gone unnoticed. Cracks, chips, or water stains should address before proceeding. Repair minor damages with appropriate compounds or consult a professional for more extensive fixes.
- Measure Accurately: Measure the dimensions of the sink cutout in your countertop and compare them to the specifications of your new sink. This is crucial to verify compatibility and avoid any installation setbacks due to sizing discrepancies.
Upgrading Plumbing Fixtures (Optional)
- Faucet Upgrade: If you’re planning to install a new faucet along with the sink, ensure it’s compatible with your sink’s configuration. Now is an excellent time to upgrade to a water-saving model or one that better matches your updated decor.
- Supply Lines and Drain Assembly: Consider replacing old supply lines and the P-trap with new ones, especially if they show signs of corrosion or wear. New components not only improve aesthetics but also ensure leak-free performance.
Sealing and Mounting Considerations
- Selecting Caulk: Choose a high-quality silicone or acrylic latex caulk that’s specifically design for kitchen and bathroom use. Opt for a color that complements your sink and countertop for a seamless finish.
- Mounting Hardware: If your new sink comes with different mounting requirements than the previous one, gather the necessary hardware such as clips or brackets. Ensure these are compatible with your countertop material.
Preparing the New Sink
- Inspect the Sink: Before installation, carefully inspect the new sink for any defects, scratches, or cracks. Address any issues with the supplier before proceeding.
- Assemble and Test: If your sink includes components like a pop-up drain assembly or faucet, assemble these according to the manufacturer’s instructions. Testing the faucet and drain in a filled sink can help identify any leaks that need addressing prior to final installation.
Professional Assistance or DIY?
- DIY Confidence: If you’ve successfully removed the old sink and feel confident in your abilities, following the manufacturer’s guide for installing the new sink can often be manageable for a capable DIY enthusiast.
- Expert Help: Complex installations, such as undermount sinks or those requiring modifications to countertops or plumbing, may be best left to professionals. Plumbers and countertop installers have the expertise and tools to handle challenging installs efficiently.
Final Thoughts: Planning Ahead for Success
Embarking on a bathroom renovation, starting with sink replacement, is an exciting endeavor that can significantly enhance the functionality and aesthetics of your space. By carefully preparing the area, selecting the right components, and considering whether to DIY or hire a pro, you set the stage for a successful installation. Remember, proper planning and attention to detail are key to achieving a professional-looking finish that will last for years to come. So, take your time, enjoy the process, and look forward to enjoying your newly refreshed bathroom.

Conclusion: Confidence in DIY Plumbing
Removing a bathroom sink is a task that, with the right guidance, can be accomplished by most homeowners. It not only saves on professional fees but also empowers you with DIY skills for future projects. By following this step-by-step guide, you’ve mastered the fundamentals of sink removal, paving the way for seamless sink replacements or upgrades in your bathroom. Remember, safety comes first, and if you encounter any unexpected complications, don’t hesitate to consult a professional plumber. Happy renovating!


