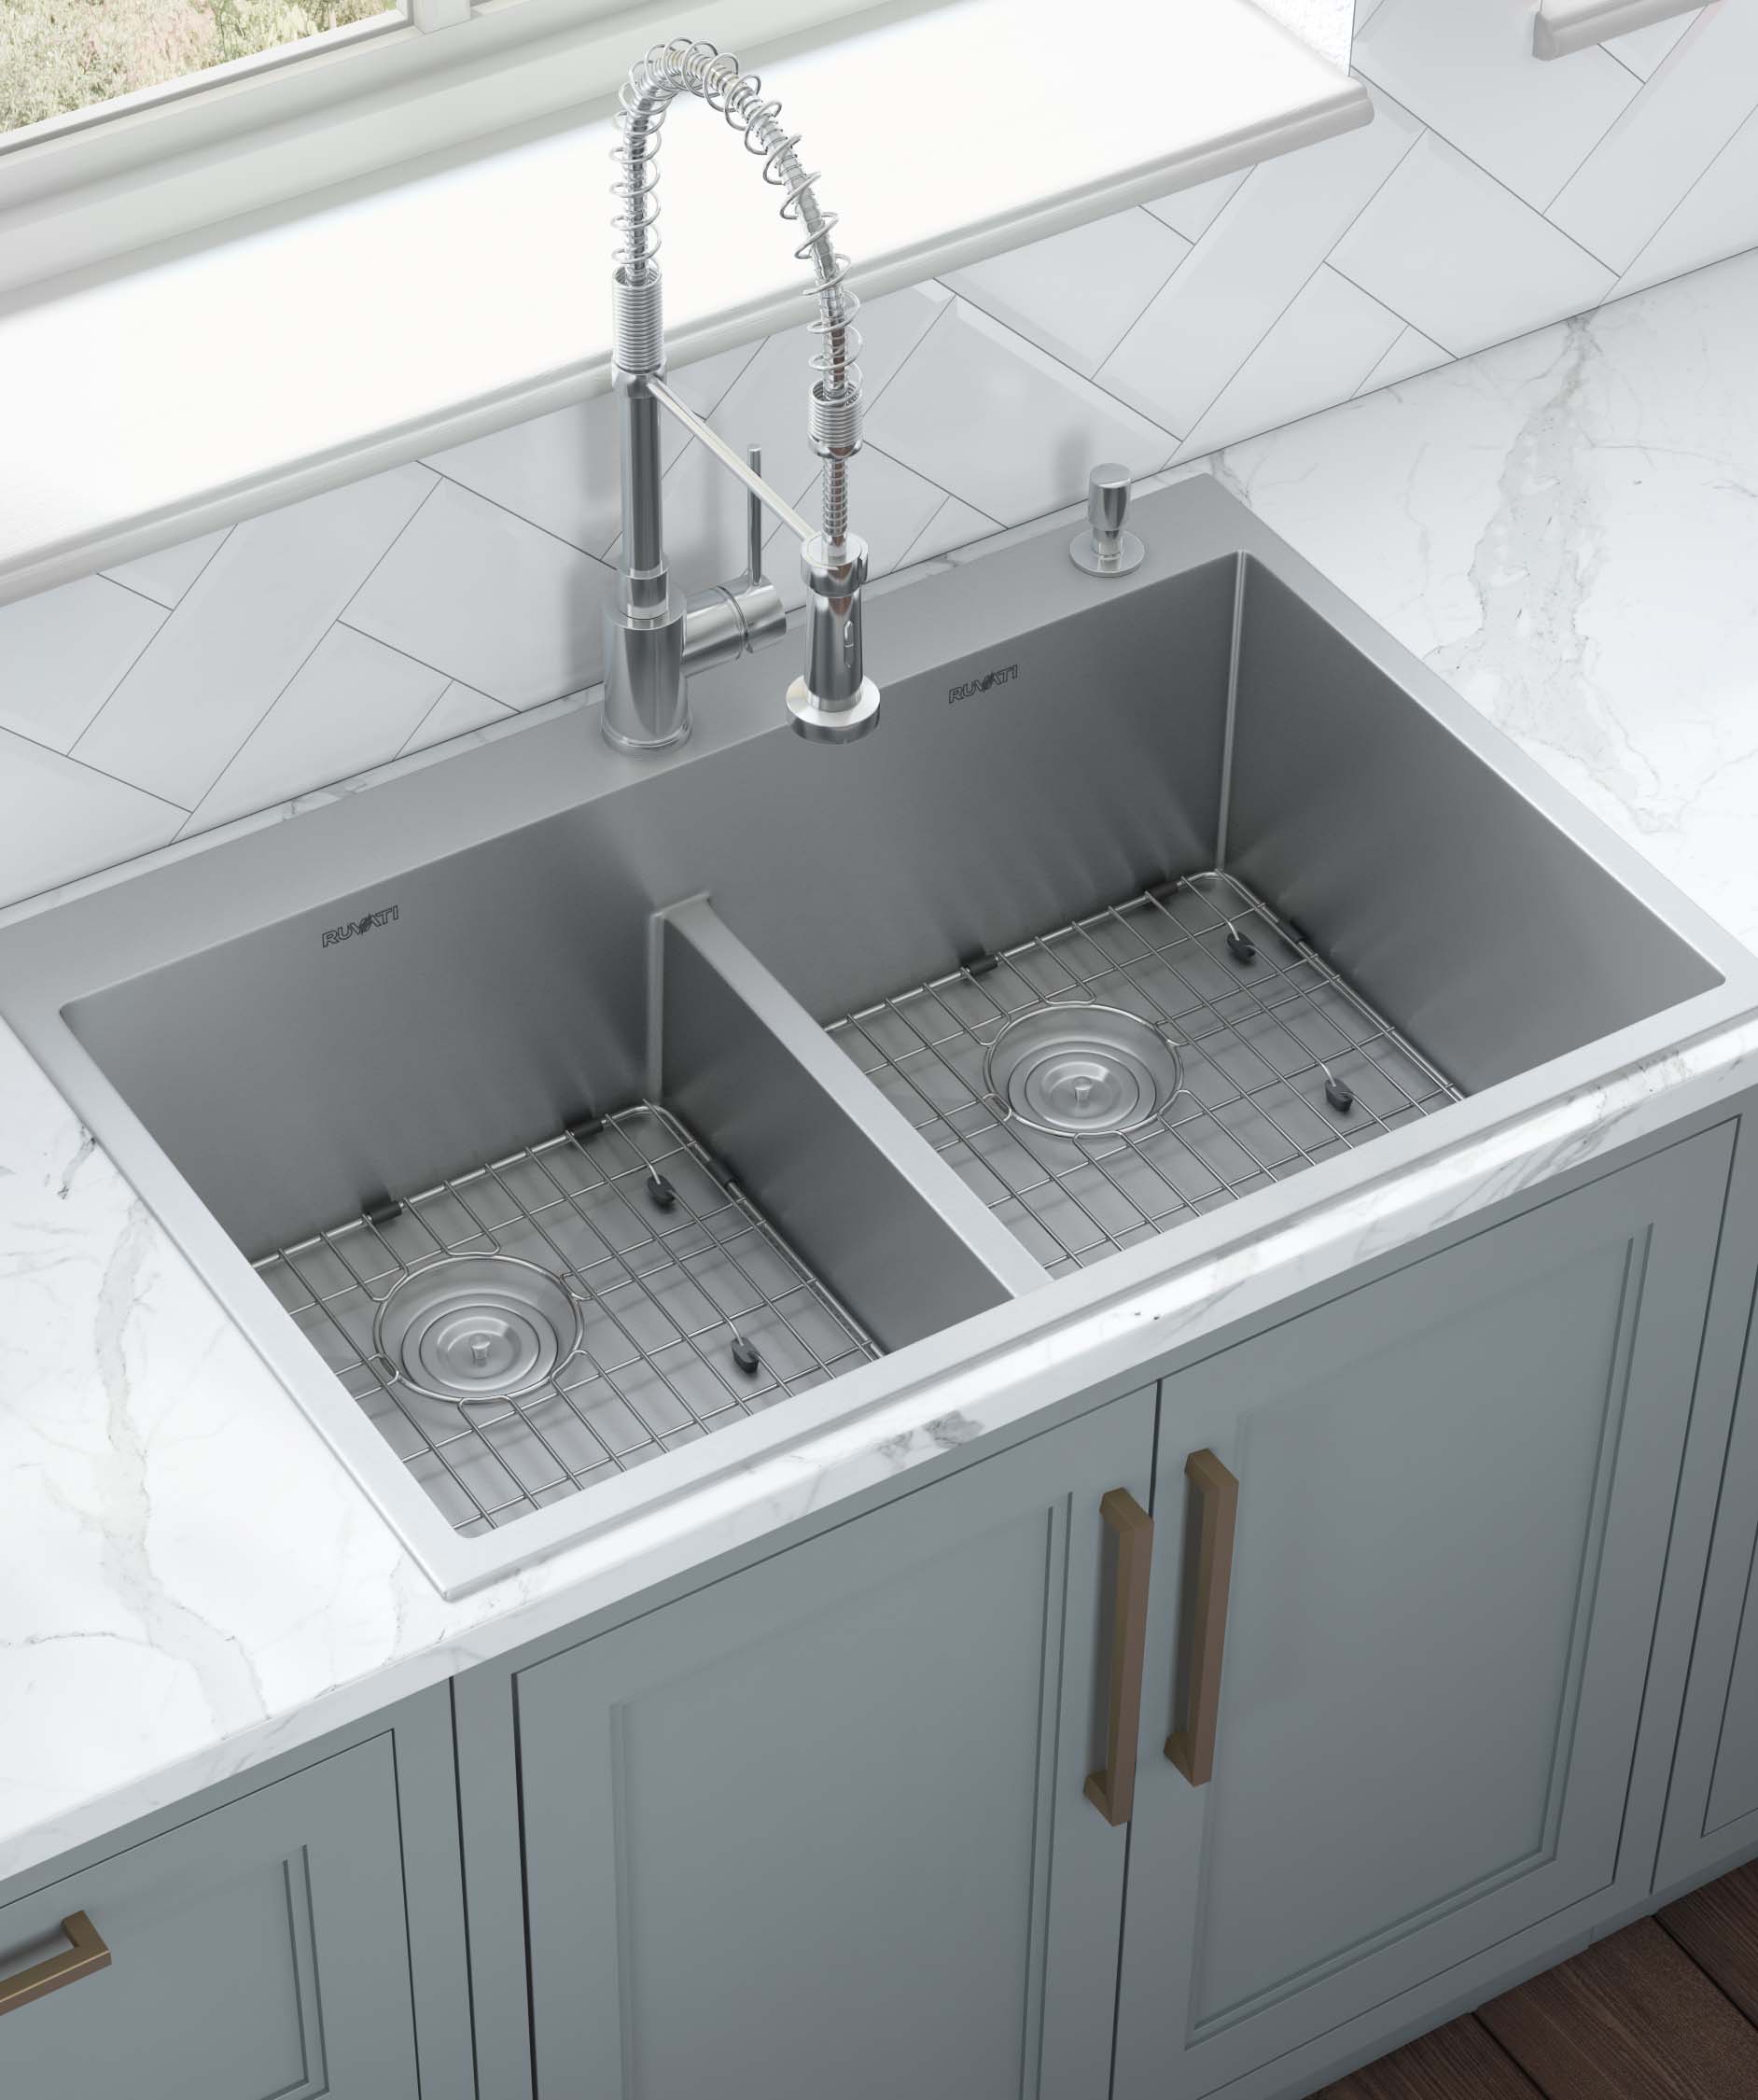
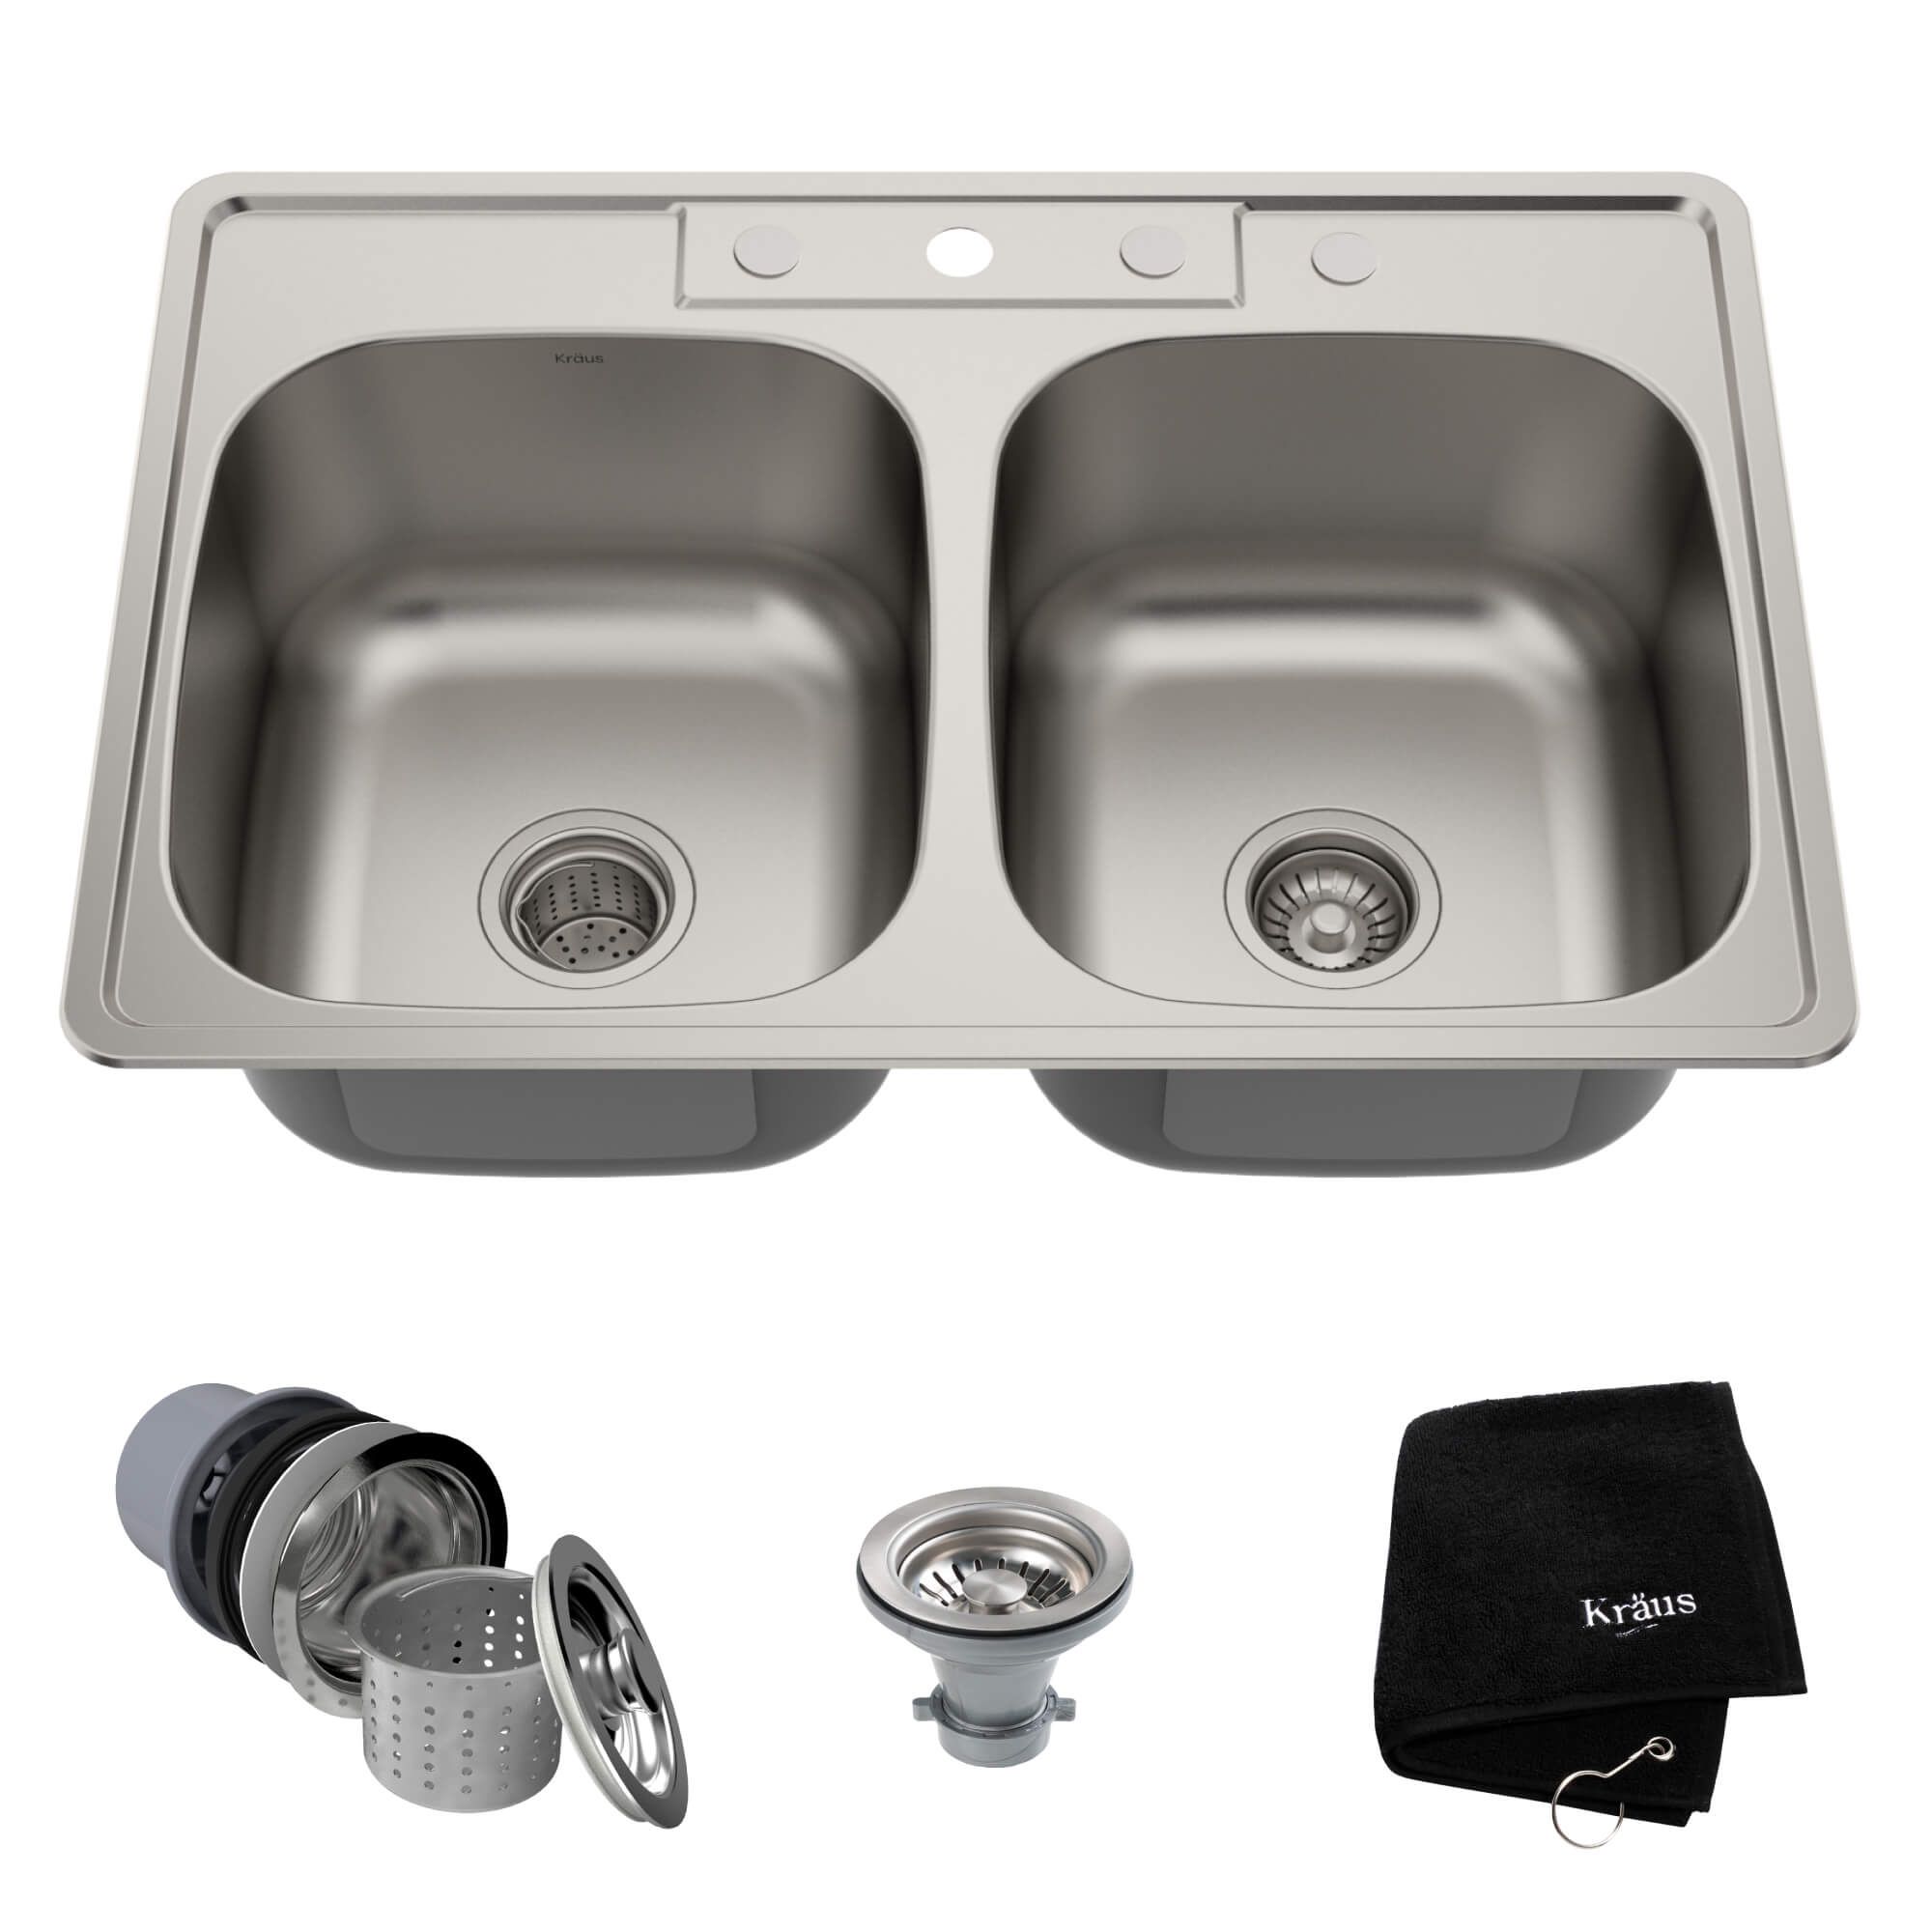
Stainless steel sinks are a staple in modern kitchens for their durability, hygiene, and sleek appearance. However, over time, scratches and stains can accumulate, marring their once-lustrous surface. Restoring your sink to its former glory not only enhances the aesthetics of your kitchen but also ensures a hygienic environment. This comprehensive guide will walk you through effective techniques and tips to remove scratches from your stainless steel sink, ensuring it shines again like new.
Understanding Stainless Steel
Composition and Characteristics
Before diving into scratch removal, it’s essential to understand the nature of stainless steel. Comprised primarily of iron, chromium, and often nickel, stainless steel owes its resistance to corrosion and staining to a thin layer of chromium oxide that forms on its surface. This passive film protects the underlying metal from rust and stains. However, it’s not impervious to scratches, which can disrupt this protective layer.

Assessing the Damage
Identifying Scratch Types
Scratches on stainless steel sinks can be superficial or deep, each requiring a different approach. Superficial scratches are minor and often caused by daily use, while deep scratches result from more abrasive actions. Start by thoroughly cleaning the sink to assess the severity and depth of the scratches under good lighting.
Preparing Your Workspace
Gathering Tools and Materials
To effectively remove scratches, gather the following items:
- Soft cloths or microfiber towels
- Mild detergent
- Non-abrasive cleaner (e.g., baking soda paste)
- Fine-grit sandpaper (1200-2000 grit)
- Stainless steel polish
- Rubber gloves
- A clean, damp sponge
Ensure your workspace is well-ventilated, especially when using chemical cleaners.
Cleaning and Initial Preparation
Deep Cleaning
Begin by giving your sink a thorough cleaning. Mix a small amount of mild detergent with warm water and use a soft cloth to wipe down the entire sink, including the scratched areas. Rinse with clean water and dry thoroughly to remove any residue and reveal the true extent of the damage.
Tackling Superficial Scratches
Polishing for Shallow Marks
For light scratches, a simple polishing may suffice. Apply a small amount of stainless steel polish to a microfiber cloth and gently rub in the direction of the grain until the scratch fades. Use circular motions for a more even finish. Wipe away excess polish with a clean, dry cloth, and buff to a shine.
Dealing with Deeper Scratches
Gently Sanding Away Imperfections
Deeper scratches require more attention. Don a pair of rubber gloves and, using fine-grit sandpaper湿湿的(dampened with water to reduce heat and friction), lightly sand along the scratch, following the grain pattern of the steel. Start with a lighter touch and increase pressure gradually to avoid over-sanding. Periodically check your progress and switch to a slightly higher grit if necessary, finishing with a very fine grit for a smooth finish. Remember, the goal is to blend the scratch, not eliminate all evidence of it.
Restoring the Finish
Rejuvenating the Surface
After sanding, clean the area thoroughly to remove all dust and debris. Apply a small amount of non-abrasive cleaner, such as a baking soda paste, to the sanded area with a damp sponge, gently rubbing in a circular motion. Rinse well and dry completely. Follow up with a stainless steel polish to restore the sink’s luster and protect the newly exposed surface.

Preventing Future Scratches
Daily Maintenance Tips
To keep your sink looking pristine:
- Avoid using harsh chemicals or abrasive cleaners.
- Clean the sink regularly with mild soap and warm water.
- Dry the sink after each use to prevent water spots.
- Use a sink grid or mat to protect against heavy objects and utensils.
- Wipe in the direction of the grain to minimize visible marks.
Special Considerations
Understanding the Grain
Knowing the direction of the sink’s grain is crucial when dealing with scratches. Look closely at your sink under bright light; you’ll notice a subtle linear pattern. Always sand, polish, and clean in line with this grain to achieve the best results and avoid creating visual inconsistencies.
Enhancing Resistance with Regular Polish Incorporate a routine of applying a thin layer of stainless steel polish once every few months. This not only adds an extra layer of protection against future scratches but also helps maintain the sink’s original sheen. Be sure to follow the manufacturer’s instructions for the best results.
Handling Pots and Pans with Care Scratches can often originate from the impact of heavy cookware. To mitigate this, always lift pots and pans instead of dragging them across the sink surface. Consider using a dedicated rinse basket or a silicone trivet within the sink to cushion the impact of these items.

Addressing Acidic Stains Swiftly While stainless steel is resistant to corrosion, prolonged exposure to acidic substances like lemon juice or vinegar can etch the surface, appearing as faint scratches. If accidental exposure occurs, immediately rinse the area with water and mild soap, then dry thoroughly. Prompt cleaning reduces the likelihood of permanent damage.
Managing Hard Water Deposits Hard water can leave unsightly spots on your stainless steel sink, which over time can contribute to a dulled appearance or even micro-scratching from abrasive particles. Regular use of a vinegar solution (half water, half white vinegar) can help dissolve these deposits. Apply the solution with a soft cloth, let sit for a few minutes, then rinse and dry.
The Role of Temperature in Scratch Prevention Extreme temperature changes can cause metal to expand and contract, potentially leading to stress cracks or exacerbating existing scratches. Avoid pouring boiling water directly into the sink, especially when it’s cold, and never place frozen items directly onto the sink’s surface.
Understanding Finishes and Their Care Stainless steel sinks come in various finishes—such as brushed, satin, or mirror-polished. Each finish requires specific care. For instance, brushed and satin finishes are more forgiving to minor scratches as they already have a textured look. Mirror polished sinks, however, show scratches more readily and may require more frequent polishing to maintain their brilliance.
Conclusion: A Sparkling Renewal
Restoring a scratched stainless steel sink to its original brilliance is a rewarding task that enhances both the functionality and aesthetic appeal of your kitchen. By following these detailed steps, you not only remove unsightly blemishes but also contribute to maintaining a hygienic cooking environment. Remember, prevention is key to avoiding future scratches, so adopt good maintenance practices and enjoy the lasting beauty of your rejuvenated stainless steel sink.

