Introduction of Sink Installation
Installing a bathroom sink can revitalize your bathroom’s look and functionality. Whether you’re undertaking a full renovation or simply replacing an old basin, knowing how to install a bathroom sink is a valuable skill. This guide will provide you with the necessary steps, from preparation to the final touches, to ensure a successful installation. With the right tools, materials, and a bit of patience, you’ll create a fresh focal point in your bathroom. Before starting this DIY project, review the tools and materials section to ensure you have everything needed. Don’t worry if you’re not a plumbing pro; we’ve broken down the process to make it manageable for beginners too. Follow this guide and get ready to turn that new sink from a box to a bathroom centerpiece.
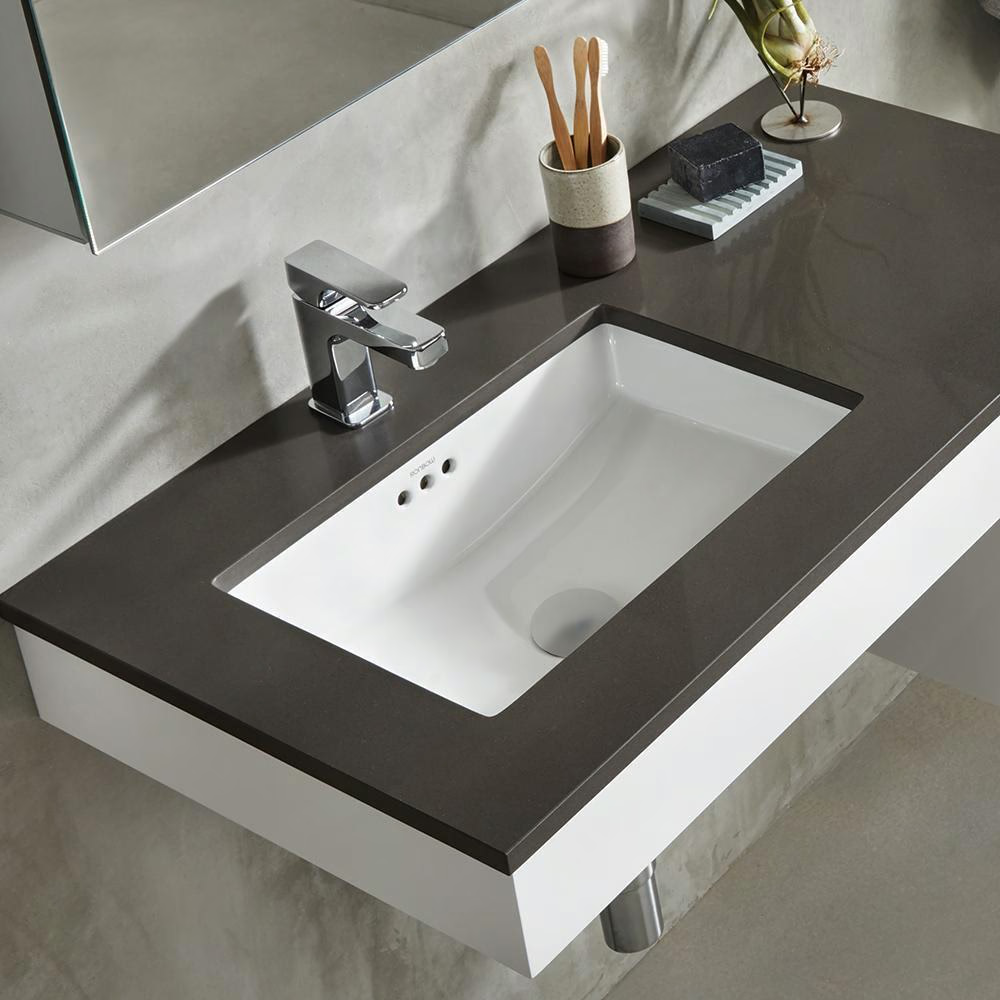
 Tools and Materials Needed
Before you begin to install a bathroom sink, collect all necessary tools and materials. Doing so ensures a smoother process. Here’s what you will need:
- Measuring tape: For accurate measurement of space and sink dimensions.
- Sink and faucet: Chosen according to your design preferences and the size of your bathroom.
- Silicone sealant: To secure the sink and prevent water leaks.
- Adjustable wrenches: To help with various plumbing tasks.
- Plumber’s putty or tape: Essential for a watertight seal on the drain.
- Pipe wrench: For tightening and loosening plumbing connections.
- Hacksaw: To cut through any pipes if adjustments are needed.
- Level: To ensure your sink is perfectly horizontal.
- Drill with bits: Required for creating holes for mounting or adjusting plumbing lines.
- Screwdriver: For assembling and securing sink components.
- P-Trap and tailpiece: Necessary for proper drainage.
- Water supply lines: To connect your sink to your home’s water system.
Review this list and prepare your workspace. Clear the area under where the new sink will go. Ensure the floor is level and the wall is ready for installation. Remember safety first – wear gloves and eye protection when necessary. With these tools and materials ready, you’re set to start the actual process of how to install a bathroom sink.
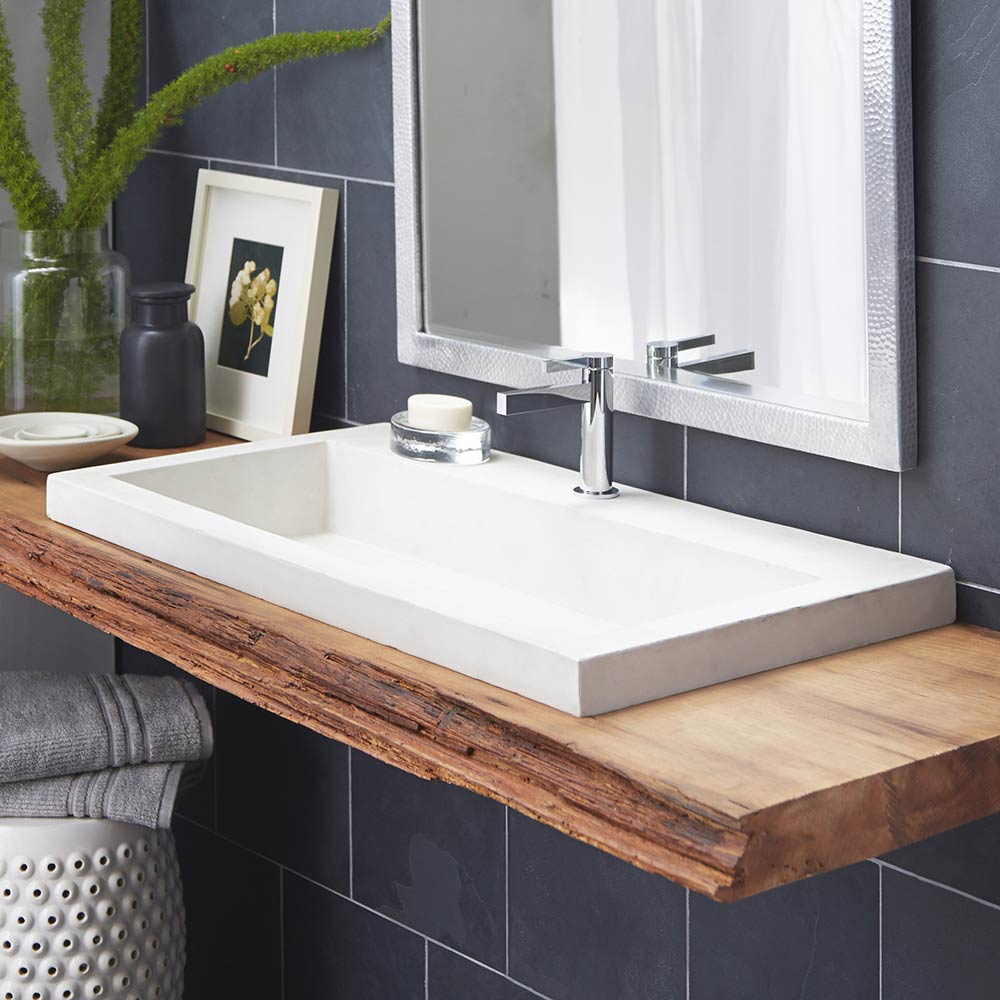
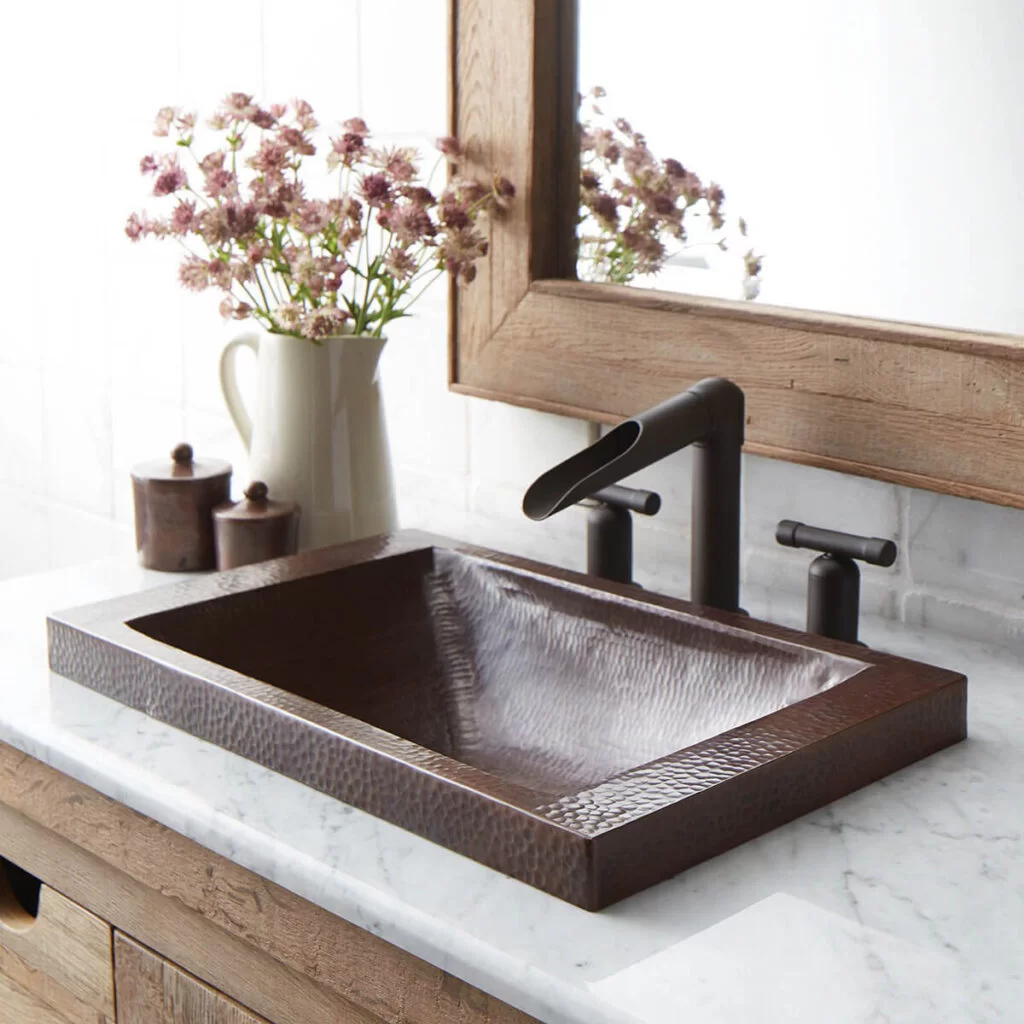
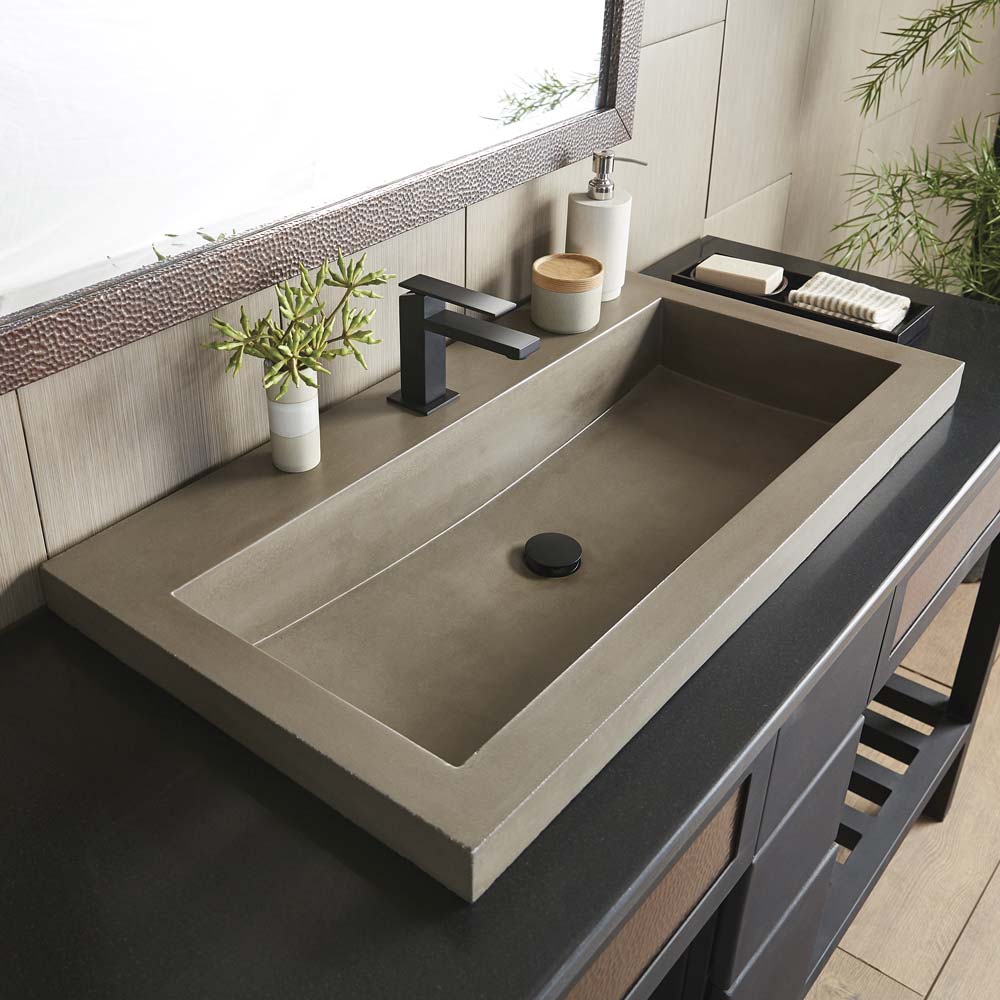
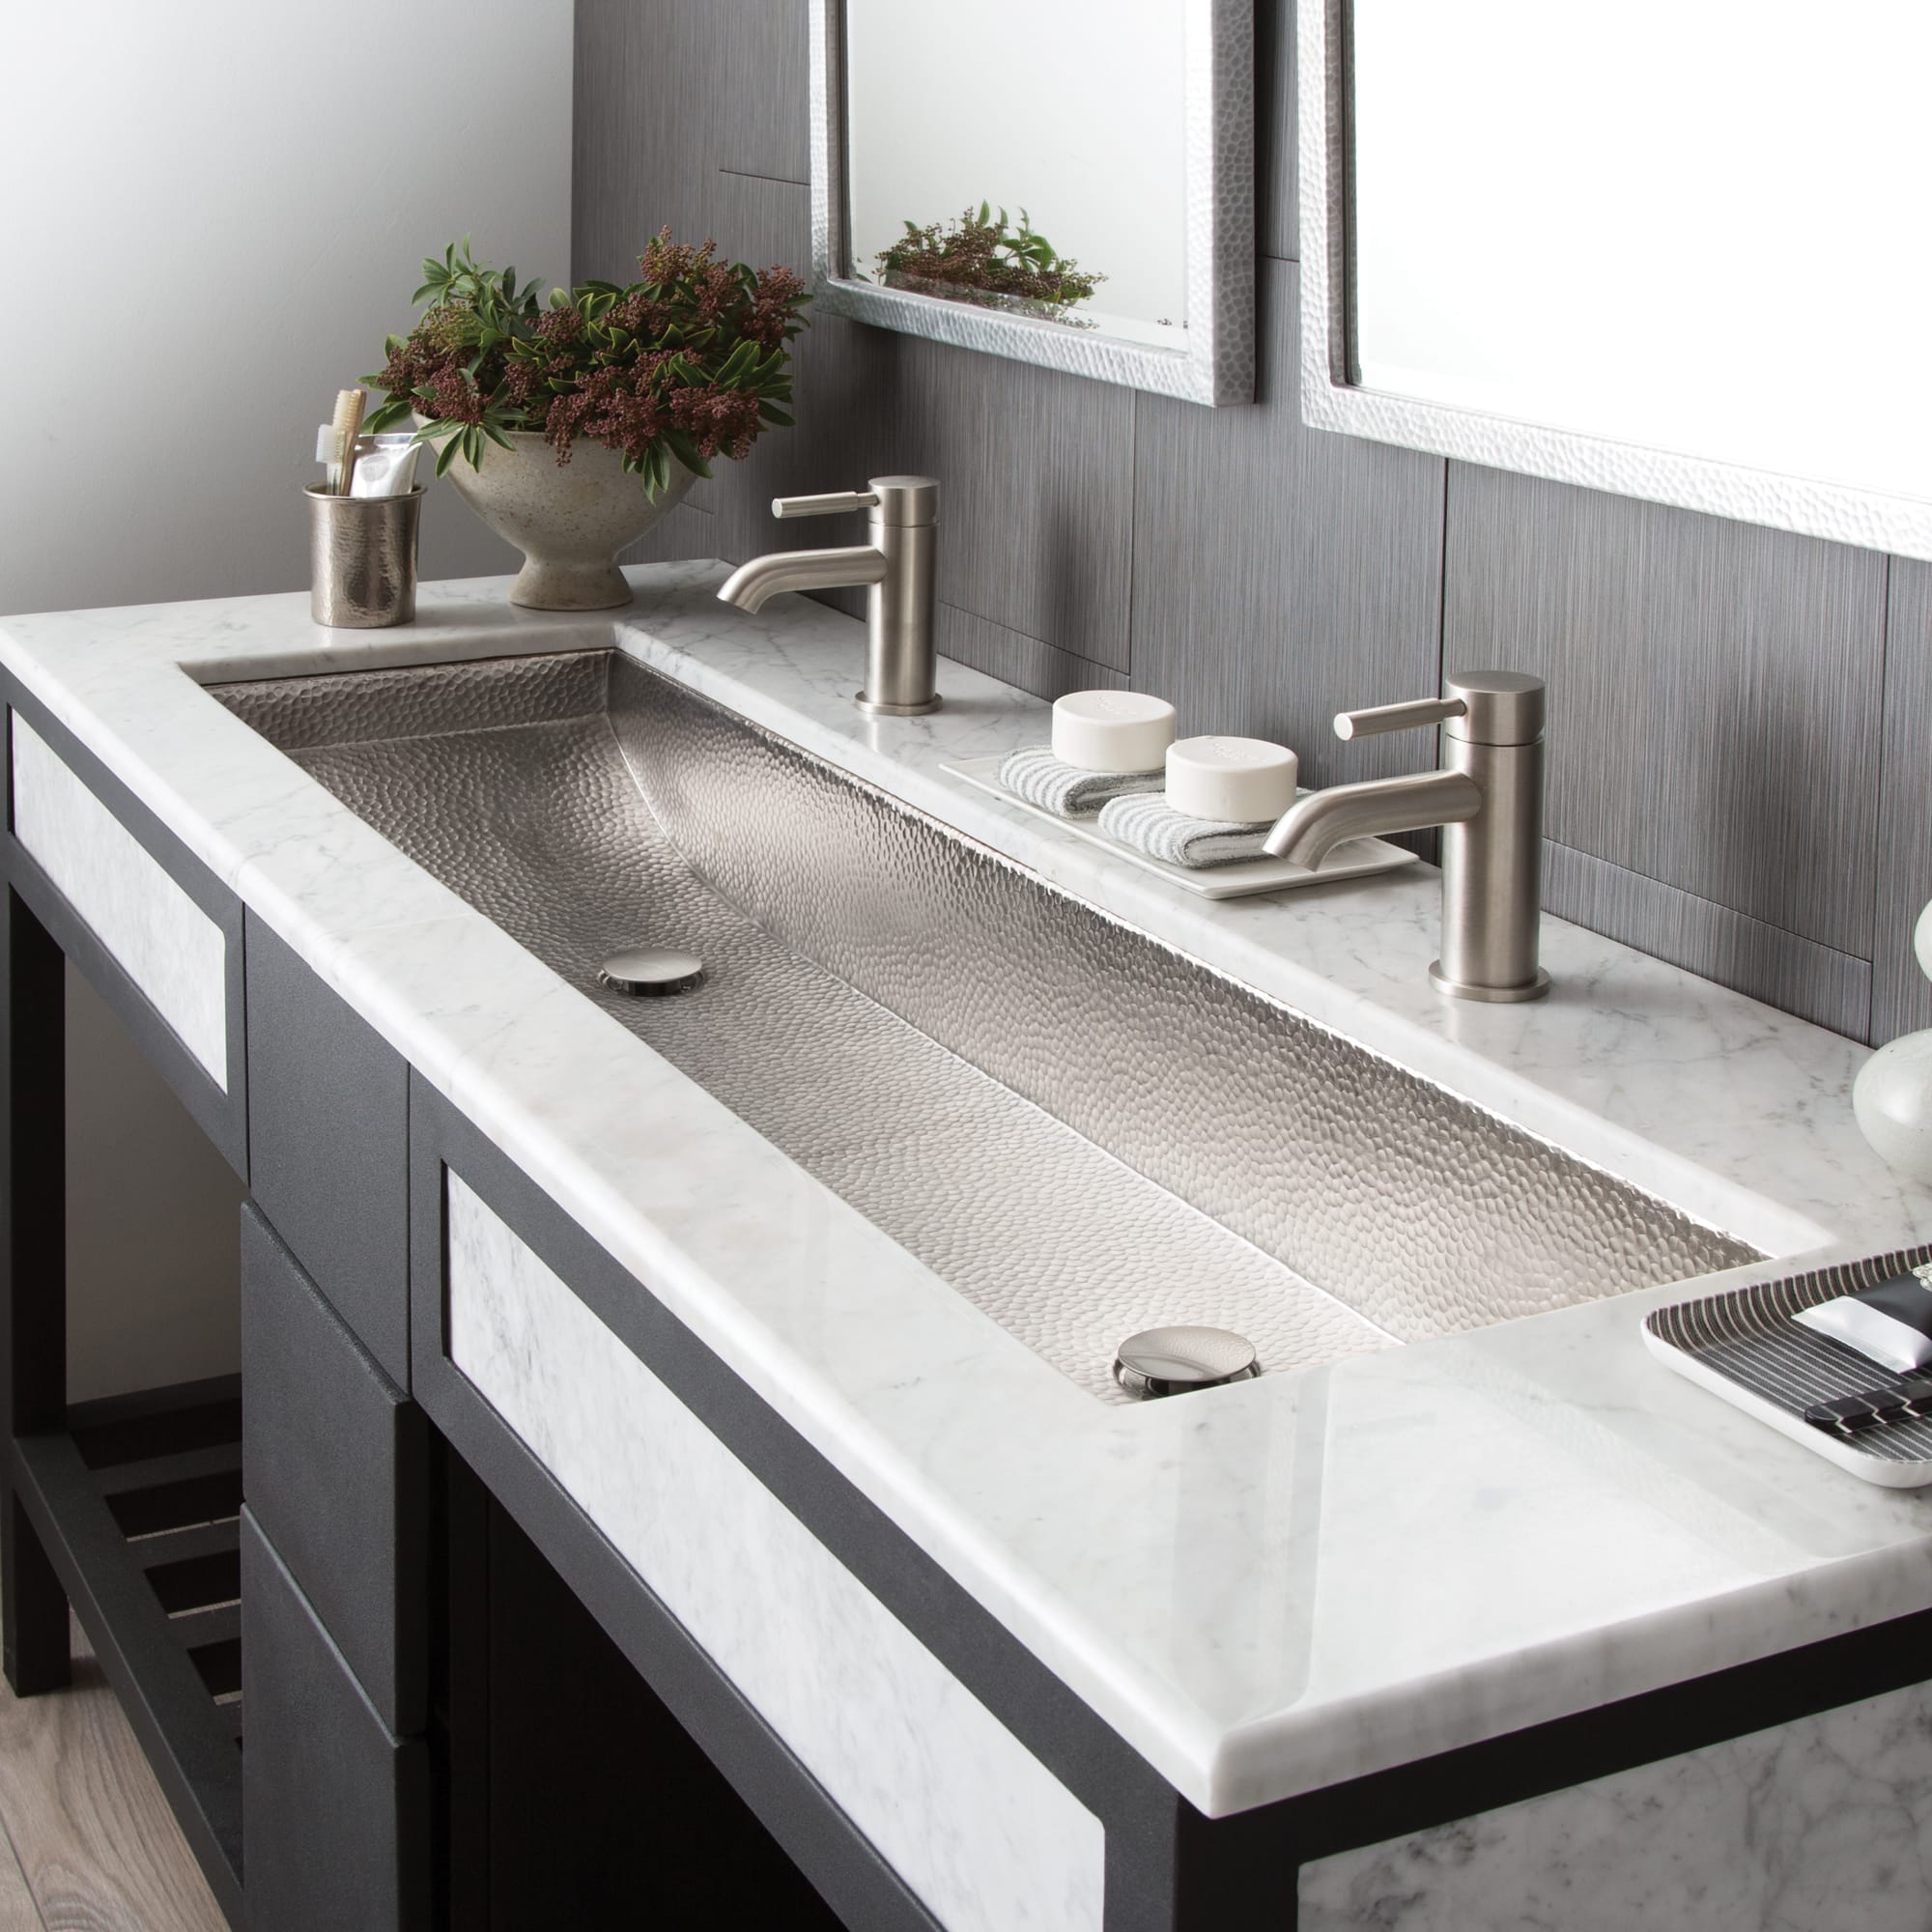
Selecting the Right Bathroom Sink
Choosing the right bathroom sink is key to a successful installation. Consider these factors when selecting your sink:
- Size and Fit: Measure your bathroom space. Make sure the new sink fits without crowding the area.
- Style and Design: Pick a sink that complements your bathroom’s decor. Modern, traditional, and vessel sinks are popular styles.
- Material: Sinks come in various materials like porcelain, glass, or stone. Each has its own care and maintenance needs.
- Mount Type: Decide on a pedestal, wall-mounted, or countertop sink. Each type has different installation requirements.
- Faucet Compatibility: Ensure your chosen sink matches the faucet you plan to use or purchase.
- Storage Needs: Consider if you need a sink with built-in storage options.
Take your time to pick a sink that meets both your functional needs and aesthetic desires. A well-chosen sink can enhance your bathroom’s look and improve your daily routine.
 Preparing the Area for Installation
Before you learn how to install a bathroom sink, proper preparation is crucial. Start by turning off the water supply to prevent any accidental spills or leaks. This is usually done at the shut-off valves under the sink or at the main water valve. Next, clear the area where the new sink will be installed. Remove any items that might get in the way or be damaged during the installation.
Ensure the surface where the sink will go is clean and level. Use a level to check that the countertop or pedestal is even. An uneven surface could lead to improper drainage or a sink that’s not secure. If adjustments are needed, now is the time to make them.
Check the wall where the sink will be mounted. If you’re installing a wall-mounted sink, ensure that the wall is strong enough to support the weight. You may need to install additional support such as a bracket or reinforcing the studs. For a pedestal sink, position the pedestal in place and mark where it will be anchored to the floor.
Finally, review the installation instructions of your particular sink model. Different sinks may come with their own specific requirements for space, mounting, and plumbing. Having a good understanding of these will save you time and trouble later on. With the area prepared, you’re ready to move on to the next steps in your bathroom sink installation project.
Installing the Sink Drain
Installing the sink drain is a critical step in sink installation. Follow this guide for a seamless process:
- Assemble the Drain: Begin by putting together the drain components. Follow the manufacturer’s guide for specific instructions.
- Apply Plumber’s Putty: Roll plumber’s putty between your hands to form a rope. Apply it around the underside of the drain flange.
- Insert the Drain Flange: Carefully place the flange into the drain hole of the sink. Press down to ensure a good seal with the putty.
- Secure the Drain: From beneath the sink, add the washer and nut to the flange. Tighten by hand and then use a wrench for a snug fit.
- Remove Excess Putty: Clean away any putty that oozes out around the flange. Keep the surface clean and smooth.
- Attach the Tailpiece: Screw the tailpiece onto the drain flange’s bottom. Ensure it’s straight and tight.
- Fit the P-Trap: Connect the tailpiece to the P-trap. This may require cutting the tailpiece to length with a hacksaw.
- Check for Leaks: Once connected, check the drain assembly for any leaks by running water through it.
Take your time with each step to prevent issues with drainage or leaks later on. How well you install the sink drain affects the overall functionality of your bathroom sink.
 Mounting the Sink Basin
Mounting the sink basin marks the next step towards a complete bathroom sink installation. To ensure a firm and stable fit, it’s crucial to follow these guidelines.
- Position the Sink: Carefully place the sink onto the countertop or pedestal, confirming it aligns with the drain and water supply lines.
- Level the Sink: Use the level to check that the sink is perfectly horizontal. Make adjustments as needed for a balanced installation.
- Mark the Anchor Points: If your sink design requires, mark the points where anchors will go. Ensure these are precise to avoid misalignment.
- Drill the Holes: Taking into account the markings, drill holes for the anchors. It’s recommended to start with a smaller drill bit to prevent cracking.
- Secure the Sink: Place the sink back in position and insert the anchors. Tighten any bolts or screws to lock the sink in place securely.
- Attend to the Seal: Apply a bead of silicone sealant around the sink’s edge. This helps prevent water from creeping under the basin.
Always double-check your manufacturer’s instructions as sink models may vary. Doing so ensures compatibility with your specific sink’s mounting requirements. Moreover, patience is key; take your time to get each step right. A well-mounted sink is crucial in avoiding any movement that might cause leaks or damage in the future. Looking ahead, the next steps involve connecting the water supply lines and adding the finishing touches to your bathroom’s new highlight.
Connecting the Water Supply Lines
After you’ve securely mounted the sink basin, it’s time to connect the water supply lines. This step is essential to provide water to your new sink. Use these guidelines for a smooth installation:
- Align the Supply Lines: Hold the supply lines up to the sink’s faucet connectors. Make sure they match in length and size.
- Wrap Threads with Tape: Apply plumber’s tape around the threads of the faucet connectors. This helps prevent leaks.
- Attach Supply Lines: Connect the supply lines to the faucet. Tighten them by hand first, then use an adjustable wrench for a snug fit.
- Connect to Shut-off Valves: Lead the other end of each supply line to the corresponding shut-off valve. Tighten these connections securely.
- Check for Leaks: Turn on the water supply and watch for any drips. If a leak appears, tighten the connections a bit more.
doing well with these connections avoids problems like weak water pressure or leaks. Ensure all connections are tight, but be careful not to overtighten as this may damage the fittings. Once your water supply lines are in place, you’re close to finishing your bathroom sink installation.
 Sealing and Finishing Touches
After you install the water supply lines, it’s time for the sealing and finishing touches. To make sure your bathroom sink works well and looks great, follow these steps:
- Seal the Sink: Apply a line of silicone sealant around the sink’s base where it meets the countertop. Smooth the sealant with a finger or a caulking tool to create a water-tight barrier.
- Install the Faucet: If not already attached, position the faucet and secure it according to the manufacturer’s guidelines. Remember to seal the base with plumber’s putty or silicone.
- Connect the Drain Stopper: Assemble the drain stopper mechanism. Consult the sink’s manual to properly connect it to the drain and test it to make sure it operates smoothly.
- Clean Up: Wipe away any excess sealant or putty. Check all areas for leaks or spills and clean them up.
- Final Inspection: Run the water and check all connections, the drain, and the sealant for any signs of leaks. Make any needed adjustments to ensure everything is tight and secure.
These final touches are the key to a polished look and a fully functional bathroom sink.
Maintaining Your New Bathroom Sink
With your new bathroom sink installed, maintaining it will ensure its longevity and keep it looking like new. Here is how you can best care for your sink:
- Regular Cleaning: Wipe the sink after each use to prevent water spots and mineral deposits. Use mild soap and a soft cloth for the task.
- Avoid Harsh Chemicals: Harsh cleaning agents can damage the sink’s material. Stick to gentle cleaners suitable for your sink’s material.
- Clearing Drain Blockages: Keep the drain clear by regularly cleaning out debris. Use a non-abrasive drain cleaner for tougher clogs.
- Inspect for Leaks Regularly: Check the faucet and drain for leaks periodically. Tighten any loose fittings and replace worn-out parts when necessary.
- Protect the Surface: Prevent scratches by avoiding abrasive cleaning tools. Do not drop heavy objects into the sink that could chip or crack it.
- Sealant Checks: Inspect the silicone sealant around your sink for cracks or peeling. Re-seal as needed to keep the area watertight.
Following these simple maintenance steps will help ensure that your bathroom sink operates smoothly and maintains its appearance for years to come.
When to Seek Professional Help
While many aspects of how to install a bathroom sink can be handled DIY-style, certain situations may require professional assistance. Understanding when to call a plumber ensures that your sink installation is done correctly and safely.
Complex Plumbing Configurations
If your bathroom has a complex plumbing system or existing leaks that are difficult to diagnose, it’s best to consult a professional plumber. They have the expertise to handle intricate plumbing issues and ensure that your sink is installed without causing further complications.
Unresolved Leaks
Persistent leaks that you cannot fix with basic troubleshooting indicate a need for professional intervention. A plumber can accurately identify the source of the leak and implement the necessary repairs to ensure a watertight installation.
Specialized Sink Types
Installing specialized sinks, such as vessel sinks or wall-mounted sinks, may require additional skills and tools. Professionals are familiar with the specific requirements and challenges associated with these types of installations, ensuring a seamless and secure fit.
Benefits of Proper Installation
Taking the time to properly install your bathroom sink yields numerous benefits, enhancing both the functionality and aesthetics of your bathroom.
Improved Functionality
A correctly installed sink ensures optimal water flow and drainage, preventing issues like slow draining or frequent clogs. This leads to a more efficient and hassle-free bathroom experience.
Enhanced Aesthetics
A well-installed sink contributes to the overall look of your bathroom. Proper alignment, sealing, and finishing touches create a polished and professional appearance, elevating the space’s visual appeal.
Increased Property Value
Quality home improvements, such as installing a new bathroom sink, can increase the value of your property. Prospective buyers appreciate updated and well-maintained fixtures, making your home more attractive in the real estate market.
Long-Term Durability
Proper installation and regular maintenance extend the life of your bathroom sink and plumbing fixtures. By ensuring that everything is securely fastened and leak-free, you avoid costly repairs and replacements in the future.
 Final Checks and Going Live
After completing the installation process, it’s crucial to perform final checks to ensure everything is functioning correctly and to enjoy your newly installed bathroom sink with confidence.
Final Inspection
Conduct a thorough inspection of all connections, seals, and fittings. Verify that there are no visible gaps or signs of water leakage around the sink and plumbing connections. Ensure that the faucet operates smoothly and that water flows freely through the drain.
Cleaning Up
Remove any tools, extra materials, and debris from the installation area. Wipe down the sink and surrounding surfaces to remove any residual plumber’s putty or silicone caulk, leaving your bathroom clean and ready for use.
Enjoying Your New Sink
With the installation complete, you can now enjoy the enhanced functionality and aesthetic appeal of your new bathroom sink. Whether you opted for a modern design or a classic style, your bathroom upgrade is sure to make your daily routines more pleasant and efficient.
Conclusion
In conclusion, understanding how to install a bathroom sink empowers you to take control of your home improvement projects. By following the detailed steps outlined in this guide, you can successfully install a new sink, enhancing both the functionality and appearance of your bathroom. From preparing the necessary tools and materials to troubleshooting common issues, this comprehensive approach ensures a smooth and effective installation process. Whether you’re a seasoned DIY enthusiast or a beginner tackling your first project, mastering how to install a bathroom sink is a valuable skill that contributes to the overall comfort and value of your home.