Types of Ceramic Sink Damage
Ceramic sinks can suffer from various types of damage over time, impacting their functionality and appearance. Identifying these issues early can help with effective ceramic sink repair.
Chips and Cracks
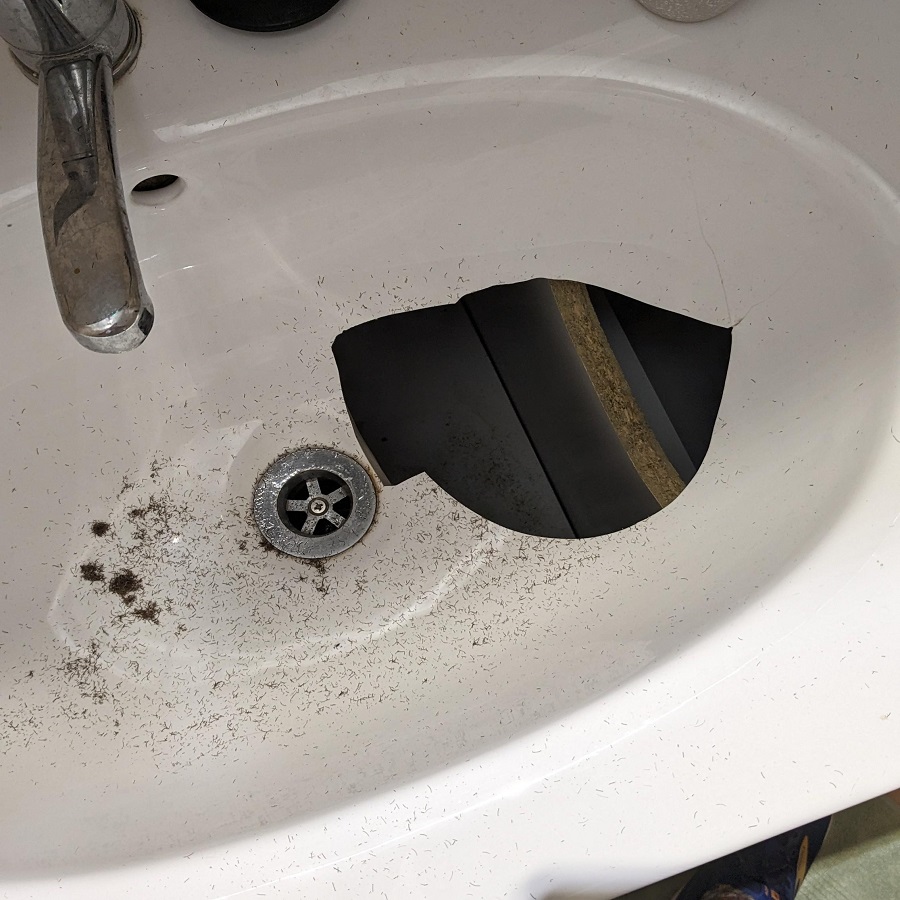
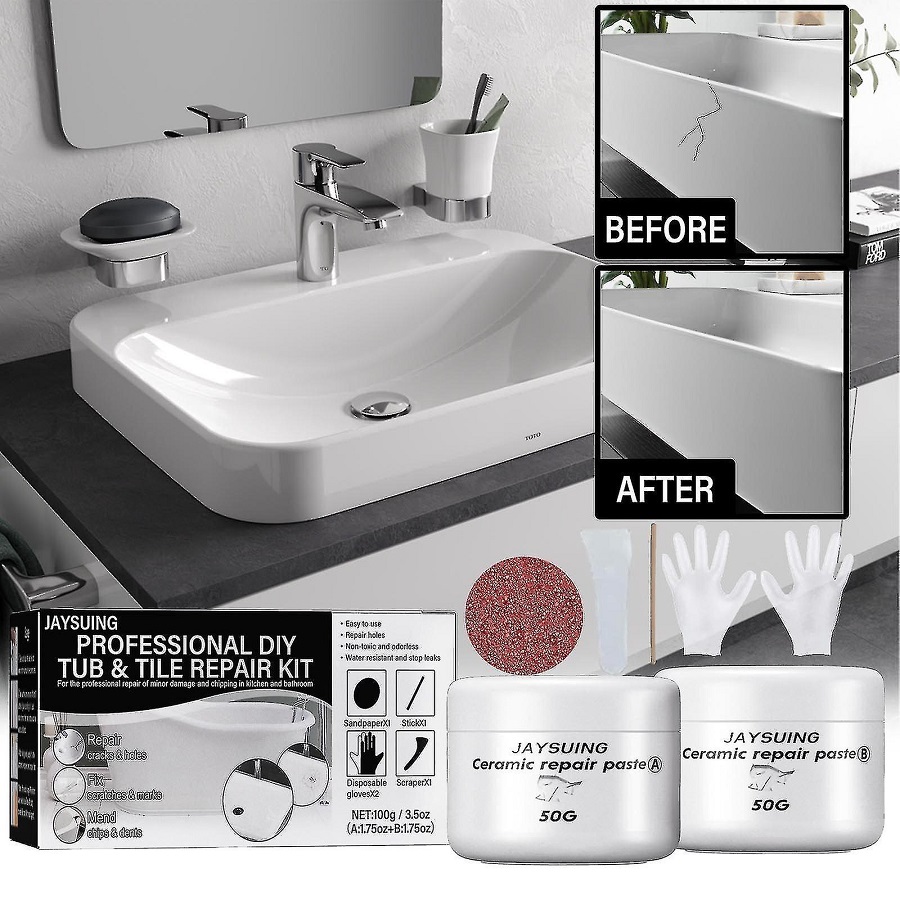
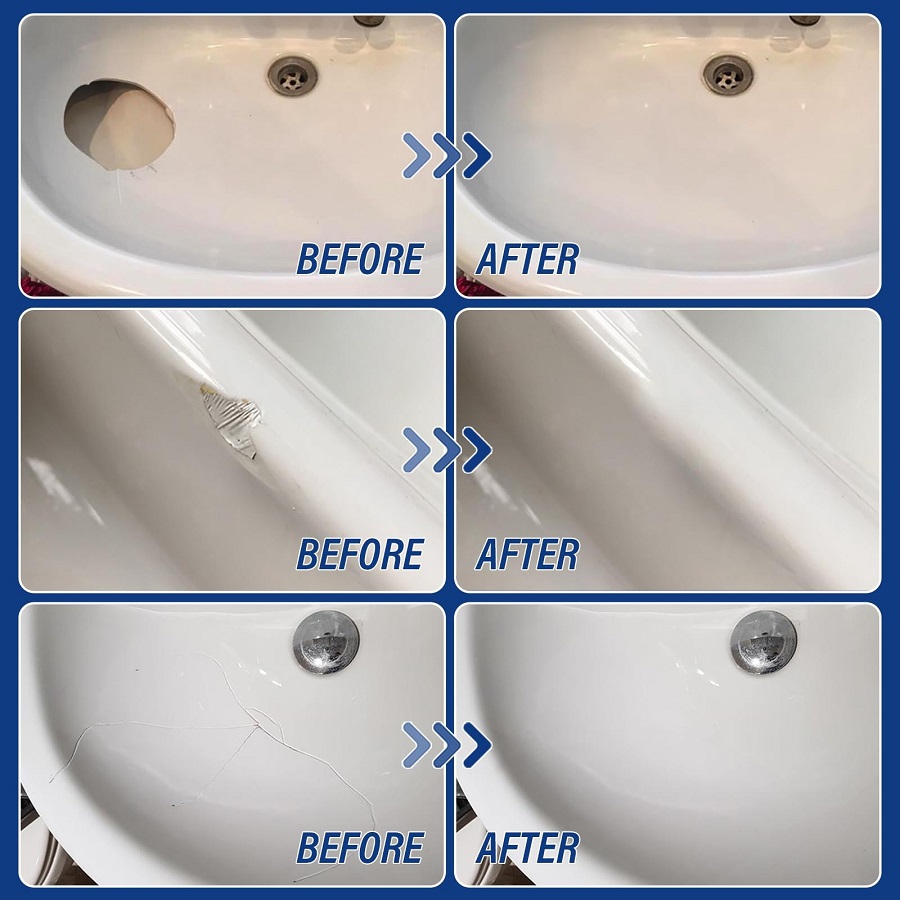
Chips and cracks are common in ceramic sinks. They occur due to heavy impact or sudden changes in temperature. To fix chips and cracks, you can use a repair kit that often includes epoxy or porcelain filler. The key is to apply the filler carefully, ensuring it blends with your sink’s color.
Stains and Discoloration
Stains and discoloration can mar the beauty of your sink. These issues come from water minerals, food, or certain chemicals. Home remedies like baking soda can help remove surface stains. For tougher stains, a heavy-duty remover specific to ceramic sink repair might be necessary. Remember, consistent prevention is better than cure.
Leakage Issues
Leakage is a serious problem that can damage cabinets and floors below the sink. It often results from deteriorated sealants or cracks in the sink. Properly applying a waterproof sealant is crucial to address this issue. Make sure to identify the leak source before taking action to ensure a lasting fix.

Essential Tools and Materials for Sink Repair
Before beginning your ceramic sink repair, it’s important to have the right tools and materials on hand. These items will ensure that your repair job is effective, durable, and leaves your sink looking as good as new.
Epoxy or Porcelain Repair Kit
For fixing chips and cracks, an epoxy or porcelain repair kit is essential. These kits usually include coloring agents to match your sink’s finish. Follow the kit instructions carefully for the best results.
Sandpaper and Cleaning Supplies
You’ll need fine-grit sandpaper to smooth out the filled area once it’s dry. Also, gather cleaning supplies like soft cloths and mild detergent to prepare the surface before applying the repair materials.
Sealants for Leakage Prevention
Select a high-quality waterproof sealant to address leak issues. The sealant will help protect surrounding cabinetry and flooring from water damage. Apply it precisely where the sink meets the countertop or around joints for a watertight seal.
Step-by-Step Guide to Fixing Chips and Cracks
Repairing chips and cracks in a ceramic sink is straightforward with the right approach. In this step-by-step guide, we outline how to make seamless repairs to your ceramic sink.
Cleaning the Damaged Area
Start by cleaning the affected area thoroughly. Remove any debris and dirt to ensure the repair material adheres properly. Use a soft cloth and mild detergent to gently clean the spot. Let the area dry completely before proceeding to the next step. This is a critical part of the ceramic sink repair process.
Applying the Repair Material
Next, apply the repair material from your epoxy or porcelain repair kit. Use a spatula or a similar tool for an even application. Carefully fill the chip or crack, ensuring that the material is level with the sink’s surface. The color should match your sink’s finish for the best aesthetic result. Patience is key; apply the material slowly to avoid air bubbles.
Sanding and Polishing the Repaired Spot
Once the repair material has dried, gently sand the area with fine-grit sandpaper. Aim for a smooth, flush finish with the surrounding ceramic. Wipe away any dust left by the sandpaper with a damp cloth. Finish by polishing the repaired spot to restore the sink’s shine. Use a soft cloth and a polishing compound suitable for ceramic surfaces.
Incorporate these steps into your ceramic sink repair to fix any unsightly damage effectively. Remember to handle each step with care for a durable repair that blends in seamlessly with your sink’s overall appearance.
Techniques for Removing Stains and Discoloration
Stains can ruin the look of your ceramic sink. Understanding how to remove them is crucial for ceramic sink repair.
Home Remedies for Surface Stains
For light stains, home solutions work well. Mix baking soda and water to form a paste. Apply this to the stain and scrub with a soft brush. Rinse well after. For lime buildup, white vinegar is helpful. Soak a cloth in vinegar and lay it over the stain. Wait an hour, then scrub and rinse.
Heavy-duty Stain Removers
Sometimes stains are too stubborn for home remedies. In such cases, use a cleaner made for ceramic sink repair. These removers often contain stronger chemicals, so use gloves. Follow the instructions on the product for safe and effective use.
Preventing Future Stains
To keep your sink spotless, prevention is key. Wipe the sink after each use to prevent water spots. Avoid leaving metal cans or rusty objects on the sink surface. They can cause rust stains that are tough to remove. Regular cleaning stops stains from setting in, keeping your sink looking new.

Addressing and Fixing Leaks in Ceramic Sinks
Dealing with leaks in ceramic sinks is vital to protect your home from water damage. These simple steps help you handle leaks efficiently.
Identifying the Source of the Leak
Begin by inspecting your sink to locate the leak. Check the faucet, drain, and pipes beneath the sink. Look for dampness, water trails, or mold. Once found, mark the area. This will guide you on where to apply sealant later on.
Applying the Right Sealant
Select a waterproof sealant suited for ceramic sink repair. Clean the leak area well before applying the sealant. Follow the product’s directions for use. Seal the marked area carefully, filling any gaps or cracks completely. Allow it to dry as instructed.
Testing for Leak Tightness
Once the sealant is dry, test for leaks. Fill the sink with water and watch for any seepage. Check that water no longer escapes from the previously marked areas. If water still appears, additional sealant may be needed.
By following these steps, you can confidently repair leaks in your ceramic sink. Remember that precision and patience are key to a successful ceramic sink repair. If leaks persist, seeking professional help may be necessary.
Tips for Maintaining Your Ceramic Sink Post-Repair
After repairing your ceramic sink, it’s important to maintain it to prevent future issues. Proper maintenance ensures longevity and keeps your sink looking like new.
Routine Cleaning Practices
Keep your ceramic sink in top condition with daily cleaning. Use a mild detergent and a soft sponge or cloth to clean the surface. Rinse with water and dry with a towel to prevent water spots. This simple habit prevents mineral buildup and maintains the sink’s shine. Cleaning agents that are too harsh can damage the ceramic, so stick to gentle products.
Avoiding Common Damaging Habits
To avoid damage, don’t drop heavy objects into the sink. Avoid exposing the sink to extreme temperatures by not pouring boiling water directly into it. Don’t use abrasive cleaners or pads, as they can scratch the ceramic surface. Instead, use non-abrasive tools for cleaning. Keep paints, solvents, and other harsh chemicals away from your sink to prevent stains. With these precautions, your ceramic sink will stay protected from common forms of damage.
When to Call a Professional
If you encounter a problem that seems too complex, it’s best to call a professional. Examples include recurring leaks, large cracks, or persistent stains that won’t go away. A professional plumber or repair technician has the right tools and expertise for complex repairs. This ensures that the job is done correctly, preventing further damage to your ceramic sink. Regular maintenance and knowing when to seek professional help will keep your ceramic sink in prime condition for years to come.
Common Mistakes to Avoid in Ceramic Sink Repair
When dealing with ceramic sink repair, being aware of common pitfalls can save time and ensure repairs last. Here are key mistakes to sidestep:
Skipping Surface Preparation
Surface preparation is crucial. Not cleaning the crack or chip area properly can lead to poor adhesion. Always clean and dry the area before applying repair materials.
Ignoring Manufacturer Instructions
Every epoxy or porcelain repair kit has specific steps. Not following them can result in a failed repair. Always read and adhere to the manufacturer’s instructions.
Using Mismatched Colors
A repair that stands out is often worse than the original damage. Don’t use filler that doesn’t match your sink’s color. Take the time to find and mix the right shade.

Overfilling the Damaged Area
Applying too much repair material can create uneven surfaces. Add filler carefully and level it with the sink’s surface to avoid extra sanding work later on.
Rushing the Drying Process
Repair materials need time to set. Don’t rush the drying process, as it can weaken the repair. Wait the recommended time before sanding or using the sink.
Applying Sealant Incorrectly
A poorly sealed sink can lead to leaks. Ensure the sealant covers all gaps and is applied smoothly. It’s crucial to prevent water damage under the sink.
Neglecting Final Checks
Always inspect your repair work. Missing small leaks or not polishing the repaired area can leave flaws. Double-check your work for a seamless ceramic sink repair.
Avoid these missteps in ceramic sink repair to maintain your sink’s functionality and appearance. Small efforts can make a big difference in the success of your repairs.


