Introduction to Replace a Kitchen Sink
Replace a kitchen sink can refresh your kitchen’s appearance and functionality. If your current sink has seen better days or you’re upgrading your kitchen, learning how to replace a kitchen sink is a valuable skill. This task may seem daunting, but with the right tools and some patience, you can tackle it. This guide will walk you through each step of the sink replacement process.
By the end, you’ll understand the basics of removing an old sink and installing a new one. Remember, the key to a successful project is preparation. Ensure you have all necessary tools and materials before you begin, and don’t rush the process. Taking your time to follow each step carefully will help you avoid common pitfalls and achieve a professional-looking result.
Preparing for Sink Replacement
Before you start to replace your kitchen sink, proper preparation is crucial. This ensures you complete the job efficiently and safely.
Tools and Materials Needed
To replace a kitchen sink, gather the following tools and materials:
- Adjustable wrenches
- Plumber’s putty or silicone caulk
- Putty knife
- Tape measure
- Hacksaw (for cutting pipes if needed)
- Pipe wrench
- Screwdrivers
- Utility knife
- Teflon tape
- Bucket (to catch water)
Ensure you have all these items on hand before beginning the sink replacement process.

Shutting Off the Water Supply
The first step in preparing for sink replacement is to shut off the water supply:
- Locate the shut-off valves under the sink.
- Turn the valves clockwise to stop the water flow.
- Open the faucet to relieve any remaining pressure in the pipes.
- Place a bucket underneath to catch any dripping water.
Once the water is off and the area is prepped, you are ready to remove the old sink.
Removing the Old Sink
Now that you have gathered your tools and shut off the water supply, it’s time to remove the old sink. This part involves two main tasks: disconnecting plumbing and fixtures, and detaching the sink from the countertop.
Disconnecting Plumbing and Fixtures
Start with the plumbing beneath the sink. Use an adjustable wrench to loosen and disconnect the water supply lines. Remember lefty-loosey, righty-tighty. Next, disconnect the drain pipes. If pipes are hard to remove, a pipe wrench can help. Place the bucket under the pipes to catch any water that spills out. Gently remove any clips or screws holding the sink to the underside of the countertop.
Detaching the Sink from the Countertop
Once you disconnect the plumbing, move on to the sink itself. Many sinks are sealed with caulk or plumbers putty. Run a utility knife around the edge to slice through the sealant. Carefully lift the sink from the countertop. If it resists, check for any additional clips or mounting hardware. Remove these with a screwdriver.
Take care not to damage the countertop during this process. With the old sink out, clean the area. Remove old caulk or putty with a putty knife. Make sure the surface is clean and dry before installing your new kitchen sink. This ensures a good seal and a stable base for installation.
Selecting a New Kitchen Sink
Once the old sink is out, it’s time to choose a new one. The selection of a kitchen sink is essential for both function and aesthetic appeal. Consider the following factors to find a sink that best fits your needs and matches your kitchen’s style.
Matching Sink Size and Shape to the Countertop
The new sink must fit into the existing space on your countertop. Measure the hole left by the old sink carefully. Make sure to note the length, width, and depth. Sinks come in various shapes, like rectangular, oval, or round. Match the new sink’s size and shape to your countertop for a smooth installation. If you wish to modify the countertop, consult a professional first to ensure it’s feasible.
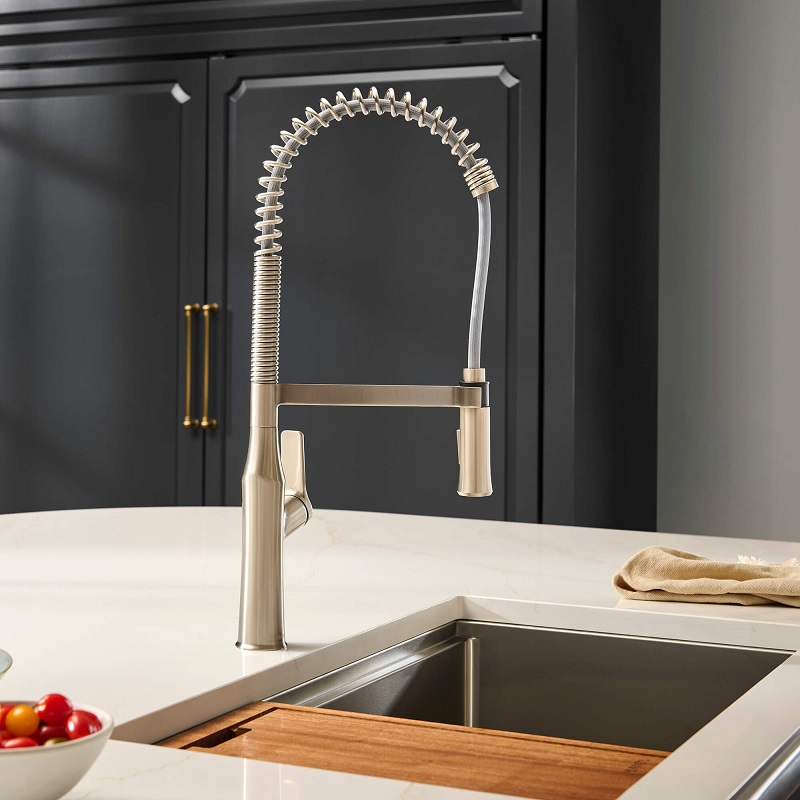
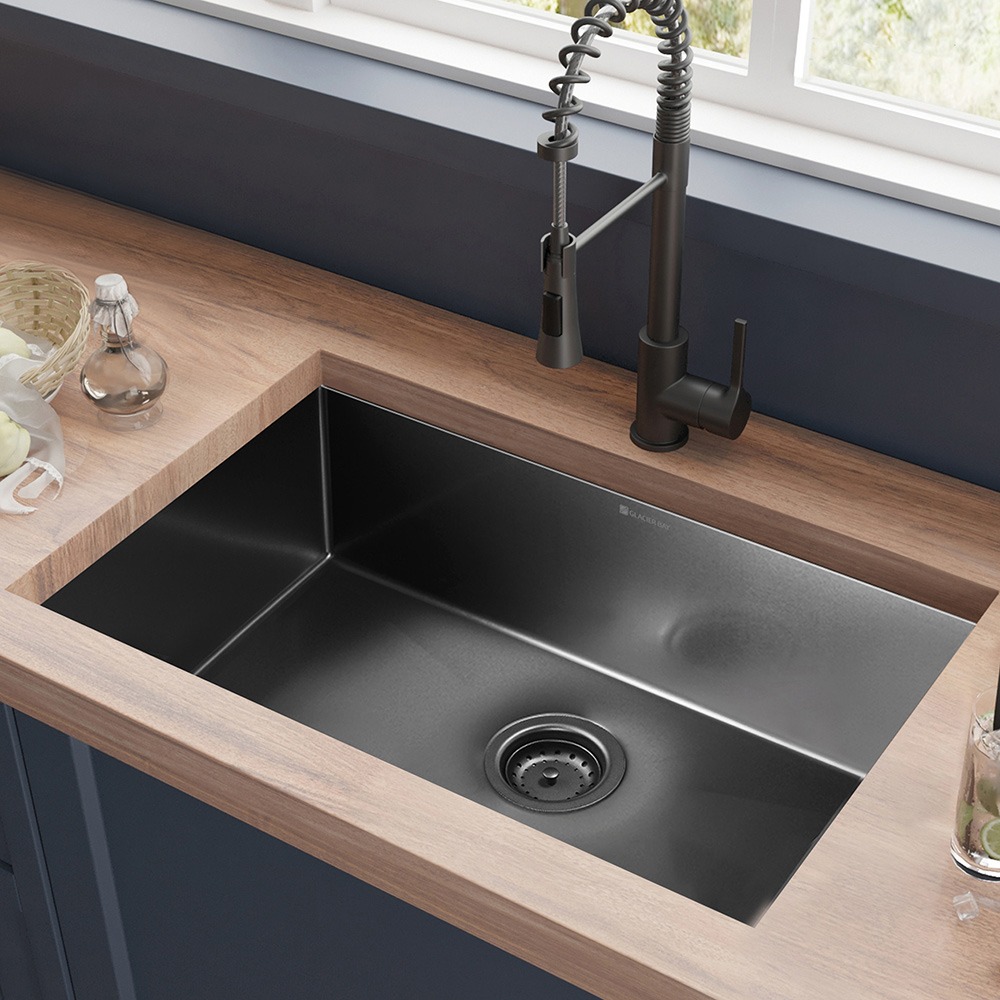
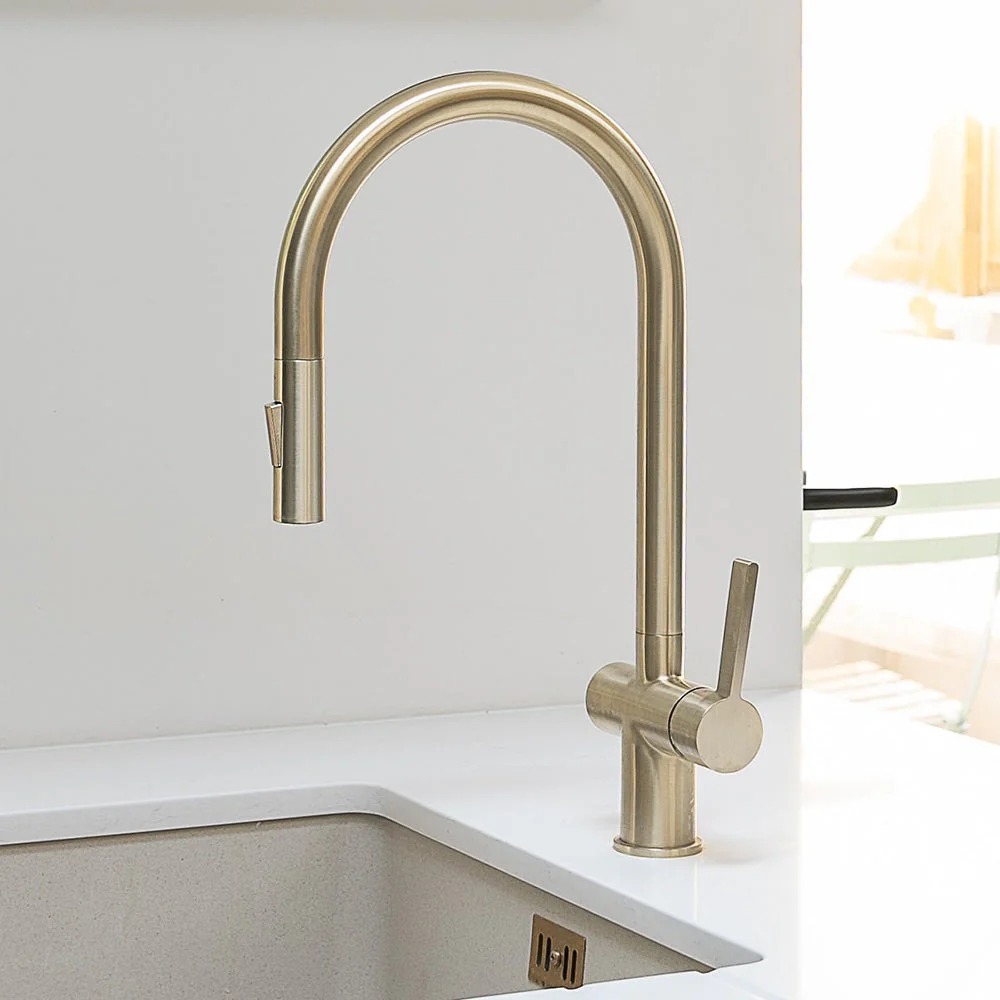
Considering Sink Material and Style
Sinks are made from many materials, including stainless steel, composite, porcelain, and more. Each has its pros and cons. Stainless steel is durable and easy to clean. Composite sinks resist scratches and chips. Porcelain offers a classic look but may require more upkeep.
Think about the sink’s style, too. Do you want a single or double basin? Would you prefer an undermount or top mount sink? Consider how you use your kitchen. This will help you decide. Also, think about the overall design of your kitchen. Your sink should complement it. Take your time to choose a sink that meets your functionality needs and enhances your kitchen’s look.
Installing the New Sink
Now that you have selected your new kitchen sink, it’s time to install it. Follow the steps outlined below to secure your sink and ensure it’s functioning correctly.
Securing the Sink and Sealing Edges
First, place the new sink into the hole on your countertop to test its fit. Make sure it sits flush and even. If it doesn’t, adjust it until it does. Once in place, secure the sink using clips or screws that come with it. The process may vary depending on whether you have an undermount or top mount sink, so refer to your sink’s instructions.
Apply a bead of plumber’s putty or silicone caulk around the edge of the sink. This seals the gap between the sink and countertop, preventing water from leaking underneath. Use a finger or putty knife to smooth the sealant for a neat finish. Allow it to set as directed on the product label.
Reconnecting Plumbing and Fixtures
With the sink securely in place, reconnect the plumbing. Start by attaching the water supply lines to the faucet. Use adjustable wrenches and Teflon tape to ensure a tight seal. Next, reattach the drain pipe. Again, use the wrenches for a snug fit. Be careful not to overtighten, as this can damage the fittings.
Attach the faucet and any other fixtures your sink might have. This may include a soap dispenser, a spray hose, or a water filter. Once everything is connected, turn the water supply back on by turning the shut-off valves counterclockwise. Check for any leaks as the water flows through.
Installing a new kitchen sink can boost your kitchen’s utility and style. With careful planning on how to replace a kitchen sink, attention to detail, and the right tools, you can achieve a seamless installation. Get everything right, and enjoy the satisfaction of a job well done.
Finishing Touches and Maintenance
With the new kitchen sink now installed, it’s essential to carry out a few finishing touches and learn maintenance techniques. This will ensure your sink continues to operate correctly and remain in good condition over time.
Testing for Leaks
After you install the new kitchen sink and reconnect the plumbing, it’s crucial to test for leaks. Turn on the water and let it run for a few minutes. Watch the pipes and connections for drips. If you spot a leak, turn off the water. Tighten the connections or adjust seals. It’s easier to fix leaks now than deal with water damage later.
Tips for Long-term Care of Your New Sink
To keep your kitchen sink looking and working its best, follow these simple care tips:
- Clean the sink regularly with gentle cleansers; harsh chemicals can damage the surface.
- Avoid dropping heavy objects into the sink to prevent dents or chips.
- Rinse away acids like vinegar or lemon juice, which can corrode some materials.
- Do not use the sink as a cutting board; this can cause scratches.
Remember to inspect under the sink periodically to catch any potential issues early. A well-maintained sink can serve you well for years. By knowing how to replace a kitchen sink and how to care for it, you’ll keep your kitchen in top shape.