Introduction to Sink Plumbing
Understanding sink plumbing is vital for home maintenance and repair. It involves pipes, fixtures, and valves all working together beneath your sink. Each part serves a specific purpose for water flow and waste removal. Learning the basics can save you time and money. Whether you’re a homeowner or a renter, it’s important to recognize common issues before they worsen. In this blog, we will cover the essential components and how to read a sink plumbing diagram. This knowledge is a valuable tool for troubleshooting and performing simple repairs. Adequate understanding can also help you know when to hire a professional plumber.
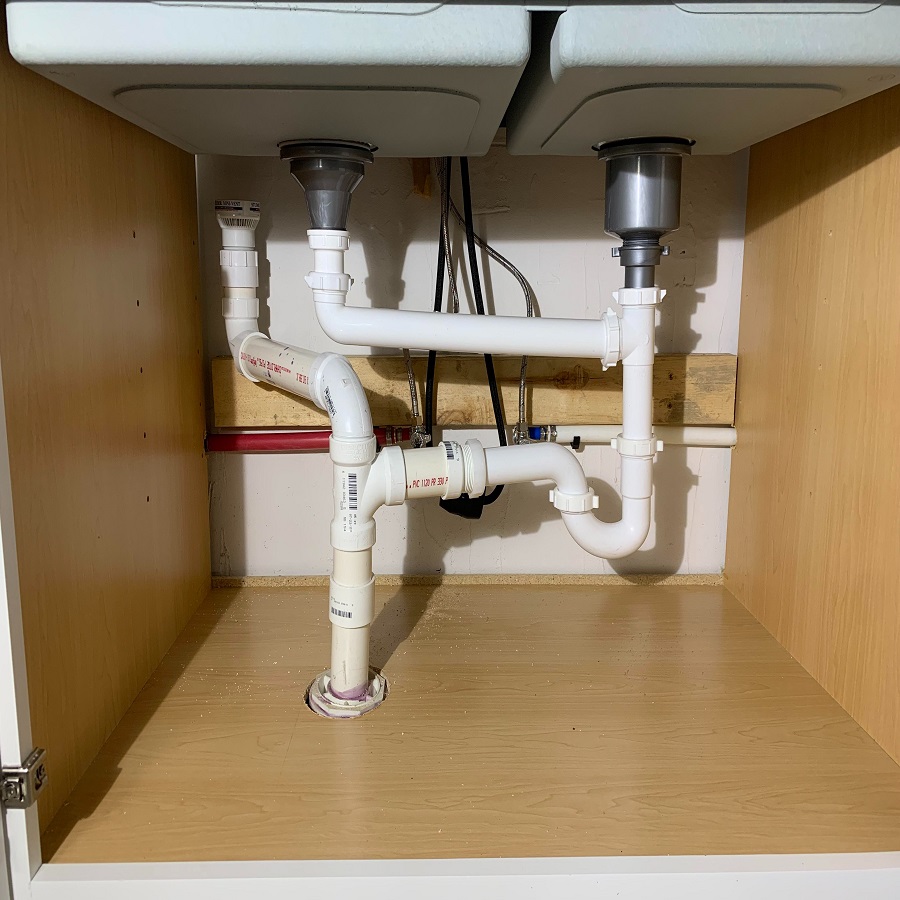
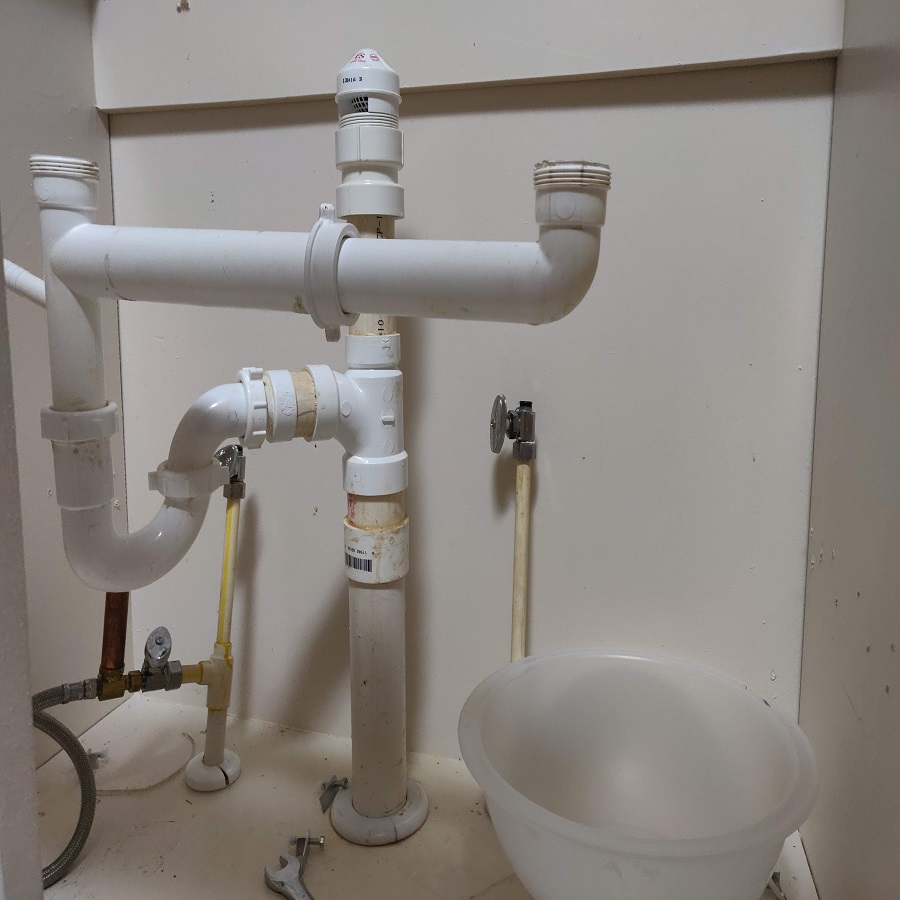
Essential Components of Sink Plumbing
Becoming familiar with the essential components of sink plumbing is a fundamental step. Here are the key parts:
- Pipes: These are the main channels for water to move in and out of your sink.
- Drains: Where water exits the sink and enters the plumbing system. A well-maintained drain prevents clogs.
- P-trap: This curved pipe traps debris and prevents sewer gases from entering your home.
- Faucets: They control the release of water into your sink and can vary in design and function.
- Valves: These are used to shut off the water supply in case of leaks or repairs needed.
- Strainer: Positioned over the drain, it catches larger items that should not go down the drain.
By knowing these components, you can better understand sink plumbing diagrams and tackle issues more confidently.
Common Types of Sink Plumbing Diagrams
Understanding different sink plumbing diagrams is crucial for identifying the specific setup in your home. There are a few common types to familiarize yourself with:
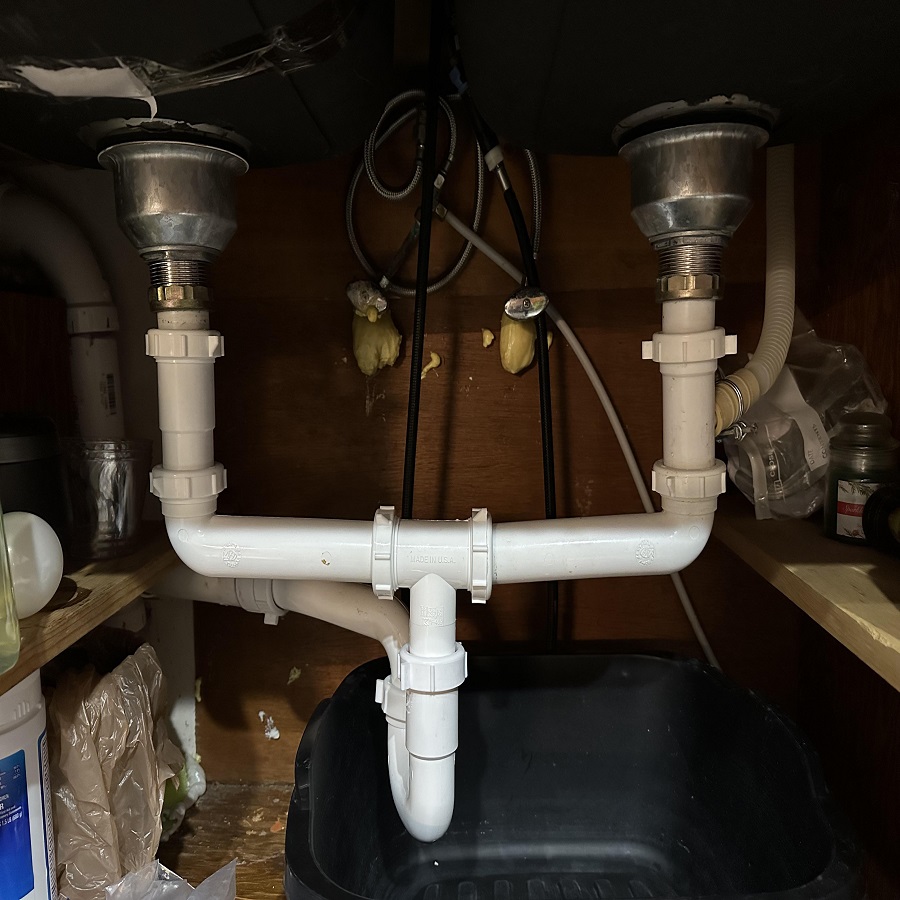
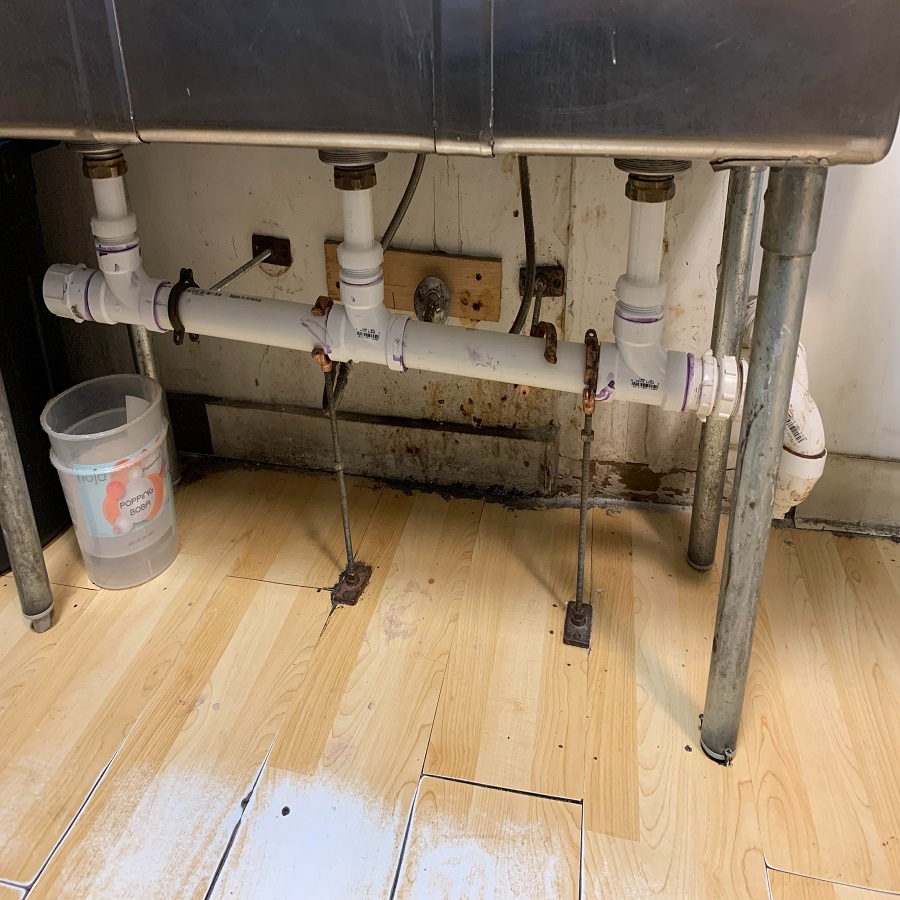
- Single Basin Diagrams: These display the plumbing of sinks with one basin. They show a straightforward path from faucet to drain.
- Double Basin Diagrams: For sinks with two basins, these diagrams illustrate how both connect to the plumbing system. They often include additional fittings for the second basin.
- Pedestal Sink Diagrams: Unlike cabinet sinks, pedestal sinks have exposed plumbing. Their diagrams focus on the simplicity of the visible piping.
- Kitchen Sink Diagrams: These are more complex due to garbage disposals and sometimes include extra lines for water filters or dishwashers.
- Bathroom Sink Diagrams: Typically less complex than kitchen diagrams, they show simpler paths for the drain and water lines.
Each diagram serves as a visual guide to help users understand their specific sink plumbing layout. It’s important to identify which diagram matches your home’s setup to make accurate assessments and repairs.
Step-by-Step Guide to Reading Plumbing Diagrams
Navigating sink plumbing diagrams might seem daunting at first, but with these structured steps, you’ll be adept in no time. Grab your diagram and let’s begin:
- Identify the Main Components: Start by locating the pipes, drains, P-trap, faucets, valves, and strainer on the diagram. Each part should be clearly marked.
- Follow the Water Flow: Trace the path the water takes from the faucet, through the sink, and down the drain. This will give you a better understanding of how the components interact.
- Examine the P-trap: This essential part should be located right below the drain. It’s important to understand its shape since it traps debris and prevents gases from rising.
- Locate the Valves: Find the valves which can shut off the water supply. They are crucial for controlling water flow when doing repairs.
- Check for Additional Fixtures: In kitchen sink plumbing diagrams, look for garbage disposal units or connections to water filters or dishwashers.
- Note the Vents: Vents are often included in diagrams to prevent a vacuum in the pipes which can disrupt water flow.
- Understand the Drain System: See how the sink connects to the broader plumbing system of your home. This might include linkages to the main sewer line.
Remember to take it slow and review each section thoroughly. A clear understanding of your sink plumbing diagram simplifies both troubleshooting and maintenance tasks. By following these steps, you equip yourself to handle many common plumbing issues confidently.
Troubleshooting with Sink Plumbing Diagrams
Troubleshooting issues in your sink’s plumbing can be systematic when using a sink plumbing diagram. These diagrams demystify the maze of pipes and help you pinpoint problems. Here’s how to troubleshoot with the aid of a diagram:
- Spot the Problem Area: Check signs like leaks, slow drains, or no water flow. Locate the corresponding parts on the diagram.
- Compare Diagram to Reality: Ensure your sink’s actual plumbing matches the diagram. Discrepancies can clue you into modifications or issues.
- Identify Potential Clogs: Using the diagram, find areas where clogs commonly occur, like the P-trap or the strainer. Clearing these can often resolve drain issues.
- Check for Leaks: Trace the water’s pathway to find where leaks might spring forth. Look at connections between pipes and seals around the sink.
- Validate Vent Function: Vents should allow air into the plumbing system. If water flow is poor, a blocked vent might be the cause.
- Determine the Need for Parts Replacement: Sometimes parts wear out. Diagrams will show you the specific parts you might need to fix or replace.
Using a sink plumbing diagram, you can approach the puzzle of sink repair with more confidence. It simplifies diagnosing and fixing common problems, guiding even the less experienced through successful troubleshooting. Keep your diagram handy for any urgent plumbing issues that may arise.
Maintaining Your Sink’s Plumbing System
Maintaining your sink’s plumbing system is key for its long-term function. Regular upkeep prevents serious issues from developing. Here are effective maintenance tips:
- Check for Leaks Regularly: Inspect pipes and faucets often for any signs of leaking. Fix leaks early to avoid water damage.
- Clean the P-trap: Remove and clean the P-trap periodically to avoid clogs. This simple task keeps the drainage smooth.
- Tighten Connections: Over time, fittings may loosen. Tighten them to prevent leaks and maintain a good seal.
- Replace Worn Parts: Faucets and valves have parts that wear out. Replace them when needed to keep the system working well.
- Clear the Strainer: Remove debris from the strainer frequently. A clear strainer will prevent blockages down the line.
- Use Gentle Cleaners: Harsh chemicals can damage pipes. Opt for gentle cleaning solutions to protect your plumbing.
- Avoid Clogs: Be mindful of what goes down the drain. Avoid disposing of oils, fats, and non-biodegradable items in the sink.
By following these maintenance steps regularly, you can extend your sink’s lifespan. Stay proactive and keep your plumbing in top shape. This way, you can avoid unexpected repairs and costs.
DIY Plumbing vs. Professional Assistance
When it comes to sink plumbing, knowing when to tackle it yourself or call a pro is key.
For simple tasks, DIY can save you money and teach you valuable skills. Replacing a strainer or cleaning a P-trap are jobs that most people can handle. It doesn’t take much to tighten a loose connection or swap out an old faucet washer either. All you need are basic tools, your sink plumbing diagram, and some patience.
But for more complex problems, professional help may be needed. If you spot major leaks or face a stubborn clog, it’s wise to call in a plumber. Jobs like fixing water line damage or installing a new sink are best left to those with experience. They have the tools and know-how to do the work quickly and correctly.
Professionals also come with another big advantage: they guarantee their work. If something goes wrong, they’ll make it right, often at no extra charge. When you DIY, you’re on your own if you make a mistake or if the repair doesn’t hold.
Overall, balance is important. Use your judgment and consider the complexity of the job and your own abilities. Remember, overconfidence could lead to more damage and higher costs. When in doubt, consult your sink plumbing diagram and weigh the risks before diving in.
Conclusion: Empowering Yourself with Plumbing Knowledge
Gaining know-how in sink plumbing is empowering. It helps you solve problems and make smart decisions. You now know the essential parts and how to read a sink plumbing diagram. With common diagram types under your belt, you’re set to spot issues in your own sink. Remember the step-by-step guide when exploring your plumbing system. Troubleshooting becomes less tricky with these visuals in hand. Your consistent maintenance will keep the system running well.
Knowing when to DIY or call a professional is crucial. It saves money and avoids extra damage. Use your sink plumbing diagram as a map for your journeys in plumbing. Start with simple repairs and grow your skills over time. For tough jobs, trust a skilled plumber.
Stay proactive in learning and maintenance. Regular care dodges future issues. Keep your tools ready and your knowledge fresh. Your confidence in plumbing tasks will grow. In turn, your home will be safer and more comfortable.
Thank you for following this guide on sink plumbing diagrams. Use this information to enhance your home’s plumbing health. Armed with these tips, you’re ready for any sink-related challenge.