Pre-Installation Checklist
Before diving into the ‘how to install a bathroom faucet’ process, a proper pre-installation checklist is crucial. This checklist will ensure you have everything needed to complete the job successfully and safely.
Necessary Tools and Materials
To begin, gather all necessary tools and materials. Here’s what you’ll need:
- Adjustable wrenches to loosen and tighten nuts and bolts
- Basin wrench for hard-to-reach areas under the sink
- Plumber’s putty or silicone sealant to secure seals
- Teflon tape to wrap threaded pipe joints
- Plumber’s tape to prevent leaks
- A towel and a bucket to catch any drips
- A flashlight for better visibility
Make sure all these items are on hand before starting the installation.
Shutting Off the Water Supply
Safety first! You must shut off the water supply to avoid any unexpected showers. Follow these steps:
- Locate the shut-off valves under the sink
- Turn the valves clockwise until they stop; this ‘closes’ them
- Open the faucet to release any remaining water and pressure
- Place a bucket underneath to catch drips
With the water safely off, and your tools at the ready, you’re prepared to proceed with removing the old faucet.

Removing the Old Faucet
Removing the old faucet is a critical step in the installation process. Before you can install your new bathroom faucet, you must carefully take out the old one.
Disconnecting the Water Lines
Begin by locating the water supply lines beneath your sink. Use an adjustable wrench to slowly turn the nuts counterclockwise. Support the pipes with your other hand to avoid straining the connections. As the nuts loosen, be ready to catch any water that may spill with your bucket.
Unfastening the Mounting Nuts
Next, it’s time to detach the faucet from the sink. Use a basin wrench to reach the mounting nuts holding the faucet in place. These are typically located under the sink, behind the basin. As you turn the wrench, the nuts should come off easily. If you encounter resistance, don’t force it—apply a penetrating oil and give it a few moments to work. Once the nuts are removed, you can lift the old faucet away from the sink surface with ease. Take care not to damage the sink as you remove the faucet.
Preparing the Sink for Installation
To ensure a smooth new bathroom faucet installation, preparing the sink is key.
Cleaning the Sink Surface
Start by thoroughly cleaning the sink surface. Use a bathroom cleaner and scrub away any grime, soap scum, or old sealant remnants. After scrubbing, rinse the surface well and dry it with a clean cloth. A clean surface will help the new faucet secure better and prevent leaks.
Inspecting for Sink Compatibility
Next, check your sink for compatibility with the new faucet. Ensure the sink has the right number and size of holes to match the faucet layout. Measure the distance between holes if necessary. Look for any damage that might affect the installation, such as cracks or large chips. If you spot issues, resolve them before proceeding with the new faucet assembly.
Assembling the New Faucet
Once your sink is prepped and clean, it’s time to put together your new bathroom faucet. This process will require attention to detail to ensure everything works smoothly once installed.
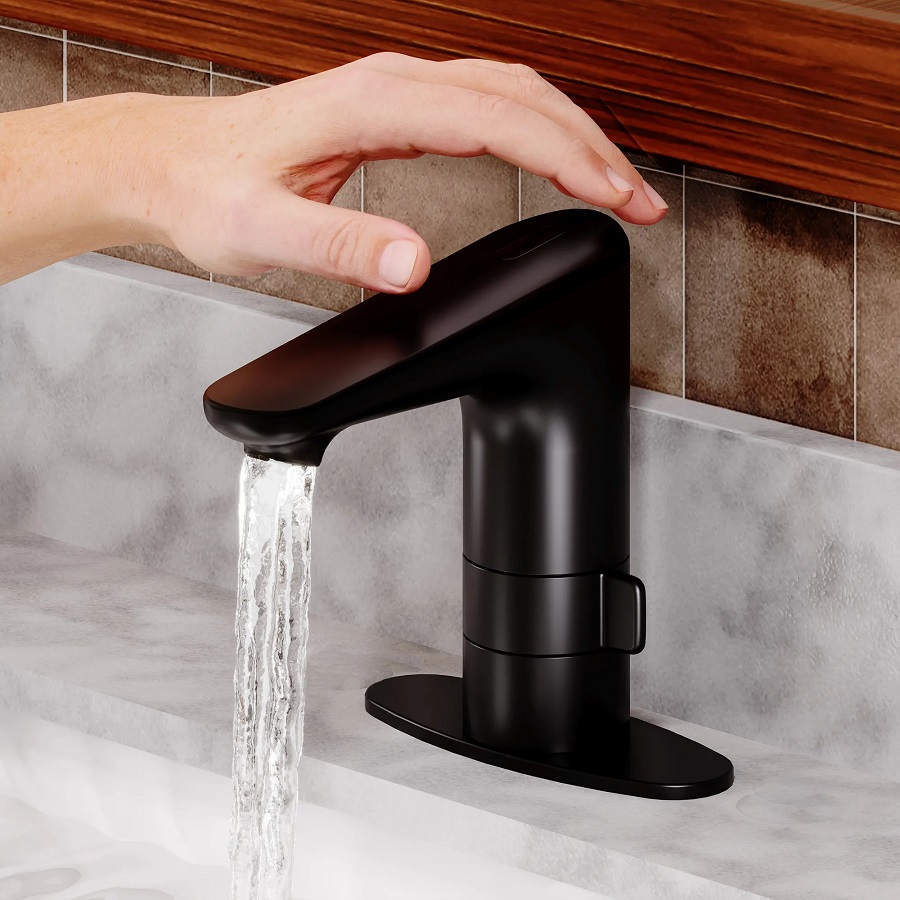
Attaching the Handles and Valves
Start with the handles and valves, as they are central to the operation of the faucet. If your faucet comes with a gasket, place it over the holes in the sink first. Next, insert the valves through the sink holes. From beneath the sink, attach any washers and nuts that came with the faucet to the valves. Use your hand to tighten them first. Then, take an adjustable wrench and secure them further, making sure not to over-tighten.
Tips for attaching handles and valves:
- Ensure the handles are aligned properly.
- Check that valves are secured tightly to avoid future leaks.
- Be gentle to prevent any damage to the sink surface.
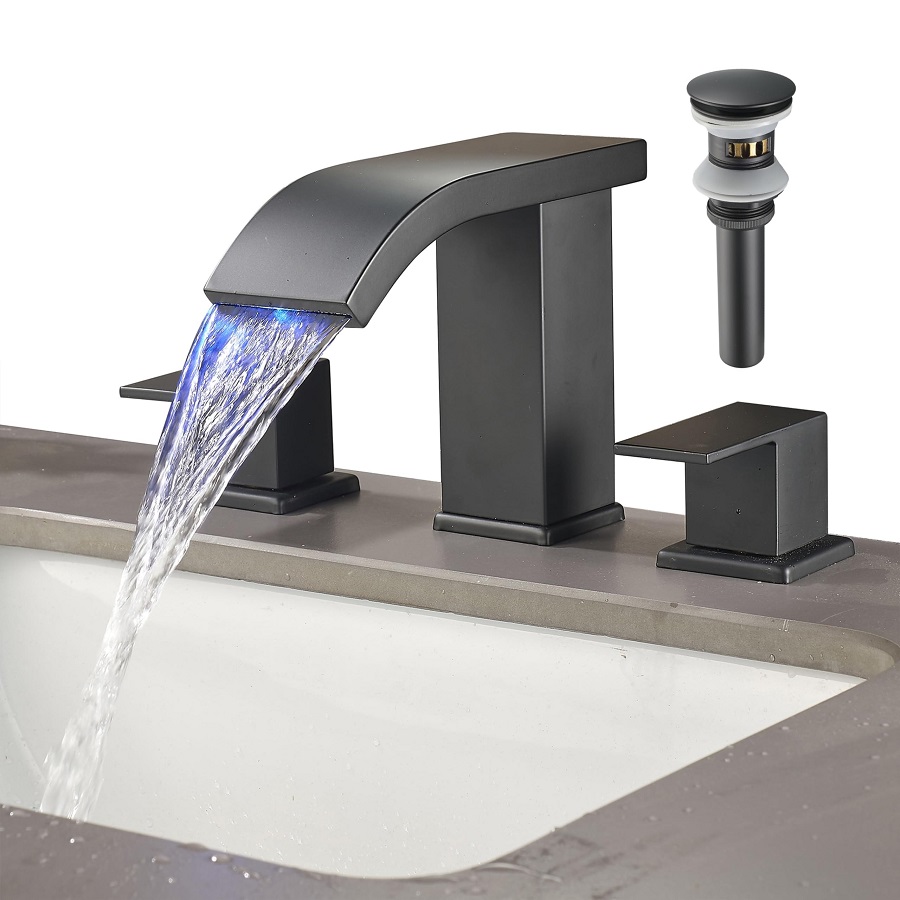
Installing the Drain Assembly
Move on to the drain assembly, which will ensure that water flows out of your sink properly. Place the drain into the hole in the bottom of the sink. If a rubber gasket or plumber’s putty is required, apply it as instructed to prevent leaks. Under the sink, fasten the nut to the bottom of the drain. Connect the horizontal pivot rod to the vertical strap. This allows your stopper to move up and down. Before you proceed, ensure that all parts are snug and secure.
Steps for installing the drain assembly:
- Set the drain stopper into the corresponding sink hole.
- Use sealant as instructed for a waterproof seal.
- Attach the pivot rod and strap to control the stopper.
With the handles, valves, and drain assembly in place, you’re well on your way to completing your bathroom faucet installation. Up next, you’ll secure the faucet to the sink and connect the water supply lines.
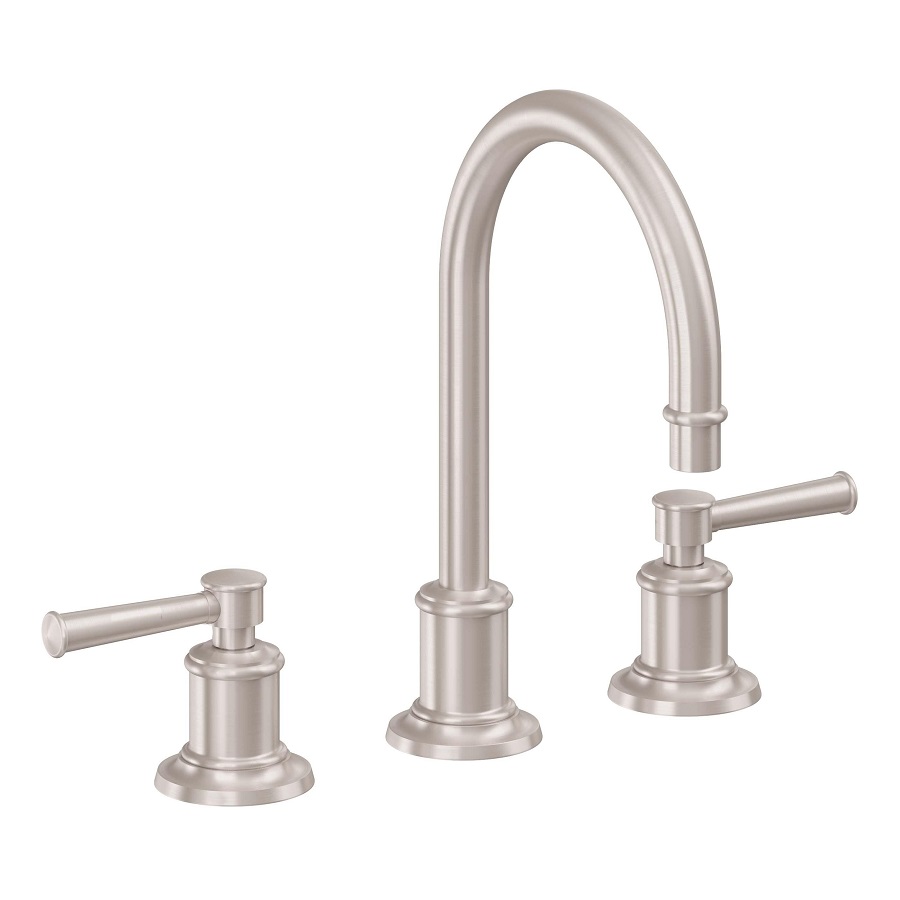
Mounting the Faucet on the Sink
With the handles, valves, and drain assembly in place, it’s time to mount your new bathroom faucet onto the sink.
Securing the Faucet to the Sink
Gently lower the faucet into the designated holes on the sink. Ensure it sits flat and even. You may need a helper to hold the faucet from above as you work underneath the sink. From below, place any provided washers over the faucet’s tails. Then, thread on the mounting nuts by hand and tighten them. Use your basin wrench for a snug fit but be careful not to over-tighten and risk cracking the sink. Keep an eye on the faucet’s alignment as you work to make sure it stays straight.
Connecting the Faucet to Water Supply Lines
Now, take the faucet’s water supply lines and connect them to the shut-off valves under the sink. Remember to wrap Teflon tape around the threads before connecting the lines for a watertight seal. Hand-tighten the connections first, then use an adjustable wrench to secure them just a little more. Again, avoid over-tightening as this could damage the pipes or the supply lines.
By following these steps, you have successfully mounted your new bathroom faucet and connected it to the water supply. This ensures your faucet is firmly in place and ready for the final touches. With careful attention paid during this stage, you’ll avoid many common installation issues and be closer to a fully functional bathroom upgrade.
Finishing Touches
Once you’ve successfully mounted the new bathroom faucet and connected the water supply lines, it’s time for the finishing touches.
Checking for Leaks
Turn the water supply back on by twisting the shut-off valves counterclockwise. Watch for leaks as the water flows. Check around the faucet, under the sink, and at the supply line connections. If you notice any drips, tighten the connections slightly. Do this carefully to not damage any components. Leaks can sometimes be stopped with just a small adjustment.
Applying Sealant if Necessary
Inspect the base of the faucet. If you see gaps or spaces between the faucet and sink surface, sealant might be needed. Use plumber’s putty or silicone sealant as instructed in your faucet’s manual. Apply the sealant smoothly for a watertight bond. Clean up any excess to leave a neat finish. Allow the sealant to dry completely before using the sink to ensure a good seal.
With these crucial final steps, your new bathroom faucet should be leak-free and firmly in place. You’re now ready to enjoy the upgrade to your bathroom’s functionality and style.
Maintenance Tips for Your New Faucet
Now that your new bathroom faucet is in place, keeping it in top condition is important. Regular maintenance ensures a long lifespan and prevents future leaks or damage.
Regular Cleaning Recommendations
Keep your faucet looking and functioning well with these simple cleaning tips:
- Use a mild soap and water for daily cleaning. This removes dirt and prevents buildup.
- Avoid harsh chemicals that can damage the faucet’s finish.
- Wipe down the faucet with a soft cloth after use. This keeps it dry and reduces water spots.
- Clean aerators by unscrewing them and removing any debris.
A clean faucet not only works better but also adds sparkle to your bathroom.
When to Replace Seals and Washers
Over time, seals and washers can wear out, leading to drips. Here’s when to replace them:
- Check for leaks regularly, especially around the handle and base.
- Listen for dripping sounds when the faucet is off.
- If you notice drops or a weak water flow, check the seals and washers.
- Replace these parts every 1 to 2 years to prevent leaks.
Following these guidelines will help keep your bathroom faucet in perfect working order. Remember, a little care goes a long way!