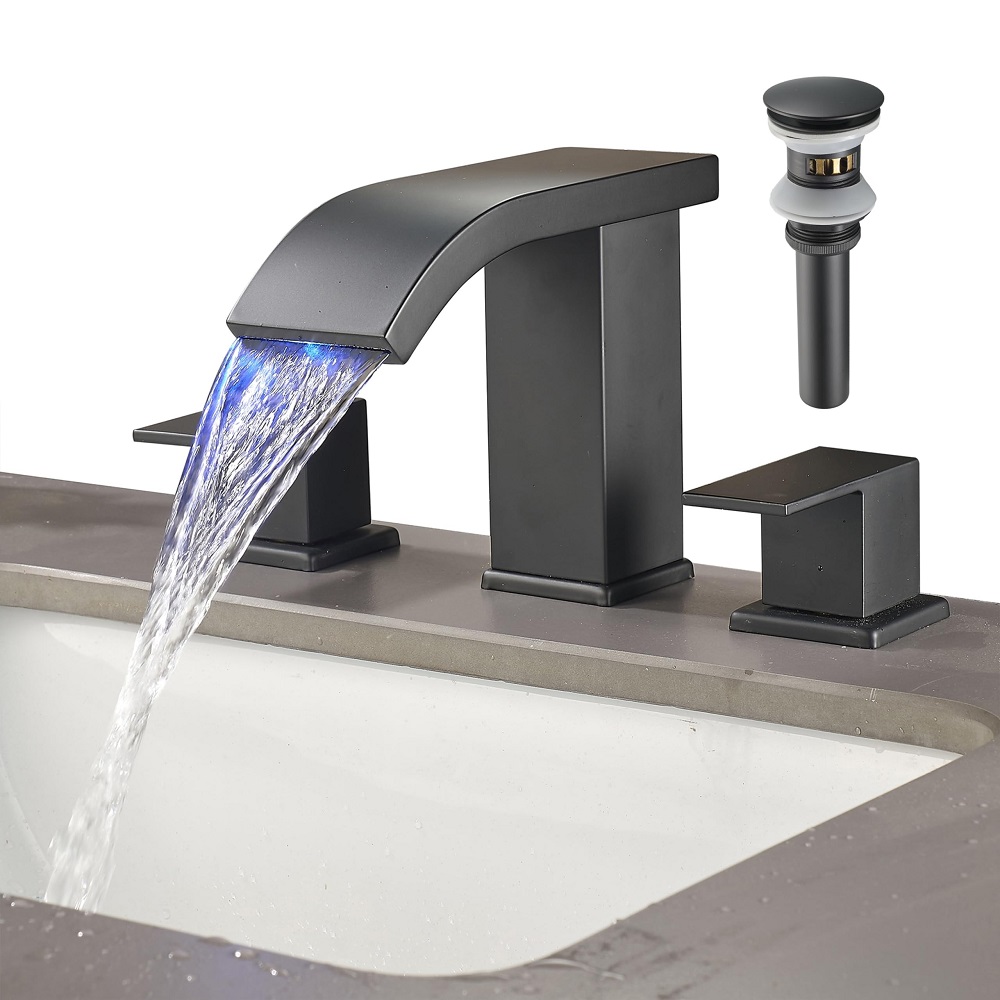
Identifying the Type of Bathroom Faucet
Before diving into bathroom faucet repair, recognizing the type you’re dealing with is crucial. Bathroom faucets mainly come in four varieties that you may encounter. These are compression, ball, cartridge, and disc faucets. Each type has distinctive features and a unique mechanism.
- Compression faucets are easy to spot, with separate handles for hot and cold water that require tight squeezing to cut the water flow.
- Ball faucets have a single handle that moves over a rounded ball-shaped cap right above the spout; they’re quite common in modern homes.
- Cartridge faucets can have either one or two handles, and they operate with a moveable stem cartridge that controls the water flow.
- Disc faucets are the newest type, marked by a single lever over a wide cylindrical body. They use two ceramic discs at the bottom to control water flow.
Understanding your faucet’s type is extremely important. It shapes the way you will approach the faucet repair. Use your faucet’s design and handle operation to pinpoint exactly which type you’re examining. Keep in mind, a brand-specific manual can also help if you’re unsure.
Necessary Tools and Materials for Faucet Repair
Before starting your bathroom faucet repair, gather all the necessary tools and materials. Doing so ensures a smooth repair process. Here’s what you’ll need:
- Adjustable wrench: To loosen and tighten nuts and fittings.
- Phillips and flat-head screwdrivers: For screw handling on various faucet types.
- Penetrating oil: In case screws or nuts are corroded and hard to turn.
- Replacement parts: Such as O-rings, washers, or a new cartridge specific to your faucet model.
- Plumber’s tape: This helps seal threaded joints and prevent leaks.
- Plumber’s putty or silicone: To create waterproof seals.
- A cloth or towel: To protect the finish and catch any drips.
- A bucket or bowl: In case of water spillage during repair.
Collect these tools and materials before you begin. Make sure you have the correct replacement parts by checking your faucet’s model or consulting a hardware store expert. Being prepared can save you time and avoid frustration during the repair.
Step-by-Step Guide to Fixing a Leaky Faucet
Now that you are equipped with the necessary tools and have identified your faucet’s type, let’s walk through the process of fixing a leaky faucet. The steps below will guide you to a successful bathroom faucet repair.
- Shut off the water supply: Locate the valves under the sink and turn them clockwise to stop the water flow to your faucet.
- Remove the handle: Use the flat-head screwdriver to carefully pry off the decorative cap. Next, use the Phillips screwdriver to unscrew the handle from the mounting stem.
- Disassemble the faucet: Depending on the type of faucet, you may need to use an adjustable wrench to loosen and remove components like the retaining nut or mounting stem.
- Inspect the parts: Check the O-rings, washers, and seals for damage. Look for corrosion or mineral deposits that could be causing the leak.
- Replace damaged parts: If you find worn-out parts, replace them with the new ones you have. Use plumber’s tape to wrap threaded parts before reassembling.
- Reassemble the faucet: Once all damaged parts are replaced, put everything back in reverse order. Ensure everything is tight and secure.
- Test your work: Turn the water supply valves back on and check for leaks. Operate the handle to monitor the water flow.
By following these steps thoroughly, you can effectively address and remedy a common household problem, restoring your bathroom faucet to its optimal function. Each type of faucet may have specific nuances, so adjust the instructions for your particular model. If you encounter challenges during the repair, consulting the faucet’s manual or professional advice might be necessary. Remember, taking your time and being meticulous will pay off with a leak-free bathroom faucet.
Common Issues and How to Troubleshoot Them
During bathroom faucet repair, you may run into a few common issues. It’s important to know how to troubleshoot these effectively. Here are some of the problems you might encounter and ways to solve them:
- Leaky faucet base or spout: This often indicates worn O-rings. The solution is to replace the O-rings with new ones.
- Handle leaks: If water drips from the handle, check the tightness of the packing nut or consider replacing the washers.
- Inconsistent water flow: This can be due to clogged aerators. Unscrew the aerator, clean out any debris, and screw it back on.
- Noisy faucet: A squeaky handle may need lubrication. Sometimes, noisy pipes require professional assessment.
- Hard to turn handle: Mineral deposits can cause this. Try cleaning the parts with vinegar or a commercial cleaner.
For each of these issues, ensure that you have shut off the water supply before starting any repairs. Use penetrating oil to loosen tough fixtures. When in doubt, consult your faucet’s manual or seek professional guidance. Regular inspection and cleaning can prevent many of these issues, leading to a longer-lasting bathroom faucet. Remember, accurate diagnosis is key to effective repair.
When to Replace Parts Vs. the Entire Faucet
Determining whether to replace parts or the entire bathroom faucet can be tricky. Here are some signs to help you decide:
- Age of the faucet: If it’s over a decade old, consider a new one.
- Extent of damage: Replace the faucet if repairs are frequent and costly.
- Outdated style: An outdated faucet might not suit your bathroom’s aesthetic.
- Decreased performance: A new faucet could improve water efficiency.
Start with checking how often you’ve been engaging in bathroom faucet repair. Is it becoming a monthly routine? If so, the faucet’s integrity may be compromised. Replacement parts may no longer be the economical choice.
Consider the cost-effectiveness of continuous repairs versus investing in a new, more efficient faucet. Sometimes, replacing just a part, like a worn-out O-ring or washer, can fix the issue. But when multiple parts show wear and tear, it’s often cheaper to replace the entire faucet.
Aesthetic concerns can also influence your decision. A new bathroom faucet can dramatically lift the room’s style. When the design feels dated or does not match after a renovation, opt for a new faucet to complete the look.
Lastly, evaluate improvements in water efficiency. Newer faucets often have better flow rates and conservation technologies. Upgrading might result in significant savings on your water bill. When weighing these factors, remember bathroom faucet repair should enhance functionality, not compromise it.
Tips for Maintaining Your Bathroom Faucet
To keep your bathroom faucet in top shape, follow these maintenance tips. Regular care prevents problems later on. Here’s what to do:
- Check for leaks: Do this often to catch issues before they grow.
- Clean regularly: Wipe your faucet with a mild cleaner to avoid buildup.
- Inspect O-rings and washers: Look at these parts during cleaning for wear.
- Aerate the aerator: Unscrew and rinse out debris from the aerator monthly.
- Lubricate moving parts: Use silicone-based lubricants on any movable faucet parts.
- Tighten fittings: Every few months, check and snug up any loose screws or nuts.
- Use gentle tools: Avoid harsh abrasives that can damage your faucet’s finish.
By following these simple steps, you extend your faucet’s life and ensure smooth operation. Timely attention saves you from hassle and high water bills. So keep an eye out and tackle any minor repairs instantly.
Professional Vs. DIY Faucet Repair: When to Call an Expert
Deciding between DIY and professional bathroom faucet repair is important. Here are key points to help you make that choice:
- Assess the problem: Simple leaks often need basic fixes you can do yourself. For more complex issues, like internal valve damage, you might need an expert.
- Check your skills: If you are handy and have repaired faucets before, you may manage the job. If not, it’s safer to call a professional.
- Consider tool availability: You need specific tools for bathroom faucet repair. If you lack these, a professional will have the right equipment.
- Time is money: Think about how much time the repair will take. If it’s too long, hiring an expert could save you time and money.
- Warranty concerns: Some faucet warranties require professional repairs. Doing it yourself might void your warranty.
- Safety first: Mistakes can cause water damage or injuries. Pros know how to fix issues safely and correctly.
When in doubt, consulting with a professional can give you peace of mind. They can advise whether it’s a quick fix or a job for an expert. Plus, they guarantee their work, which adds another layer of reassurance. Remember, professional bathroom faucet repair ensures a lasting fix and might prevent future issues.
Saving Water and Money with Efficient Faucet Use
Efficient use of your bathroom faucet can lead to water and money savings. You can take simple yet effective steps to make your faucet more water-efficient.
- Repair leaks promptly: A dripping faucet wastes water. Fix leaks as soon as you notice them.
- Install aerators: Aerators mix air with water. They reduce flow and conserve water.
- Upgrade to efficient models: Newer faucets have lower flow rates. Consider replacing old faucets with WaterSense-labeled ones for better efficiency.
- Turn off the tap: Don’t let the water run while brushing teeth or shaving. Turning off the tap can save gallons of water daily.
- Use warm water wisely: Avoid using hot water when not needed. Heating water uses energy, which costs money.
By following these tips, you not only fix immediate issues but also contribute to long-term savings. Make these small changes to promote efficient faucet use and enjoy the benefits on your water bill.