When remodeling your kitchen or replacing an old sink, it’s essential to ensure that the new sink fits perfectly into the existing countertop space. Incorrect measurements can lead to costly mistakes, such as purchasing the wrong size sink or needing to modify your countertop. Whether you’re installing a new sink yourself or working with a professional, accurately measuring your kitchen sink is critical. This step-by-step guide will walk you through the process of measuring kitchen sinks for the perfect fit, ensuring you can confidently make decisions for your kitchen renovation or upgrade.
Understanding Kitchen Sink Types and Their Measurements
Different Types of Kitchen Sinks
Before diving into the measurements, it’s important to understand that kitchen sinks come in various styles, and each type has its own set of measurement requirements. Common sink styles include:
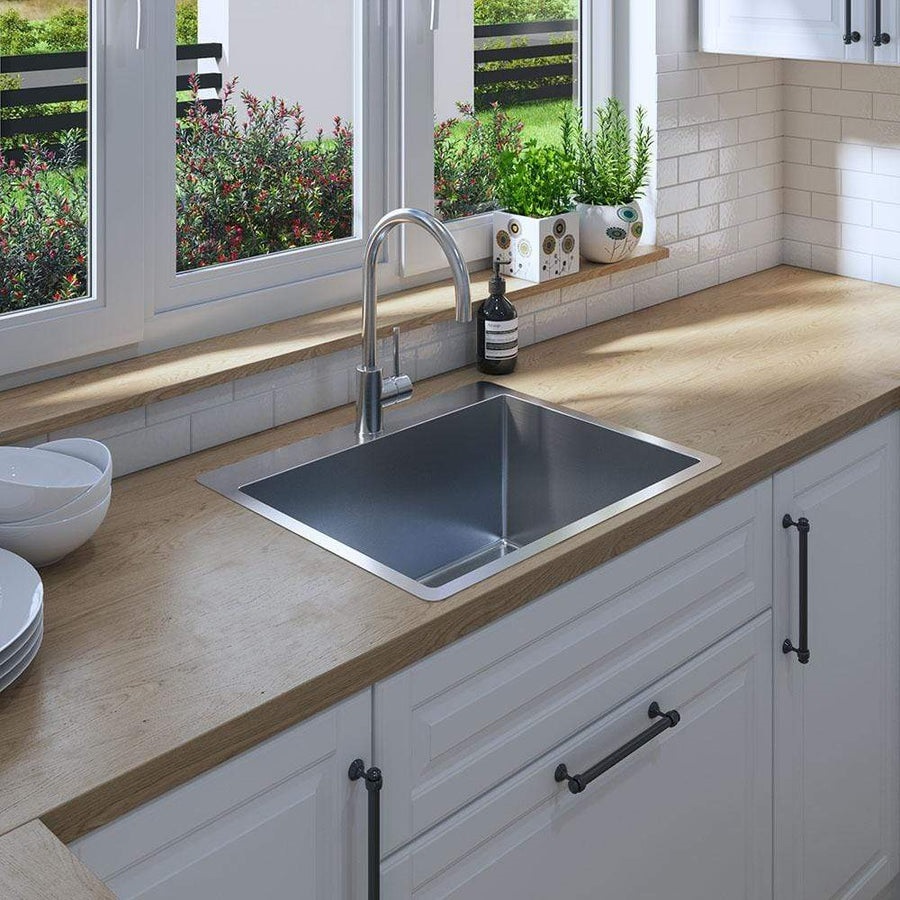
- Top-Mount (Drop-In) Sinks: These are the most common and are installed by dropping them into a hole in the countertop, with the edges resting on top.
- Undermount Sinks: These sinks are mounted underneath the countertop, creating a seamless transition between the sink and the countertop.
- Farmhouse (Apron-Front) Sinks: Characterized by their exposed front, these sinks are usually deeper than standard sinks and may require additional considerations for the cabinetry around them.
- Integrated Sinks: These sinks are built directly into the countertop material, offering a clean, modern look.
Each style may have different installation and measurement requirements, so knowing which type of sink you’re considering will help guide the rest of your process.
Standard Kitchen Sink Sizes
Kitchen sinks vary in size, but there are typical standard sizes to keep in mind. For example:
- Single Bowl Sinks: Generally range from 15 to 24 inches in width.
- Double Bowl Sinks: Common widths are 33 to 36 inches, with two equal or slightly varying bowls.
- Triple Bowl Sinks: Typically range between 42 and 48 inches, accommodating three separate sections.
Understanding these common sizes will help you decide what will fit your space.
Step-by-Step Guide to Measuring Your Kitchen Sink
Step 1: Measure the Sink’s Overall Size
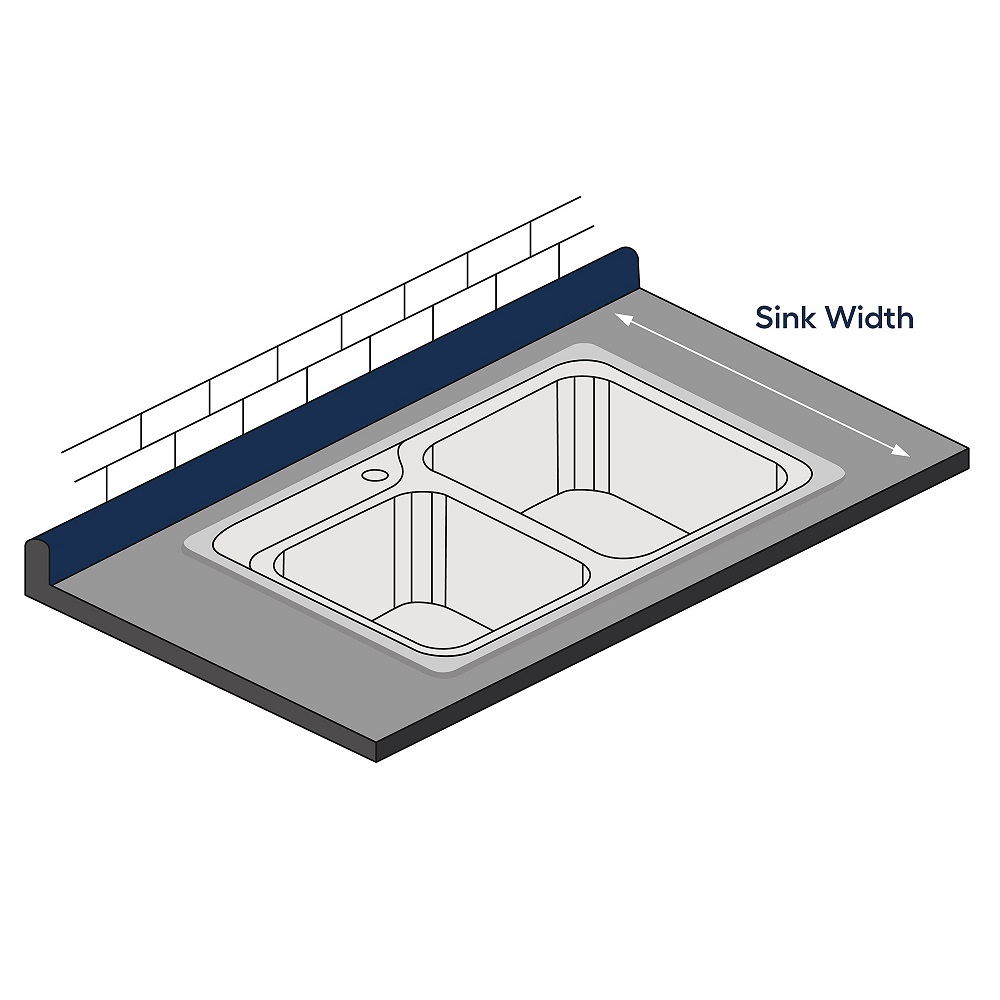
The first and most basic measurement is the overall size of the sink. This involves measuring the sink’s width, depth, and length. To begin, you’ll need to measure the sink’s width, which is the distance from one side to the other. Next, measure the length of the sink, from the front of the sink to the back. Finally, measure the depth of the sink, which is the distance from the top edge of the sink to the bottom.
Be sure to measure along the edges of the sink to avoid inconsistencies in the shape. For example, if the sink has rounded corners, measure along the longest edges to get the most accurate dimensions. Write down all measurements to help you choose a compatible model for your space.
Step 2: Measure the Existing Countertop Opening
Once you know the dimensions of the sink, you’ll need to measure the countertop opening. This is the space where the sink will sit and must be slightly larger than the dimensions of the sink itself.
Start by measuring the length and width of the countertop opening. These measurements will give you the total space available for the sink. If you’re replacing an old sink, measure the existing cutout where the sink was installed. Be sure to measure from edge to edge, both horizontally and vertically. If the cutout is irregularly shaped, take several measurements to ensure the sink will fit.
Important Tip: Leave Extra Room for Sink Clearance
It’s crucial to leave extra room for clearance when fitting the sink into the countertop opening. If the sink is too tight, it could cause issues during installation, making it difficult to secure the sink or prevent it from fitting correctly.
Step 3: Measure the Sink’s Depth and Height
The depth of the sink (the distance from the top of the rim to the bottom of the bowl) is an important measurement to consider for functionality and fitting purposes. Measure the depth of the sink at the highest point, which is typically at the back of the sink.
Considerations for Depth
- Shallow Sinks: These are generally more appropriate for smaller kitchens or as secondary sinks.
- Deep Sinks: Deeper sinks are preferred for washing large pots, pans, and dishes but may require additional cabinet space to accommodate their size.
It’s also essential to measure the height of the sink, particularly for under-mount or farmhouse sinks, where the front of the sink may protrude beyond the countertop. This is a critical consideration, especially for proper cabinet alignment.
Step 4: Measure the Cabinet Space and Clearances
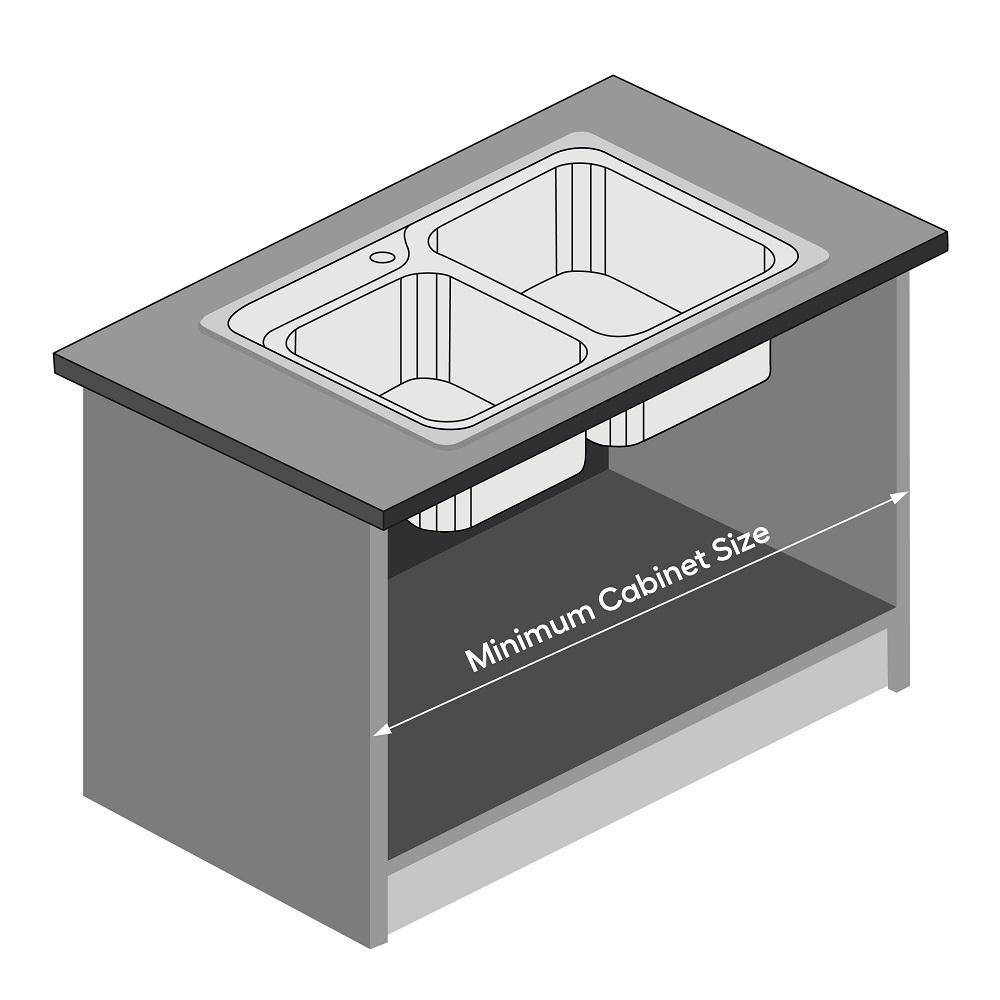
When installing a kitchen sink, it’s essential to ensure the cabinet space beneath the sink is large enough to accommodate the plumbing, the sink’s depth, and any additional features. Begin by measuring the cabinet’s width—this is the space where your sink will rest. Ensure there is enough room for the sink to fit comfortably inside the cabinet.
You’ll also need to measure the cabinet’s height and depth, taking into account the plumbing installation (such as drain pipes and faucet placements). If you’re installing a deeper sink, consider whether the cabinet’s interior can accommodate this depth without obstructing plumbing.
Plumbing Considerations
Remember that the placement of plumbing components (such as water supply lines and drainpipes) will affect your sink’s installation. You may need to adjust these components to ensure everything fits correctly, particularly if you’re installing a deeper or larger sink.
Step 5: Consider the Sink’s Mounting and Installation Requirements
Understanding the sink’s mounting style will help you decide on the necessary adjustments for your measurements. For example, top-mount sinks may require slightly different countertop clearances than undermount sinks.
For top-mount sinks, the rim of the sink sits on the countertop. You will need to ensure that the countertop cutout is slightly smaller than the dimensions of the sink’s outer edge. This ensures the sink sits securely without overlapping.
In contrast, undermount sinks are installed underneath the countertop. For undermount installation, you must account for the exact size of the sink’s lip that will attach to the underside of the countertop. There should be enough room for proper adhesive bonding and to avoid cutting into the sink’s edges.
Step 6: Measure the Faucet Hole Placement
If your sink includes faucet holes (or if you’re planning to install a separate faucet), be sure to measure the correct hole placement. This is especially important for undermount or integrated sinks, where faucet holes may not be pre-drilled.
- Faucet Hole Size: Measure the diameter of the faucet hole to ensure it matches your faucet’s base. Most faucet holes are around 1 ¼ to 1 ½ inches, but it’s crucial to verify this with your faucet specifications.
- Hole Placement: Measure the distance from the sink’s edge to the center of the faucet hole. This will ensure proper alignment and clearance between the faucet and the sink bowl.
Common Mistakes to Avoid When Measuring Your Sink
Not Accounting for Sink Overhang
One of the most common mistakes people make when measuring for a kitchen sink is failing to account for the overhang of the sink. Many sinks have an overhang, particularly in farmhouse or apron-front models. This overhang extends beyond the countertop, meaning you must leave additional space for the sink to fit correctly. Measure the sink’s overhang and add this to your countertop opening measurements.
Ignoring Cabinet and Plumbing Restrictions
While it’s tempting to focus solely on the sink’s dimensions, it’s equally important to consider the cabinet space and plumbing restrictions when measuring. Fitting a sink into a cabinet with obstructive pipes or a tight clearance can lead to installation issues or the need for additional modifications.
Forgetting to Measure the Sink’s Depth
When selecting a sink, many people focus on the width and length but forget to consider the depth of the sink. Depending on your kitchen tasks, the depth will determine how much usable space you have for washing dishes or other kitchen activities. Make sure to measure the depth to ensure it meets your needs.
Conclusion: Achieving the Perfect Kitchen Sink Fit
Measuring for a new kitchen sink is more than just taking a few simple measurements; it’s about understanding the dimensions and installation requirements to ensure everything fits seamlessly. By following this step-by-step guide, you’ll be able to measure your sink, countertop, and cabinet space accurately, ensuring the perfect fit. Whether you’re installing a top-mount, undermount, or farmhouse sink, the key is preparation and careful measurements to avoid costly errors. Take your time to measure all the necessary dimensions, and you’ll have a kitchen sink that fits both functionally and aesthetically in your space.
