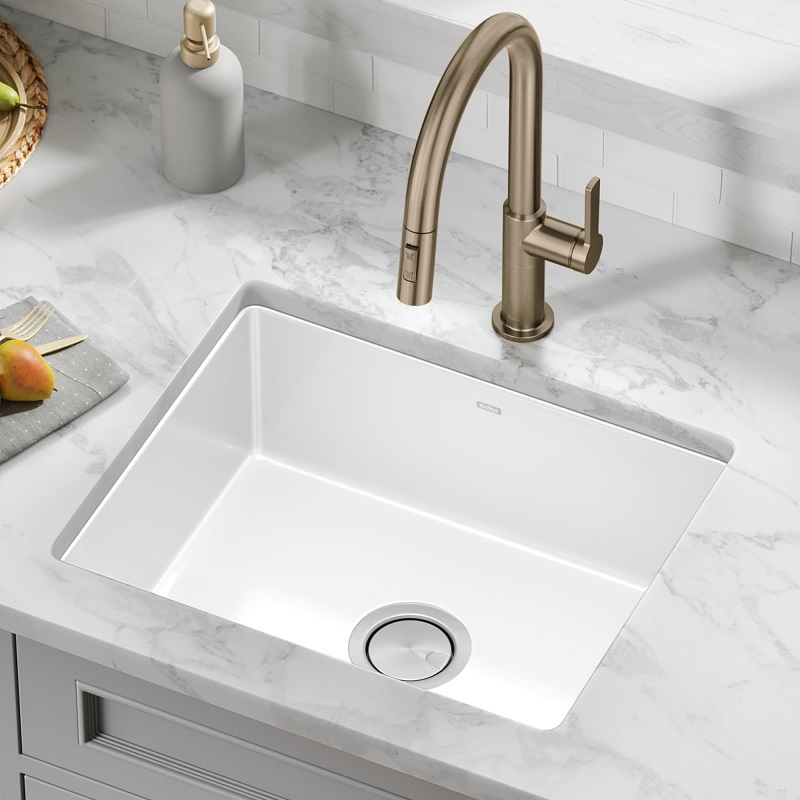
Refinishing porcelain kitchen sinks can be a cost-effective way to revitalize an old or worn-out sink, giving it a fresh, polished look without the need for a full replacement. Over time, porcelain sinks may become chipped, stained, or discolored, diminishing their aesthetic appeal and functionality. This comprehensive guide will walk you through the process of refinishing your porcelain sink, covering essential tips, techniques, and best practices to achieve professional results.
Understanding Porcelain Sink Refinishing
What Is Porcelain Sink Refinishing?
Porcelain sink refinishing is the process of restoring and rejuvenating an old porcelain sink to restore its original appearance and functionality. The process involves cleaning, repairing, and applying a new finish to the sink. This can address issues such as stains, chips, and scratches, making the sink look and feel like new. Refinishing can be a more budget-friendly alternative to replacing the sink entirely, especially if the damage is superficial.
Why Consider Refinishing?
Refinishing is a practical solution for those who want to maintain their existing sink but are dissatisfied with its current condition. It can extend the life of the sink and improve its overall appearance. Porcelain sinks, while durable, can suffer from wear and tear over time, leading to aesthetic and functional issues. Refinishing allows homeowners to address these issues without the significant expense and disruption associated with replacing the sink.

Preparing the Sink for Refinishing
Cleaning the Porcelain Sink Thoroughly
Before starting the refinishing process, it’s crucial to clean the porcelain sink thoroughly. Begin by removing all debris, food particles, and grime from the sink’s surface. Use a mild abrasive cleaner and a non-abrasive sponge to scrub the sink. Avoid using harsh chemicals or abrasive pads that could damage the porcelain. Once the sink is clean, rinse it thoroughly with water and dry it with a soft cloth to ensure that no residue remains.
Inspecting and Repairing Damage
After cleaning, inspect the sink for any damage such as chips, cracks, or deep scratches. Small chips and cracks can be repaired using porcelain repair kits, which are available at most hardware stores. Follow the manufacturer’s instructions for applying the repair compound. For larger or more severe damage, it may be necessary to consult a professional to ensure that the repairs are done correctly and the sink is adequately prepared for refinishing.
Choosing the Right Refinishing Products
Types of Refinishing Products Available
There are various refinishing products available for porcelain sinks, including DIY kits and professional-grade materials. DIY kits typically include a bonding agent, topcoat, and applicator tools. These products are designed for ease of use and are suitable for most home projects. Professional-grade products, on the other hand, offer a more durable finish and may be preferred for high-traffic areas or commercial settings.
Selecting the Best Product for Your Needs
When selecting a refinishing product, consider factors such as the type of finish you desire, the level of durability required, and the ease of application. Some products offer a glossy finish, while others provide a matte or satin look. It’s essential to choose a product that matches your preferences and the existing décor of your kitchen. Reading reviews and consulting with professionals can help you make an informed decision and ensure that you achieve the desired results.

Applying the Refinishing Coating
Preparing the Surface for Application
Once you have selected your refinishing product, it’s time to prepare the surface for application. Mask off the area around the sink with painter’s tape to protect adjacent surfaces from drips and overspray. Ensure that the sink is completely dry before starting the application process, as moisture can affect the adhesion of the refinishing coating. If necessary, lightly sand the sink’s surface to create a rough texture that helps the new coating adhere better.
Applying the Refinishing Coating
Follow the manufacturer’s instructions for applying the refinishing coating. Most products require a two-part application process: a primer or bonding agent followed by the topcoat. Use a high-quality brush or roller to apply an even layer of the primer, ensuring that all areas are covered. Allow the primer to dry according to the product’s recommendations before applying the topcoat. Apply the topcoat in thin, even layers, and avoid overworking the surface to prevent streaks or runs.
Curing and Drying Time
Allowing the Finish to Cure
After applying the refinishing coating, it’s crucial to allow adequate time for the finish to cure properly. Curing times can vary depending on the product used and the environmental conditions. Typically, the finish will need to cure for at least 24 to 48 hours before the sink can be used. During this time, avoid using the sink or exposing it to water, as this can affect the finish’s durability and appearance.
Tips for Accelerating the Drying Process
To help speed up the drying process, ensure that the area is well-ventilated and maintain a consistent temperature. If possible, use a fan to improve air circulation and reduce humidity. Avoid placing any objects on the sink’s surface until the finish is fully cured to prevent indentations or damage. Following these tips can help you achieve a smooth, professional-looking finish and ensure that the sink is ready for use as soon as possible.
Maintaining Your Newly Refinished Sink
Cleaning and Maintenance Tips
Once the refinishing process is complete and the sink is fully cured, it’s essential to adopt proper cleaning and maintenance practices to preserve the new finish. Use mild, non-abrasive cleaners to avoid scratching or damaging the surface. Avoid harsh chemicals and abrasive scrubbers, as these can degrade the finish over time. Regularly wipe down the sink with a soft cloth and dry it thoroughly to prevent water spots and stains.
Handling and Preventing Damage
To keep your refinished sink looking its best, handle it with care and avoid placing heavy or sharp objects on its surface. Use sink mats or protectors to minimize the risk of scratches and chips. Address any spills or stains promptly to prevent them from setting into the finish. By following these maintenance practices, you can ensure that your refinished porcelain sink remains in excellent condition for years to come.

Troubleshooting Common Issues
Uneven Coating Application
If you notice uneven spots or streaks in your refinishing coating, it may be due to inconsistent application or overworking the product. To resolve this, gently sand the affected areas once they are completely dry and reapply a thin, even layer of topcoat. Ensure that you follow the manufacturer’s instructions for application techniques and use high-quality brushes or rollers to achieve a uniform finish.
Drips and Runs in the Finish
Drips and runs can occur if the refinishing coating is applied too thickly or if the sink was not level during application. To fix this, allow the finish to fully cure and then lightly sand the drips or runs to smooth out the surface. After sanding, apply a touch-up layer of topcoat to blend the area with the rest of the sink. Always use thin, even layers to minimize the risk of drips and runs.
Addressing Professional Help
When to Seek Professional Assistance
If you encounter significant damage, such as extensive cracks or deep scratches, or if you are unsure about the refinishing process, it may be beneficial to seek professional assistance. Professionals have the expertise and tools necessary to handle complex repairs and ensure a high-quality finish. Additionally, if you are not confident in your ability to apply the refinishing coating evenly, a professional can help achieve a flawless result.
Choosing the Right Professional
When selecting a professional for refinishing your porcelain sink, look for reputable contractors with experience in sink refinishing. Check reviews and ask for references to ensure that the professional has a track record of delivering quality results. Discuss your expectations and the refinishing process in detail to ensure that you are comfortable with their approach and confident in their ability to meet your needs.
Conclusion
Summary of Key Points
Refinishing a porcelain kitchen sink is a practical and cost-effective way to restore its appearance and functionality. By thoroughly cleaning and repairing the sink, choosing the right refinishing products, and applying the coating correctly, you can achieve professional results and extend the life of your sink. Proper curing and maintenance are essential to preserving the new finish and ensuring long-term satisfaction.
Final Thoughts
Whether you’re looking to revitalize an old sink or simply want to refresh your kitchen’s appearance, refinishing your porcelain sink can be a rewarding DIY project. With careful preparation, attention to detail, and adherence to best practices, you can achieve a beautiful and durable finish that enhances both the look and functionality of your sink.


