When dealing with plumbing issues, few tasks are more common yet satisfying than replacing a sink cartridge. Understanding how to effectively replace a sink cartridge can prevent minor leaks from turning into major repairs. With the right tools, materials, and guidance, you can embark on this DIY journey with ease. This comprehensive step-by-step guide provides all the necessary insights to help you replace a sink cartridge like a pro.
Understanding the Sink Cartridge
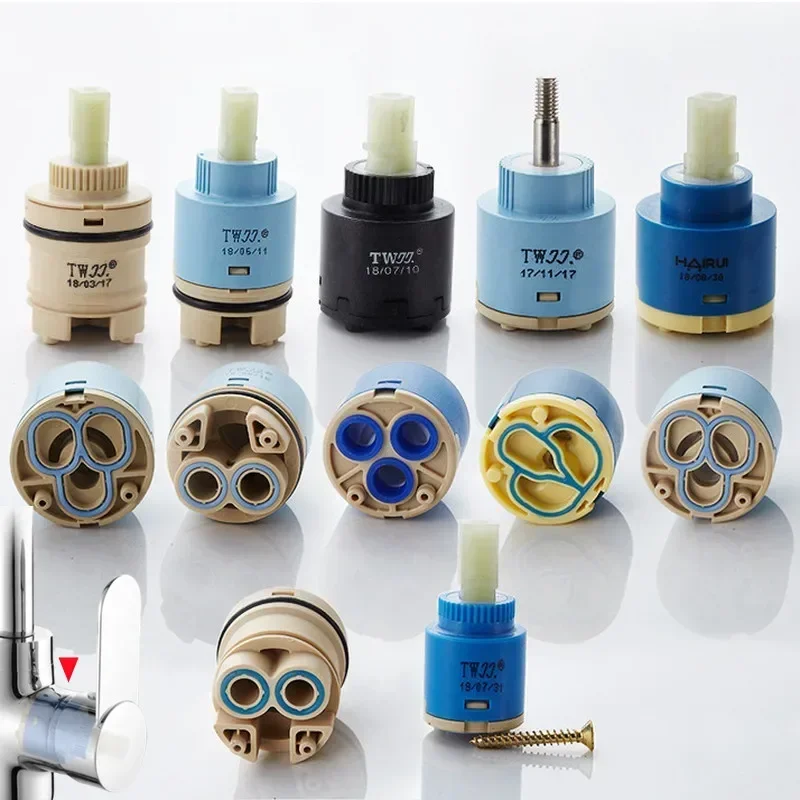
Before diving into the actual replacement process, it’s essential to grasp what a sink cartridge is and why it matters. The cartridge plays a crucial role in regulating water flow and temperature in single-handle faucets. It typically consists of a cylinder that controls water passage and can wear down due to regular usage, leading to leaks and inconsistent water temperature. Understanding the components will help you navigate the DIY project more confidently.
Recognizing the indications that a replacement is needed is key. Common signs include water leaking from the handle, difficulty in adjusting hot and cold water, or a diminished water flow. Paying attention to these cues can save you time and trouble in the long run. The first step toward a successful fix is to ensure that you’ve correctly diagnosed the problem. In situations where you’re unsure, researching the specific faucet model and its associated issues could provide valuable clarity.
Gathering the Necessary Tools and Materials
To ensure a smooth DIY fix, gathering the right tools and materials is essential. You’ll typically need a few basic tools: a Phillips screwdriver, wrench, pliers, a flathead screwdriver, and possibly an adjustable wrench, depending on your sink’s configuration. Additionally, having a cloth or towel on hand can help mop up any spills during the replacement process.
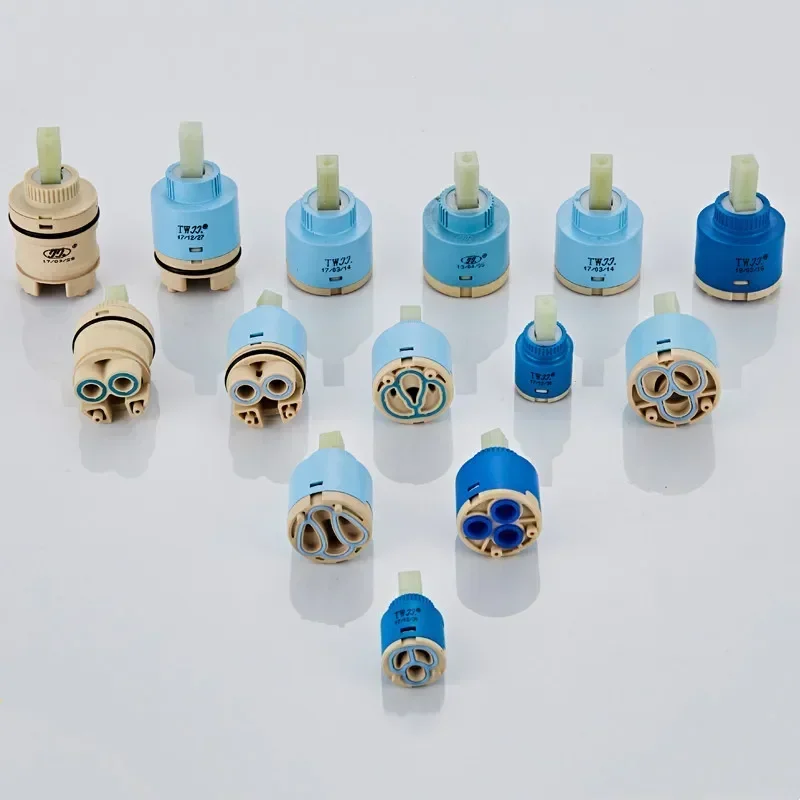
Once you have the basic tools, you’ll need to acquire a new faucet cartridge. Depending on your faucet brand and model, different cartridges may be compatible. It’s advisable to take the old cartridge to a home improvement store to match it correctly or consult with store staff. You may also need plumber’s tape, which is used to create watertight seals and can help prevent future leaks.
Turning Off the Water Supply
Before beginning any plumbing project, safety is paramount—and that includes turning off the water supply. Locate the shut-off valves, usually found beneath the sink. For dual-handle faucets, you’ll find separate valves for hot and cold water. For single-handle faucets, there’s usually one valve controlling both. Turn the valves clockwise to ensure water flow is stopped completely.
After shutting off the valves, it’s a good practice to check if the water supply has been effectively turned off. To do this, turn on the faucet and observe whether any water comes out. If it does, recheck the valves and ensure they are securely closed. Even a small trickle can complicate the replacement process and cause unwanted water damage.
Removing the Faucet Handle
After ensuring that the water supply is off, the next step is to remove the faucet handle. Faucet handles can typically be removed by unscrewing a small screw located at the back or underneath the handle, hidden by a decorative cap. This screw can usually be accessed by gently prying off the cap with a flathead screwdriver. Take care to avoid scratching any surfaces during this process.
Once you’ve located the screw, use your Philips screwdriver to loosen it, but don’t completely remove it just yet. Sometimes, a handle may be stuck due to mineral build-up or rust. If this is the case, gently wiggle the handle while applying a bit of force—be careful not to use excessive force, as this could damage the handle itself. If the handle does not budge, applying a penetrating oil may help loosen any deposits that are causing it to stick.
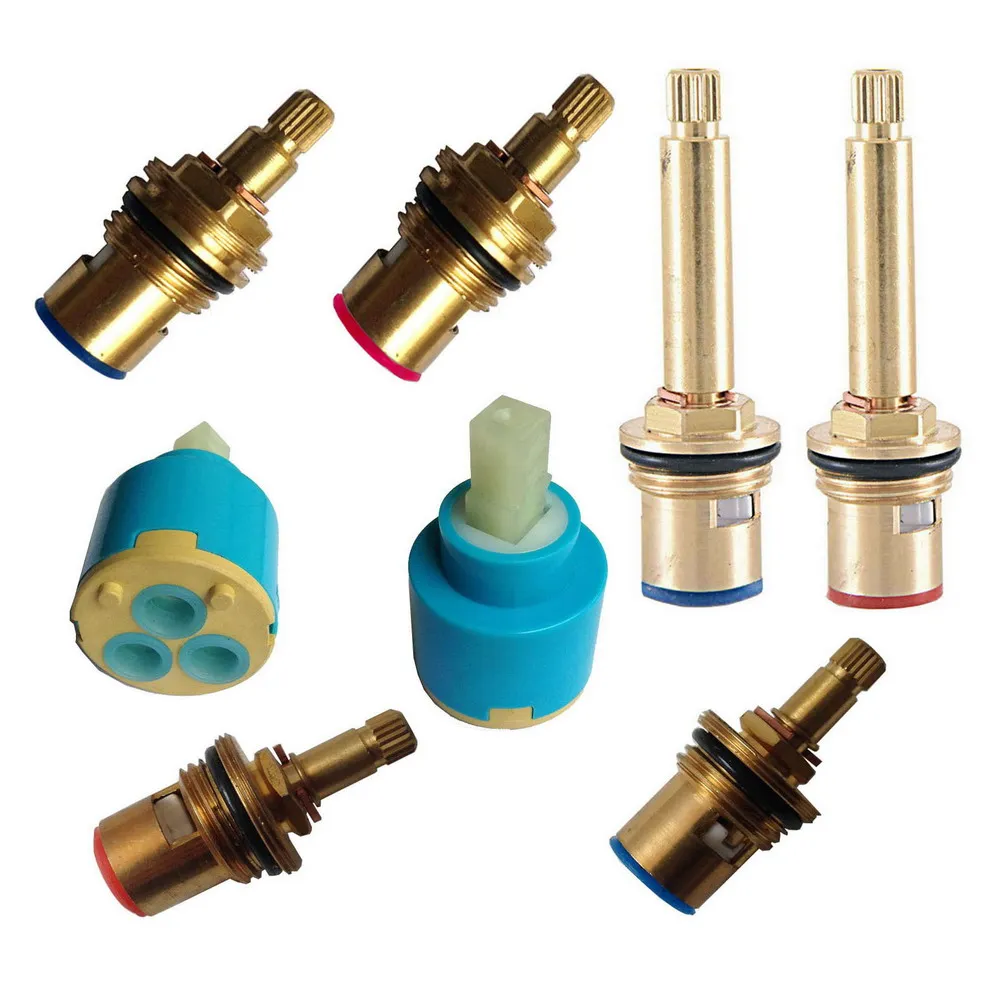
Extracting the Old Cartridge
With the handle removed, the next step is to extract the old cartridge. Depending on the type of faucet, you may have a retaining nut that holds the cartridge in place. If so, use your wrench or pliers to loosen and remove this nut, taking care not to damage surrounding fixtures or pipes.
Once the retaining nut is off, grip the cartridge firmly and pull it straight up. If it doesn’t come out easily, there could be some mineral build-up causing it to stick. A gentle rocking motion can help dislodge it without applying too much force. If you encounter significant resistance, consider using a cartridge puller—an inexpensive tool specifically designed to assist in extracting stuck cartridges.
Once you’ve successfully removed the old cartridge, take a moment to inspect it for damage. Analyzing the wear and tear can provide insights into what might have gone wrong and can serve as a valuable reference point when selecting your new cartridge. Make a note of any particular wear patterns or broken components, as this can guide you in choosing the correct replacement.
Installing the New Cartridge
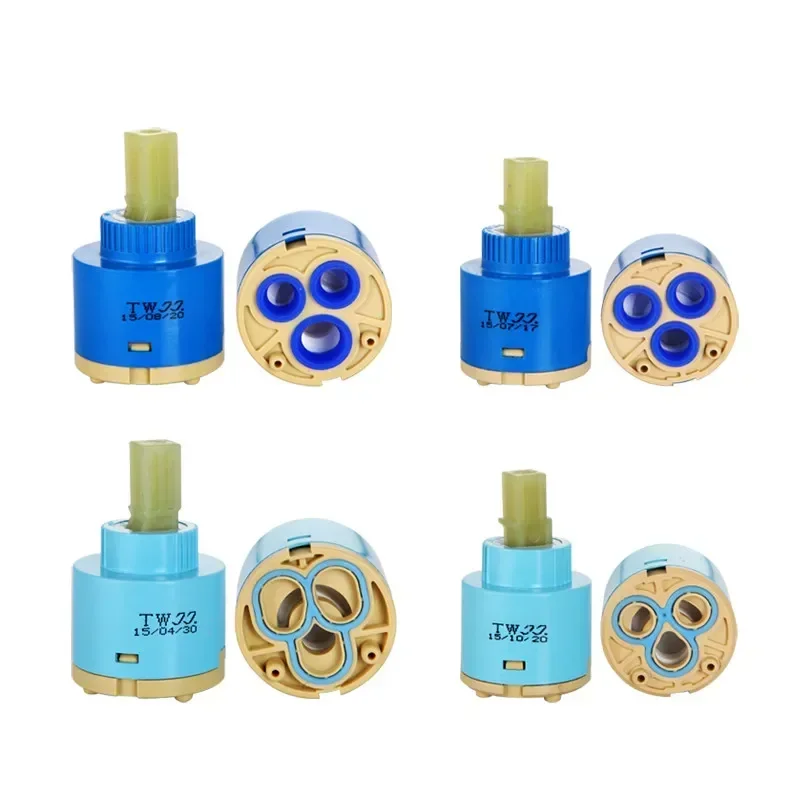
With the old cartridge removed, it’s time to install the new cartridge. Before doing so, take a moment to compare the new cartridge with the old to ensure they match in size and shape. The alignment is critical; if the cartridge does not fit correctly, it may lead to leaks or functional issues later on.
When installing, gently slide the new cartridge into the faucet body. It should fit snugly. Some cartridges have notches or grooves that must align with certain features in the faucet; this alignment is key for proper operation. Following the installation, reattach the retaining nut to keep the cartridge securely in place, tightening it by hand first before using a wrench to snug it up carefully.
Be cautious not to overtighten the retaining nut, as doing so could weaken or damage the cartridge. Additionally, look for any specific instructions that came with the new cartridge, as they may provide important details regarding installation and maintenance. With the new cartridge in place, you are making significant progress toward completing the replacement process.
Reassembling the Faucet Handle
Now that you have successfully installed the new cartridge, it’s time to reassemble the faucet handle. Start by carefully aligning the handle with the cartridge. If there are any grooves or notches on the cartridge, ensure the handle fits correctly into these features for proper functioning. Once aligned, gently press down and secure the handle in place.
Next, retrieve the screw you removed earlier, and insert it back into the handle. Use your Phillips screwdriver to tighten the screw, being careful not to overtighten. If your faucet has a decorative cap, pop it back onto the handle to cover the screw. This gives the faucet a finished look and also protects the screw from moisture.
Conclusion
Replacing a sink cartridge may seem daunting, but with the right tools and knowledge, it can become a straightforward DIY project. This guide has walked you through every step, from understanding what a sink cartridge is, gathering the necessary materials, and executing a replacement, to maintenance tips for a prolonged lifespan.
As a homeowner, the ability to tackle such tasks on your own can save you both time and money, enhancing your confidence in handling minor plumbing issues. Moreover, embracing DIY projects encourages a deeper connection to your home and fosters a sense of accomplishment. So the next time you encounter a leaking faucet, refer back to this guide and remember: you’ve got the skills to handle it!