Introduction
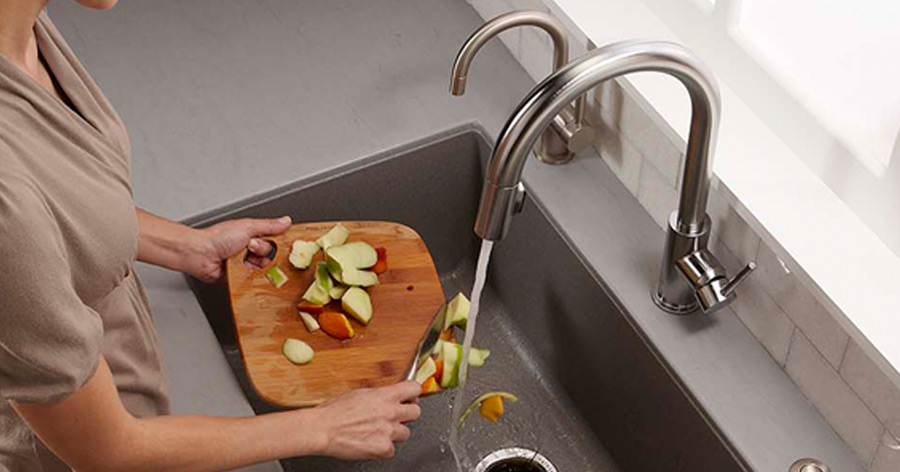
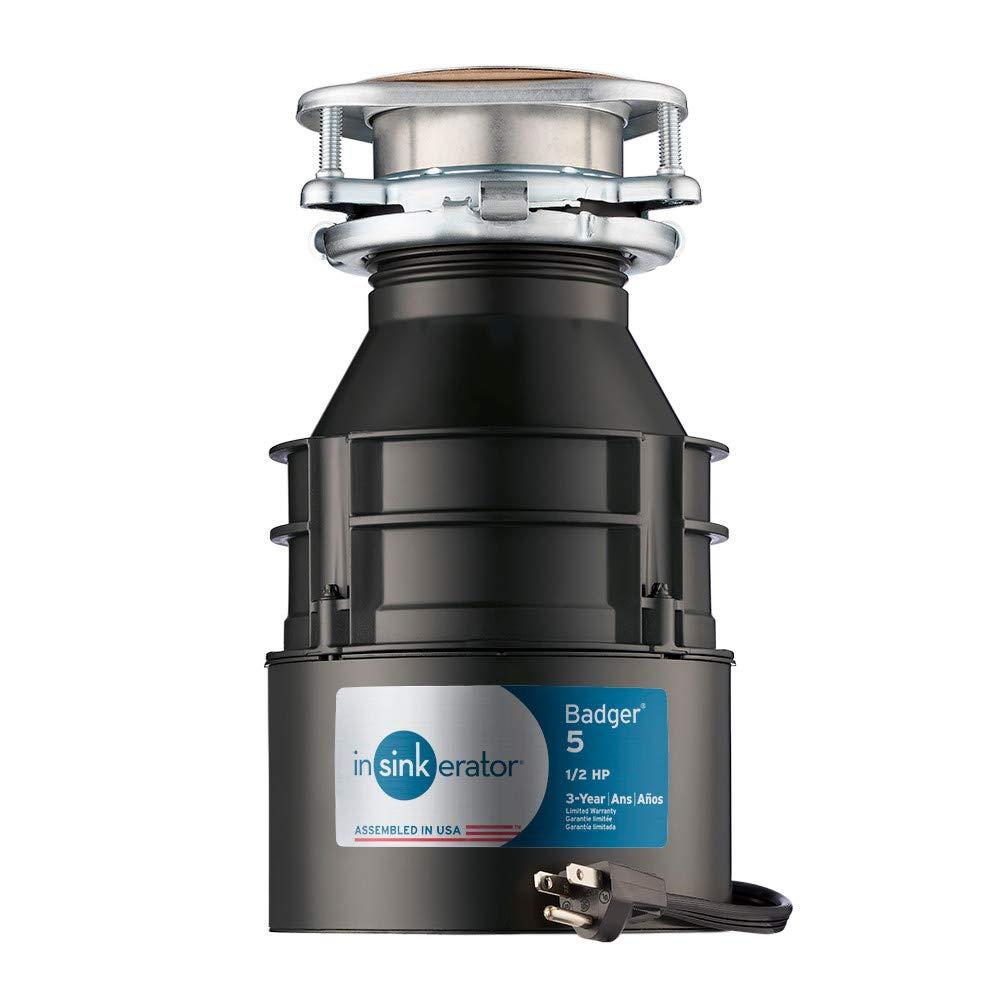
Adding a garbage disposal to your sink can greatly enhance your kitchen’s functionality and make clean-up a breeze. The InSinkErator brand is known for its high-quality garbage disposals, which are easy to install and operate. In this comprehensive guide, we will walk you through the step-by-step process of installing an InSinkErator garbage disposal, from gathering the necessary tools to connecting the electrical and plumbing components. Follow these instructions to transform your kitchen into a more efficient and convenient space.
The Benefits of a Garbage Disposal
A garbage disposal offers numerous benefits for homeowners. It provides a convenient way to dispose of food scraps, reducing the amount of organic waste that ends up in the trash. This can help minimize unpleasant odors in the kitchen and reduce the frequency of having to take out the trash. Additionally, using a garbage disposal can contribute to environmentally friendly practices by diverting organic waste from landfills, where it would otherwise generate methane gas.
Tools and Materials You’ll Need
Before you begin the installation process, gather the following tools and materials: InSinkErator garbage disposal unit, plumber’s putty, plunger, screwdriver (both Phillips and flathead), adjustable wrench, electrical cord and wire connectors, pipe wrench, plumber’s tape, and a bucket or towels for any potential leaks. Having these items on hand will ensure a smooth installation process and save you from unnecessary trips to the hardware store.
Step 1: Prepare the Sink and Drain Assembly
Begin by turning off the water supply to your sink. This can usually be done by shutting off the valves located under the sink or near the main water line. Next, disconnect the existing drain pipe from the sink basin using a pipe wrench. Be sure to place a bucket or towels underneath to catch any water that may spill out during this process.
Step 2: Remove the Existing Drain Flange
To install the InSinkErator garbage disposal, you will need to remove the existing drain flange. First, loosen and remove any screws securing the flange to the sink basin using a screwdriver. Once the screws are removed, use a plunger to loosen the flange by gently tapping it from below. With the flange loosened, carefully lift it out of the sink basin and set it aside.
Step 3: Apply Plumber’s Putty and Install the New Drain Flange
Take a small amount of plumber’s putty and roll it into a thin rope. Apply the putty around the underside of the new drain flange, ensuring even coverage. Place the flange into the sink basin and press it firmly, creating a watertight seal. Wipe off any excess putty that may squeeze out around the edges.
Step 4: Connect the Mounting Ring and Snap Ring
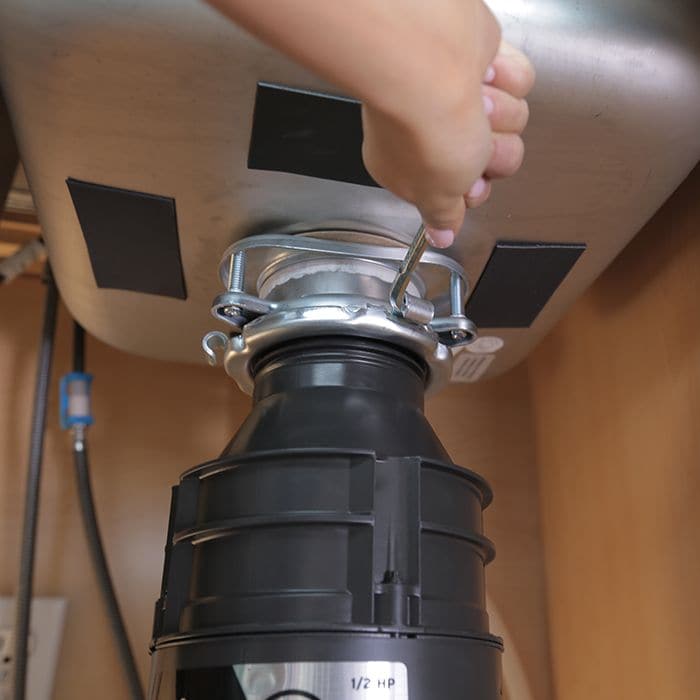
With the drain flange in place, it’s time to connect the mounting ring and snap ring. Slide the mounting ring onto the drain flange from below, followed by the snap ring. Use a screwdriver to tighten the snap ring, securing the mounting ring and drain flange together.
Step 5: Install the Garbage Disposal Unit
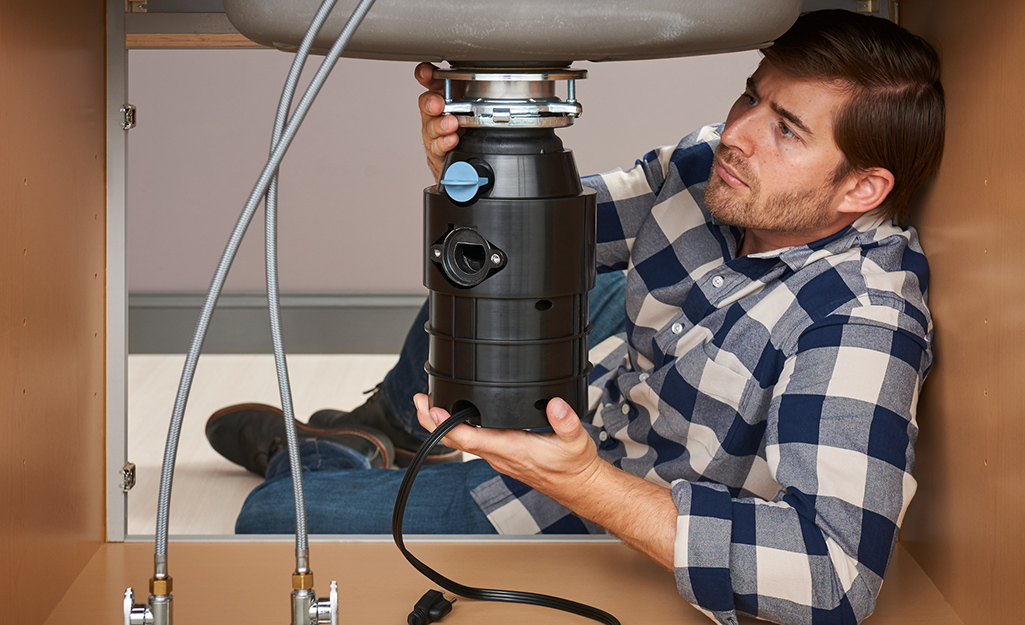
Carefully lower the InSinkErator garbage disposal unit into position under the sink. Align the mounting tabs on the disposal unit with the mounting ring, ensuring a snug fit. Rotate the disposal unit clockwise until it locks into place. Double-check that the unit is securely mounted before proceeding.
Step 6: Connect the Discharge Pipe
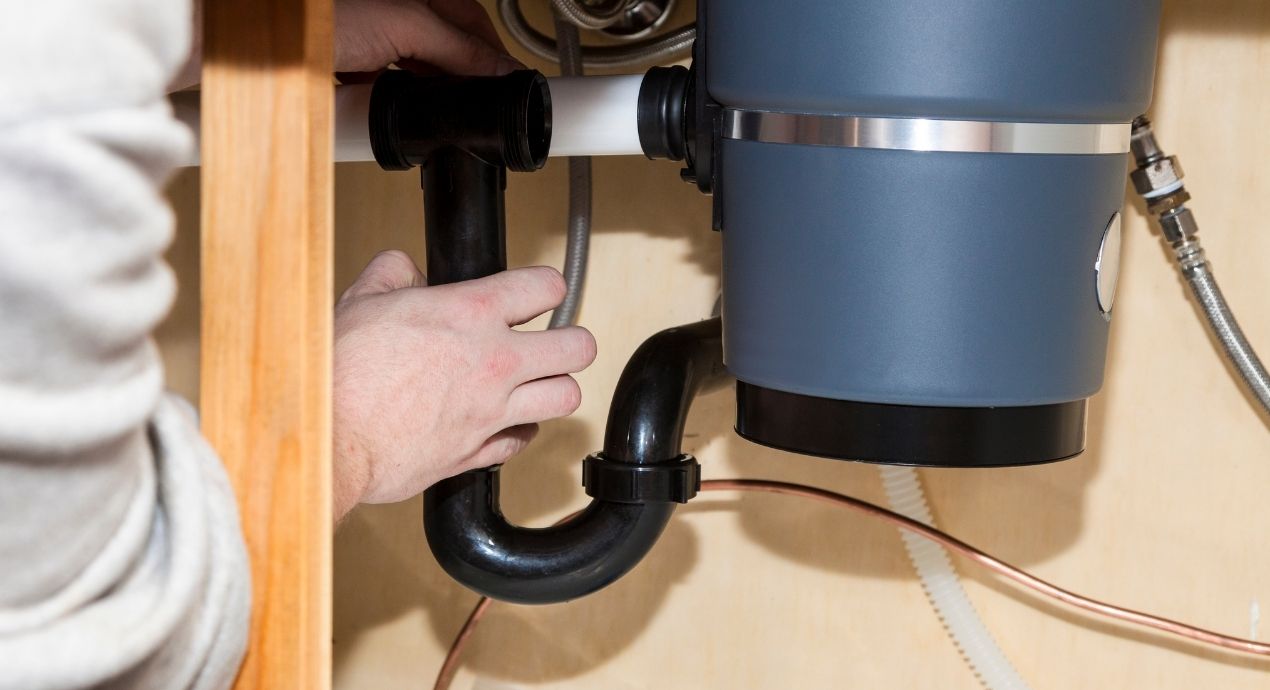
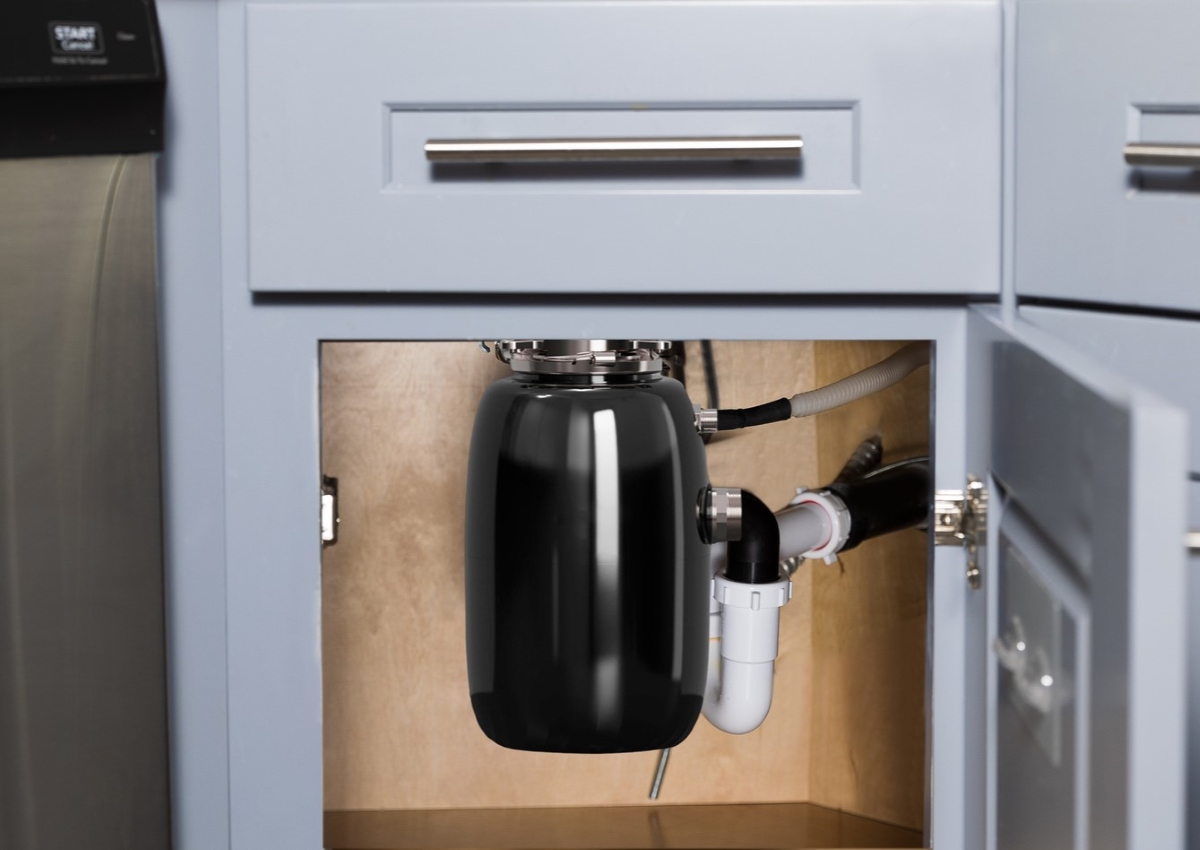
Locate the discharge outlet on the side of the garbage disposal unit. Attach the discharge pipe to this outlet, ensuring a tight connection. Use a pipe wrench to tighten the fitting if necessary. If the pipe is not long enough to reach your drain system, you may need to purchase an extension pipe.
Step 7: Connect the Dishwasher Drain Line (if applicable)
If you have a dishwasher, you will need to connect its drain line to the garbage disposal unit. Locate the dishwasher inlet port on the disposal unit and remove the knockout plug using a screwdriver or pliers. Connect the dishwasher drain line to this inlet port, securing it with a hose clamp or zip tie.
Step 8: Connect the Electrical Wiring
Before connecting the electrical wiring, make sure the power is turned off at the circuit breaker. If your garbage disposal unit does not come with a pre-installed electrical cord, you will need to attach one. Follow the manufacturer’s instructions for wiring the cord to the disposal unit, and use wire connectors to secure the connections. Once the wiring is complete, carefully tuck the cord into the electrical access area on the unit.
Step 9: Test the Garbage Disposal
With all the connections made, it’s time to test your new garbage disposal. First, ensure that all sink drains are clear and free of debris. Slowly turn on the water supply and check for any leaks around the connections. Once the water is running smoothly, turn on the garbage disposal unit and listen for any unusual noises. Feed small food scraps into the disposal gradually to avoid clogging. If everything is working properly, congratulations – you’ve successfully installed your InSinkErator garbage disposal!
Troubleshooting Tips
Even with careful installation, you might encounter some issues with your new garbage disposal. Here are a few common problems and their solutions:
- Disposal Won’t Turn On:
- Check the Power Supply: Ensure the unit is plugged in and the circuit breaker hasn’t tripped.
- Reset the Unit: Many disposal units have a reset button on the bottom or side. Press this button to reset the motor.
- Inspect Wiring: If you installed the electrical cord yourself, double-check all wire connections.
- Unit Hums but Doesn’t Grind:
- Jammed Flywheel: Use a hex wrench (often provided with the unit) to manually turn the flywheel from beneath the unit. This can dislodge any stuck debris.
- Overloaded Motor: Let the unit cool down, then press the reset button.
- Leaks:
- Flange Leak: If water leaks around the sink flange, you may need more plumber’s putty or to tighten the mounting ring.
- Dishwasher Connection Leak: Ensure the hose clamp on the dishwasher drain line is secure and properly tightened.
- Pipe Connections: Check all pipe connections for tightness and reapply plumber’s tape if necessary.
- Slow Draining:
- Clogged Pipes: The issue might not be with the disposal but with the pipes. Use a plunger or plumbing snake to clear blockages.
- Improperly Installed Discharge Pipe: Ensure that the discharge pipe slopes downward towards the drain without any dips or sags where waste could accumulate.
- Unpleasant Odors:
- Clean the Disposal: Run cold water and feed small lemon wedges and ice cubes through the disposal. Baking soda and vinegar can also help neutralize odors.
- Check for Residual Food: Sometimes bits of food get stuck and rot. Use a brush to clean around the splash guard and reach inside the unit.
Maintenance Tips
To keep your InSinkErator garbage disposal running smoothly, follow these maintenance tips:
- Run Cold Water: Always run cold water while using the disposal to help solidify grease and fats, preventing them from coating the blades and pipes.
- Use Regularly: Frequent use prevents rust and corrosion, ensuring all parts remain operational.
- Avoid Hard Objects: Never put non-food items, bones, or hard shells into the disposal as they can damage the blades and motor.
- Clean Regularly: Periodically grind citrus peels or a mixture of baking soda and vinegar to keep the disposal clean and smelling fresh.
When to Call a Professional
While installing and maintaining your InSinkErator garbage disposal can often be done by a homeowner, certain situations warrant professional assistance:
- Complex Electrical Work: If you’re uncomfortable dealing with electrical wiring, hire an electrician.
- Persistent Leaks: Ongoing or severe leaks may indicate a problem with your plumbing that requires a plumber’s expertise.
- Motor Issues: If the motor fails and resetting doesn’t work, a professional may need to diagnose and repair it.
Conclusion
Installing an InSinkErator garbage disposal is a valuable upgrade for any kitchen. By following this guide, you can ensure a successful installation while minimizing potential issues. Remember to take safety precautions, troubleshoot effectively, and perform regular maintenance to extend the life of your unit. With your new disposal in place, enjoy the convenience of easy kitchen cleanup and efficient waste management.
