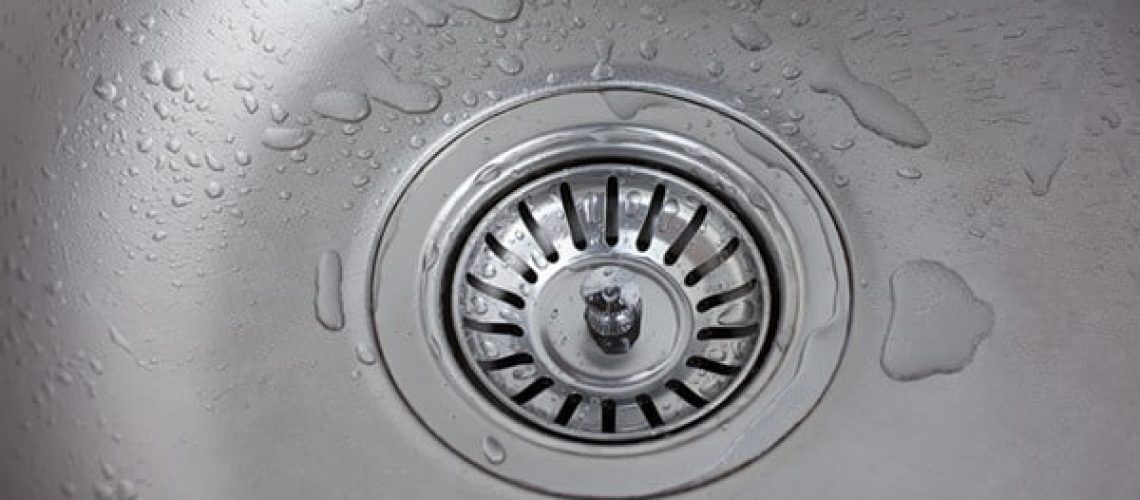
Identifying the Source of the Leak
A leaky sink drain can be a persistent annoyance, turning a once-tranquil kitchen or bathroom into an unwelcome puddle zone. The first step in remedying this common household woe is pinpointing the source of the leak. More often than not, leaks stem from three primary areas: the connection between the sink and the drain, issues with the drain assembly itself, or problems with the P-trap beneath the sink. Begin by observing the leak during and after use, noting if it occurs consistently or only under certain conditions. This initial investigation will guide your repair strategy.
Gathering Tools and Materials
Before diving into repairs, gather all necessary tools and materials. A standard toolkit should include adjustable pliers, a screwdriver set (both flathead and Phillips), a wrench, plumber’s putty or silicone sealant, a replacement gasket or O-ring (if needed), a bucket to catch water, and rags or towels to mop up spills. Having these items at hand ensures a smooth and efficient repair process, minimizing downtime and potential mess.
Preparing the Workspace
Safety and cleanliness are paramount when dealing with plumbing repairs. Begin by turning off the water supply to the sink to prevent accidental flooding during the repair process. Place a bucket or tray beneath the sink to catch any dripping water or loose parts. Clear the area around the sink to provide ample workspace and minimize the risk of damaging other surfaces. Lay out your tools and materials in an organized manner to ensure easy access throughout the repair.
Disassembling the Drain Assembly
With the workspace prepped, it’s time to disassemble the sink drain. Start by removing the pop-up stopper if your sink is equipped with one. This typically involves unscrewing the pivot rod nut located beneath the sink and sliding the stopper mechanism out. Next, detach the drain flange – the visible part of the drain in the basin – by loosening the locknut or screws securing it. If there’s plumber’s putty or a rubber gasket around the flange, carefully scrape it away using a plastic scraper or your fingers. Take note of any worn or damaged components as you work, such as corroded nuts, cracked gaskets, or deformed washers, which may be causing the leak.
Inspecting and Replacing Parts
Once the drain assembly is dismantled, inspect each component for signs of wear, cracks, or corrosion. Common culprits of leaks include degraded washers, damaged gaskets, or a loose connection between pipes. Replace any faulty parts with new ones, ensuring they match the original size and type for a proper fit. Apply plumber’s putty or silicone sealant around the base of the drain flange before reattaching it to create a watertight seal. Remember to use new gaskets or O-rings where necessary to further prevent leaks.
Reassembling the Drain Assembly
With all parts either cleaned, replaced, or reinforced, begin reassembling the drain assembly. Start by threading the new gasket or O-ring onto the drain body, followed by the locknut or mounting bracket. Hand-tighten these components before using pliers or a wrench for final tightening, being cautious not to overtighten, which can cause stress fractures or leaks. Reinstall the pivot rod and pop-up stopper mechanism, ensuring smooth operation without leaks during testing. Finally, reconnect the P-trap, tightening the slip nuts securely but with care to avoid cracking the plastic or distorting the connections.
Testing for Success
Before declaring victory, it’s crucial to test your repair. Turn the water supply back on and let the sink fill gradually, watching closely for any signs of leakage around the drain assembly or P-trap. Run the water through the faucet at various pressures and check for leaks during and after usage. If no leaks are detected, congratulations – your repair has been a success. However, should you still notice dripping, revisit each connection point, checking for loose fittings or misaligned parts. Sometimes, leaks become apparent only under pressure or after some use.
Preventive Maintenance for Longevity
To prevent future leaks and prolong the life of your sink drain, adopt a routine of periodic inspections and maintenance. Check connections for tightness, clean out debris that might accumulate around the drain, and consider applying a thin layer of plumber’s grease to threads and seals to facilitate future disassembly and prevent corrosion. Additionally, avoid pouring harsh chemicals or extremely hot water directly down the drain, as these can damage seals and pipes over time.
Enhancing Drain Performance with Proper Usage Habits
In addition to regular maintenance, adopting proper usage habits can significantly contribute to the longevity and efficient functioning of your sink drain. Here are a few practices to incorporate into your daily routines:
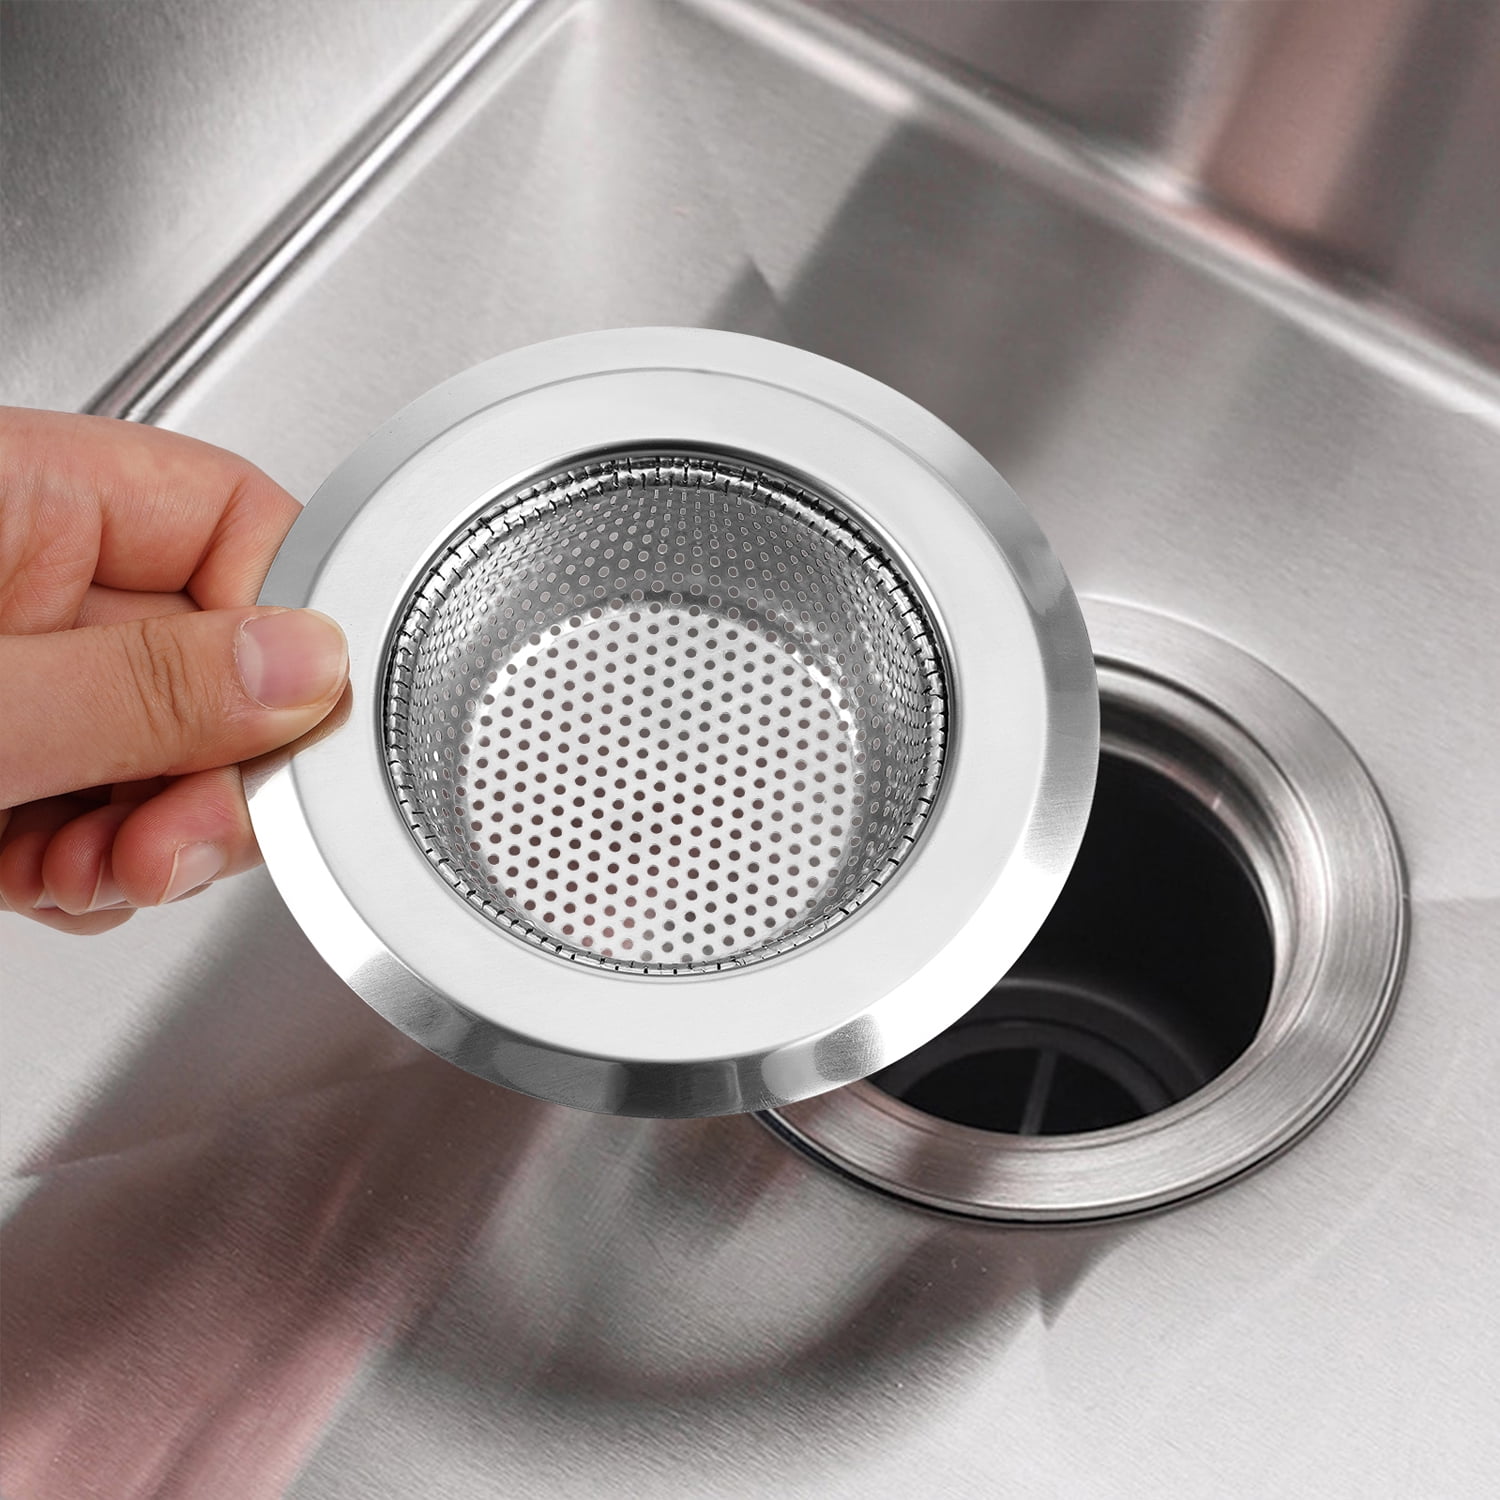
- Use Drain Guards: Install drain guards or strainers to catch food particles, hair, and other debris that could potentially clog your drain. Regularly cleaning these guards prevents buildup from entering the plumbing system.
- Hot Water Maintenance: While avoiding extremely hot water is advisable to protect seals, using warm water periodically can help flush out light grease and oil buildup in pipes, keeping them clear.
- Natural Cleaning Solutions: Instead of relying on harsh chemicals, consider using natural alternatives like baking soda and vinegar to clean your drains. Mix equal parts baking soda and vinegar, pour the solution down the drain, let it sit for a few hours, then flush with warm water. This helps break down organic matter and freshens the drain without damaging the pipes.
- Proper Disposal of Waste: Never dispose of coffee grounds, fats, oils, or greasy substances down the kitchen sink. These materials can solidify and accumulate, causing blockages over time. Similarly, in the bathroom, hair should be disposed of in the trash rather than washed down the drain.
- Regular Pipe Inspection: Incorporate an annual or semi-annual visual inspection of exposed pipes under your sink. Look for signs of corrosion, leaks, or damage. Early detection can prevent more significant problems later on.
- Professional Plumbing Services: Schedule a professional plumbing inspection every few years, especially if you live in an older home. A professional can identify potential issues, perform a thorough cleaning, and offer advice tailored to your specific plumbing setup.
Conclusion: Tackling Leaks with Confidence
Addressing a leaky sink drain may seem daunting at first, but with patience, the right tools, and a methodical approach, it becomes a manageable task. By following these outlined steps, not only do you resolve an immediate issue, but you also gain valuable DIY skills and knowledge that can be applied to future home repairs. Remember, prevention and timely maintenance are key to keeping your sink drainage system in top condition, ensuring a leak-free environment for years to come.