Introduction: The Art of Ceiling Tile Installation
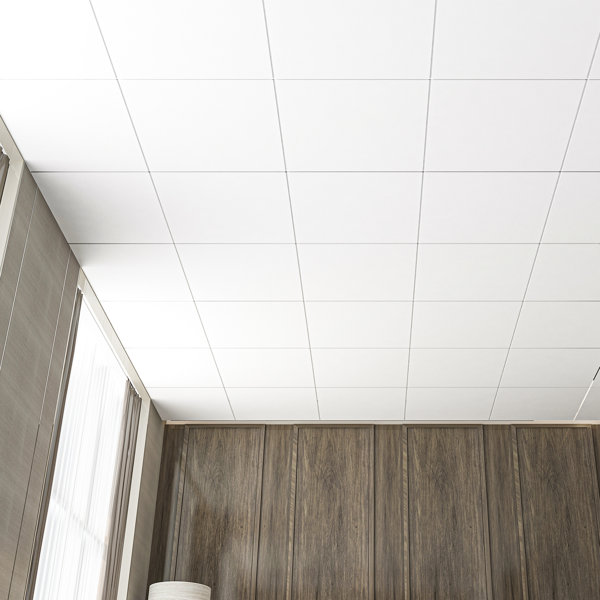
Ceiling tiles are a versatile and practical solution for enhancing the aesthetic appeal and functionality of any interior space. Whether you’re renovating a commercial building or upgrading a residential property, mastering the art of cutting ceiling tiles is essential for achieving a professional-looking installation. In this comprehensive guide, we’ll explore the techniques and tools necessary to cut ceiling tiles with precision and perfection, empowering you to transform any room with confidence and skill.

Understanding Ceiling Tile Materials: A Primer
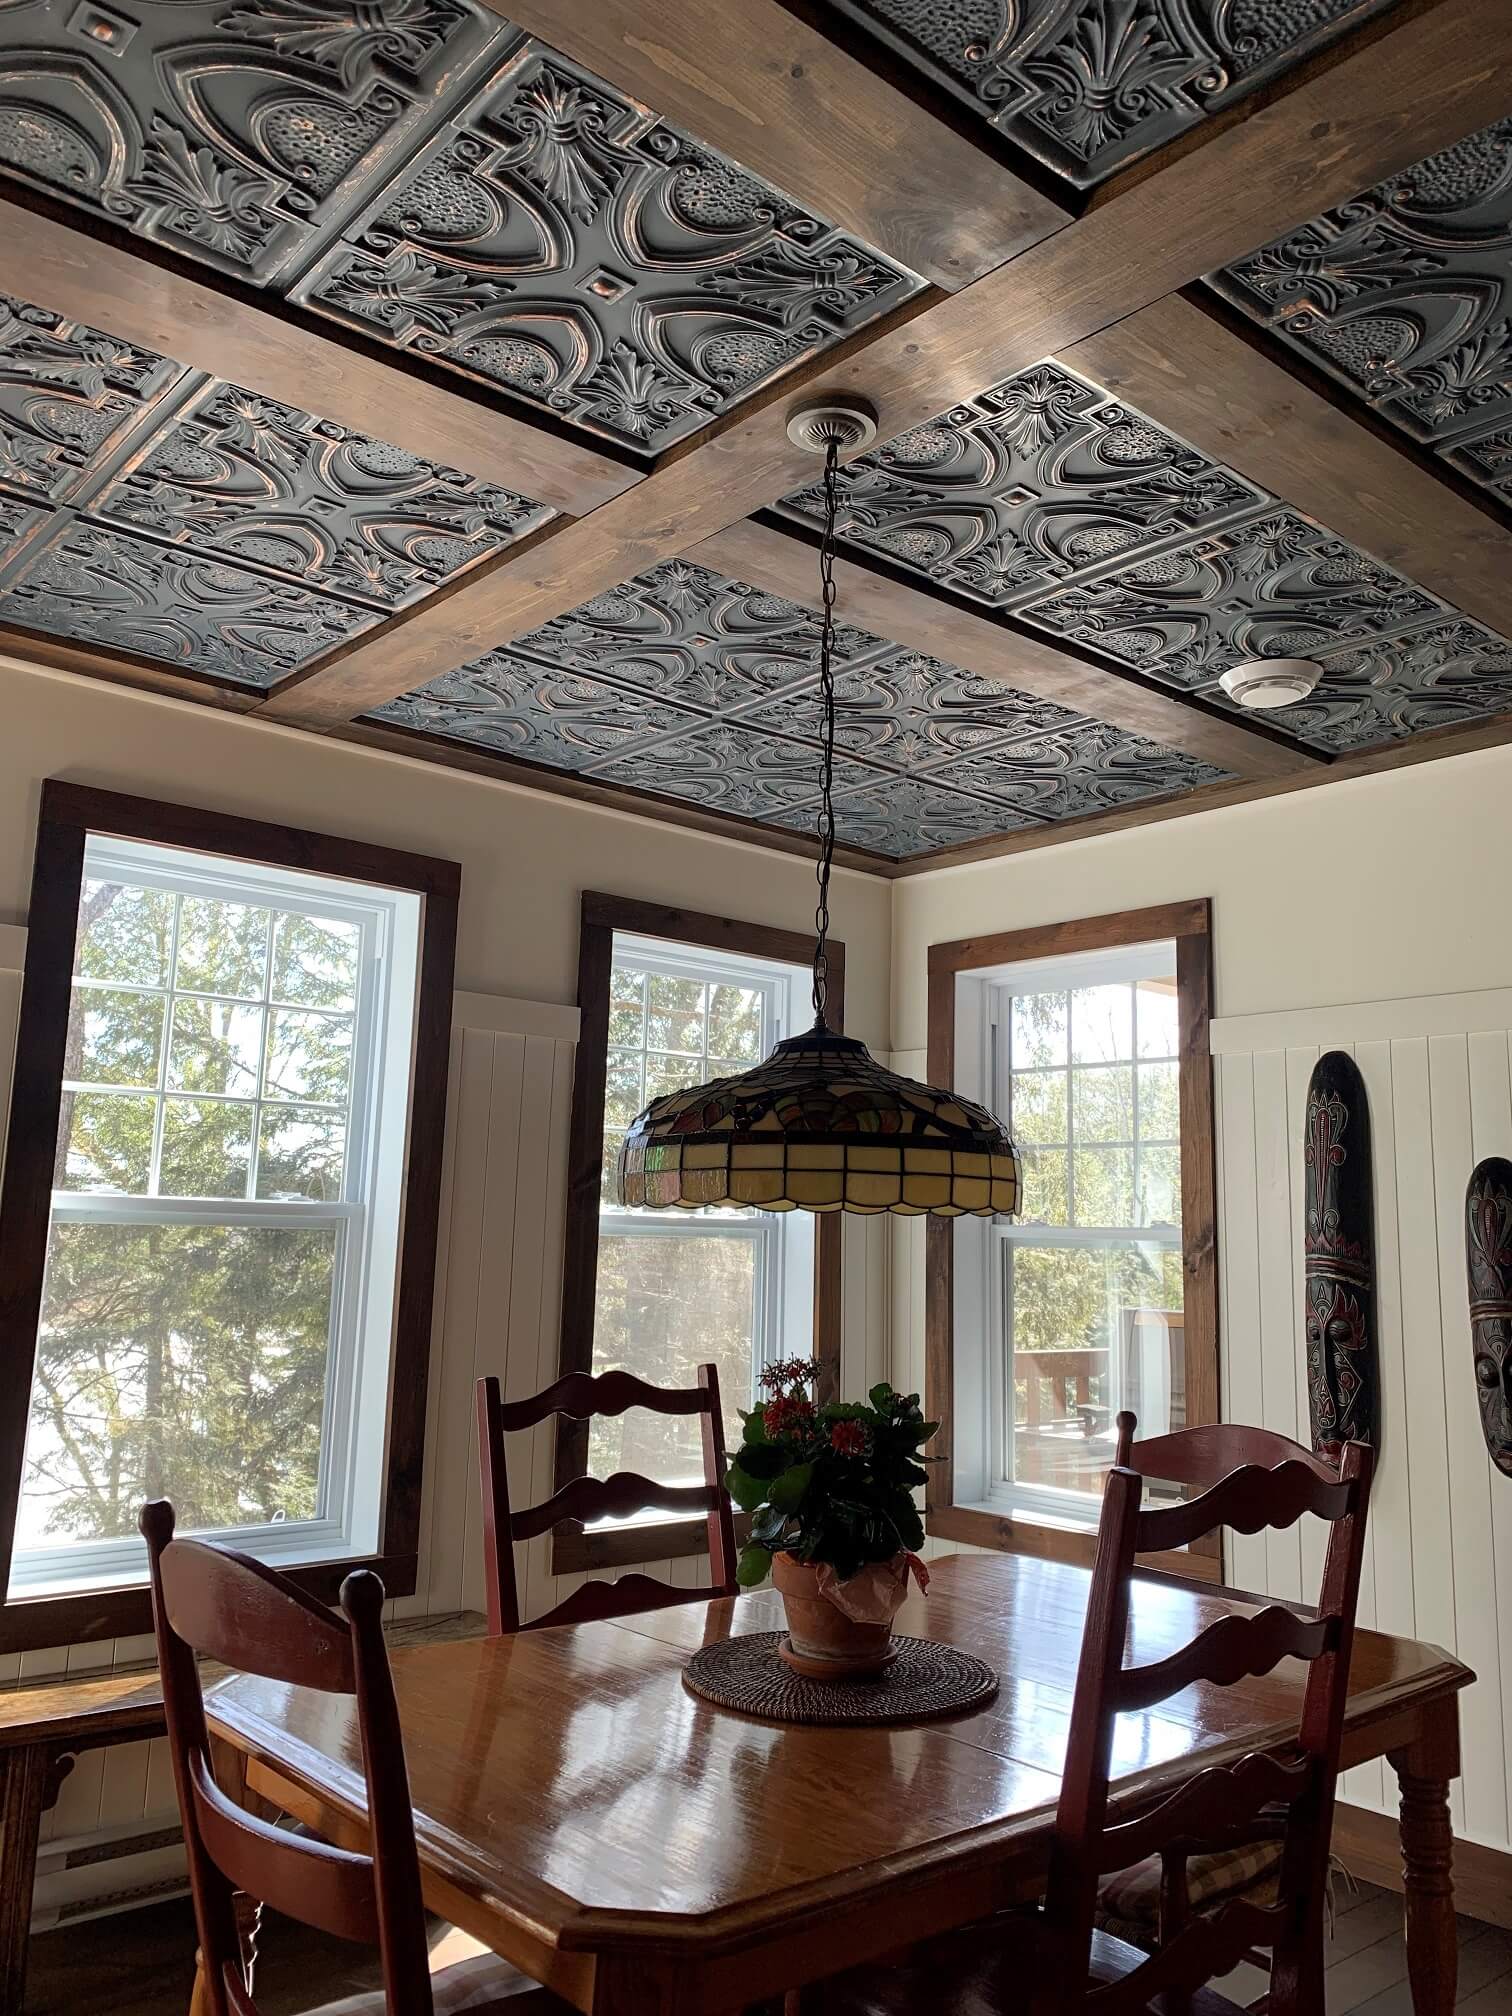
Before delving into the intricacies of cutting ceiling tiles, it’s important to understand the different materials commonly used in their construction. Ceiling tiles are typically made from materials such as mineral fiber, gypsum, metal, or PVC. Each material has its unique characteristics and properties, which may affect the cutting process. For example, mineral fiber tiles are soft and easily cut with a utility knife, while metal tiles may require specialized tools such as tin snips or a rotary saw. Familiarizing yourself with the properties of your chosen ceiling tiles will ensure a smooth and efficient cutting process.
Gathering the Right Tools: Essential Equipment for Cutting Ceiling Tiles
To achieve precision and perfection when cutting ceiling tiles, it’s essential to have the right tools at your disposal. While the specific tools required may vary depending on the material of the tiles, some essential equipment includes:
- Utility knife with a sharp blade
- Straightedge or T-square for making straight cuts
- Tin snips or aviation snips for cutting metal tiles
- Rotary saw or jigsaw with a fine-toothed blade for intricate cuts
- Safety goggles and gloves to protect against debris and sharp edges
By ensuring you have the appropriate tools on hand, you’ll be better equipped to tackle any cutting task with confidence and accuracy.

Measuring and Marking: Precision Starts Here
Before making any cuts, it’s crucial to accurately measure and mark the ceiling tiles to ensure they fit seamlessly into place. Begin by measuring the dimensions of the area where the tiles will be installed, taking into account any obstructions such as light fixtures or air vents. Use a pencil and a straightedge to transfer these measurements onto the surface of the ceiling tiles, marking the cutting lines with light, precise strokes. Double-check your measurements and markings to avoid costly mistakes and ensure a perfect fit.
Straight Cuts: Mastering the Basics
Straight cuts are the foundation of any successful ceiling tile installation, providing the framework for a polished and professional finish. To make straight cuts, use a utility knife equipped with a sharp blade and a straightedge or T-square as a guide. Position the straightedge along the marked cutting line and apply firm, even pressure to score the surface of the tile multiple times. Once the score line is established, carefully snap the tile along the line, using the edge of a table or workbench to support the tile and ensure a clean break. Sand or file any rough edges for a smooth and seamless transition between tiles.

Curved and Intricate Cuts: Techniques for Complex Shapes
In addition to straight cuts, many ceiling tile installations require curved or intricate cuts to accommodate irregular shapes or architectural features. To achieve these cuts, specialized tools such as tin snips or a rotary saw may be necessary, depending on the material of the tiles. For metal tiles, use tin snips to carefully cut along the marked lines, taking care to follow the curvature of the design. Alternatively, a rotary saw or jigsaw equipped with a fine-toothed blade can be used to make precise cuts in gypsum or PVC tiles. Take your time and work slowly, adjusting the angle and depth of the cut as needed to achieve the desired shape with accuracy and finesse.
Safety Considerations: Protecting Yourself and Your Surroundings
When cutting ceiling tiles, it’s essential to prioritize safety to prevent accidents and injuries. Always wear safety goggles and gloves to protect your eyes and hands from flying debris and sharp edges. Work in a well-ventilated area to minimize exposure to dust and fumes, and take breaks as needed to avoid fatigue and maintain focus. Additionally, be mindful of your surroundings and take precautions to prevent damage to nearby fixtures or furnishings. By following these safety guidelines, you can ensure a safe and successful cutting experience from start to finish.

Finishing Touches: Installing and Admiring Your Handiwork
Once all the necessary cuts have been made, it’s time to install the ceiling tiles and admire your handiwork. Begin by positioning the cut tiles into place, ensuring a snug fit and seamless alignment with neighboring tiles. Use adhesive or clips to secure the tiles in position, taking care to follow manufacturer recommendations for proper installation. Once all the tiles are in place, step back and admire the transformation, reveling in the satisfaction of a job well done. With precision and perfection, you’ve mastered the art of cutting ceiling tiles, elevating the aesthetic appeal and functionality of any space with skill and expertise.
Practice and Patience: Refining Your Technique
Like any skill, mastering the art of cutting ceiling tiles requires practice and patience. Don’t be discouraged if your first attempts don’t yield perfect results—learning to work with different materials and tools takes time and experience. Take the opportunity to hone your technique with each cut, paying attention to factors such as blade angle, pressure, and speed. As you gain confidence and proficiency, you’ll find that your cuts become smoother and more precise, resulting in a finished installation that reflects your dedication to craftsmanship and attention to detail.
Troubleshooting Common Challenges: Solutions for Success
Throughout the cutting process, you may encounter challenges or obstacles that require creative solutions. Whether it’s navigating intricate designs, dealing with stubborn materials, or overcoming unexpected setbacks, approach each challenge with a problem-solving mindset. Consult online resources, instructional guides, or professional advice to troubleshoot any issues and find the best course of action. By staying flexible and adaptable, you’ll be better equipped to overcome obstacles and achieve your desired results with confidence and determination.

Conclusion: Empowering You to Achieve Excellence
In conclusion, mastering how to cut ceiling tiles is a valuable skill that empowers you to achieve precision and perfection in any interior renovation project. By understanding the properties of different tile materials, gathering the right tools, and following proper techniques for measuring, marking, and cutting, you can achieve professional-quality results with confidence and ease. Whether you’re installing ceiling tiles in a commercial building, residential property, or personal DIY project, the knowledge and expertise gained from this guide will serve as your guide to transforming any space with precision and perfection.


